

Growing Thyme at Home is easier than you might think, and I’m here to show you how! Have you ever dreamt of snipping fresh, fragrant herbs right from your own backyard to elevate your culinary creations? Imagine the burst of flavor a sprig of homegrown thyme can add to your roasted chicken, soups, or even a simple cup of tea. It’s a game-changer, trust me!
Thyme, with its rich history dating back to ancient Egypt where it was used for embalming, and ancient Greece where it symbolized courage, has been cherished for centuries for its medicinal and culinary properties. Beyond its historical significance, growing thyme at home offers a practical solution for anyone looking to reduce their grocery bills, enjoy fresher ingredients, and connect with nature.
In today’s fast-paced world, we often rely on store-bought herbs that can be expensive and lack the vibrant flavor of freshly picked ones. That’s where this DIY guide comes in! I’ll walk you through simple, effective techniques to cultivate your own thriving thyme patch, regardless of your gardening experience or space limitations. Get ready to unlock the secrets to a flourishing herb garden and savor the delightful taste of homegrown thyme!
Growing Thyme at Home: A Beginner’s Guide
Hey there, fellow plant enthusiasts! I’m so excited to share my experience with growing thyme at home. It’s surprisingly easy, incredibly rewarding, and adds a delicious touch to your cooking. Plus, the fragrant aroma is just divine! Whether you have a sprawling garden or just a sunny windowsill, you can absolutely cultivate your own thriving thyme patch. Let’s dive in!
Choosing Your Thyme Variety
Before we get our hands dirty, let’s talk thyme types. There’s more than just one! Each variety has its own unique flavor profile and growth habit. Here are a few popular choices:
* **Common Thyme (Thymus vulgaris):** This is your classic culinary thyme. It has a strong, earthy flavor and is perfect for soups, stews, and roasted meats.
* **Lemon Thyme (Thymus citriodorus):** As the name suggests, this thyme has a delightful lemony scent and flavor. It’s fantastic in teas, salads, and with fish.
* **Creeping Thyme (Thymus serpyllum):** This low-growing variety is ideal for ground cover or planting between paving stones. While edible, it’s often grown for its ornamental value and lovely pink or purple flowers.
* **Woolly Thyme (Thymus pseudolanuginosus):** Another ground cover option, woolly thyme has soft, fuzzy leaves and a more subtle flavor.
I personally love having both common thyme and lemon thyme on hand. They complement each other beautifully in the kitchen.
Getting Started: Seeds vs. Cuttings vs. Starter Plants
You have a few options when it comes to starting your thyme journey:
* **Seeds:** Starting from seed is the most economical option, but it requires a bit more patience. Thyme seeds are tiny and can be slow to germinate.
* **Cuttings:** Propagating from cuttings is a great way to clone a specific thyme variety that you love. It’s also a faster method than starting from seed.
* **Starter Plants:** Buying starter plants from a nursery is the easiest and quickest way to get started. You’ll have a healthy, established plant ready to go.
I’ve tried all three methods, and honestly, I’ve had success with each. If you’re a beginner, I recommend starting with a starter plant. It’s the most foolproof method.
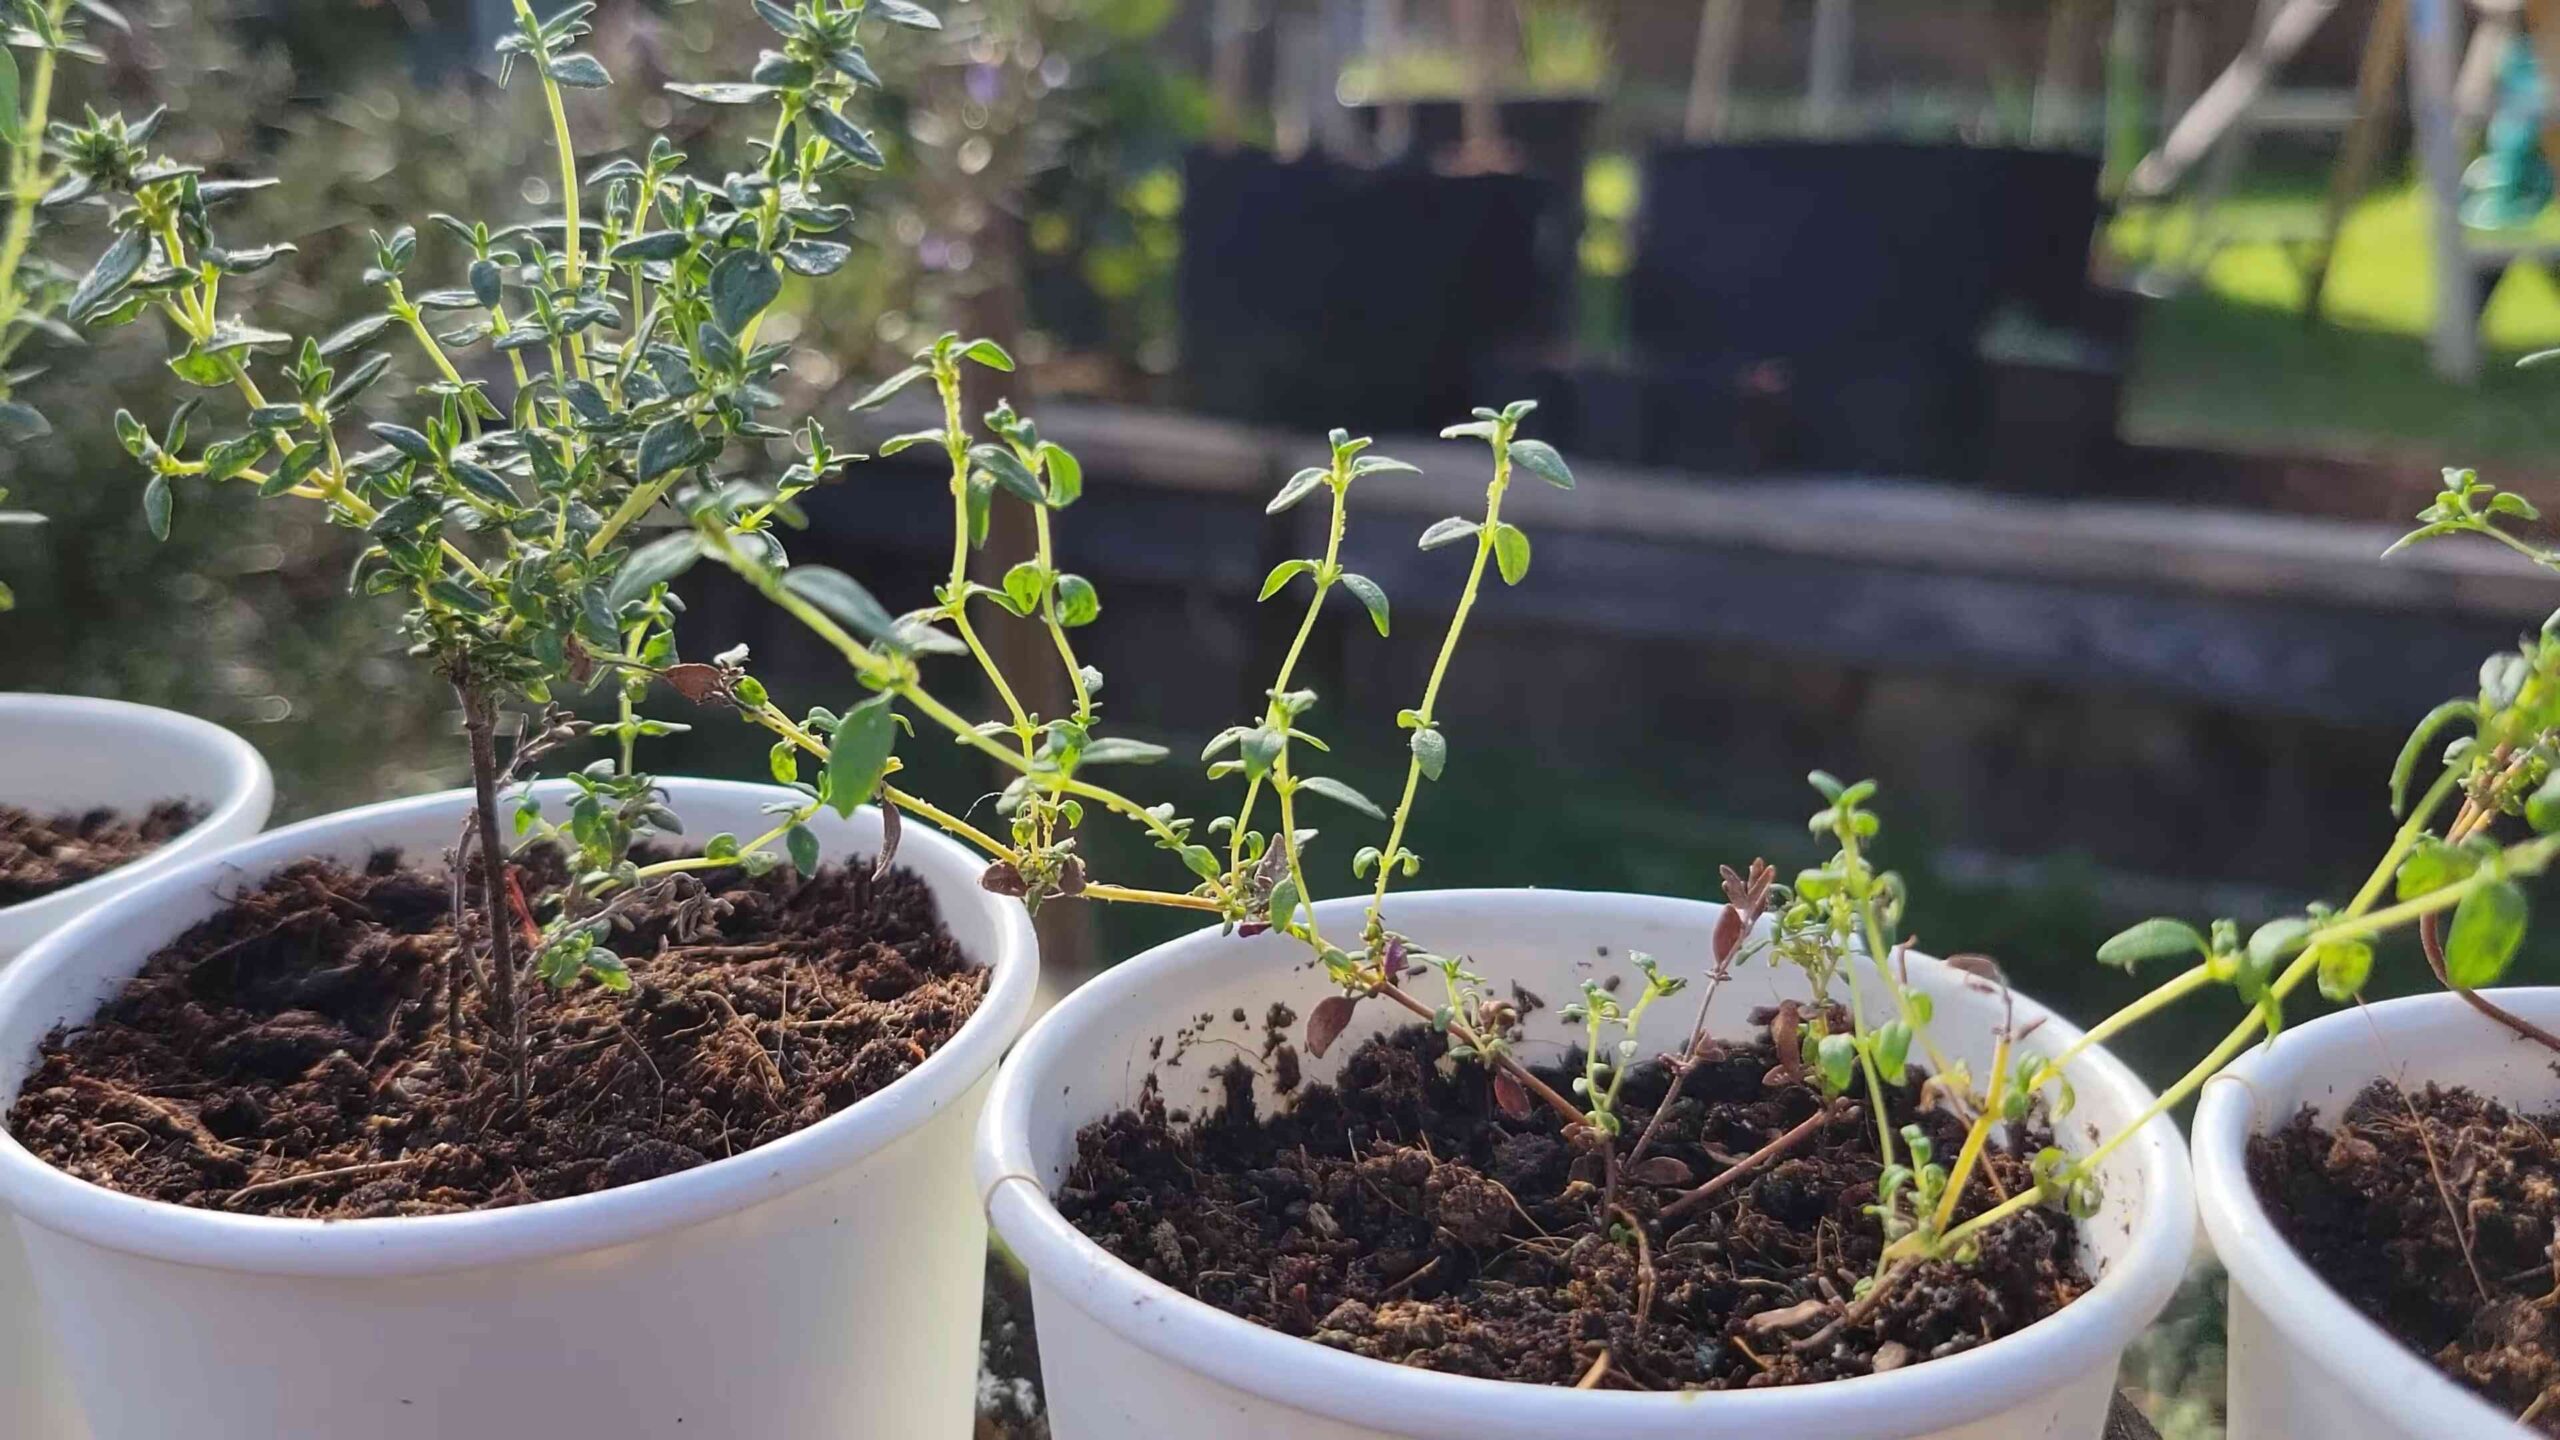
Planting Your Thyme
Now for the fun part! Here’s how to plant your thyme, whether you’re using seeds, cuttings, or starter plants:
Planting from Seeds:
1. **Start Indoors (Optional):** Thyme seeds can be started indoors 6-8 weeks before the last expected frost. This gives them a head start. Fill a seed tray or small pots with a well-draining seed starting mix.
2. **Sow the Seeds:** Sprinkle the tiny thyme seeds thinly over the surface of the soil. Gently press them down, but don’t bury them too deeply. They need light to germinate.
3. **Water Gently:** Mist the soil with water to avoid disturbing the seeds. Keep the soil consistently moist, but not soggy.
4. **Provide Light:** Place the seed tray in a bright, sunny location or under grow lights.
5. **Germination:** Thyme seeds can take 14-28 days to germinate. Be patient!
6. **Transplant Seedlings:** Once the seedlings have developed a few sets of true leaves, you can transplant them into larger pots or directly into your garden. Harden them off gradually by exposing them to outdoor conditions for a few hours each day before transplanting.
Planting Cuttings:
1. **Take Cuttings:** In spring or early summer, take 4-6 inch cuttings from healthy, non-flowering thyme stems.
2. **Prepare the Cuttings:** Remove the leaves from the bottom inch of each cutting.
3. **Rooting Hormone (Optional):** Dip the cut ends of the cuttings in rooting hormone powder to encourage root development.
4. **Plant the Cuttings:** Insert the cuttings into small pots filled with a well-draining potting mix.
5. **Water and Cover:** Water the cuttings gently and cover them with a plastic bag or humidity dome to create a humid environment.
6. **Provide Light:** Place the cuttings in a bright, indirect light location.
7. **Rooting:** The cuttings should root in 2-4 weeks. You’ll know they’ve rooted when you see new growth.
8. **Transplant:** Once the cuttings have developed a good root system, you can transplant them into larger pots or directly into your garden.
Planting Starter Plants:
1. **Choose a Location:** Select a sunny location with well-draining soil. Thyme thrives in full sun (at least 6 hours of direct sunlight per day).
2. **Prepare the Soil:** Thyme prefers slightly alkaline soil. If your soil is acidic, you can amend it with lime. Make sure the soil is loose and well-draining.
3. **Dig a Hole:** Dig a hole that is slightly larger than the root ball of your thyme plant.
4. **Remove the Plant:** Gently remove the thyme plant from its container, being careful not to damage the roots.
5. **Plant the Thyme:** Place the thyme plant in the hole and backfill with soil. Gently firm the soil around the plant.
6. **Water Thoroughly:** Water the thyme plant thoroughly after planting.
Caring for Your Thyme
Once your thyme is planted, it’s relatively low-maintenance. Here’s what you need to know to keep it happy and healthy:
* **Sunlight:** Thyme needs at least 6 hours of direct sunlight per day.
* **Watering:** Water thyme sparingly. It’s drought-tolerant and prefers dry conditions. Overwatering can lead to root rot. Allow the soil to dry out completely between waterings.
* **Soil:** Thyme prefers well-draining soil. Avoid heavy clay soils that retain too much moisture.
* **Fertilizing:** Thyme doesn’t need a lot of fertilizer. A light feeding with a balanced fertilizer in the spring is sufficient. Avoid over-fertilizing, as this can reduce the plant’s flavor.
* **Pruning:** Prune thyme regularly to encourage bushier growth and prevent it from becoming leggy. Trim the stems back by about one-third after flowering.
* **Winter Care:** In colder climates, thyme may need some winter protection. Mulch around the base of the plant with straw or leaves to insulate the roots. You can also grow thyme in containers and bring them indoors during the winter.
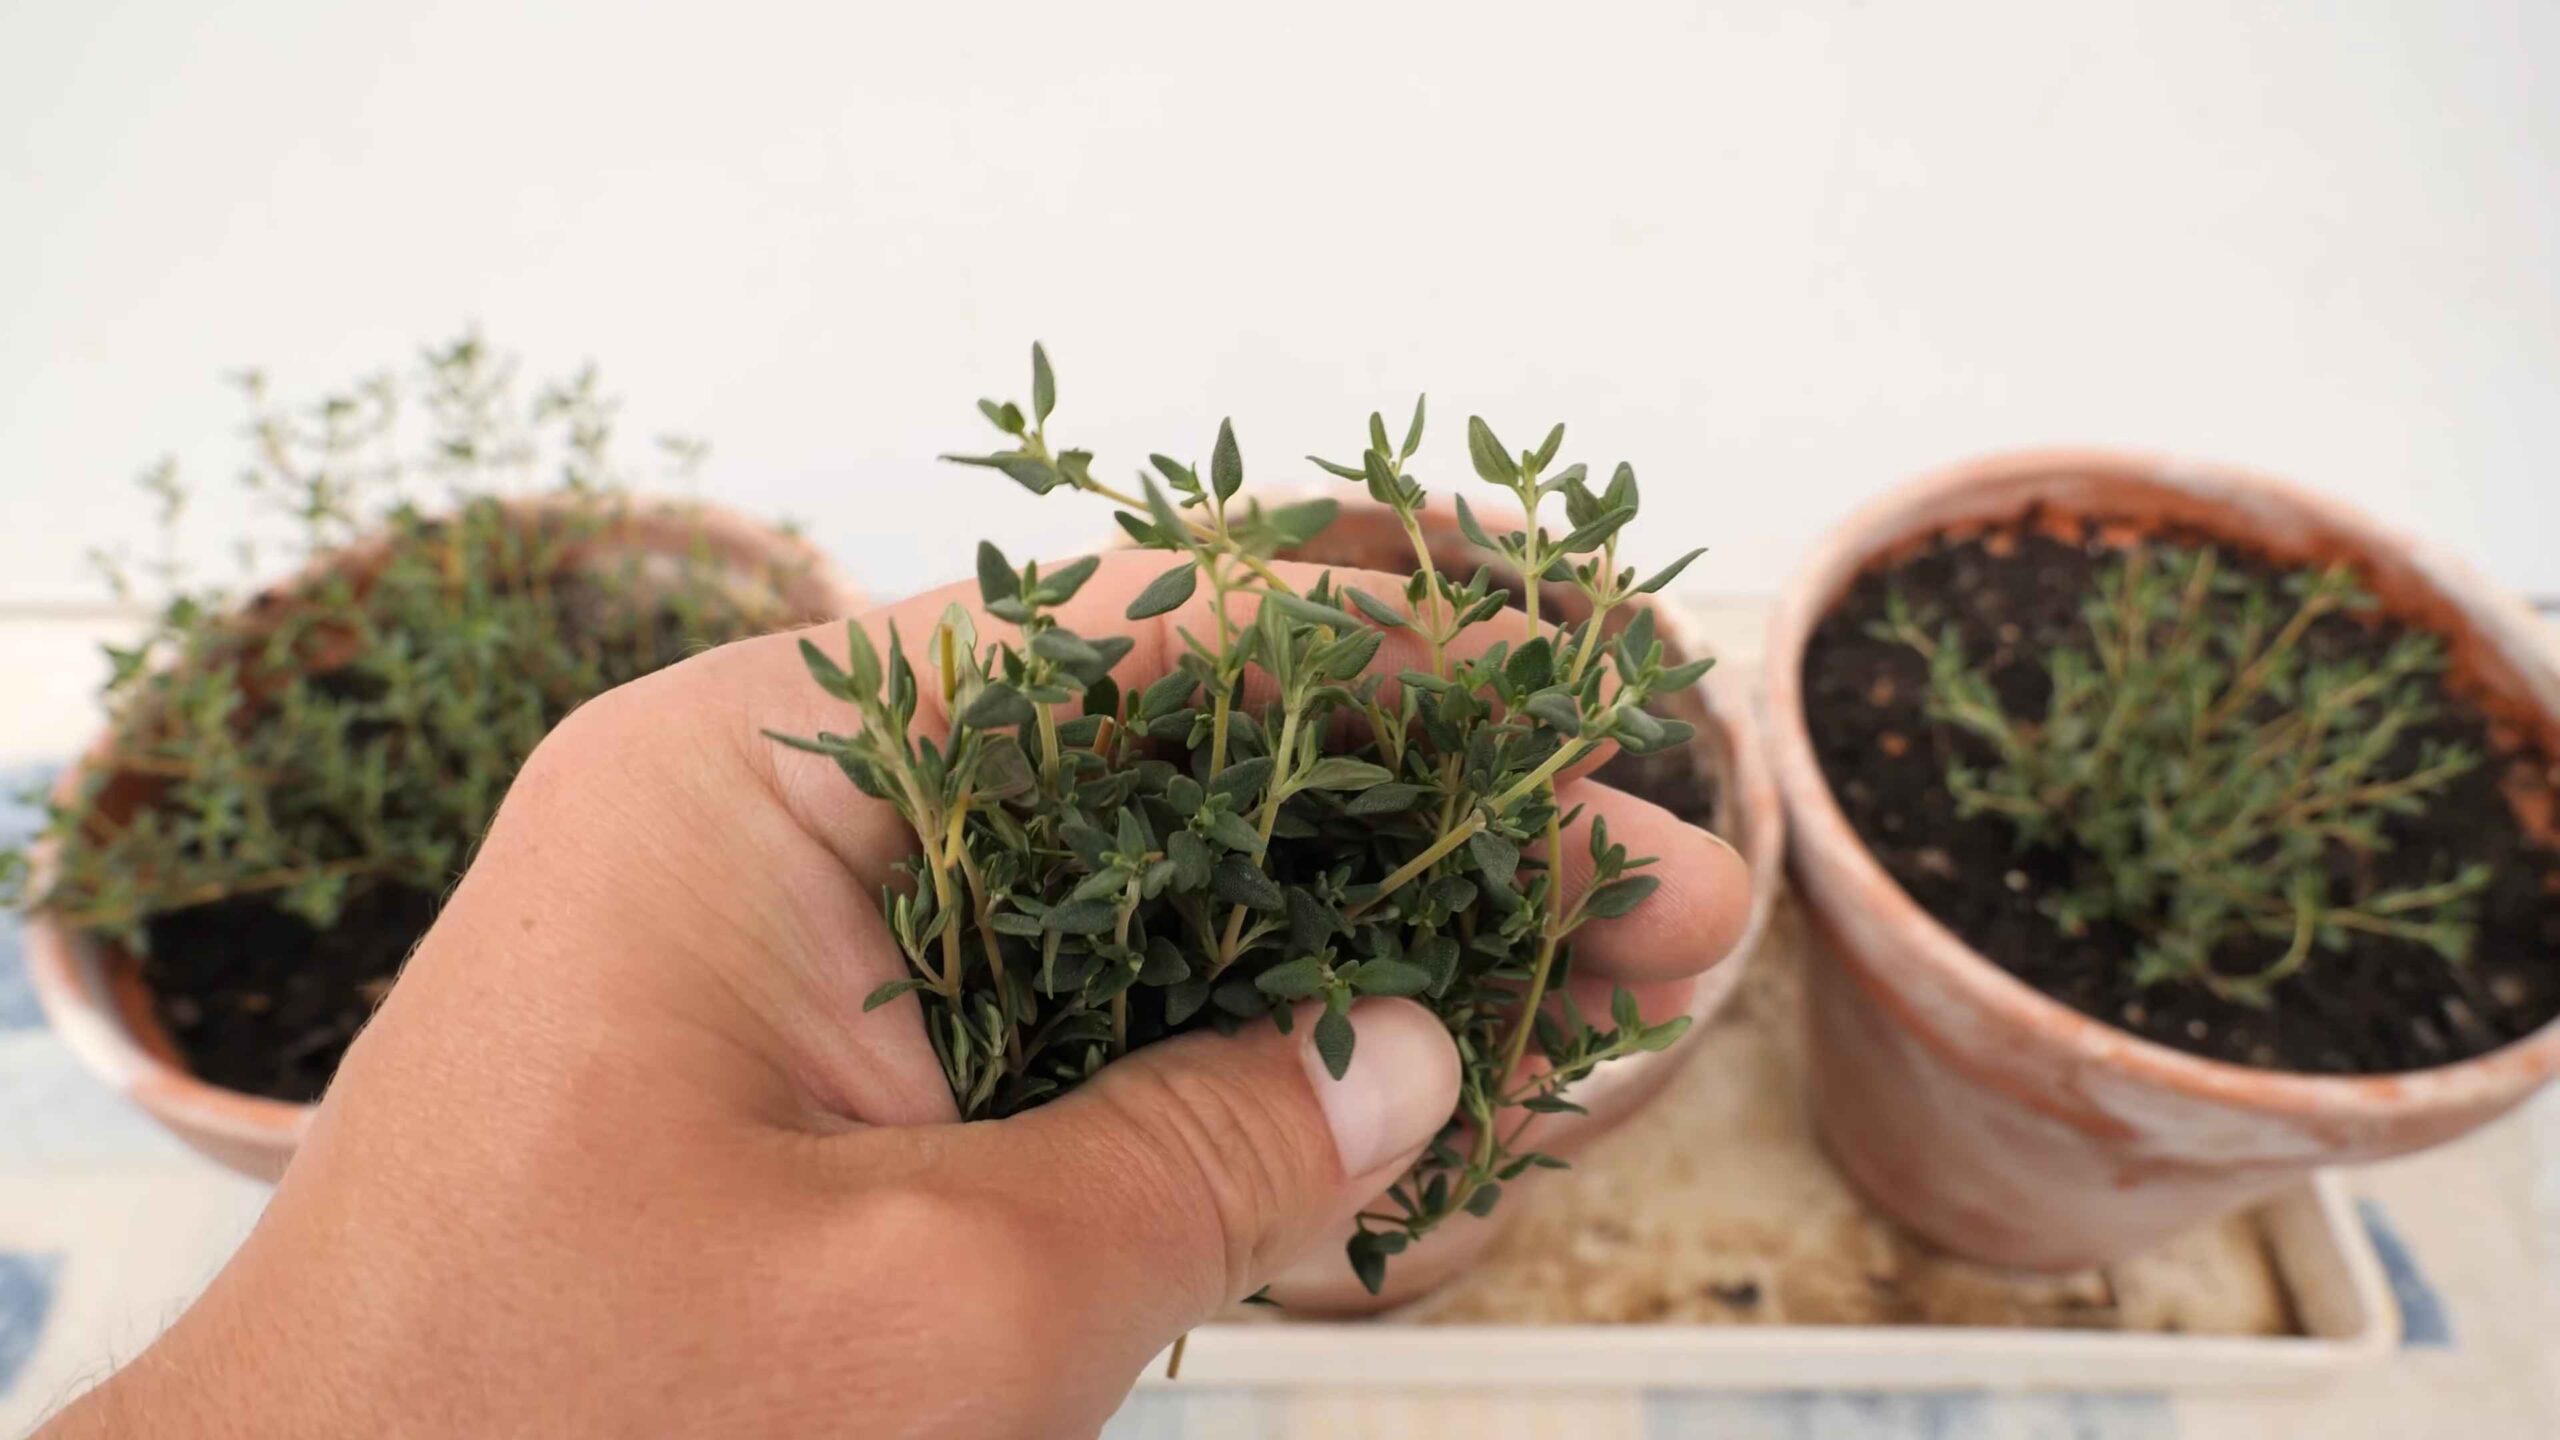
Harvesting Your Thyme
Harvesting thyme is easy and rewarding! You can start harvesting thyme as soon as the plant is established.
1. **When to Harvest:** The best time to harvest thyme is in the morning, after the dew has dried.
2. **How to Harvest:** Use sharp scissors or pruning shears to cut the stems. Cut the stems back by about one-third, leaving at least 2 inches of growth.
3. **Drying Thyme:** To dry thyme, tie the stems together in small bundles and hang them upside down in a cool, dry, and well-ventilated place. Once the leaves are dry and brittle, you can crumble them and store them in an airtight container. You can also dry thyme in a dehydrator or in the oven on low heat.
4. **Using Fresh Thyme:** Fresh thyme can be used in a variety of dishes. Add it to soups, stews, sauces, roasted meats, and vegetables. You can also use it to make herbal teas.
Troubleshooting Common Thyme Problems
While thyme is generally easy to grow, you may encounter a few problems:
* **Root Rot:** This is caused by overwatering. Make sure your thyme is planted in well-draining soil and avoid overwatering.
* **Aphids:** These tiny pests can suck the sap from thyme leaves. Wash them off with a strong stream of water or use insecticidal soap.
* **Spider Mites:** These tiny pests can also damage thyme leaves. Look for fine webbing on the plant. Treat with insecticidal soap or neem oil.
* **Leggy Growth:** This is caused by insufficient sunlight or infrequent pruning. Make sure your thyme is getting enough sunlight and prune it regularly.
Enjoying Your Homegrown Thyme
Growing thyme at home is a truly rewarding experience. Not only will you have a fresh supply of this delicious herb at your fingertips, but you’ll also enjoy the beauty and fragrance of this versatile plant. So, get out there and start growing your own thyme today! You won’t regret it. Happy gardening!
Conclusion
So, there you have it! Growing thyme at home isn’t just a whimsical dream for those with sprawling gardens; it’s an achievable reality for anyone, regardless of their living space or gardening experience. We’ve walked through the simple steps, from selecting the right variety to providing the ideal growing conditions, and hopefully, dispelled any myths about thyme being a finicky herb.
But why should you bother? Why dedicate even a small corner of your windowsill or balcony to this fragrant, unassuming plant? The answer is multifaceted. First and foremost, the flavor of fresh, homegrown thyme is simply unparalleled. It’s brighter, more vibrant, and infinitely more satisfying than anything you can buy dried from a supermarket shelf. Imagine the culinary possibilities: sprinkling it over roasted vegetables, infusing it into olive oil, adding it to soups and stews, or using it to create a delicious marinade for your favorite meats. The possibilities are truly endless.
Beyond the culinary benefits, growing thyme at home offers a therapeutic connection to nature. Tending to your own little patch of green can be incredibly calming and rewarding, providing a much-needed respite from the stresses of daily life. Plus, the delightful aroma of thyme wafting through your home is a natural mood booster.
And let’s not forget the cost savings! Buying fresh herbs regularly can quickly add up, but with your own thriving thyme plant, you’ll have a constant supply at your fingertips, ready to elevate your dishes whenever inspiration strikes.
Ready to take your thyme cultivation to the next level? Consider experimenting with different varieties. Lemon thyme adds a citrusy zing to your dishes, while creeping thyme makes a beautiful ground cover. You can also try propagating your thyme plant from cuttings to expand your herb garden even further. Another fun variation is to create a thyme-infused honey. Simply add fresh thyme sprigs to a jar of honey and let it steep for a few weeks. The result is a delicious and aromatic sweetener that’s perfect for drizzling over yogurt, toast, or even cocktails.
We’ve covered the basics of growing thyme at home, but the real magic happens when you get your hands dirty and start experimenting. Don’t be afraid to try new things, adapt the techniques to your specific environment, and most importantly, have fun!
We are confident that you will find growing thyme at home to be a rewarding and enjoyable experience. We encourage you to give it a try and share your experiences with us! Tell us about your favorite thyme varieties, your go-to recipes, and any tips or tricks you’ve discovered along the way. Let’s create a community of thyme enthusiasts and inspire others to embrace the joys of homegrown herbs. Share your pictures and stories on social media using #HomegrownThyme and let’s celebrate the deliciousness of fresh, homegrown thyme together!
Frequently Asked Questions (FAQ)
What kind of soil is best for growing thyme?
Thyme thrives in well-draining soil that is slightly alkaline. A mix of potting soil, perlite, and sand is ideal. Avoid heavy clay soils, as they can retain too much moisture and lead to root rot. You can also amend your soil with lime to increase its alkalinity if needed. A pH between 6.0 and 8.0 is generally considered optimal for thyme growth.
How often should I water my thyme plant?
Thyme is relatively drought-tolerant and prefers to dry out slightly between waterings. Overwatering is a common mistake that can lead to root rot. Water thoroughly when the top inch of soil feels dry to the touch. During the hotter months, you may need to water more frequently, but always check the soil moisture first. In the winter, reduce watering significantly.
How much sunlight does thyme need?
Thyme needs at least six hours of direct sunlight per day to thrive. If you’re growing thyme indoors, place it near a sunny window or supplement with a grow light. Insufficient sunlight can result in leggy growth and reduced flavor. If your thyme plant is not getting enough sunlight, you may notice that the stems are stretching towards the light source.
How do I harvest thyme?
You can harvest thyme sprigs as needed throughout the growing season. Use sharp scissors or pruning shears to cut the stems, leaving at least a few inches of growth on the plant. Regular harvesting encourages bushier growth. The best time to harvest thyme is in the morning, after the dew has dried, as this is when the essential oils are most concentrated.
Can I grow thyme from seed?
Yes, you can grow thyme from seed, but it can be a slow process. Start seeds indoors 6-8 weeks before the last expected frost. Sow the seeds thinly on the surface of the soil and gently press them in. Keep the soil moist but not soggy. Germination typically takes 14-21 days. Once the seedlings are large enough to handle, transplant them into individual pots.
How do I propagate thyme from cuttings?
Propagating thyme from cuttings is a relatively easy and quick way to get new plants. Take 4-6 inch cuttings from healthy stems, removing the lower leaves. Dip the cut end in rooting hormone and plant the cutting in a pot filled with well-draining soil. Keep the soil moist and place the pot in a warm, bright location. Roots should develop within a few weeks.
What are some common pests and diseases that affect thyme?
Thyme is generally resistant to pests and diseases, but it can be susceptible to root rot if overwatered. Aphids and spider mites can also occasionally be a problem. Inspect your plants regularly and treat any infestations promptly with insecticidal soap or neem oil. Ensure good air circulation to prevent fungal diseases.
How do I overwinter thyme?
If you live in a cold climate, you’ll need to protect your thyme plant during the winter. If it’s in a pot, you can bring it indoors and place it near a sunny window. If it’s planted in the ground, you can mulch around the base of the plant to protect the roots from freezing temperatures. In milder climates, thyme may remain evergreen throughout the winter.
Can I use thyme for medicinal purposes?
Thyme has been used for centuries for its medicinal properties. It is a natural antiseptic, expectorant, and cough suppressant. Thyme tea can be used to soothe sore throats and coughs. However, it’s important to consult with a healthcare professional before using thyme for medicinal purposes, especially if you have any underlying health conditions or are taking any medications.
What are some creative ways to use fresh thyme?
Beyond the usual culinary applications, fresh thyme can be used in a variety of creative ways. Add it to bathwater for a relaxing and aromatic soak. Use it to make a natural insect repellent. Infuse it into vinegar for a flavorful salad dressing. Or, simply bundle it together and hang it in your closet to freshen your clothes. The possibilities are endless!


Leave a Comment