

Baking Soda Hard Water Removal: Are you tired of battling stubborn hard water stains in your home? I know I was! Those unsightly white deposits on your faucets, showerheads, and even your precious plants can be incredibly frustrating. But what if I told you there’s a simple, affordable, and surprisingly effective solution hiding in your pantry?
Using baking soda for cleaning isn’t a new concept. In fact, our grandmothers and great-grandmothers relied on this versatile powder for everything from baking to cleaning long before fancy, chemical-laden products lined store shelves. It’s a testament to the power of simple, natural solutions, and it’s time we rediscovered its magic for tackling hard water woes.
Hard water, rich in minerals like calcium and magnesium, is a common problem in many households. These minerals leave behind residue that’s not only unsightly but can also clog pipes, reduce the efficiency of appliances, and even affect the health of your plants. That’s where the magic of baking soda hard water removal comes in. This DIY trick is a game-changer because it’s gentle, non-toxic, and incredibly effective at dissolving those stubborn mineral deposits. I’m going to show you exactly how to use baking soda to reclaim your sparkling surfaces and keep your home running smoothly, all while saving you money and avoiding harsh chemicals. Let’s get started!
DIY Hard Water Stain Removal with Baking Soda: A Sparkling Solution!
Hey everyone! Tired of those stubborn, chalky white stains that hard water leaves behind? I know I was! Hard water, packed with minerals like calcium and magnesium, can wreak havoc on your faucets, showerheads, tiles, and even your appliances. But don’t despair! You don’t need to spend a fortune on harsh chemical cleaners. Baking soda, that trusty pantry staple, is here to save the day! I’m going to walk you through how to use baking soda to effectively remove those unsightly hard water stains and bring back the sparkle to your home.
What You’ll Need
Before we dive in, let’s gather our supplies. This is a pretty simple project, so you probably already have most of these things on hand:
* Baking Soda: The star of the show!
* White Vinegar: A powerful cleaning agent that works wonders with baking soda.
* Water: For mixing and rinsing.
* Spray Bottle: For applying the vinegar solution.
* Cleaning Cloths or Sponges: Microfiber cloths work great!
* Old Toothbrush: Perfect for scrubbing those hard-to-reach areas.
* Gloves: To protect your hands from prolonged exposure to cleaning solutions.
* Optional: Lemon Juice: For an extra boost of cleaning power and a fresh scent.
* Optional: Scrubbing Brush: For larger areas with stubborn stains.
General Tips for Success
Before we get into specific applications, here are a few general tips to keep in mind:
* Always test in an inconspicuous area first. This is especially important on delicate surfaces like certain types of tile or painted surfaces.
* Don’t mix baking soda with bleach. This can create dangerous fumes.
* Be patient! Hard water stains can be stubborn, so you might need to repeat the process a few times.
* Rinse thoroughly after cleaning. This will prevent any residue from building up.
* Ventilate the area well. Especially when using vinegar, make sure you have good airflow.
Removing Hard Water Stains from Faucets and Showerheads
Faucets and showerheads are prime targets for hard water buildup. Here’s how to tackle them:
1. Prepare the Baking Soda Paste: In a small bowl, mix baking soda with a little water to form a thick paste. You want it to be thick enough to stick to the surface. I usually start with about 1/4 cup of baking soda and add water a teaspoon at a time until I get the right consistency.
2. Apply the Paste: Using your fingers or a cleaning cloth, apply the baking soda paste generously to the affected areas of the faucet or showerhead. Make sure to cover all the stained areas completely.
3. Let it Sit: Allow the paste to sit for at least 15-20 minutes. For really stubborn stains, you can let it sit for up to an hour. The longer it sits, the more time the baking soda has to break down the mineral deposits.
4. Scrub Gently: After the soaking time, use an old toothbrush or a cleaning cloth to gently scrub the stained areas. Pay close attention to crevices and hard-to-reach spots.
5. Rinse Thoroughly: Rinse the faucet or showerhead thoroughly with clean water. Make sure to remove all traces of the baking soda paste.
6. Vinegar Soak (Optional, but Recommended): For extra cleaning power, fill a plastic bag with white vinegar and secure it around the showerhead or faucet so that the stained areas are submerged. Let it soak for at least an hour, or even overnight for really tough stains.
7. Final Rinse and Dry: Remove the bag and rinse the faucet or showerhead thoroughly with clean water. Dry it with a clean cloth to prevent new water spots from forming.
Cleaning Hard Water Stains on Tiles
Hard water stains on tiles, especially in the bathroom, can be a real eyesore. Here’s how to get your tiles sparkling again:
1. Prepare the Baking Soda Solution: In a bucket or large bowl, mix 1/2 cup of baking soda with 2 cups of warm water. Stir until the baking soda is dissolved.
2. Apply the Solution: Using a sponge or cleaning cloth, apply the baking soda solution generously to the stained tiles.
3. Let it Sit: Allow the solution to sit on the tiles for 15-20 minutes. This will give the baking soda time to loosen the mineral deposits.
4. Scrub the Tiles: Use a scrubbing brush or a sponge with a slightly abrasive surface to scrub the tiles. Pay close attention to the grout lines, as they tend to accumulate hard water stains.
5. Vinegar Spray (Optional, but Effective): Fill a spray bottle with white vinegar. After scrubbing the tiles with the baking soda solution, spray them generously with vinegar. The vinegar will react with any remaining baking soda, creating a fizzing action that helps to further break down the stains.
6. Let the Vinegar Sit: Allow the vinegar to sit on the tiles for 5-10 minutes.
7. Rinse Thoroughly: Rinse the tiles thoroughly with clean water. Make sure to remove all traces of baking soda and vinegar.
8. Dry the Tiles: Dry the tiles with a clean cloth to prevent new water spots from forming.
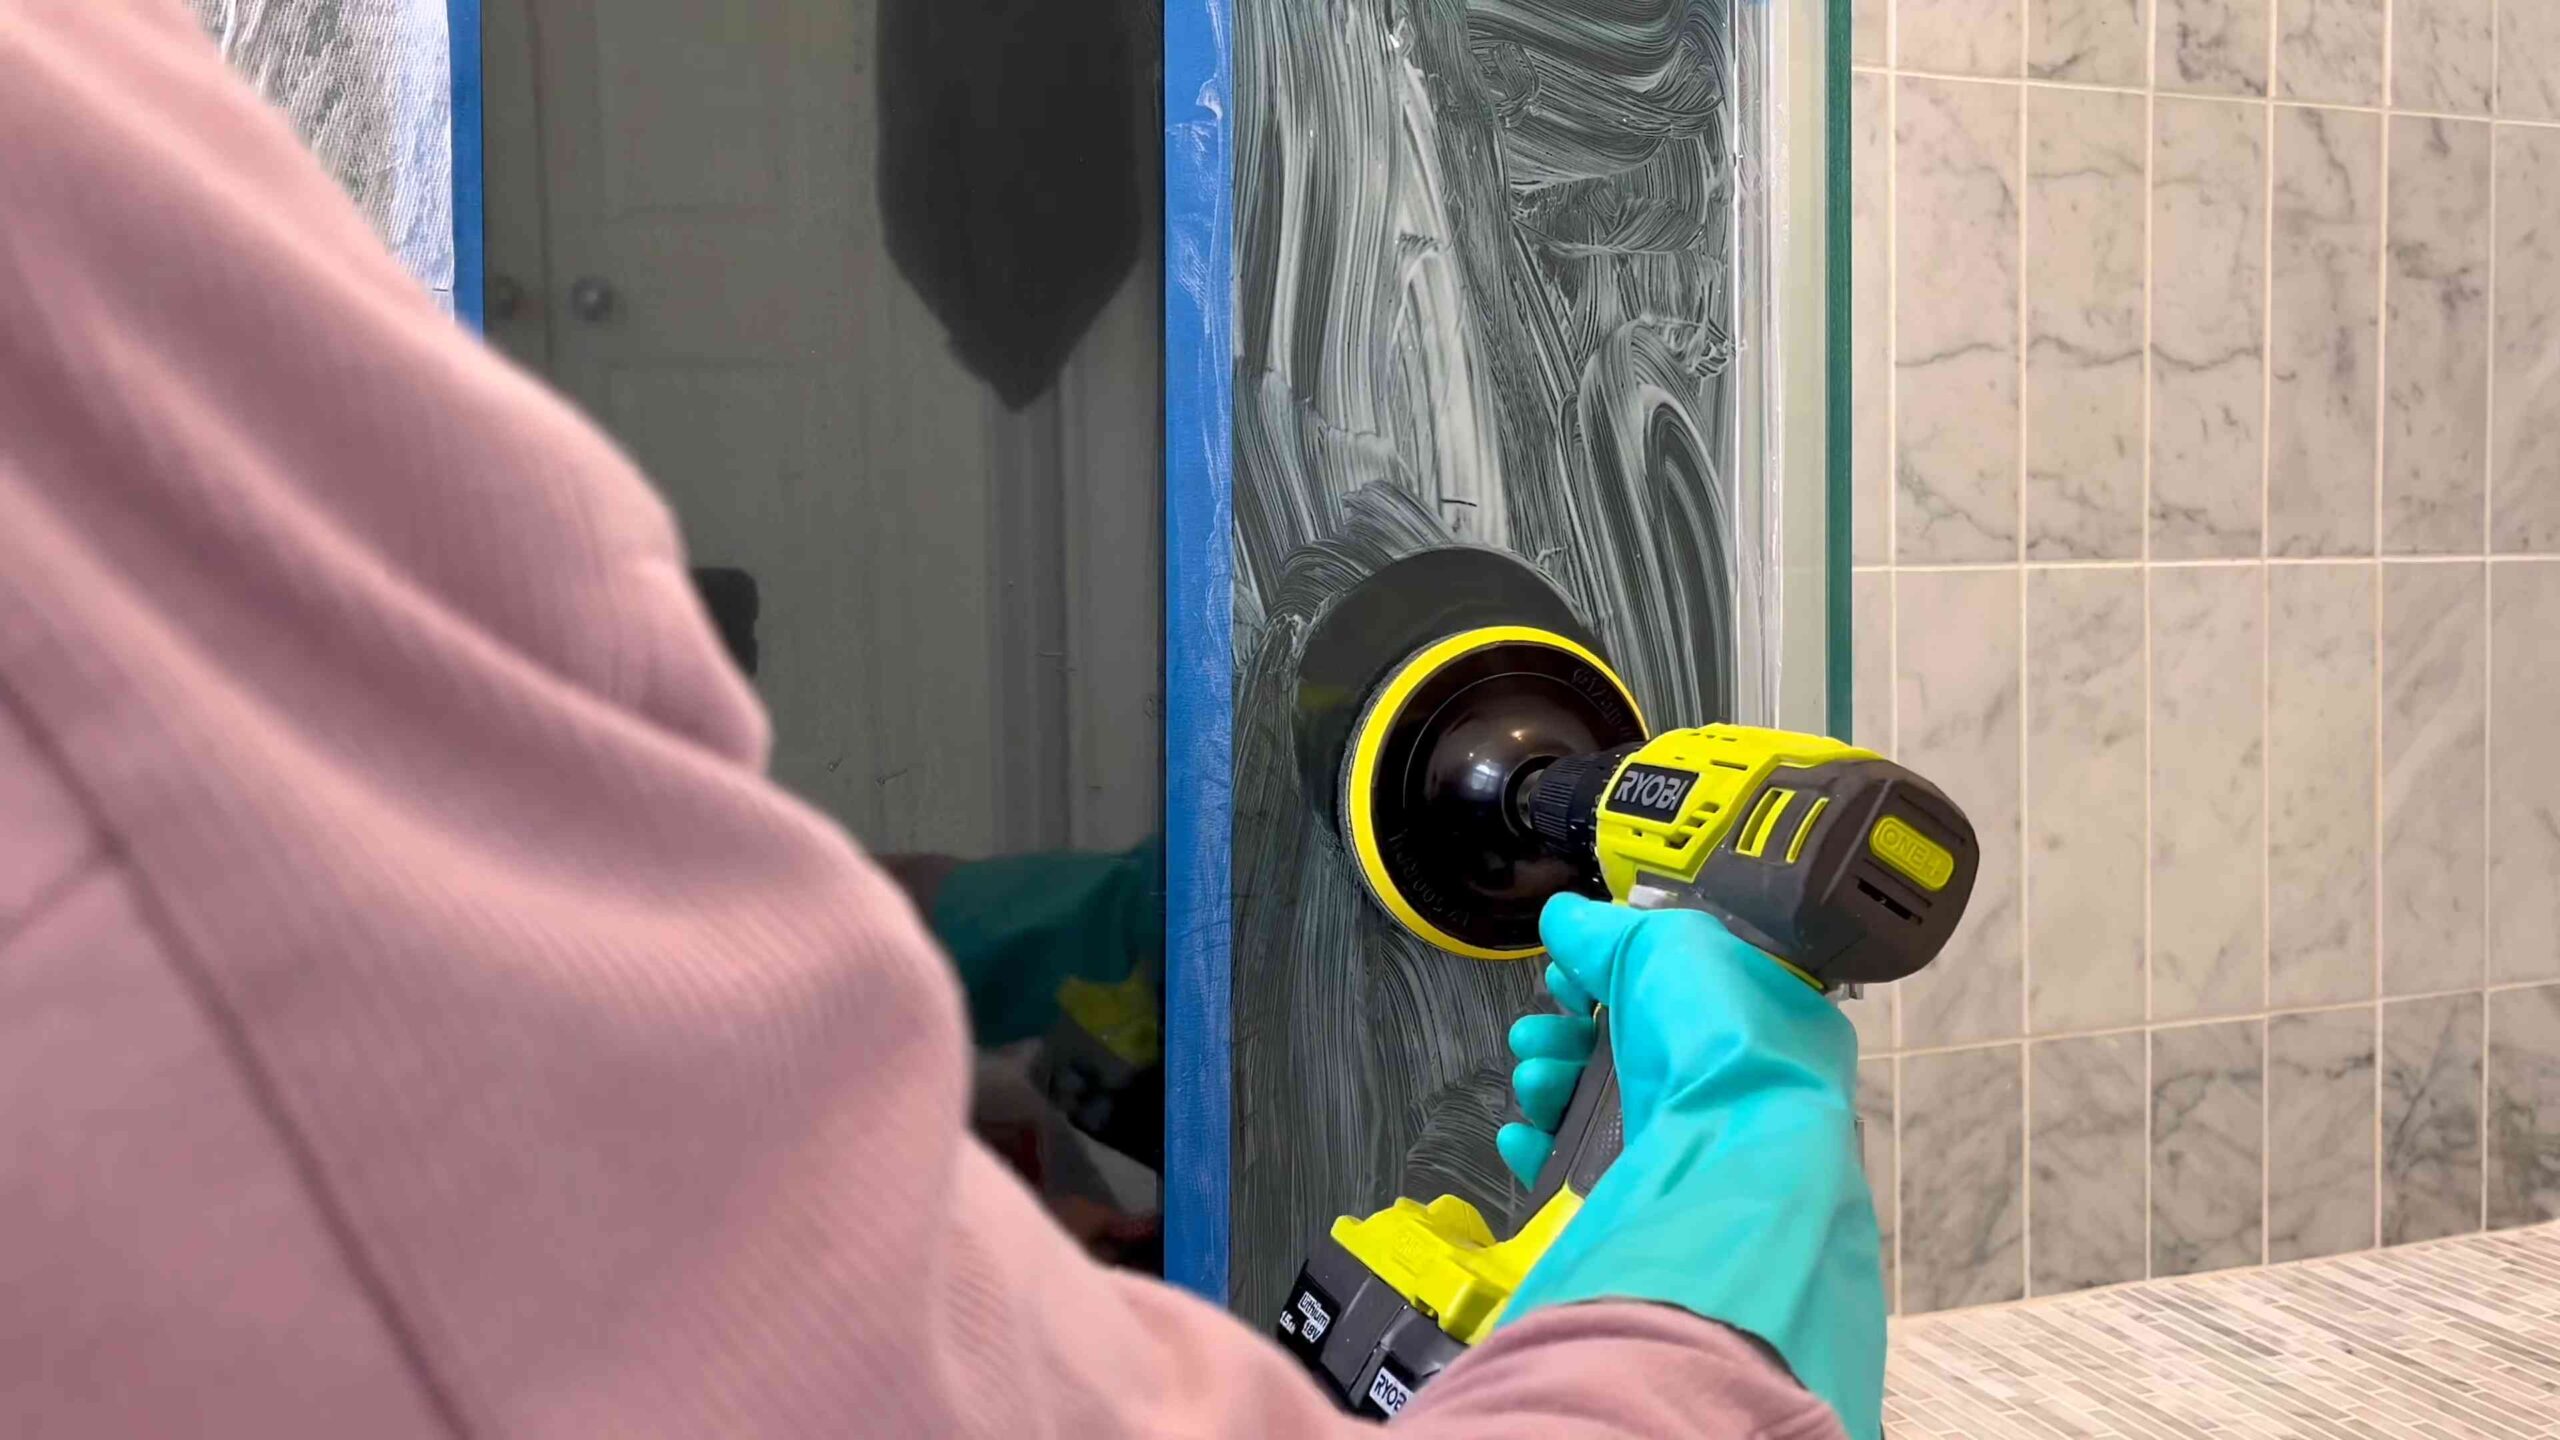
Removing Hard Water Stains from Glass Shower Doors
Glass shower doors are notorious for accumulating hard water stains. Here’s how to get them clean and clear:
1. Prepare the Baking Soda Paste: In a small bowl, mix baking soda with a little water to form a thick paste.
2. Apply the Paste: Using a sponge or cleaning cloth, apply the baking soda paste to the stained areas of the glass shower door.
3. Let it Sit: Allow the paste to sit for 15-20 minutes.
4. Scrub Gently: Use a sponge or cleaning cloth to gently scrub the glass. Avoid using abrasive scrubbers, as they can scratch the glass.
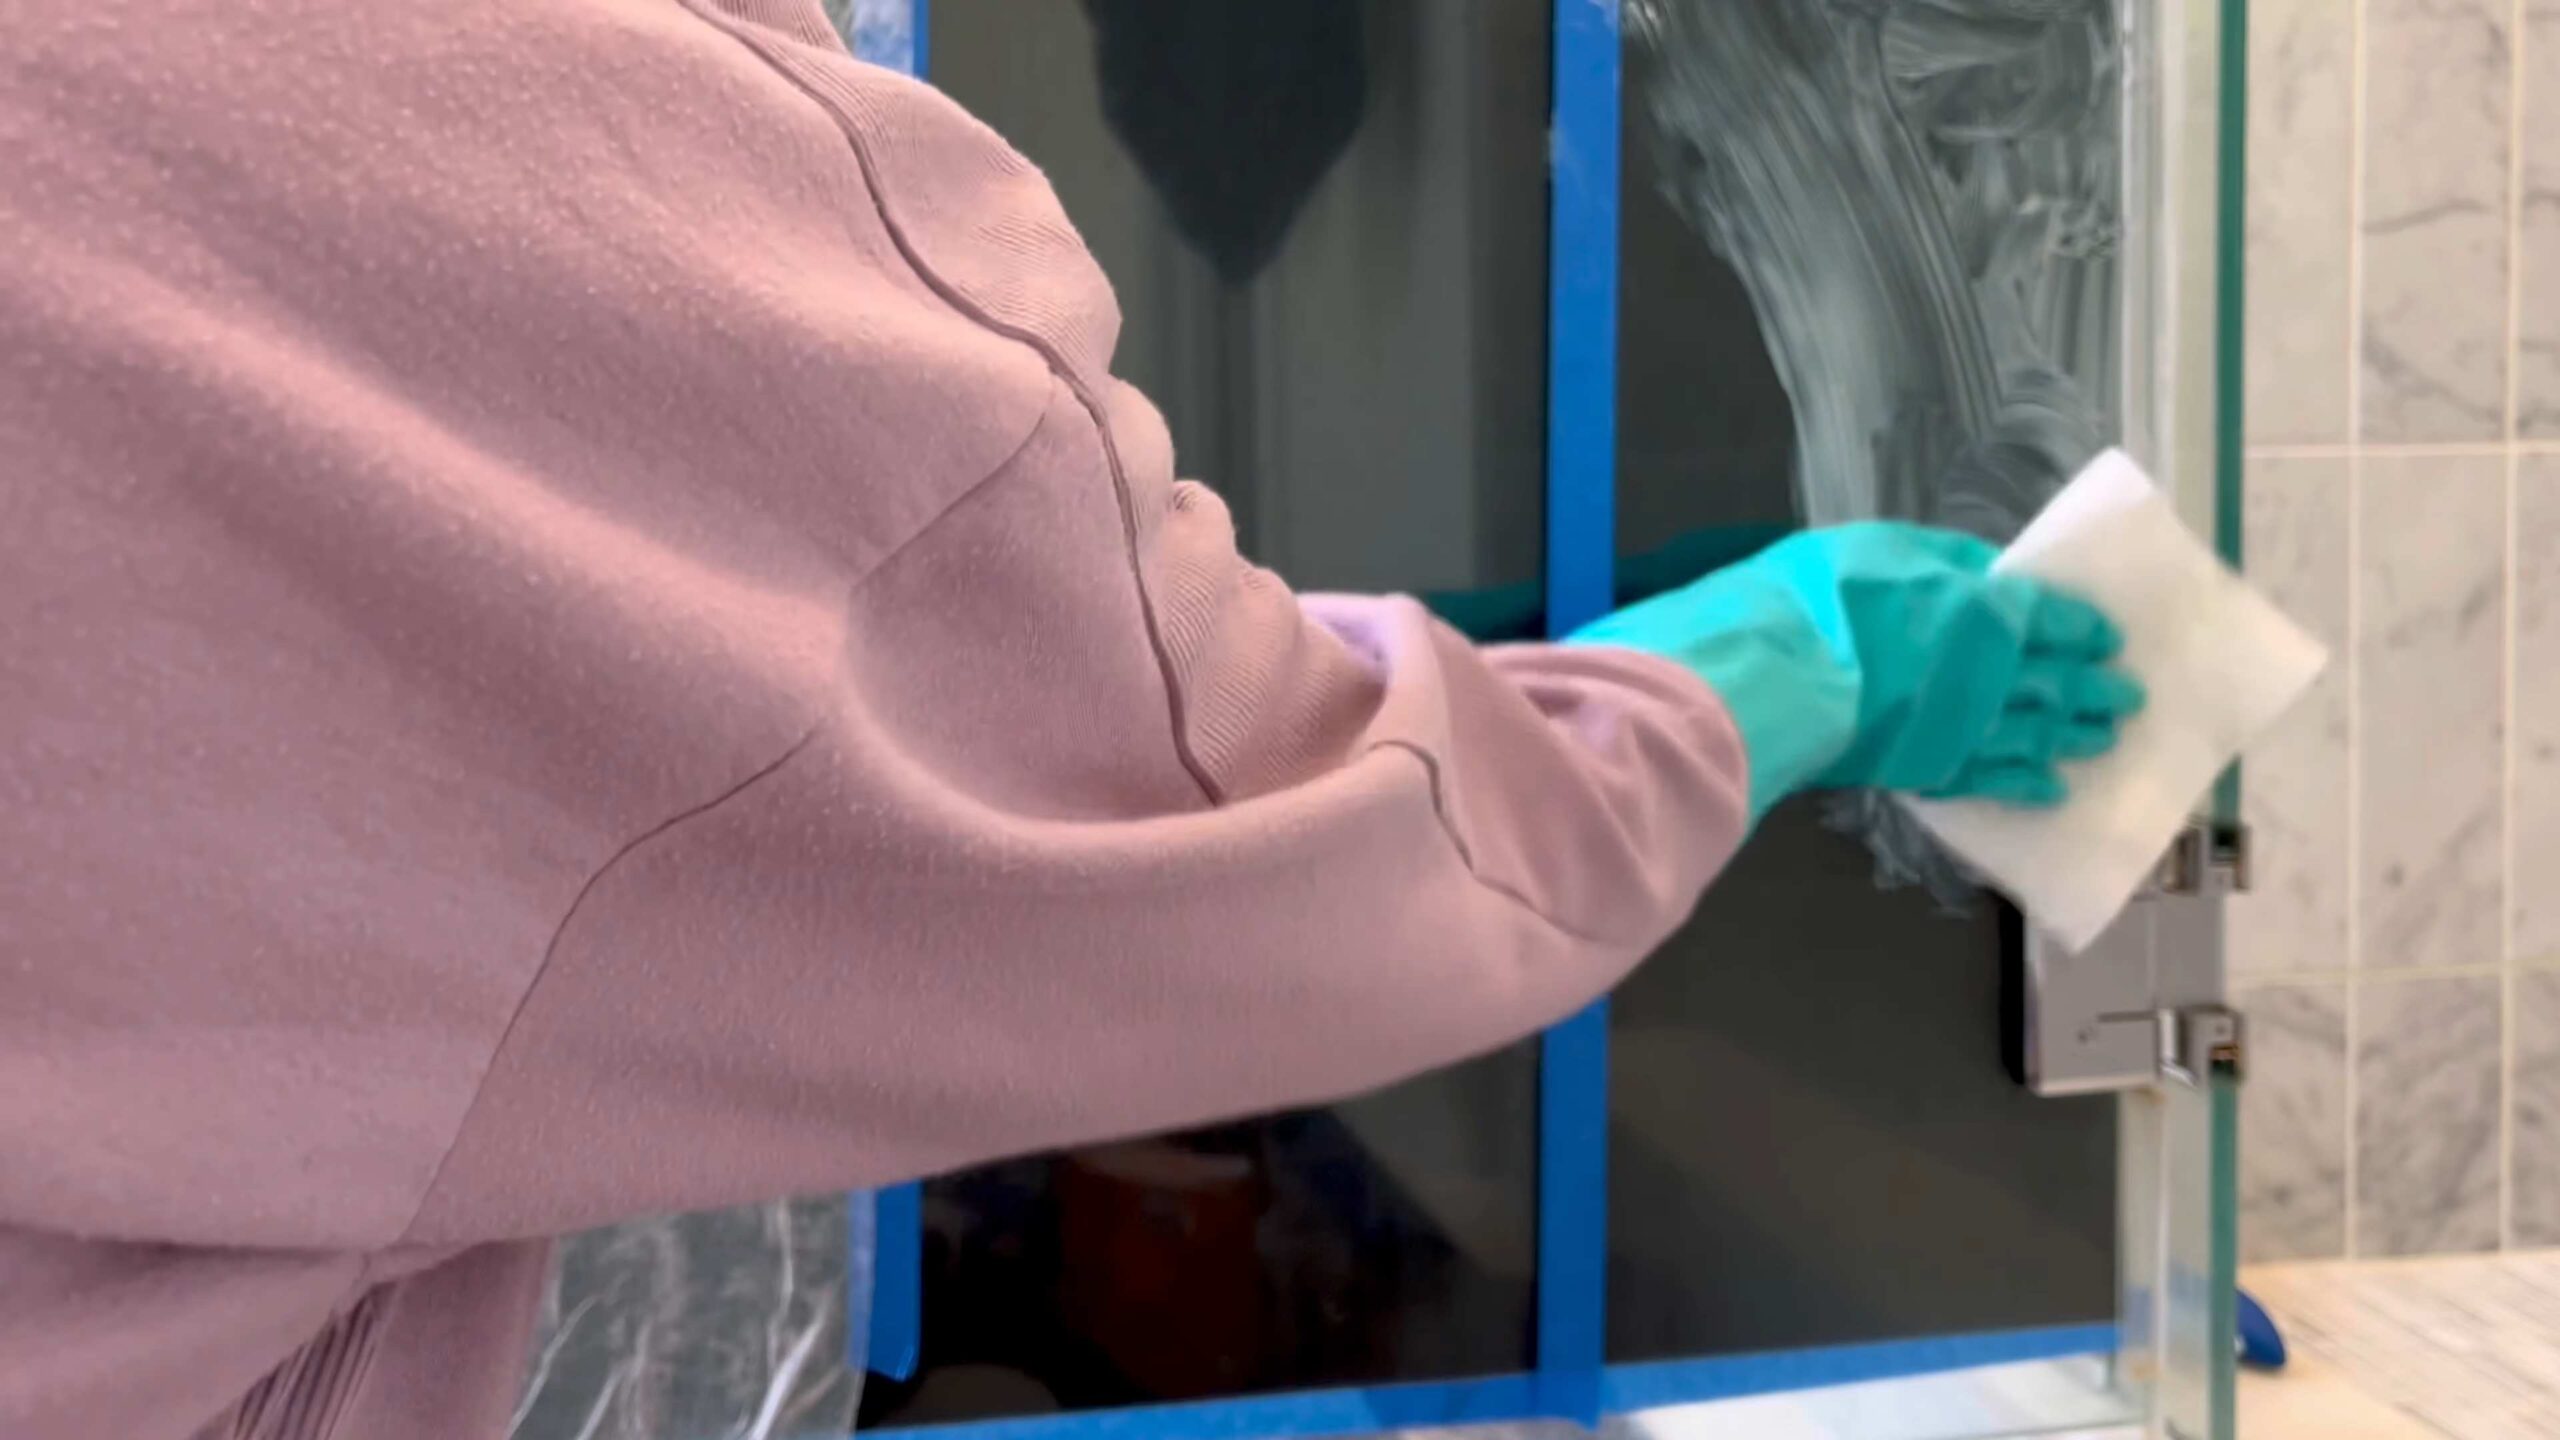
5. Vinegar Spray: Fill a spray bottle with white vinegar and spray the entire shower door.
6. Wipe Down: Use a clean, damp cloth to wipe down the shower door, removing the baking soda and vinegar residue.
7. Squeegee: Use a squeegee to remove any remaining water from the shower door. This will help to prevent new water spots from forming.
8. Dry with a Microfiber Cloth: For a streak-free finish, dry the shower door with a clean microfiber cloth.
Cleaning Hard Water Stains in Toilets
Toilet bowl stains are never fun, but baking soda can help!
1. Pour Baking Soda into the Bowl: Pour about 1 cup of baking soda directly into the toilet bowl.
2. Let it Sit: Allow the baking soda to sit in the bowl for at least an hour, or even overnight for stubborn stains.
3. Add Vinegar (Optional): For extra cleaning power, pour 1 cup of white vinegar into the bowl after the baking soda has been sitting for a while. The mixture will fizz, helping to loosen the stains.
4. Scrub the Bowl: Use a toilet brush to scrub the inside of the bowl, paying close attention to the stained areas.
5. Flush: Flush the toilet to rinse away the baking soda and vinegar.
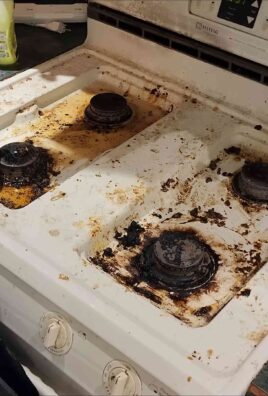
Dealing with Hard Water Stains in Appliances (Coffee Makers, Kettles)
Hard water can also affect your appliances. Here’s how to descale them using baking soda:
1. Coffee Maker:
* Mix 1/4 cup of baking soda with a full pot of water.
* Pour the mixture into the coffee maker’s reservoir.
* Run the coffee maker through a full brewing cycle.
* Rinse the coffee maker by running it through two or three cycles with plain water.
2. Kettle:
* Fill the kettle with water and add 2 tablespoons of baking soda.
* Bring the mixture to a boil.
* Let the mixture sit in the kettle for 30 minutes.
* Rinse the kettle thoroughly with clean water.
Preventing Future Hard Water Stains
Once you’ve removed the hard water stains, you’ll want to prevent them from coming back. Here are a few tips:
* Wipe down surfaces after each use. This is especially important in the bathroom.
* Use a water softener. A water softener can remove the minerals that cause hard water stains.
* Install a water filter. A water filter can help to reduce the amount of minerals in your water.
* Regularly clean your faucets, showerheads, and tiles. This will prevent hard water stains from building up.
* Use a squeegee after each shower. This will help to remove water from the shower doors and
Conclusion
So, there you have it! A simple, effective, and incredibly affordable way to combat the scourge of hard water stains using nothing more than baking soda. We’ve walked you through the process, highlighting its ease and accessibility. But why is this DIY trick a must-try? Because it’s not just about removing unsightly stains; it’s about reclaiming the sparkle of your home without resorting to harsh chemicals or expensive commercial cleaners. It’s about taking control and knowing exactly what you’re using to clean your surfaces.
The beauty of this baking soda hard water removal method lies in its versatility. While we’ve focused on its application in bathrooms and kitchens, don’t limit yourself! Think about using it to clean hard water stains from your car’s chrome, your outdoor furniture, or even your showerhead (just be sure to test a small, inconspicuous area first).
Beyond the Basics: Variations and Enhancements
Want to kick things up a notch? Consider these variations:
* Lemon Power: Add a squeeze of fresh lemon juice to your baking soda paste for an extra boost of cleaning power and a refreshing citrus scent. The citric acid in lemon juice acts as a natural disinfectant and helps to break down stubborn mineral deposits.
* Vinegar Boost: For particularly tough stains, pre-treat the area with white vinegar before applying the baking soda paste. Let the vinegar sit for a few minutes to loosen the mineral buildup, then proceed with the baking soda application. Be cautious when mixing vinegar and baking soda, as it creates a fizzing reaction. Apply the vinegar first, let it sit, then apply the baking soda paste separately.
* Essential Oil Infusion: Add a few drops of your favorite essential oil to the baking soda paste for a pleasant aroma. Lavender, tea tree, and eucalyptus oils are all known for their cleaning and disinfecting properties.
* Toothbrush Detailing: For tight corners and intricate areas, use an old toothbrush to scrub the baking soda paste into the crevices. This will help to ensure that every nook and cranny is thoroughly cleaned.
* Paste Consistency: Adjust the amount of water you add to the baking soda to achieve your desired paste consistency. A thicker paste is ideal for vertical surfaces, while a thinner paste may be easier to apply to large areas.
We understand that trying a new cleaning method can be daunting, but we urge you to give this baking soda hard water removal trick a try. It’s gentle on surfaces, safe for your family and pets, and incredibly effective. You’ll be amazed at the results!
Don’t just take our word for it. We encourage you to experiment, adapt the method to your specific needs, and most importantly, share your experience with us! Let us know what worked best for you, what variations you tried, and any tips you discovered along the way. Your feedback will help us refine this guide and make it even more helpful for others.
So, grab a box of baking soda, gather your supplies, and get ready to say goodbye to those stubborn hard water stains. You’ll be amazed at how easy and rewarding it is to achieve a sparkling clean home with this simple DIY solution. We are confident that you will find this baking soda hard water removal method to be a valuable addition to your cleaning arsenal.
Frequently Asked Questions (FAQs)
What exactly is hard water, and how does it cause stains?
Hard water is water that contains a high concentration of minerals, primarily calcium and magnesium. As hard water evaporates, these minerals are left behind, forming a chalky, white residue on surfaces. This residue is what we commonly refer to as hard water stains. These stains can be particularly noticeable on faucets, showerheads, sinks, and toilets.
Is baking soda safe to use on all surfaces?
While baking soda is generally considered a gentle abrasive, it’s always a good idea to test it on a small, inconspicuous area first, especially on delicate surfaces like polished marble or certain types of plastic. Avoid using baking soda on surfaces that are easily scratched. For most common household surfaces like porcelain, ceramic, stainless steel, and glass, baking soda is generally safe and effective.
How often should I use baking soda to remove hard water stains?
The frequency of cleaning depends on the severity of your hard water and how often you use the affected areas. For areas with heavy hard water buildup, you may need to clean them weekly. For areas with less buildup, cleaning every few weeks or monthly may be sufficient. Regular cleaning will prevent the stains from becoming too stubborn and difficult to remove.
Can I use baking soda to clean hard water stains from my showerhead?
Yes, baking soda is an excellent option for cleaning hard water stains from showerheads. You can either create a paste and apply it directly to the showerhead, or you can remove the showerhead and soak it in a solution of baking soda and water. For a more thorough cleaning, you can also add white vinegar to the soaking solution. Be sure to rinse the showerhead thoroughly before reattaching it.
What if the baking soda paste doesn’t remove all the stains?
If the baking soda paste doesn’t completely remove all the stains, you can try a few things. First, make sure you’re using enough paste and scrubbing firmly enough. You can also try letting the paste sit on the stains for a longer period of time before scrubbing. If the stains are particularly stubborn, you can try pre-treating the area with white vinegar before applying the baking soda paste. In extreme cases, you may need to use a commercial hard water stain remover, but always start with the gentlest option first.
Will baking soda damage my plumbing?
No, baking soda is generally safe for your plumbing. It’s a natural substance that dissolves easily in water and won’t clog your pipes. In fact, baking soda can actually help to deodorize and clean your drains.
Can I use baking soda to prevent hard water stains from forming in the first place?
While baking soda can’t prevent hard water from entering your home, it can help to minimize the buildup of hard water stains. Regularly wiping down surfaces with a baking soda solution can help to remove mineral deposits before they have a chance to harden and become difficult to remove. You can also consider installing a water softener to reduce the mineral content of your water.
Is there a specific type of baking soda I should use?
No, any type of baking soda will work for removing hard water stains. Just make sure it’s fresh and hasn’t expired. You can find baking soda in the baking aisle of most grocery stores.
Can I use this method on colored surfaces?
Yes, baking soda is generally safe to use on colored surfaces. However, it’s always a good idea to test it on a small, inconspicuous area first to make sure it doesn’t cause any discoloration.
What other natural cleaning agents can I combine with baking soda for hard water stain removal?
Besides lemon juice and vinegar, you can also combine baking soda with other natural cleaning agents like hydrogen peroxide or borax. However, be cautious when mixing different cleaning agents, as some combinations can be harmful. Always research the potential interactions before mixing any cleaning products.

Leave a Comment