

Leather Couch Restoration: Is your beloved leather couch looking a little worse for wear? Don’t despair! Before you resign yourself to buying a new one, I’m here to tell you that you can breathe new life into your favorite piece of furniture with some simple DIY magic. For generations, leather furniture has been a symbol of luxury and comfort, gracing homes and offices with its timeless appeal. From the handcrafted saddles of the American West to the plush Chesterfield sofas of Victorian England, leather has always held a special place in our hearts and homes.
But let’s face it, life happens! Scratches, stains, and general wear and tear are inevitable, especially with kids and pets around. That’s where these DIY leather couch restoration tricks come in handy. Instead of spending a fortune on professional services or replacing your couch altogether, I’ll guide you through easy-to-follow steps that will have your leather looking refreshed and revitalized. Think of it as a spa day for your sofa!
These hacks are not only budget-friendly but also incredibly satisfying. There’s something truly rewarding about taking something old and making it new again. Plus, you’ll be extending the lifespan of your furniture, reducing waste, and contributing to a more sustainable lifestyle. So, grab your supplies, and let’s get started on this exciting journey of leather couch restoration!
DIY Leather Couch Restoration: Breathing New Life into Your Beloved Sofa
Okay, so your leather couch has seen better days, right? Scratches, fading, maybe even a few stubborn stains? Don’t despair! Before you even *think* about replacing it, let’s explore how you can restore that beauty with a little elbow grease and some DIY magic. I’m going to walk you through the process, step-by-step, so you can bring your leather couch back to its former glory.
What You’ll Need: The Essential Toolkit
Before we dive in, let’s gather our supplies. Having everything ready will make the process smoother and less stressful. Trust me, you don’t want to be running to the store mid-project!
* Leather Cleaner: A good quality leather cleaner is crucial. Avoid harsh chemicals that can dry out or damage the leather. I recommend a pH-balanced cleaner specifically designed for leather furniture.
* Leather Conditioner: This is your leather’s moisturizer! It replenishes the natural oils and keeps it supple and prevents cracking.
* Leather Dye or Color Restorer (Optional): If your couch has significant fading or color loss, you’ll need a leather dye or color restorer that matches your couch’s original color. Make sure it’s a high-quality product designed for leather.
* Leather Filler (Optional): For deeper scratches or cracks, you’ll need a leather filler to smooth out the surface.
* Soft Cloths: Microfiber cloths are ideal because they’re gentle and won’t scratch the leather. You’ll need several.
* Soft Brushes: A soft-bristled brush (like a horsehair brush) is great for working cleaner and conditioner into the leather’s pores.
* Sponge: For applying cleaner and conditioner.
* Fine-Grit Sandpaper (Optional): For smoothing out rough areas before applying filler or dye. Use very sparingly and gently!
* Painter’s Tape: To protect surrounding areas when applying dye or filler.
* Gloves: To protect your hands from the cleaner, dye, and filler.
* Drop Cloth or Old Sheets: To protect your floor from spills.
* Heat Gun or Hair Dryer (Optional): To help speed up the drying process of filler and dye. Use with caution!
* Leather Finish or Sealant (Optional): To protect the newly restored leather and add a layer of durability.
Phase 1: Cleaning and Preparation
This is the foundation of the entire restoration process. A clean surface is essential for the conditioner, dye, or filler to adhere properly.
1. Dust and Vacuum: Start by thoroughly dusting and vacuuming your couch. Pay attention to crevices and seams where dust and debris tend to accumulate. Use a brush attachment on your vacuum to avoid scratching the leather.
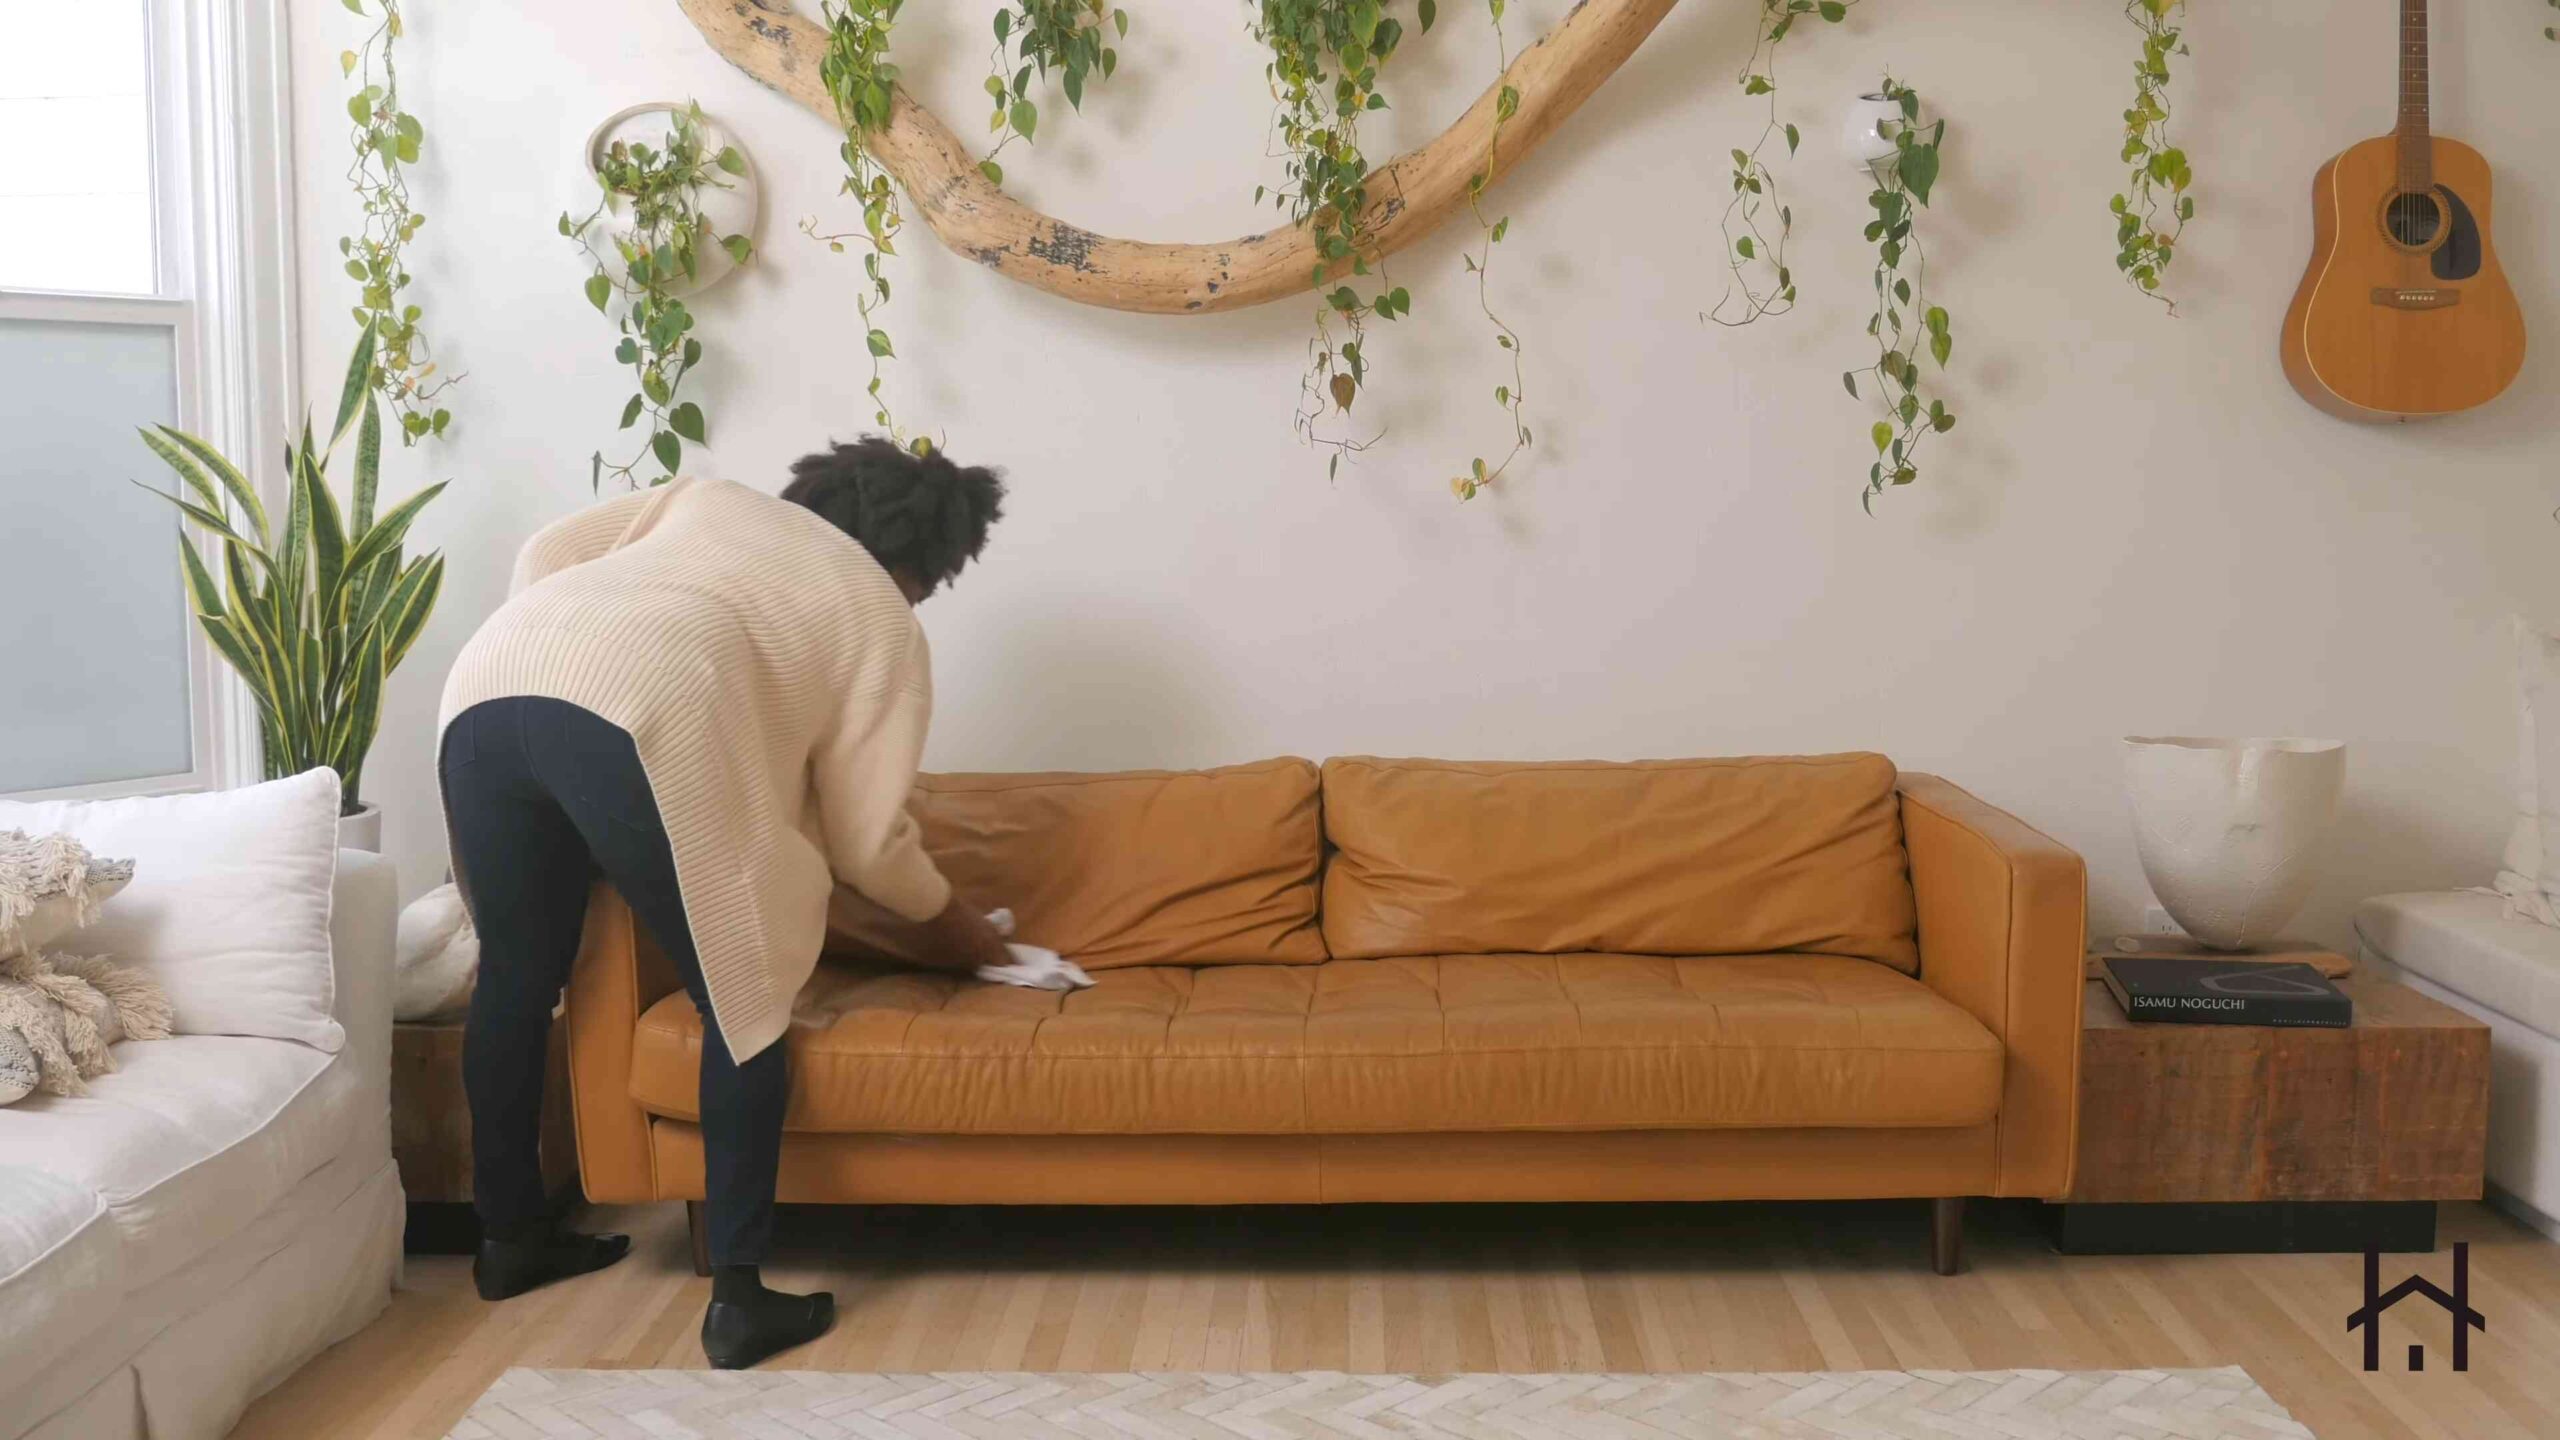
2. Apply Leather Cleaner: Spray the leather cleaner onto a soft cloth (not directly onto the couch) and gently wipe down the entire surface of the leather. Work in small sections, using circular motions.
3. Wipe Away Excess Cleaner: Use a clean, damp cloth to wipe away any excess cleaner. Don’t let the cleaner sit on the leather for too long.
4. Let it Dry: Allow the leather to air dry completely. This may take a few hours, depending on the humidity. Don’t use a hairdryer or heat gun at this stage, as it can damage the leather.
Phase 2: Repairing Scratches and Cracks (If Necessary)
If your couch has scratches or cracks, this is where we’ll address them. Remember, patience is key!
1. Assess the Damage: Determine the severity of the scratches or cracks. For minor scratches, you might be able to skip the filler and go straight to the dye or color restorer.
2. Sand Rough Areas (Optional): If the edges of the scratches or cracks are rough, gently sand them down with fine-grit sandpaper. Be extremely careful not to remove too much leather. The goal is just to smooth out the edges.
3. Apply Leather Filler: Using a small spatula or your finger, apply a thin layer of leather filler to the scratches or cracks. Overfill slightly, as the filler will shrink as it dries.
4. Smooth the Filler: Use a damp cloth or your finger to smooth the filler and blend it into the surrounding leather. The goal is to create a seamless transition.
5. Let it Dry: Allow the filler to dry completely according to the manufacturer’s instructions. This may take several hours or even overnight. You can use a heat gun or hairdryer on a low setting to speed up the drying process, but be careful not to overheat the leather.
6. Sand Again (If Necessary): Once the filler is dry, gently sand it down with fine-grit sandpaper to create a smooth, even surface. Be careful not to sand away too much filler.
7. Clean the Repaired Area: Wipe away any sanding dust with a clean, damp cloth.
Phase 3: Restoring Color (If Necessary)
If your couch has faded or has uneven color, this is where we’ll bring back its vibrancy.
1. Choose the Right Dye or Color Restorer: Select a leather dye or color restorer that closely matches your couch’s original color. It’s always a good idea to test the dye on an inconspicuous area first to ensure a good match.
2. Prepare the Area: Use painter’s tape to protect any surrounding areas that you don’t want to dye, such as trim or piping.
3. Apply the Dye or Color Restorer: Using a sponge or a soft cloth, apply the dye or color restorer to the leather in thin, even coats. Work in small sections, using circular motions.
4. Wipe Away Excess Dye: After each coat, use a clean cloth to wipe away any excess dye. This will help prevent the dye from pooling and creating an uneven finish.
5. Let it Dry: Allow each coat of dye to dry completely before applying the next coat. This may take several hours, depending on the humidity. You can use a heat gun or hairdryer on a low setting to speed up the drying process, but be careful not to overheat the leather.
6. Apply Additional Coats (If Necessary): Apply additional coats of dye until you achieve the desired color.
7. Remove Painter’s Tape: Once the dye is completely dry, carefully remove the painter’s tape.
Phase 4: Conditioning and Protecting
This is the final step, and it’s crucial for keeping your leather couch looking its best for years to come.
1. Apply Leather Conditioner: Apply a generous amount of leather conditioner to a soft cloth and gently massage it into the leather. Work in small sections, using circular motions.
2. Let it Absorb: Allow the conditioner to absorb into the leather for at least 30 minutes. The longer, the better!
3. Wipe Away Excess Conditioner: Use a clean cloth to wipe away any excess conditioner.
4. Apply Leather Finish or Sealant (Optional): If you want to add an extra layer of protection, apply a leather finish or sealant according to the manufacturer’s instructions. This will help protect the leather from scratches, stains, and fading.
5. Let it Dry: Allow the conditioner and sealant (if used) to dry completely.
Important Tips and Considerations:
* Test in an Inconspicuous Area: Before applying any cleaner, dye, or filler to the entire couch, always test it in a small, inconspicuous area first to ensure that it doesn’t damage or discolor the leather.
* Work in a Well-Ventilated Area: When working with cleaners, dyes, and sealants, make sure to work in a well-ventilated area to avoid inhaling harmful fumes.
* Follow Manufacturer’s Instructions: Always follow the manufacturer’s instructions for all products you use.
* Don’t Rush the Process: Leather restoration takes time and patience. Don’t rush the process, or you may end up with unsatisfactory results.
* Consider Professional Help: If your couch is severely damaged or if you’re not comfortable tackling the restoration yourself, consider hiring a professional leather restoration service.
And there you have it! With a little time and effort, you can restore your leather couch and give it a new lease on life. Enjoy your beautifully restored sofa! I hope this guide helps you bring your leather couch back to its former glory. Good luck!
Conclusion
So, there you have it! Reviving your beloved leather couch doesn’t require a professional’s touch or a hefty investment in expensive products. This DIY leather couch restoration method is a game-changer, offering a cost-effective and surprisingly simple way to breathe new life into tired, worn leather. We’ve walked you through the process, from gentle cleaning to nourishing conditioning, and even touched upon addressing minor scratches and scuffs.
Why is this DIY trick a must-try? Because it empowers you to take control of your furniture’s longevity and appearance. Instead of resigning yourself to a faded, cracked, or stained leather couch, you can actively restore its beauty and extend its lifespan. Think of the money you’ll save by avoiding professional cleaning services or, even worse, the cost of replacing the entire couch! Plus, there’s a certain satisfaction that comes from knowing you’ve personally rejuvenated a cherished piece of furniture.
But the benefits extend beyond mere cost savings. This method allows you to use gentle, often natural, ingredients, minimizing the risk of harsh chemicals damaging your leather or harming your family and pets. You can tailor the products and techniques to suit the specific needs of your leather, whether it’s a delicate aniline leather or a more robust pigmented variety.
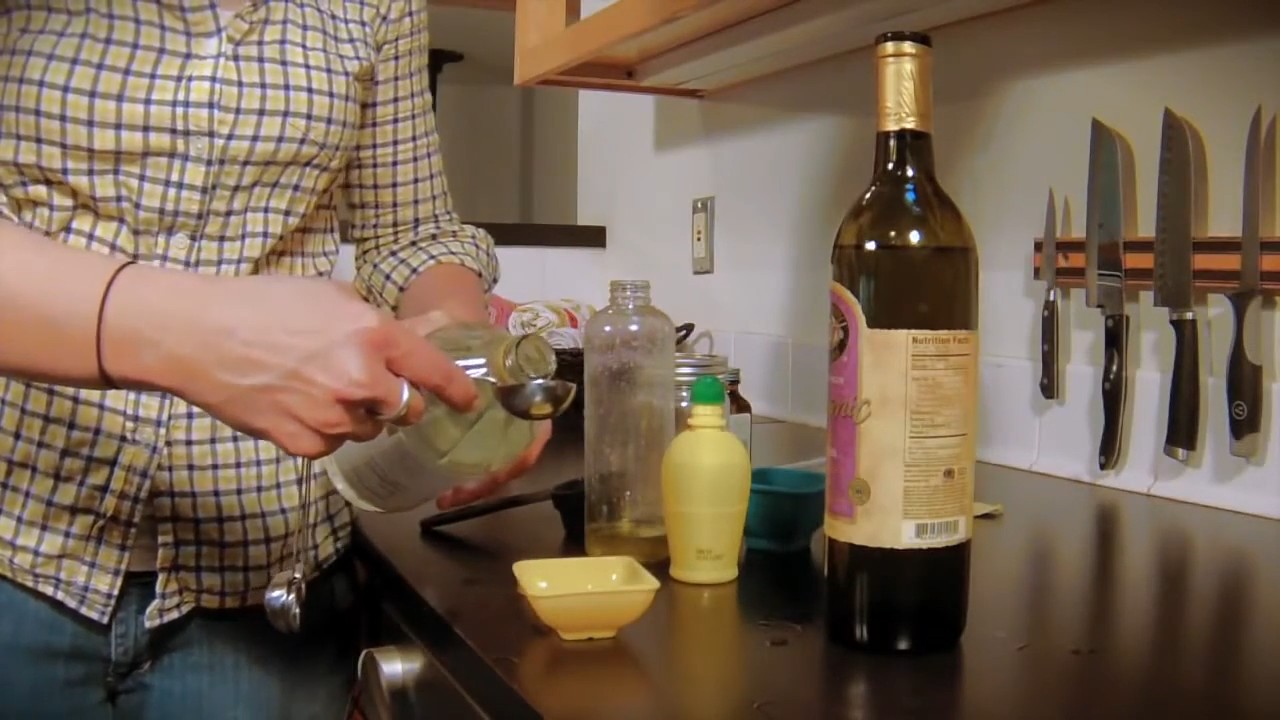
Looking for variations? Absolutely! For deeper cleaning, consider adding a few drops of mild dish soap to your water and vinegar solution. Just be sure to test it on an inconspicuous area first. If your leather is particularly dry, you might want to apply a second coat of leather conditioner after the first has fully absorbed. For color restoration, explore leather dyes specifically designed for your couch’s color. Remember to always test any new product in a hidden area before applying it to the entire couch. You can also experiment with different types of oils for conditioning. Some people swear by neatsfoot oil, while others prefer mink oil or even coconut oil. Again, testing is key!
Ultimately, this DIY leather couch restoration is about more than just cleaning and conditioning. It’s about preserving memories, extending the life of a valuable piece of furniture, and taking pride in your home. It’s about understanding the unique needs of your leather and providing it with the care it deserves.
We wholeheartedly encourage you to give this DIY method a try. You might be surprised at how easy and rewarding it is. Don’t be intimidated by the prospect of restoring your leather couch. With a little patience, the right supplies, and our step-by-step guide, you can achieve remarkable results.
And most importantly, we want to hear about your experience! Share your before-and-after photos, your tips and tricks, and any variations you’ve discovered. Let’s create a community of DIY leather couch restorers, sharing our knowledge and inspiring each other to keep our leather furniture looking its best. Head over to the comments section and tell us all about your leather couch restoration journey! We can’t wait to see your transformations!
Frequently Asked Questions (FAQ)
Q: What type of leather is my couch made of, and why does it matter?
A: Identifying your leather type is crucial because different types require different care. The most common types are:
* **Aniline Leather:** This is the most natural-looking leather, with visible pores and natural markings. It’s very soft but also more susceptible to staining and damage. It requires gentle cleaning and conditioning.
* **Semi-Aniline Leather:** This leather has a light protective coating, making it more resistant to stains than aniline leather but still retaining a natural look and feel.
* **Pigmented Leather:** This is the most durable type of leather, with a protective pigment coating that makes it resistant to stains, scratches, and fading. It’s easier to clean but doesn’t have the same natural look and feel as aniline leather.
* **Bonded Leather:** This is not true leather but rather a composite material made from leather scraps and fibers bonded together. It’s less expensive but also less durable and doesn’t age well.
Knowing your leather type will help you choose the right cleaning and conditioning products and techniques. If you’re unsure, check the manufacturer’s label or contact the retailer where you purchased the couch.
Q: How often should I clean and condition my leather couch?
A: As a general rule, you should clean your leather couch every 2-3 months and condition it every 6-12 months. However, the frequency may vary depending on how often you use the couch and the environment it’s in. If you have pets or children, you may need to clean it more frequently. Also, if your couch is exposed to direct sunlight or dry air, it may need more frequent conditioning.
Q: Can I use regular household cleaners on my leather couch?
A: No! Avoid using harsh chemicals, abrasive cleaners, or solvents on your leather couch. These can damage the leather’s finish, causing it to dry out, crack, or fade. Stick to gentle, leather-specific cleaners or the DIY solution mentioned in the article.
Q: What if my leather couch has stubborn stains?
A: For stubborn stains, try a paste of baking soda and water. Apply the paste to the stain, let it sit for a few minutes, and then gently wipe it away with a damp cloth. You can also try using a specialized leather stain remover, but always test it on an inconspicuous area first. For grease stains, try blotting the stain with a clean cloth and then applying cornstarch to absorb the grease. Let it sit for several hours or overnight, and then vacuum it up.
Q: How do I repair scratches and scuffs on my leather couch?
A: For minor scratches and scuffs, you can try using a leather conditioner or a leather repair balm. Apply the product to the affected area and gently rub it in with a soft cloth. For deeper scratches, you may need to use a leather filler or a leather dye. Follow the manufacturer’s instructions carefully and always test the product on an inconspicuous area first.
Q: What kind of leather conditioner should I use?
A: Choose a leather conditioner that is specifically designed for your type of leather. Look for conditioners that contain natural oils and waxes, such as beeswax, lanolin, or neatsfoot oil. Avoid conditioners that contain silicone or petroleum-based products, as these can dry out the leather over time.
Q: How do I prevent my leather couch from cracking?
A: The best way to prevent your leather couch from cracking is to keep it properly conditioned. Regular conditioning will help to keep the leather supple and prevent it from drying out and cracking. Also, avoid placing your leather couch in direct sunlight or near heat sources, as this can also cause it to dry out and crack.
Q: My leather couch smells musty. How can I get rid of the odor?
A: Sprinkle baking soda liberally over the entire couch and let it sit for several hours or overnight. Then, vacuum it up thoroughly. You can also try using a leather deodorizer or a fabric refresher spray. Make sure to test any product on an inconspicuous area first.
Q: Can I use a steam cleaner on my leather couch?
A: It’s generally not recommended to use a steam cleaner on a leather couch, as the heat and moisture can damage the leather. If you must use a steam cleaner, use it on the lowest setting and keep the nozzle moving constantly. Avoid holding the nozzle in one spot for too long.
Q: What if I’m still unsure about restoring my leather couch myself?
A: If you’re hesitant to tackle the restoration yourself, consider consulting a professional leather cleaning and repair service. They have the expertise and equipment to handle more complex repairs and restorations. However, for routine cleaning and conditioning, this DIY method is a great starting point and can save you a significant amount of money. Remember, proper maintenance is key to keeping your leather couch looking its best for years to come.


Leave a Comment