

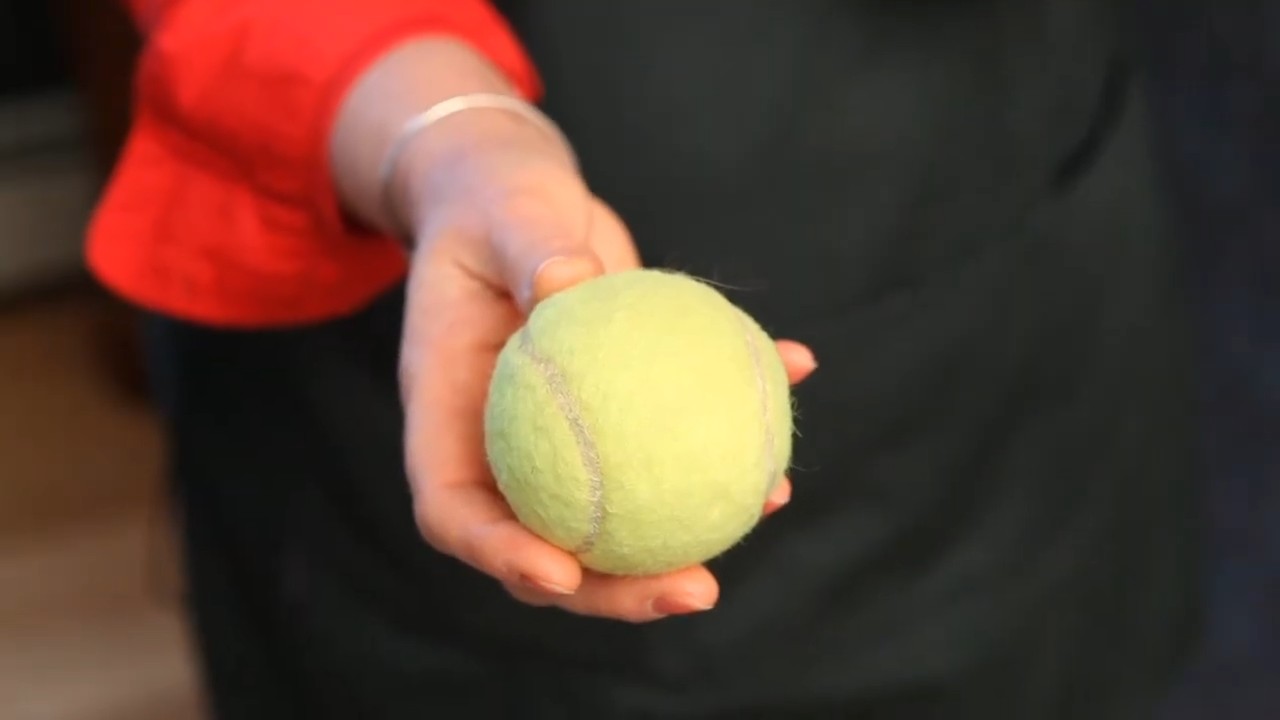
Tennis ball scuff mark removal – sounds like a chore, right? But what if I told you that banishing those unsightly marks from your walls and floors could be easier than acing a serve? We’ve all been there: a rogue tennis ball bouncing through the house, leaving its mark on our pristine surfaces. It’s a common household woe, and thankfully, one with a simple solution!
While tennis itself boasts a rich history dating back centuries, the unfortunate side effect of tennis ball scuff marks is a more modern annoyance. With the rise in popularity of indoor tennis practice and playful pets, these marks have become a familiar sight in many homes. But fear not! This DIY guide is your ultimate weapon against those pesky blemishes.
Why is mastering tennis ball scuff mark removal so important? Because nobody wants to live in a house that looks like it’s been through a tennis tournament! Beyond aesthetics, removing these marks promptly can prevent them from setting in and becoming more difficult to clean later. Plus, a clean home is a happy home, right? So, let’s dive into these easy and effective DIY tricks that will have your walls and floors looking brand new in no time. I’m excited to share these simple solutions with you!
DIY Tennis Ball Scuff Mark Removal: A Comprehensive Guide
Hey there! Are you tired of those unsightly tennis ball scuff marks decorating your walls and floors? Don’t worry, you’re not alone! As a tennis enthusiast (and someone who’s accidentally created my fair share of these marks), I’ve experimented with a bunch of different methods to get rid of them. I’m here to share the most effective techniques I’ve found, so you can say goodbye to those stubborn scuffs and hello to pristine surfaces. Let’s dive in!
Understanding Tennis Ball Scuff Marks
Before we start, it’s helpful to understand what we’re dealing with. Tennis ball scuff marks are usually caused by the felt material of the ball rubbing against a surface. The color from the felt transfers, leaving behind a visible mark. The good news is that these marks are usually superficial and can be removed with the right approach.
Materials You’ll Need
Here’s a list of the supplies you’ll want to gather before you begin. Having everything on hand will make the process much smoother.
* Microfiber cloths: These are essential for gentle cleaning and won’t scratch surfaces.
* Soft sponges: For applying cleaning solutions.
* Warm water: A basic but crucial ingredient.
* Mild dish soap: For general cleaning.
* Baking soda: A gentle abrasive for tougher marks.
* Magic Eraser: A powerful tool for stubborn scuffs (use with caution!).
* White vinegar: A natural cleaning agent.
* Rubbing alcohol (isopropyl alcohol): For specific types of surfaces.
* Toothbrush (old): For scrubbing in tight spots.
* Hair dryer (optional): To help dry damp areas quickly.
* Protective gloves: To protect your hands from cleaning solutions.
* Painter’s tape (optional): To protect surrounding areas when using stronger cleaners.
General Cleaning Methods: Start Simple
Before you reach for the heavy-duty cleaners, let’s try some gentle methods first. These often work surprisingly well, and it’s always best to start with the least abrasive option.
Method 1: Warm Water and Microfiber Cloth
This is my go-to method for fresh or light scuff marks.
1. Dampen a microfiber cloth: Use warm water and wring out any excess. The cloth should be damp, not soaking wet.
2. Gently wipe the scuff mark: Use a circular motion and apply gentle pressure. Avoid scrubbing too hard, as this could damage the surface.
3. Rinse and repeat: Rinse the cloth frequently with clean water and repeat the wiping process until the scuff mark disappears.
4. Dry the area: Use a clean, dry microfiber cloth to dry the area thoroughly.
Method 2: Mild Dish Soap and Water
If warm water alone doesn’t do the trick, try adding a little dish soap.
1. Prepare a soapy solution: Mix a few drops of mild dish soap with warm water in a bowl.
2. Dampen a sponge or cloth: Dip a soft sponge or microfiber cloth into the soapy solution and wring out any excess.
3. Gently wipe the scuff mark: Use a circular motion and apply gentle pressure.
4. Rinse with clean water: Use a clean, damp cloth to rinse away any soap residue.
5. Dry the area: Use a clean, dry microfiber cloth to dry the area thoroughly.
Tackling Stubborn Scuff Marks: Time for Stronger Measures
If the general cleaning methods didn’t quite cut it, don’t worry! We have a few more tricks up our sleeves.
Method 3: Baking Soda Paste
Baking soda is a mild abrasive that can help lift stubborn scuff marks.
1. Make a baking soda paste: Mix baking soda with a small amount of water to form a thick paste.
2. Apply the paste to the scuff mark: Use a clean cloth or your finger to apply the paste to the scuff mark.
3. Gently scrub: Use a soft toothbrush or a damp cloth to gently scrub the area in a circular motion. Avoid applying too much pressure.
4. Rinse with clean water: Use a clean, damp cloth to rinse away the baking soda paste.
5. Dry the area: Use a clean, dry microfiber cloth to dry the area thoroughly.
Method 4: Magic Eraser
Magic Erasers are incredibly effective at removing scuff marks, but they can also be abrasive, so use them with caution. Always test in an inconspicuous area first!
1. Dampen the Magic Eraser: Wet the Magic Eraser with water and squeeze out any excess.
2. Gently rub the scuff mark: Use light pressure and rub the Magic Eraser over the scuff mark. Avoid scrubbing too hard.
3. Rinse with clean water: Use a clean, damp cloth to rinse away any residue.
4. Dry the area: Use a clean, dry microfiber cloth to dry the area thoroughly.
Method 5: White Vinegar Solution
White vinegar is a natural cleaning agent that can help dissolve scuff marks.
1. Prepare a vinegar solution: Mix equal parts white vinegar and water in a spray bottle or bowl.
2. Apply the solution to the scuff mark: Spray the solution onto the scuff mark or dampen a cloth with the solution and apply it to the mark.
3. Let it sit for a few minutes: Allow the solution to sit for a few minutes to loosen the scuff mark.
4. Gently wipe the area: Use a clean cloth to gently wipe the area in a circular motion.
5. Rinse with clean water: Use a clean, damp cloth to rinse away any vinegar residue.
6. Dry the area: Use a clean, dry microfiber cloth to dry the area thoroughly.
Surface-Specific Considerations
The best method for removing scuff marks will depend on the type of surface you’re cleaning. Here’s a breakdown of how to approach different materials:
Walls
* Painted Walls: Start with warm water and a microfiber cloth. If that doesn’t work, try mild dish soap and water. For stubborn marks, use a Magic Eraser sparingly, testing in an inconspicuous area first. Baking soda paste can also be effective, but be sure to rinse thoroughly.
* Wallpapered Walls: Be extra careful with wallpaper, as it can be easily damaged. Start with a dry microfiber cloth to gently wipe the scuff mark. If that doesn’t work, try a slightly damp cloth with mild dish soap and water. Avoid using abrasive cleaners or scrubbing too hard.
Floors
* Hardwood Floors: Start with warm water and a microfiber cloth. If that doesn’t work, try mild dish soap and water. For stubborn marks, use a Magic Eraser sparingly, testing in an inconspicuous area first. Avoid using abrasive cleaners or excessive water, as this can damage the wood.
* Tile Floors: Tile floors are generally more durable than other surfaces. You can use warm water, mild dish soap, baking soda paste, or a Magic Eraser to remove scuff marks. Be sure to rinse thoroughly after cleaning.
* Laminate Floors: Laminate floors are similar to hardwood floors but are more susceptible to water damage. Use warm water and a microfiber cloth, or mild dish soap and water. Avoid using abrasive cleaners or excessive water.
* Vinyl Floors: Vinyl floors are relatively durable and easy to clean. You can use warm water, mild dish soap, baking soda paste, or a Magic Eraser to remove scuff marks.
Furniture
* Wood Furniture: Start with warm water and a microfiber cloth. If that doesn’t work, try mild dish soap and water. For stubborn marks, use a Magic Eraser sparingly, testing in an inconspicuous area first. Avoid using abrasive cleaners or excessive water.
* Upholstered Furniture: Use a dry microfiber cloth to gently wipe the scuff mark. If that doesn’t work, try a slightly damp cloth with mild dish soap and water. Avoid using abrasive cleaners or excessive water. You may need to use an upholstery cleaner for more stubborn marks.
A Word of Caution
* Always test in an inconspicuous area first: Before using any cleaning solution, test it on a small, hidden area to ensure it doesn’t damage the surface.
* Avoid abrasive cleaners: Abrasive cleaners can scratch or damage surfaces. Stick to gentle methods whenever possible.
* Don’t scrub too hard: Scrubbing too hard can damage surfaces. Use gentle pressure and a circular motion.
* Rinse thoroughly: Always rinse the area with clean water after cleaning to remove any residue.
* Dry the area: Dry the area thoroughly after cleaning to prevent water damage
Conclusion
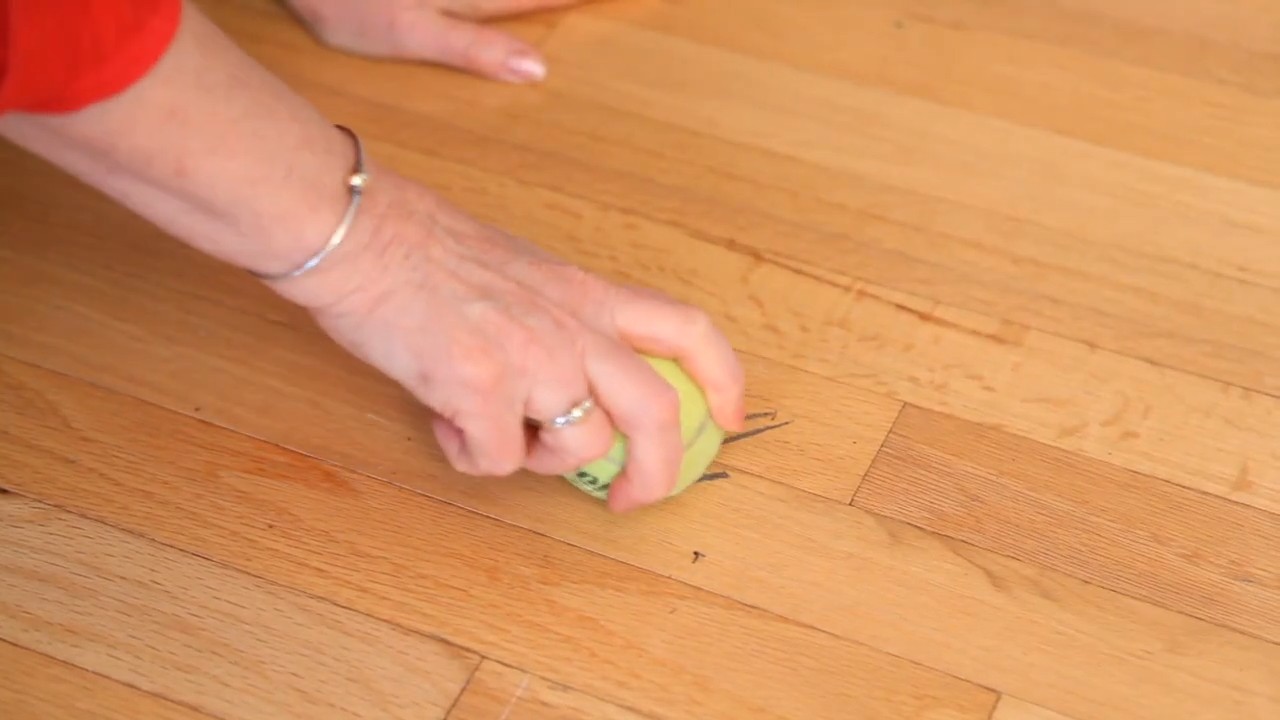
So, there you have it! No more unsightly tennis ball scuff marks plaguing your pristine walls and floors. This simple, effective, and surprisingly satisfying DIY trick is a game-changer for anyone battling the persistent aftermath of playful pets, energetic kids, or even just the occasional clumsy moment. We’ve shown you how to banish those blemishes with minimal effort and maximum impact.
Why is this a must-try? Because it’s not just about aesthetics; it’s about preserving the value and beauty of your home. Those scuff marks, left unchecked, can accumulate and give the impression of neglect, even if the rest of your house is spotless. This method is also incredibly cost-effective. Forget expensive cleaning solutions or professional services. All you need is a tennis ball – something you likely already have lying around! Plus, it’s eco-friendly, avoiding harsh chemicals that can be harmful to your family and the environment.
But the beauty of this DIY solution lies in its adaptability. While we’ve focused on tennis ball scuff mark removal, the principle extends to other types of scuff marks as well. For lighter marks, try using a clean, dry microfiber cloth first. For tougher marks, you can slightly dampen the tennis ball with water, but be sure to test it in an inconspicuous area first to ensure it doesn’t damage the surface. You can also experiment with different types of balls – a softer rubber ball might be gentler on delicate surfaces.
Consider these variations to tailor the technique to your specific needs:
* For textured walls: Use a gentle, circular motion to avoid damaging the texture.
* For painted surfaces: Test the tennis ball on a hidden area first to ensure it doesn’t remove the paint.
* For floors: Attach the tennis ball to the end of a broom handle or mop for easier reach and leverage.
Ultimately, this DIY trick is about empowering you to take control of your home’s appearance and maintain its beauty with simple, readily available resources. It’s about saving time, money, and effort while achieving professional-looking results.
We are confident that this method will become your go-to solution for tackling those pesky tennis ball scuff marks and other similar blemishes. But don’t just take our word for it – try it out for yourself! We encourage you to put this technique to the test and witness the transformative power of a simple tennis ball.
And most importantly, we want to hear about your experience! Did this trick work for you? Did you discover any variations that worked even better? Share your tips, tricks, and before-and-after photos in the comments below. Your feedback will not only help other readers but also contribute to the collective knowledge of the DIY community. Let’s banish those scuff marks together, one tennis ball at a time!
Frequently Asked Questions (FAQ)
What types of surfaces can I use this tennis ball trick on?
This trick is generally safe for most painted walls, baseboards, doors, and even some types of flooring. However, it’s always best to test it in an inconspicuous area first, especially on delicate surfaces like wallpaper, glossy paint, or certain types of wood flooring. Avoid using it on surfaces that are easily scratched or damaged.
Will the tennis ball damage my paint?
In most cases, no. The felt on a tennis ball is relatively soft and non-abrasive. However, excessive pressure or repeated rubbing in the same spot can potentially dull or remove the paint, especially if the paint is old or of poor quality. That’s why testing is crucial. If you notice any paint transfer onto the tennis ball, stop immediately.
How much pressure should I apply when rubbing the tennis ball?
Start with light pressure and gradually increase it as needed. The goal is to remove the scuff mark without damaging the underlying surface. Avoid pressing too hard, as this can cause more harm than good. Let the tennis ball do the work, and focus on consistent, even strokes.
What if the scuff mark is really stubborn and won’t come off?
For particularly stubborn scuff marks, you can try slightly dampening the tennis ball with water. However, be very careful not to over-wet the ball, as this could damage the surface. You can also try using a mild cleaning solution, but again, test it in an inconspicuous area first. If the scuff mark still won’t budge, it may be necessary to repaint the area.
Can I use any type of ball instead of a tennis ball?
While a tennis ball is the recommended tool, you can experiment with other types of balls, such as a soft rubber ball or even a clean, dry eraser. However, be sure to test them in an inconspicuous area first to ensure they don’t damage the surface. Avoid using balls with rough or abrasive surfaces.
How do I clean the tennis ball after using it to remove scuff marks?
After using the tennis ball, simply wipe it down with a clean, damp cloth to remove any dirt or debris. You can also use a mild soap and water solution if necessary. Allow the tennis ball to air dry completely before storing it.
Are there any surfaces I should absolutely avoid using this trick on?
Yes, avoid using this trick on delicate surfaces like wallpaper, glossy paint, or certain types of wood flooring. Also, avoid using it on surfaces that are easily scratched or damaged. Always test in an inconspicuous area first.
How can I prevent tennis ball scuff marks in the first place?
Prevention is always better than cure! Consider using furniture pads on the legs of your furniture to prevent them from scratching the walls. You can also train your pets to avoid rubbing against the walls. And of course, be mindful of your own movements and avoid bumping into walls with objects that could cause scuff marks.
Is this method effective for removing scuff marks from shoes?
While this article focuses on removing scuff marks from walls and floors, the tennis ball trick can also be effective for removing scuff marks from some types of shoes, particularly those made of leather or synthetic materials. However, be sure to test it in an inconspicuous area first to ensure it doesn’t damage the shoe.
How often should I clean scuff marks to maintain the appearance of my home?
The frequency of cleaning scuff marks depends on the amount of traffic and activity in your home. In high-traffic areas, you may need to clean scuff marks more frequently, perhaps once a week or even more often. In less-used areas, you may only need to clean them once a month or even less. Regularly inspecting your walls and floors for scuff marks will help you stay on top of the problem and prevent them from accumulating.


Leave a Comment