

Plant Bitter Gourd, and unlock a world of homegrown goodness right in your backyard! Have you ever dreamt of harvesting your own vibrant, slightly bitter, yet incredibly healthy gourds? Well, stop dreaming and start doing! This DIY guide is your passport to cultivating these unique vegetables with ease, even if you’re a complete beginner.
Bitter gourd, also known as bitter melon, has a rich history, deeply rooted in Asian cultures where it’s been used for centuries, not just as a food source, but also for its medicinal properties. From traditional Chinese medicine to Ayurvedic practices in India, this remarkable plant has been revered for its health benefits. I think it’s fascinating how something with such a distinctive taste can be so good for you!
But why should *you* bother to plant bitter gourd? Simple! Store-bought bitter gourds can be expensive and sometimes lack the freshness and flavor of homegrown produce. Plus, growing your own food is incredibly rewarding. Imagine the satisfaction of serving a dish made with ingredients you nurtured from seed to harvest. This DIY guide will provide you with simple, effective tricks and hacks to ensure a bountiful harvest, even if you have limited space or gardening experience. I’m here to show you that growing your own bitter gourd is easier than you think, and the rewards are well worth the effort!
DIY: Growing Bitter Gourd Like a Pro (Even if You’re a Beginner!)
Okay, let’s talk bitter gourd! I know, I know, it’s not everyone’s favorite veggie. But trust me, homegrown bitter gourd tastes *way* better than anything you’ll find at the store. Plus, it’s incredibly rewarding to watch those quirky, warty fruits develop on your own vine. This guide will walk you through everything you need to know to successfully grow bitter gourd, even if you’ve never gardened before.
What You’ll Need
Before we dive in, let’s gather our supplies. This will make the whole process smoother and less stressful.
* Bitter Gourd Seeds: You can find these online or at most garden centers. Look for varieties suited to your climate. I personally love the long, green varieties, but there are also shorter, rounder ones.
* Seed Starting Trays or Small Pots: These are essential for starting your seeds indoors.
* Seed Starting Mix: This is a light, airy soil mix specifically designed for seedlings. Don’t use regular garden soil!
* Potting Soil: Once your seedlings are ready to transplant, you’ll need potting soil for their final home.
* A Large Container (Optional): If you’re growing in containers, you’ll need a pot that’s at least 12 inches in diameter and depth.
* Garden Soil: If you’re planting directly in the ground, make sure your soil is well-draining and amended with compost.
* Compost or Well-Rotten Manure: This will enrich your soil and provide essential nutrients.
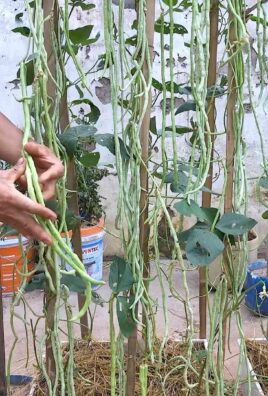
* Trellis or Support Structure: Bitter gourd is a vine, so it needs something to climb on. A trellis, fence, or even a sturdy bamboo structure will work.
* Gardening Gloves: Protect your hands!
* Watering Can or Hose: For watering your plants.
* Fertilizer (Optional): A balanced fertilizer can help boost growth and fruit production. I prefer organic options like fish emulsion or seaweed extract.
* Pruning Shears or Scissors: For trimming and shaping your vine.
Starting Your Seeds (The Indoor Advantage)
Starting your seeds indoors gives them a head start, especially if you live in a cooler climate. I highly recommend this method!
1. Soak the Seeds: Before planting, soak your bitter gourd seeds in warm water for 24 hours. This helps soften the hard outer shell and encourages germination.
2. Prepare Your Seed Starting Trays: Fill your seed starting trays or small pots with seed starting mix. Gently press the soil down to remove any air pockets.
3. Plant the Seeds: Make a small hole (about 1/2 inch deep) in the center of each cell or pot. Place one seed in each hole and cover it with soil.
4. Water Gently: Water the soil gently using a watering can or spray bottle. Avoid overwatering, as this can lead to rot.
5. Provide Warmth and Light: Place the trays in a warm location, such as a sunny windowsill or under grow lights. Bitter gourd seeds need warmth to germinate. Aim for a temperature of around 75-85°F (24-29°C).
6. Keep the Soil Moist: Check the soil moisture daily and water as needed to keep it consistently moist, but not soggy.
7. Wait for Germination: Germination typically takes 7-14 days. Be patient!
8. Thin Seedlings (If Necessary): If more than one seedling emerges in a single cell or pot, thin them out by snipping off the weaker seedlings at the soil line.
Transplanting Your Seedlings (Moving to the Great Outdoors)
Once your seedlings have developed a few sets of true leaves (the leaves that look like miniature versions of the adult leaves), they’re ready to be transplanted outdoors.
1. Harden Off Your Seedlings: Before transplanting, you need to “harden off” your seedlings. This means gradually exposing them to outdoor conditions over a period of 7-10 days. Start by placing them in a sheltered location outdoors for a few hours each day, gradually increasing the amount of time they spend outside. This will help them adjust to the sun, wind, and temperature changes.
2. Choose a Sunny Location: Bitter gourd needs at least 6-8 hours of sunlight per day. Choose a location in your garden that receives plenty of sun.
3. Prepare the Soil: If you’re planting directly in the ground, amend the soil with compost or well-rotted manure. This will improve drainage and provide essential nutrients. If you’re growing in containers, fill your pot with a high-quality potting soil mix.
4. Dig a Hole: Dig a hole that’s slightly larger than the root ball of your seedling.
5. Gently Remove the Seedling: Carefully remove the seedling from its tray or pot. Be gentle to avoid damaging the roots.
6. Place the Seedling in the Hole: Place the seedling in the hole and backfill with soil. Gently press the soil down around the base of the plant.
7. Water Thoroughly: Water the newly transplanted seedling thoroughly.
8. Add Support: Install your trellis or support structure near the plant. Bitter gourd vines can get quite heavy, so make sure your support is sturdy.
Caring for Your Bitter Gourd Vine (The Nitty-Gritty)
Now that your bitter gourd is planted, it’s time to provide it with the care it needs to thrive.
* Watering: Water your bitter gourd regularly, especially during hot, dry weather. Aim to keep the soil consistently moist, but not soggy. Water deeply, allowing the water to soak into the soil.
* Fertilizing: Fertilize your bitter gourd every 2-3 weeks with a balanced fertilizer. I like to use organic options like fish emulsion or seaweed extract. Follow the instructions on the fertilizer package.
* Pruning: Pruning can help improve air circulation and encourage fruit production. Remove any dead or yellowing leaves. You can also prune the vine to control its size and shape. I usually trim back the side shoots to encourage more fruit development on the main vine.
* Training: Train your bitter gourd vine to climb your trellis or support structure. Gently guide the vine and tie it to the support as needed.
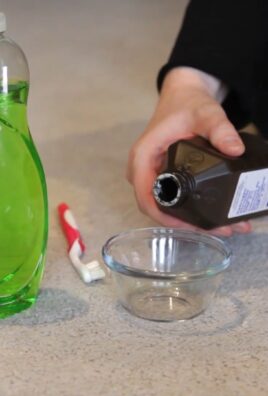
* Pest and Disease Control: Keep an eye out for pests and diseases. Common pests include aphids, spider mites, and squash bugs. Diseases can include powdery mildew and fungal infections. Treat any problems promptly with appropriate organic pesticides or fungicides. Neem oil is a great all-purpose organic solution.
* Pollination: Bitter gourd plants produce both male and female flowers. The female flowers have a small fruit behind them. Sometimes, pollination can be an issue, especially if there aren’t many bees or other pollinators in your area. If you notice that your female flowers are dropping off without producing fruit, you may need to hand-pollinate them. To do this, use a small paintbrush to transfer pollen from the male flowers to the female flowers.
Harvesting Your Bitter Gourd (The Sweet Reward)
Harvest time is the most exciting part!
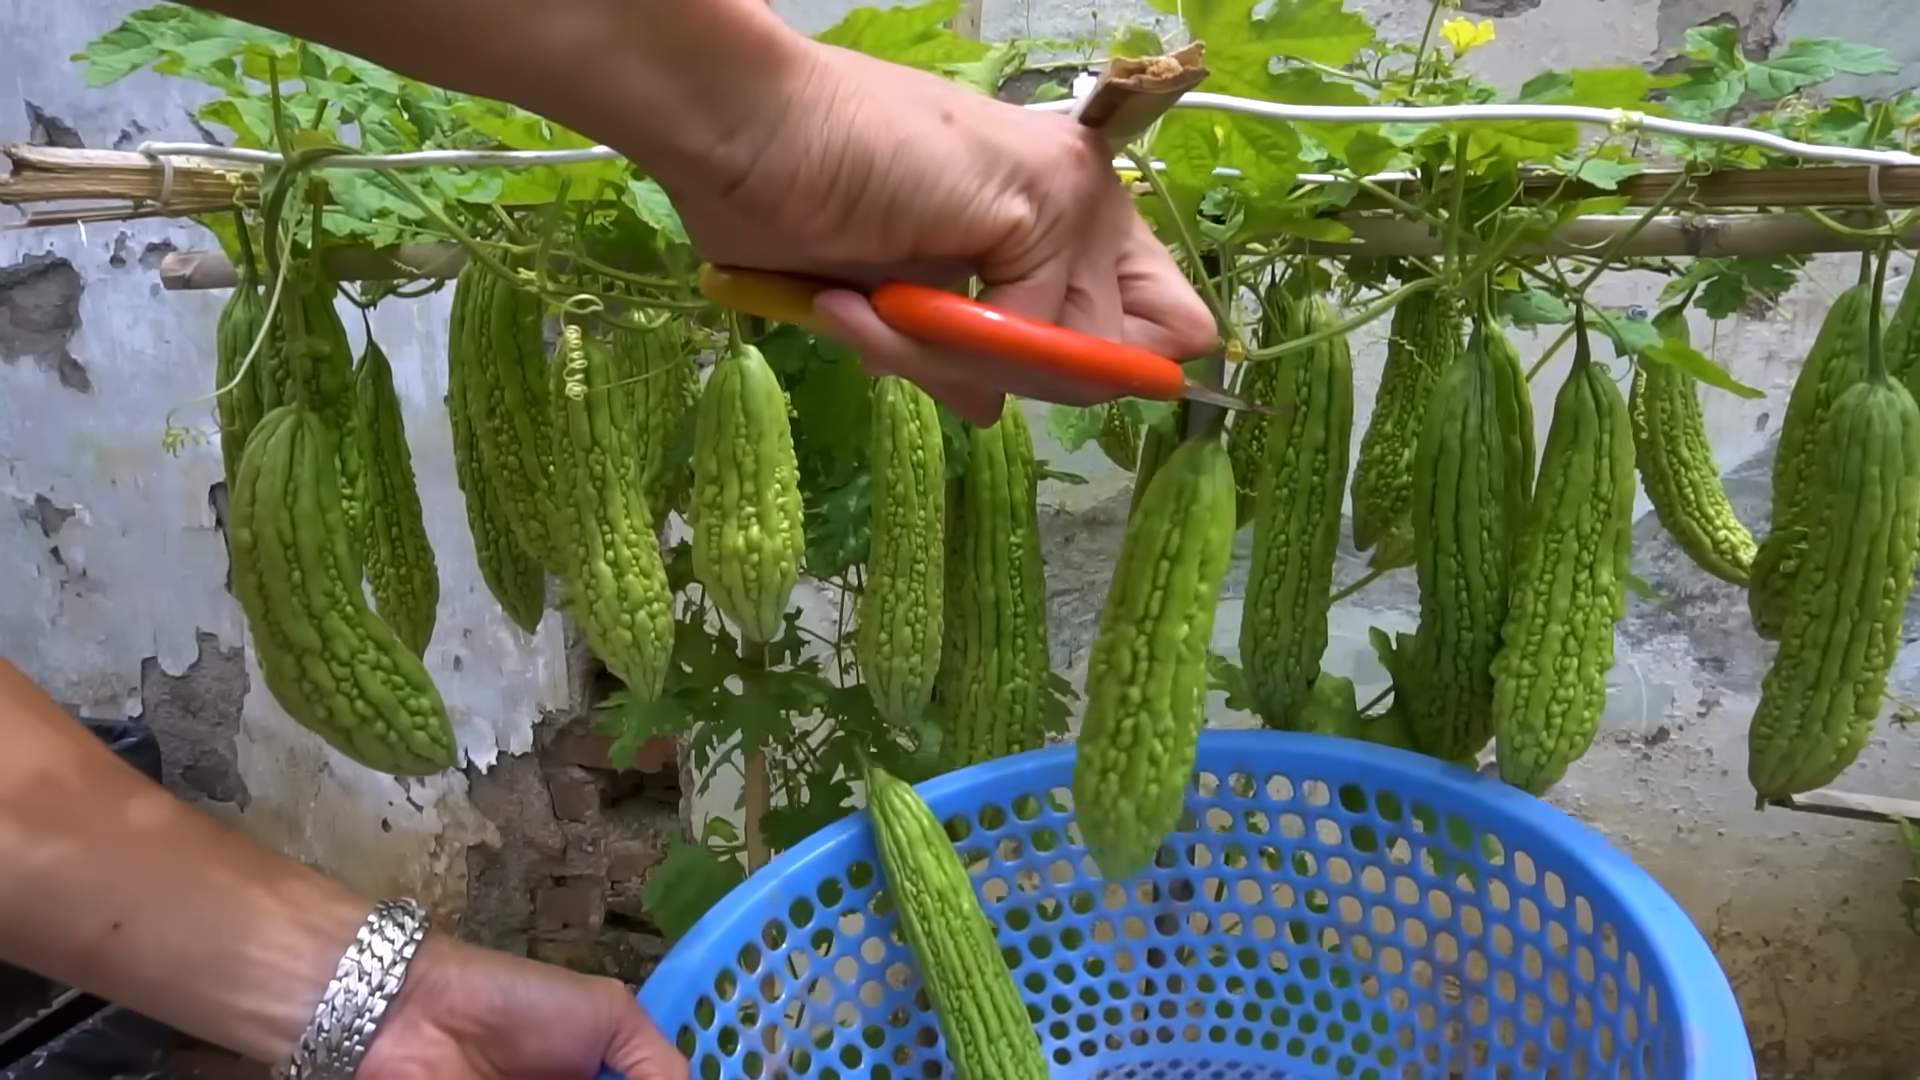
1. Timing is Key: Bitter gourd is typically ready to harvest about 2-3 months after planting. The fruits should be firm and green, but not too hard. They should also be slightly immature, as they become more bitter as they ripen.
2. Use Pruning Shears: Use pruning shears or a sharp knife to cut the bitter gourd from the vine. Leave a small stem attached to the fruit.
3. Harvest Regularly: Harvest your bitter gourd regularly to encourage continued fruit production.
4. Storage: Store your bitter gourd in the refrigerator for up to a week.
Troubleshooting (When Things Go Wrong)
Even with the best care, things can sometimes go wrong. Here are a few common problems and how to fix them:
* Yellowing Leaves: This could be a sign of overwatering, underwatering, nutrient deficiency, or disease. Check the soil moisture and adjust your watering accordingly. Fertilize your plant with a balanced fertilizer. Inspect the leaves for signs of pests or diseases and treat as needed.
* Lack of Fruit: This could be due to poor pollination, lack of sunlight, or nutrient deficiency. Hand-pollinate your flowers if necessary. Make sure your plant is getting enough sunlight. Fertilize your plant with a balanced fertilizer.
* Pest Infestation: Treat pest infestations promptly with appropriate organic pesticides. Neem oil is a great option.
* Disease: Treat diseases with appropriate organic fungicides. Ensure good air circulation around your plant to prevent fungal problems.
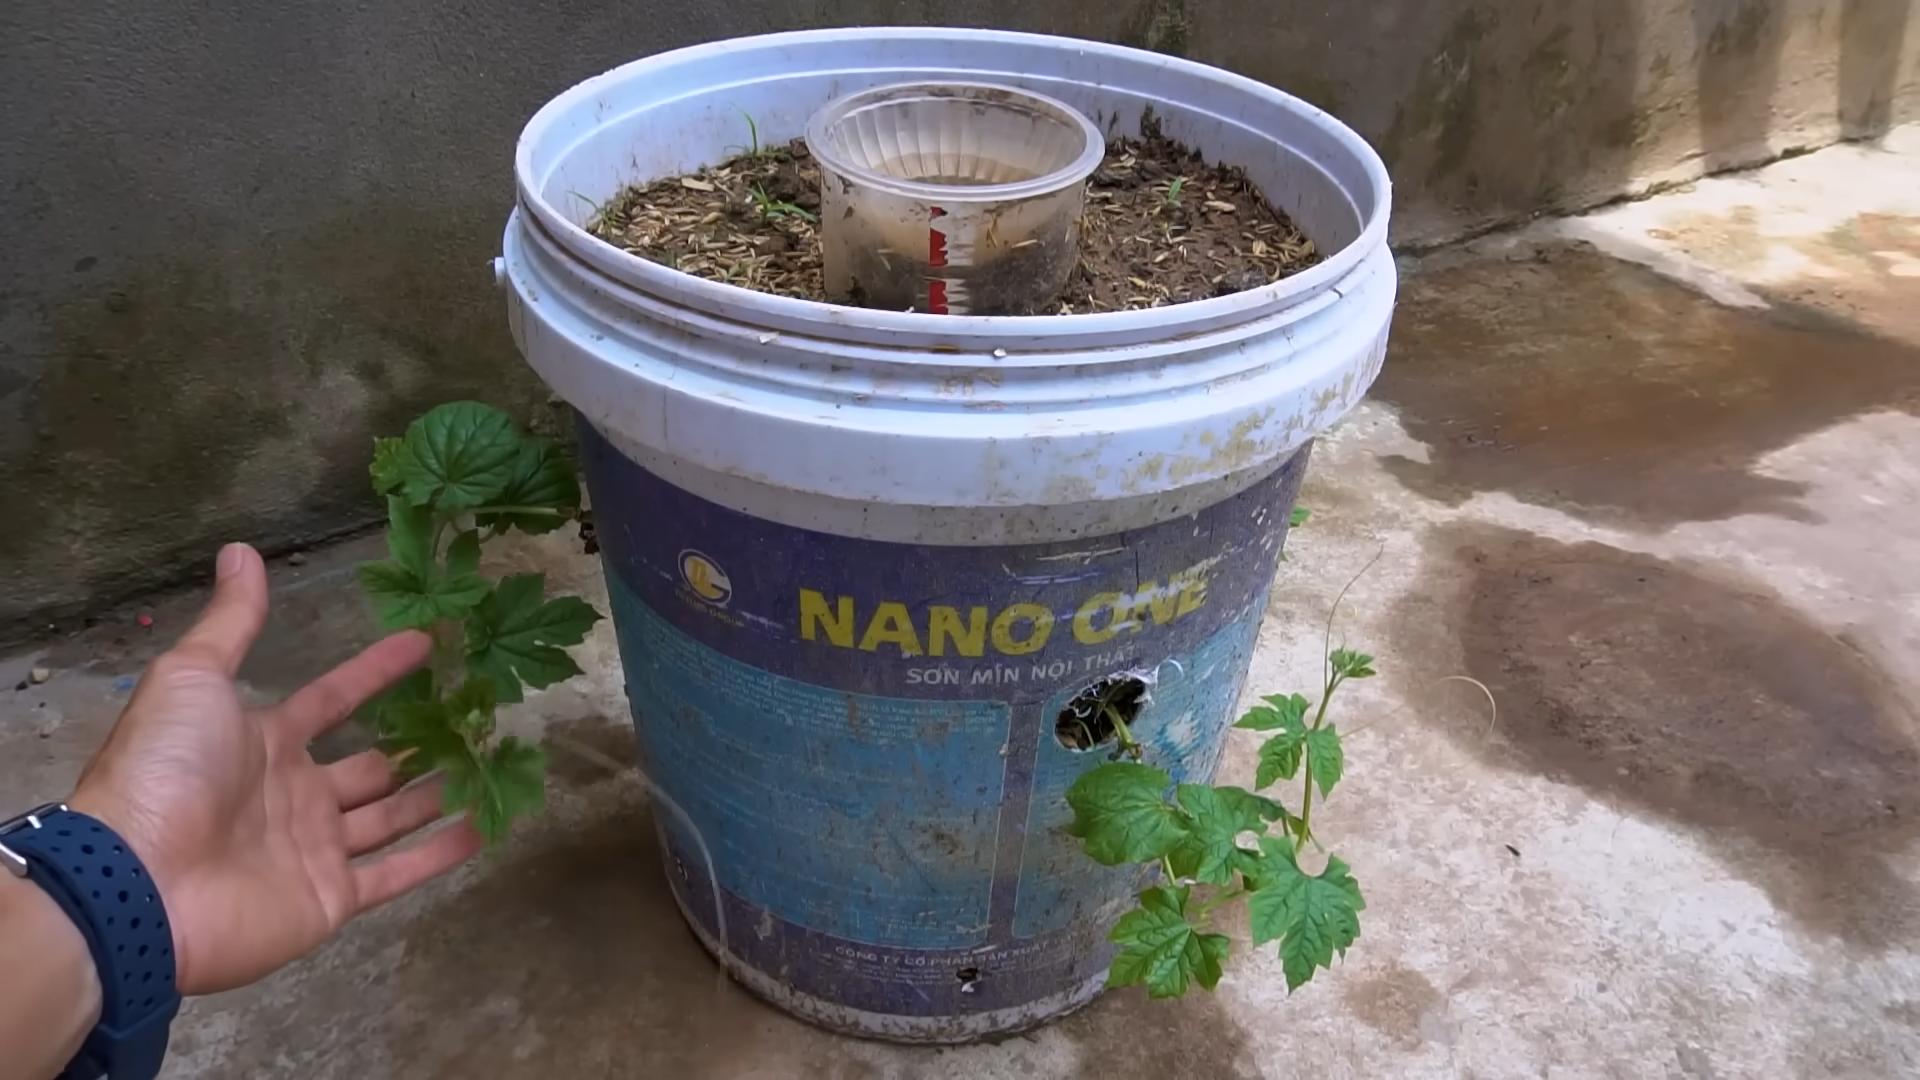
Container Gardening Tips (For Small Spaces)
If you don’t have a lot of space, you can still grow bitter gourd in containers. Here are a few tips:
Conclusion
So, there you have it! Mastering the art of growing your own bitter gourd, especially with this simple DIY trick, is not just about saving money; it’s about connecting with nature, understanding the life cycle of your food, and enjoying the unparalleled satisfaction of harvesting something you nurtured from seed to fruit. This method, focusing on [mention specific DIY trick from the article, e.g., “vertical support systems” or “seed scarification”], offers a significant advantage over traditional methods by [mention specific advantage, e.g., “maximizing space,” “improving germination rates,” or “reducing pest infestations”].
Why is this DIY approach a must-try? Because it empowers you to take control of your food source, ensuring you know exactly what goes into your bitter gourd – no harmful pesticides, just pure, homegrown goodness. Plus, the enhanced growth and yield you’ll experience are truly rewarding. Imagine the pride you’ll feel serving up a dish made with bitter gourd you cultivated yourself!
But the journey doesn’t end here. Feel free to experiment with different variations to personalize your growing experience. Consider trying different soil compositions to see which yields the best results in your specific climate. You could also explore companion planting, introducing herbs and flowers that naturally deter pests and attract beneficial insects. For instance, marigolds are known to repel nematodes, while basil can ward off aphids. Another exciting variation is to try different varieties of bitter gourd. From the smaller, more intensely flavored types to the larger, milder ones, each offers a unique culinary experience. Don’t be afraid to get creative and tailor the process to your specific needs and preferences.
We’ve found that providing adequate sunlight is crucial, especially in regions with shorter growing seasons. Aim for at least six hours of direct sunlight per day. If you live in a particularly hot climate, consider providing some afternoon shade to prevent the leaves from scorching. Regular watering is also essential, but be careful not to overwater, as this can lead to root rot. The soil should be consistently moist but not soggy.
Ultimately, growing your own bitter gourd is a rewarding and enriching experience. This DIY trick is your gateway to a bountiful harvest and a deeper appreciation for the natural world. We are confident that with a little effort and patience, you’ll be enjoying fresh, homegrown bitter gourd in no time.
So, what are you waiting for? Grab your seeds, gather your materials, and embark on this exciting gardening adventure. We encourage you to try this DIY trick for growing bitter gourd and share your experiences with us! Let us know what worked for you, what challenges you faced, and any tips you discovered along the way. Your insights will help other gardeners succeed and contribute to a thriving community of homegrown food enthusiasts. Share your photos and stories on our social media channels using [mention specific hashtag]. We can’t wait to see your amazing bitter gourd creations! Happy gardening!
Frequently Asked Questions (FAQ)
Q: What is the best time of year to plant bitter gourd?
A: The ideal time to plant bitter gourd is during the late spring or early summer, after the last frost has passed and the soil has warmed up. Bitter gourd thrives in warm weather and requires a long growing season of at least 90-120 days. In regions with mild winters, you may be able to start seeds indoors earlier and transplant them outdoors once the weather permits. Check your local climate and growing zone for specific recommendations.
Q: How do I prepare the soil for planting bitter gourd?
A: Bitter gourd prefers well-drained, fertile soil that is rich in organic matter. Before planting, amend the soil with compost, aged manure, or other organic amendments to improve its structure and nutrient content. Ensure the soil pH is slightly acidic to neutral, ideally between 6.0 and 7.0. You can test the soil pH using a soil testing kit and adjust it accordingly with lime or sulfur.
Q: How often should I water my bitter gourd plants?
A: Water bitter gourd plants regularly, especially during hot and dry weather. Aim to keep the soil consistently moist but not waterlogged. Water deeply at the base of the plants, avoiding wetting the foliage, which can increase the risk of fungal diseases. Mulching around the plants can help retain moisture in the soil and suppress weed growth.
Q: What kind of support system should I use for my bitter gourd plants?
A: Bitter gourd vines require a strong support system to climb and produce fruit. You can use a trellis, fence, or arbor to provide support. The support system should be at least 6-8 feet tall to accommodate the vigorous growth of the vines. Ensure the support system is sturdy enough to withstand the weight of the mature plants and fruits. You can also train the vines to climb along wires or ropes.
Q: How do I deal with pests and diseases that affect bitter gourd plants?
A: Bitter gourd plants can be susceptible to various pests and diseases, including aphids, squash bugs, cucumber beetles, powdery mildew, and downy mildew. To prevent pest and disease problems, practice good garden hygiene, such as removing weeds and debris from around the plants. Inspect the plants regularly for signs of pests or diseases and take action promptly. You can use organic pest control methods, such as insecticidal soap, neem oil, or diatomaceous earth, to control pests. For fungal diseases, use a copper-based fungicide or a baking soda solution.
Q: When is the best time to harvest bitter gourd?
A: Bitter gourd is typically harvested when the fruits are still green and slightly immature. The fruits should be firm and have a smooth, unblemished skin. Overripe fruits will turn yellow or orange and become bitter. Use a sharp knife or pruning shears to cut the fruits from the vine, leaving a short stem attached. Harvest bitter gourd regularly to encourage continued fruit production.
Q: How do I store bitter gourd after harvesting?
A: Bitter gourd can be stored in the refrigerator for up to a week. Wrap the fruits in a paper towel or place them in a plastic bag to prevent them from drying out. Avoid storing bitter gourd near ethylene-producing fruits, such as bananas and apples, as this can cause them to ripen prematurely.
Q: Can I save seeds from my bitter gourd plants for future planting?
A: Yes, you can save seeds from your bitter gourd plants for future planting. Allow a few fruits to mature fully on the vine until they turn yellow or orange. Remove the seeds from the ripe fruits and wash them thoroughly to remove any pulp. Spread the seeds out on a paper towel to dry completely. Store the dried seeds in an airtight container in a cool, dark, and dry place.
Q: What are some common uses for bitter gourd in cooking?
A: Bitter gourd is a versatile vegetable that can be used in a variety of dishes. It is commonly stir-fried, steamed, boiled, or stuffed. Bitter gourd can also be juiced or used to make tea. To reduce the bitterness of the gourd, you can soak it in salt water or blanch it before cooking. Bitter gourd is a good source of vitamins, minerals, and antioxidants.

Leave a Comment