

Clean keyboard safely – it’s something we all need to do, but often put off! Let’s be honest, our keyboards are breeding grounds for dust, crumbs, and who-knows-what-else. Think about it: we use them every day, often while snacking, and rarely give them a proper cleaning. But fear not, fellow keyboard warriors! I’m here to share some simple, effective, and safe DIY tricks to get your keyboard sparkling again.
The history of keyboard cleaning might not be as glamorous as, say, the invention of the keyboard itself, but it’s just as important. Keyboards have evolved from typewriters, and the need to keep them functional and hygienic has always been there. In the past, people used brushes and cloths, but today, we have access to a range of tools and techniques to clean keyboard safely and efficiently.
Why is this DIY article so crucial? Because a clean keyboard isn’t just about aesthetics; it’s about hygiene and longevity. A dirty keyboard can harbor bacteria and germs, potentially making you sick. Plus, accumulated debris can interfere with the keys’ functionality, leading to frustrating typing errors and even keyboard damage. So, let’s dive into these easy-to-follow DIY tricks and give your keyboard the TLC it deserves!
DIY Keyboard Cleaning: A Deep Dive for a Sparkling Clean Setup
Okay, let’s face it, our keyboards are grime magnets. Crumbs, dust, pet hair – you name it, it’s probably lurking between those keys. A clean keyboard isn’t just aesthetically pleasing; it can actually improve its performance and even your typing experience. Plus, it’s just more hygienic! So, let’s get down to business and learn how to clean your keyboard like a pro. I’m going to walk you through a safe and effective method that will leave your keyboard looking and feeling brand new.
What You’ll Need
Before we dive in, let’s gather our supplies. Having everything ready will make the process much smoother. Here’s what I recommend:
* Compressed Air: This is your best friend for blasting out loose debris.
* Small Brush: A soft-bristled brush (like an old toothbrush or a dedicated keyboard cleaning brush) is perfect for gently dislodging stubborn particles.
* Microfiber Cloths: These are essential for wiping down surfaces without scratching.
* Isopropyl Alcohol (70% or less): This is a fantastic disinfectant and cleaner. Make sure it’s diluted to avoid damaging your keyboard.
* Cotton Swabs: These are great for cleaning hard-to-reach areas.
* Keycap Puller (Optional but Recommended): This tool makes removing keycaps much easier and safer. If you don’t have one, you can use a thin, flat object like a small screwdriver, but be extra careful.
* Small Bowl or Container: For soaking keycaps (if you choose to remove them).
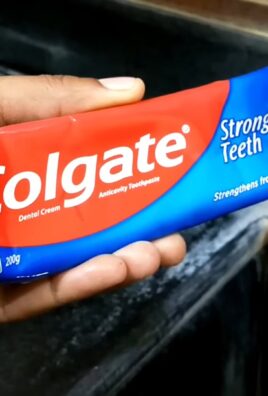
* Dish Soap (Mild): For cleaning the keycaps.
* Vacuum Cleaner with Brush Attachment (Optional): For a more thorough initial cleaning.
Safety First!
Before we even think about touching our keyboards with cleaning supplies, let’s prioritize safety:
* Power Down: This is crucial! Always turn off your computer and unplug your keyboard before cleaning. This prevents accidental key presses and potential electrical damage.
* Avoid Liquids: Never pour liquids directly onto your keyboard. This can cause serious damage. Always apply cleaning solutions to a cloth or swab first.
* Dilute Alcohol: As mentioned earlier, use isopropyl alcohol that is 70% or less. Higher concentrations can damage the plastic on your keyboard.
* Gentle Pressure: Don’t scrub too hard, especially when cleaning the keycaps. Gentle pressure is all you need.
Phase 1: The Initial Clean – Removing Loose Debris
This phase is all about getting rid of the easy-to-remove stuff.
1. Unplug and Power Off: Double-check that your keyboard is unplugged and your computer is turned off.
2. Turn It Upside Down: Gently turn your keyboard upside down and give it a good shake. This will dislodge a surprising amount of crumbs and dust. You can also gently tap the back of the keyboard to help loosen stubborn particles.
3. Compressed Air Blast: Using short bursts of compressed air, blast away any remaining loose debris from between the keys. Hold the can at an angle and use the nozzle to direct the air into the crevices. Be careful not to hold the can upside down, as this can release liquid propellant.
4. Vacuum (Optional): If you have a vacuum cleaner with a brush attachment, you can use it to gently vacuum the surface of the keyboard. This can be particularly helpful for removing pet hair.
Phase 2: Deep Cleaning – Tackling Stubborn Grime
Now, let’s get down to the nitty-gritty and tackle the more stubborn grime.
1. Dampen a Microfiber Cloth: Lightly dampen a microfiber cloth with isopropyl alcohol. Make sure the cloth is not soaking wet; it should just be slightly damp.
2. Wipe Down the Keycaps: Gently wipe down each keycap with the damp cloth. Pay attention to the areas around the edges of the keys, where grime tends to accumulate.
3. Clean the Keyboard Frame: Use the same damp cloth to wipe down the keyboard frame and any other exposed surfaces.
4. Use Cotton Swabs for Tight Spaces: For hard-to-reach areas, like the spaces between the keys and the frame, use a cotton swab dampened with isopropyl alcohol.
5. Dry with a Clean Cloth: After cleaning, use a clean, dry microfiber cloth to wipe away any remaining moisture.
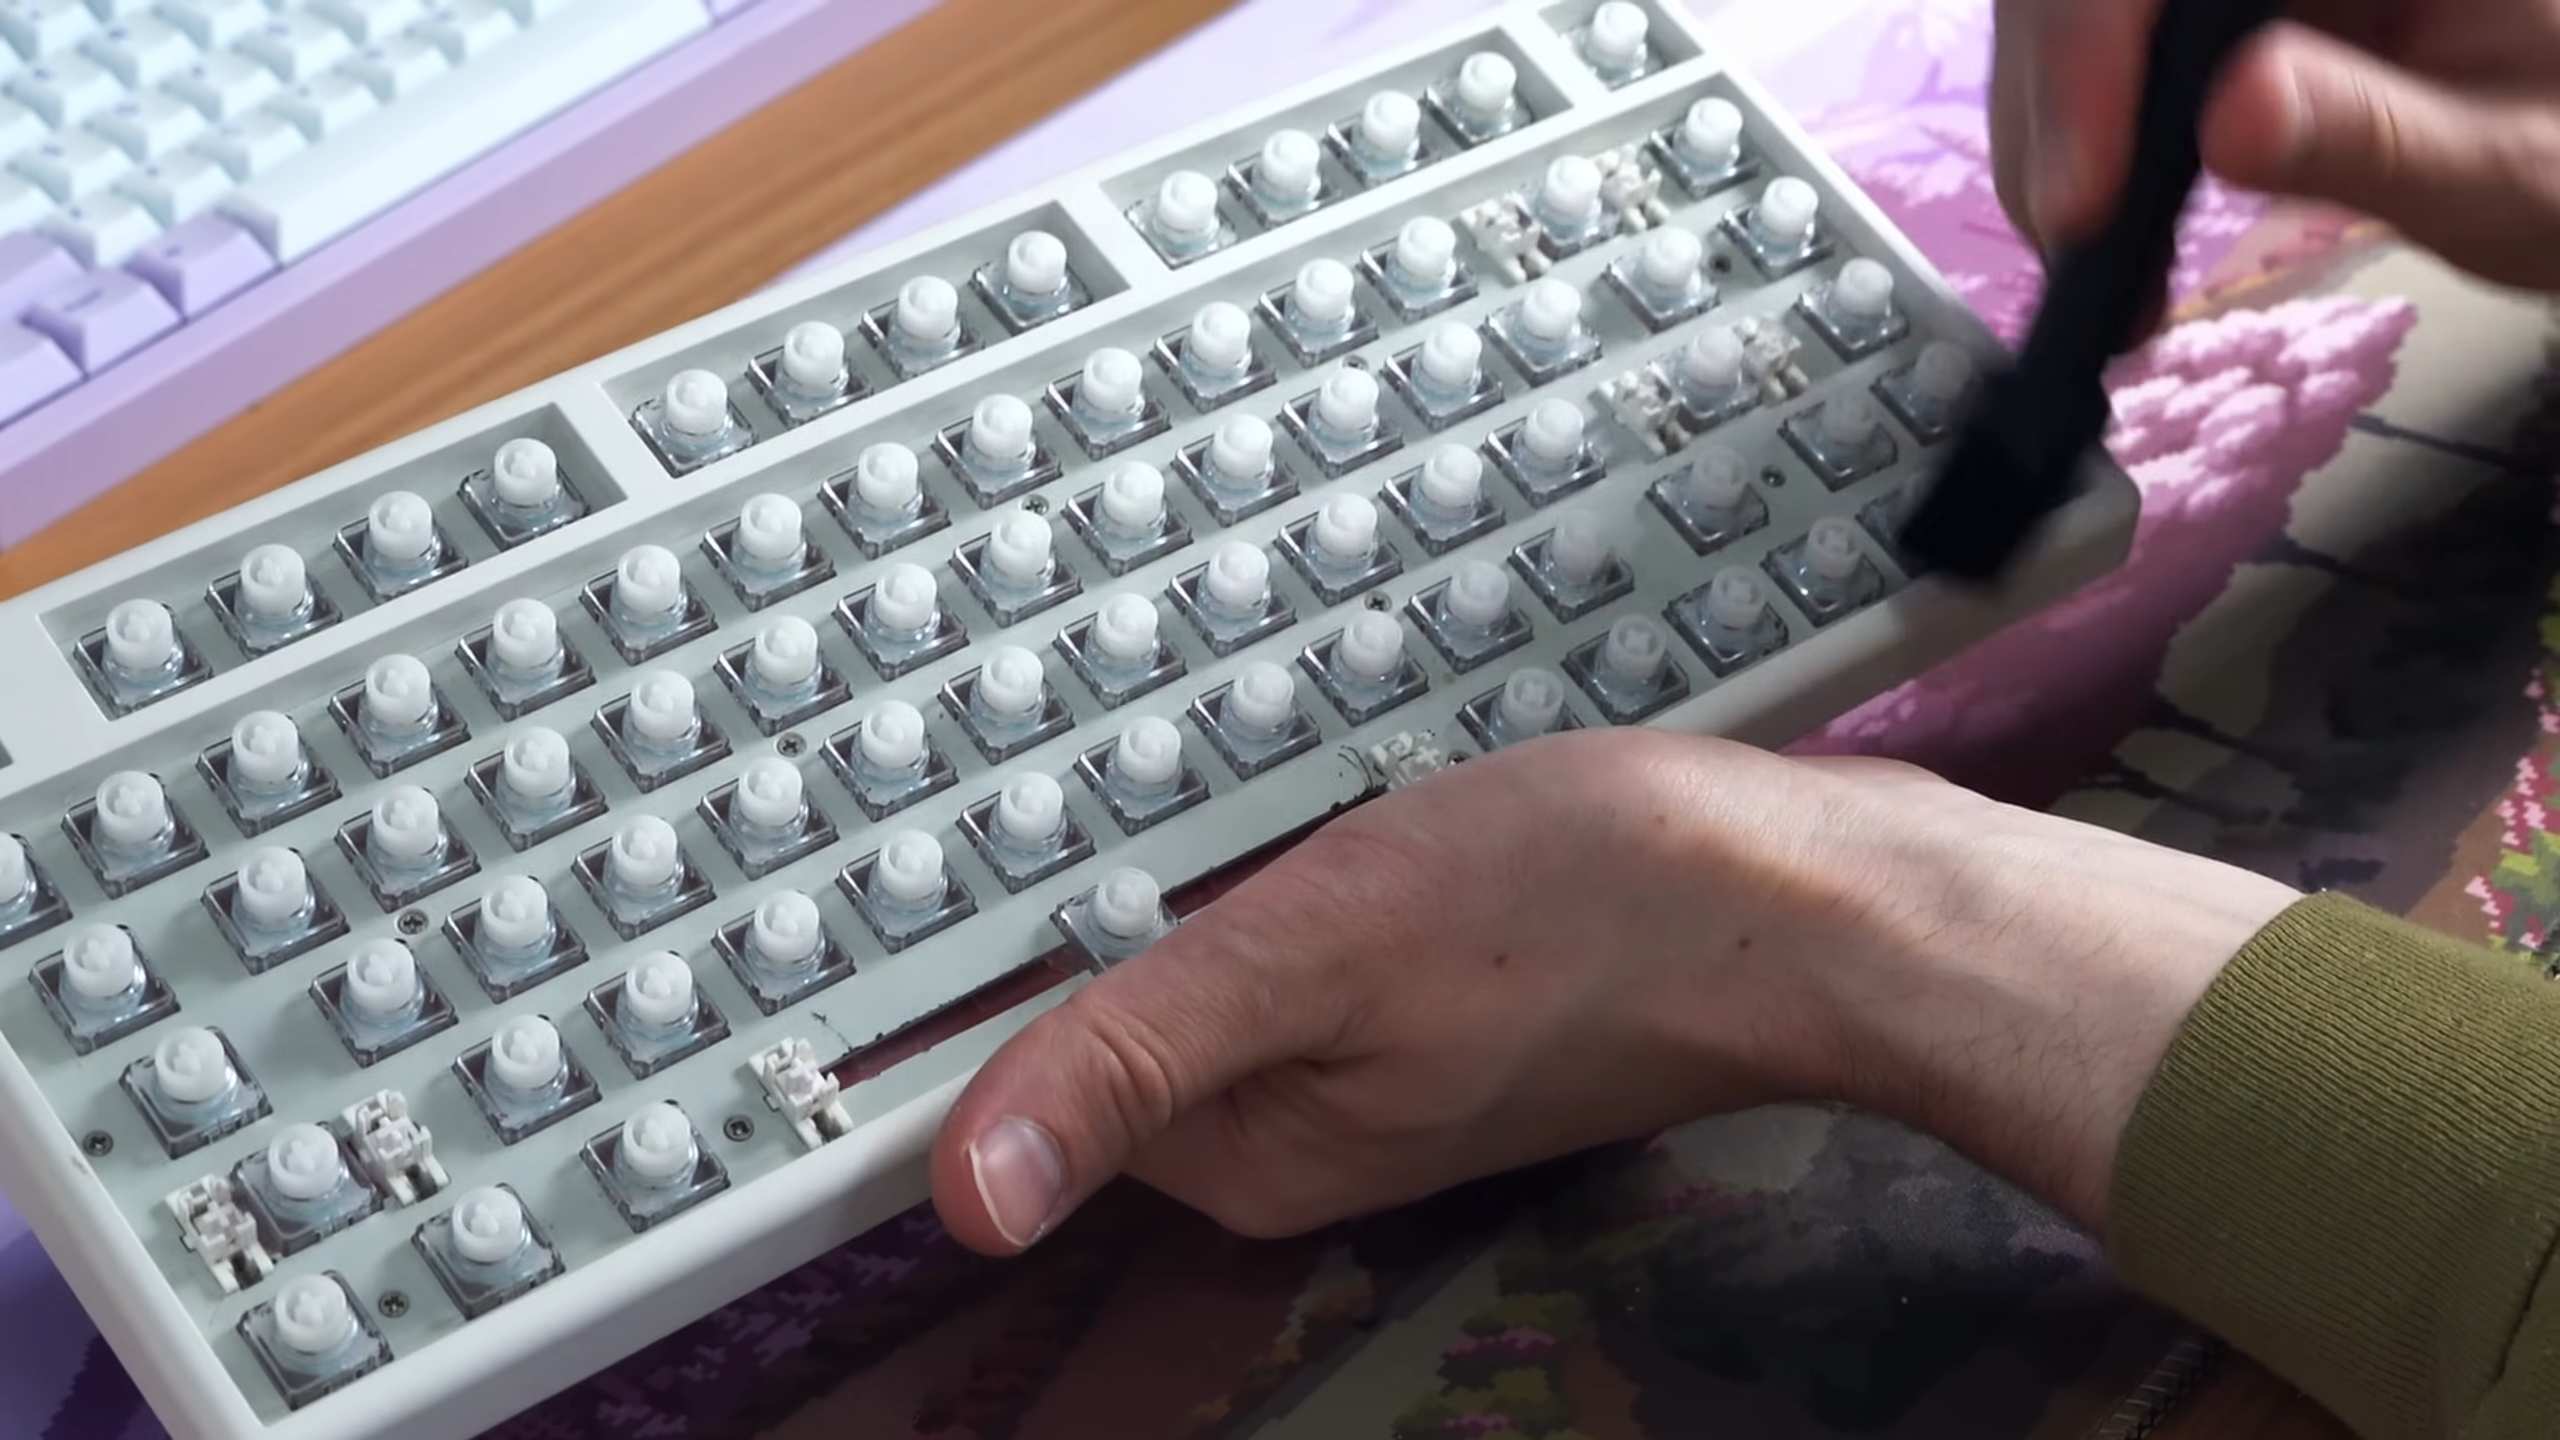
Phase 3: Keycap Removal and Cleaning (Optional but Recommended)
This is where things get a little more involved, but it’s definitely worth it for a truly deep clean. Removing the keycaps allows you to clean them thoroughly and access the areas underneath.
1. Take a Photo: Before removing any keycaps, take a photo of your keyboard layout. This will be a lifesaver when it comes time to put them back on!
2. Remove the Keycaps: Using a keycap puller, gently remove each keycap. If you don’t have a keycap puller, you can use a thin, flat object like a small screwdriver, but be extra careful not to scratch the keycaps or the keyboard. Gently pry the keycap up from one side, then the other, until it comes loose.
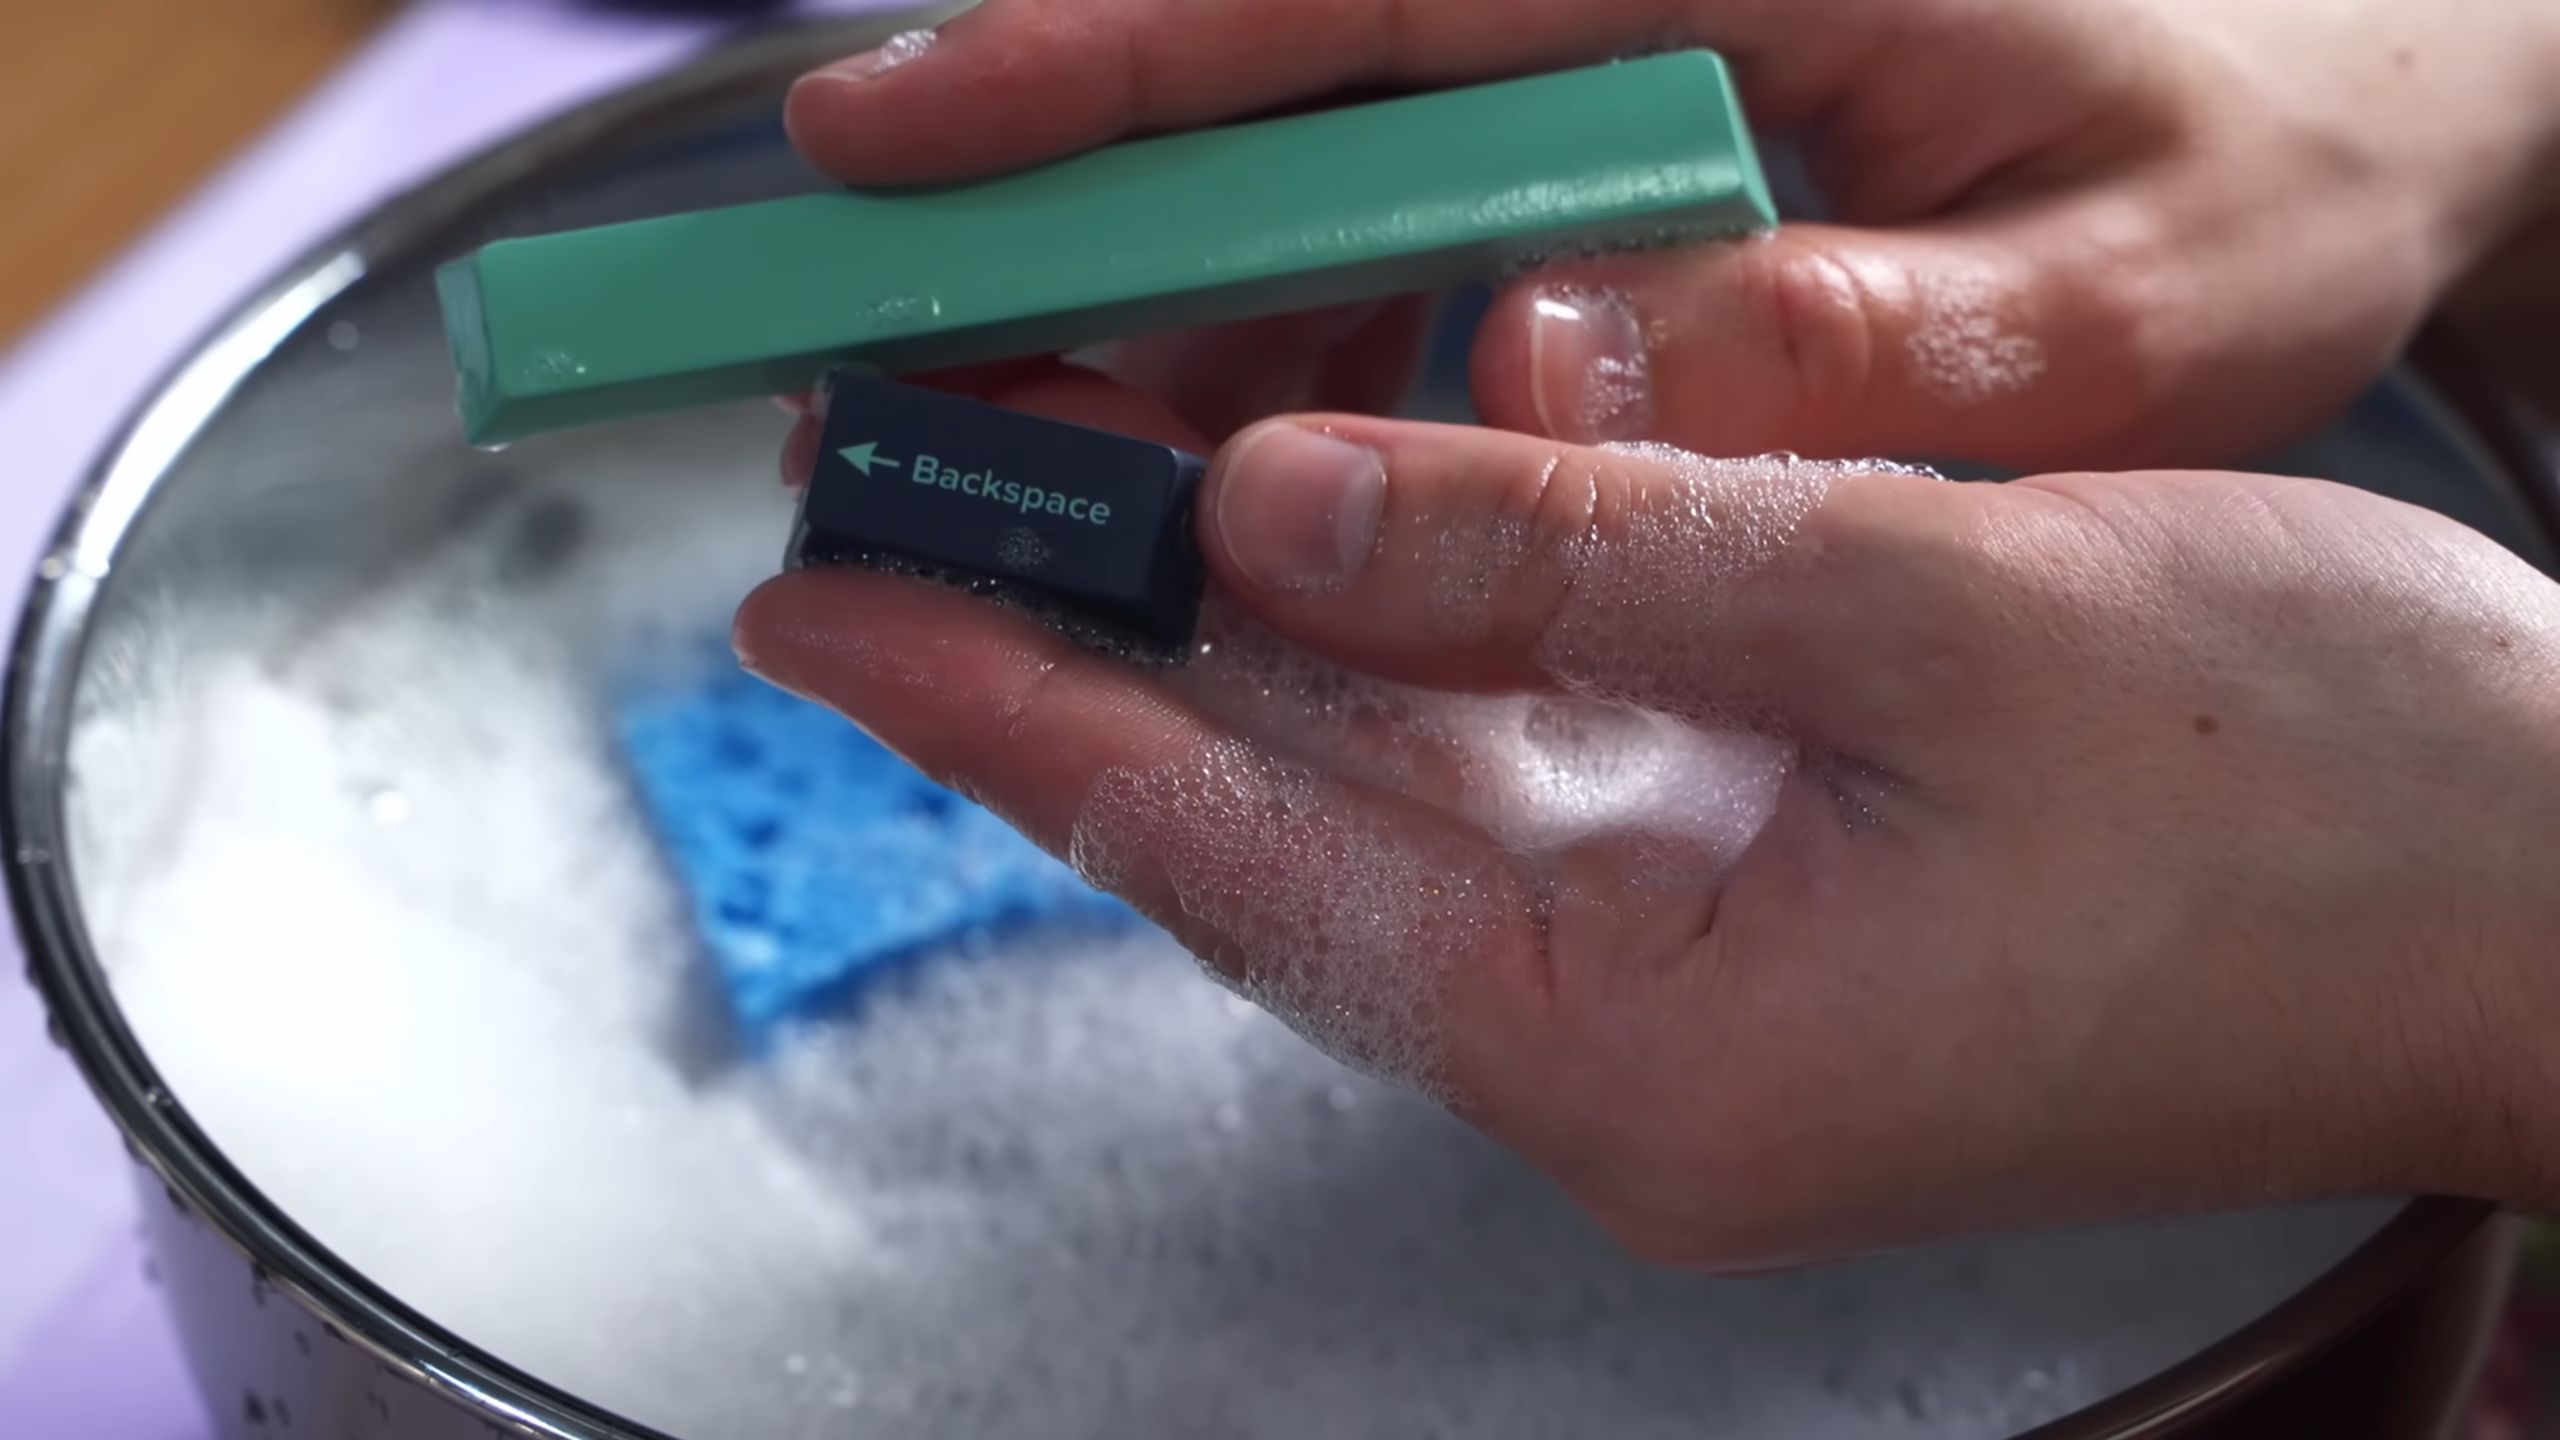
3. Soak the Keycaps: Place the keycaps in a small bowl or container filled with warm water and a few drops of mild dish soap. Let them soak for about 15-20 minutes.
4. Wash the Keycaps: After soaking, gently wash each keycap with your fingers or a soft-bristled brush. Rinse them thoroughly with clean water.
5. Dry the Keycaps: Spread the keycaps out on a clean towel to dry completely. Make sure they are completely dry before putting them back on the keyboard. You can also use a hair dryer on a low, cool setting to speed up the drying process.
6. Clean the Keyboard Base (Again): Now that the keycaps are removed, you have access to the keyboard base. Use compressed air, a small brush, and a damp microfiber cloth to clean any remaining debris and grime.
7. Reassemble the Keyboard: Once the keycaps are completely dry, carefully reattach them to the keyboard, referring to the photo you took earlier. Make sure each keycap is securely in place.
Phase 4: Final Touches and Maintenance
We’re almost there! Just a few final steps to ensure your keyboard stays clean and happy.
1. Inspect Your Work: Take a close look at your keyboard to make sure you haven’t missed any spots.
2. Wipe Down Again: Give the entire keyboard one last wipe down with a clean, dry microfiber cloth.
3. Regular Maintenance: To keep your keyboard clean, make it a habit to wipe it down regularly with a damp microfiber cloth. You can also use compressed air to blast away loose debris every few weeks.
4. Avoid Eating Over Your Keyboard: This is a big one! Try to avoid eating over your keyboard to prevent crumbs from getting trapped between the keys.
Troubleshooting
Sometimes, things don’t go exactly as planned. Here are a few common issues and how to address them:
* Sticky Keys: If you have a sticky key, it’s likely due to a buildup of grime. Try removing the keycap and cleaning the area underneath thoroughly. You may also need to lubricate the switch with a small amount of keyboard-specific lubricant.
* Damaged Keycaps: If you accidentally damage a keycap, you can often find replacements online.
* Liquid Spill: If you spill liquid on your keyboard, immediately unplug it and turn it upside down to drain the liquid. Then, follow the cleaning steps outlined above. If the keyboard is still not working properly, you may need to take it to a professional for repair.
And that’s it! You’ve successfully cleaned your keyboard. Enjoy your sparkling clean setup and happy typing! Remember, regular cleaning is key to keeping your keyboard in top condition.
Conclusion
So, there you have it! A simple, effective, and surprisingly satisfying way to keep your keyboard sparkling clean. This DIY keyboard cleaning trick isn’t just about aesthetics; it’s about extending the life of your valuable tech and creating a more pleasant and hygienic workspace. Think about all the crumbs, dust, and, let’s be honest, who-knows-what-else that accumulates between those keys. A clean keyboard is a happy keyboard, and a happy keyboard leads to a more productive you!
Why is this a must-try? Because it’s inexpensive, uses readily available materials, and delivers results that rival expensive cleaning kits. Plus, it’s incredibly customizable. Feeling fancy? Add a drop of your favorite essential oil (lavender or tea tree are great choices for their antibacterial properties) to your cleaning solution for a subtle, refreshing scent. Want to tackle stubborn grime? A soft-bristled toothbrush can be your best friend for those hard-to-reach spots.
Consider these variations to tailor the cleaning process to your specific needs and keyboard type:
* **For mechanical keyboards:** If you have a mechanical keyboard with removable keycaps, consider popping them off for a deep clean. This allows you to thoroughly clean both the keycaps themselves and the keyboard base. Just be sure to take a photo beforehand so you know where everything goes!
* **For laptop keyboards:** Laptop keyboards are generally more delicate. Use a microfiber cloth very lightly dampened with your cleaning solution, and avoid applying too much pressure. Compressed air is also your friend here for blasting out loose debris.
* **For wireless keyboards:** Always, always, always remove the batteries before cleaning any electronic device. This is a crucial safety precaution.
We’re confident that once you try this DIY keyboard cleaning method, you’ll be amazed at the difference it makes. It’s a quick, easy, and rewarding way to maintain your tech and improve your overall workspace.
Don’t just take our word for it! We encourage you to give this DIY keyboard cleaning trick a try and share your experience in the comments below. Let us know what variations you tried, what challenges you faced, and what tips you discovered along the way. Your feedback will help other readers and contribute to a community of clean keyboard enthusiasts! We’re eager to hear your success stories and learn from your experiences. So go ahead, get cleaning, and let us know how it goes!
Frequently Asked Questions (FAQ)
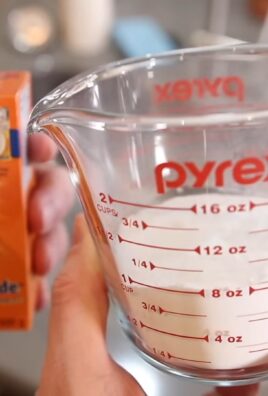
Q: What kind of cleaning solution should I use?
A: The best cleaning solution for your keyboard is a mixture of distilled water and isopropyl alcohol (70% or higher). A 1:1 ratio is generally recommended. Avoid using harsh chemicals like bleach or ammonia, as these can damage the keyboard’s plastic and internal components. You can also use a commercially available electronic cleaning solution, but be sure to read the label carefully and follow the manufacturer’s instructions. For a gentler approach, especially on laptop keyboards, you can use a very diluted solution of dish soap and water, but be extremely careful to avoid getting any liquid inside the keyboard.
Q: How often should I clean my keyboard?
A: The frequency of cleaning depends on how often you use your keyboard and the environment it’s in. If you use your keyboard heavily or work in a dusty environment, you should clean it at least once a week. For lighter use, cleaning every two to four weeks may be sufficient. Regular cleaning will prevent the buildup of dirt and grime, making it easier to maintain a clean keyboard in the long run.
Q: Can I use compressed air to clean my keyboard?
A: Yes, compressed air is an excellent tool for removing loose debris from your keyboard. Use short bursts of air to blow out dust, crumbs, and other particles from between the keys. Be sure to hold the can upright to prevent liquid propellant from spraying onto your keyboard. Compressed air is particularly useful for laptop keyboards, where it’s difficult to reach the spaces between the keys with a cloth.
Q: What if I spill liquid on my keyboard?
A: If you spill liquid on your keyboard, act quickly! Immediately unplug the keyboard (or remove the batteries if it’s wireless) and turn it upside down to drain any excess liquid. Use a clean, absorbent cloth to blot up as much liquid as possible. Do not use a hairdryer or other heat source to dry the keyboard, as this can damage the internal components. Allow the keyboard to air dry completely for at least 24 hours before using it again. If the liquid was sugary or sticky, you may need to disassemble the keyboard to clean the individual components.
Q: How do I clean sticky keys?
A: Sticky keys are often caused by sugary drinks or food residue. To clean sticky keys, first, unplug the keyboard. If you have a mechanical keyboard with removable keycaps, remove the affected keycaps. Use a cotton swab dampened with isopropyl alcohol to clean the keycap and the area around the switch. Allow the alcohol to evaporate completely before reassembling the keyboard. If the keycaps are not removable, use a soft-bristled toothbrush dampened with isopropyl alcohol to gently scrub the sticky areas. Be careful not to get any liquid inside the keyboard.
Q: Is it safe to use a vacuum cleaner to clean my keyboard?
A: While you can use a vacuum cleaner to clean your keyboard, it’s important to use the right attachment and settings. Use a brush attachment and set the vacuum cleaner to the lowest suction setting to avoid damaging the keys. Be careful not to dislodge any keycaps. A handheld vacuum cleaner is generally a better option than a full-size vacuum cleaner, as it’s easier to control and less likely to damage the keyboard.
Q: How do I clean a keyboard with non-removable keycaps?
A: Cleaning a keyboard with non-removable keycaps requires a bit more patience and care. Use a microfiber cloth dampened with your cleaning solution to wipe down the surface of the keys. Use a cotton swab or a soft-bristled toothbrush to clean the spaces between the keys. Be careful not to get any liquid inside the keyboard. Compressed air can also be helpful for removing loose debris.
Q: Can I put my keycaps in the dishwasher?
A: While some people have had success cleaning keycaps in the dishwasher, it’s generally not recommended. The high heat and harsh detergents can damage the keycaps, causing them to warp or fade. It’s best to clean keycaps by hand using warm water and a mild soap.
Q: What are some other tips for keeping my keyboard clean?
A: Here are a few additional tips for keeping your keyboard clean:
* Wash your hands regularly, especially before using your keyboard.
* Avoid eating or drinking near your keyboard.
* Use a keyboard cover to protect your keyboard from dust and spills.
* Regularly dust your desk and surrounding area.
* Consider using a keyboard cleaning gel to pick up dust and debris.
By following these tips and using the DIY keyboard cleaning method described above, you can keep your keyboard clean, hygienic, and functioning properly for years to come. Remember, a clean keyboard is a happy keyboard!

Leave a Comment