

Clean Dirty Oven Easily? Sounds like a dream, right? I know, the thought of tackling that baked-on grime can be daunting. But trust me, it doesn’t have to be a weekend-long chore! We’re diving into some seriously effective DIY tricks that will have your oven sparkling without harsh chemicals or endless scrubbing.
For generations, keeping a clean oven was a mark of a well-maintained home. In the past, people relied on natural ingredients like vinegar and baking soda – methods that are still incredibly relevant today! These time-tested techniques are not only effective but also eco-friendly, aligning with a growing desire for sustainable living.
Why do you need these DIY oven cleaning hacks? Because a clean oven isn’t just about aesthetics. Burnt food residue can affect the taste of your dishes and even create unpleasant odors. Plus, a clean oven operates more efficiently, saving you energy and money. I’m going to show you how to clean dirty oven easily with simple, readily available ingredients and a few clever techniques. Get ready to say goodbye to oven cleaning dread and hello to a sparkling clean appliance!
DIY Oven Cleaning: The Baking Soda & Vinegar Powerhouse
Okay, let’s face it: cleaning the oven is nobody’s favorite chore. But a sparkling clean oven makes cooking so much more enjoyable (and probably even helps your food cook more evenly!). I’m going to walk you through my tried-and-true method for cleaning even the dirtiest oven using just baking soda and vinegar. It’s natural, effective, and saves you from those harsh chemical fumes.
What You’ll Need:
Before we dive in, let’s gather our supplies. This is a pretty simple process, so the list is short and sweet:
* Baking soda
* White vinegar
* Water
* Spray bottle
* Rubber gloves (trust me, you’ll want these!)
* Spatula or scraper
* Sponge or cloth
* Old towel or newspaper (to protect your floor)
* Small bowl
Step-by-Step Oven Cleaning Guide
Alright, let’s get this oven sparkling!
Phase 1: The Baking Soda Paste
This is where the magic starts. We’re going to create a powerful cleaning paste that will loosen all that baked-on grime.
1. Empty the Oven: First things first, remove everything from your oven. This includes racks, baking stones, thermometers – everything! We want a completely empty canvas to work with. Set the racks aside; we’ll tackle those later.
2. Mix the Paste: In your small bowl, combine ½ cup of baking soda with a few tablespoons of water. Add the water gradually until you form a spreadable paste. You want it to be thick enough to stick to the oven walls, but not so thick that it’s difficult to apply. I usually aim for a consistency similar to frosting.
3. Coat the Oven: Now, put on your rubber gloves (seriously, don’t skip this step!). Using your hands or a spatula, spread the baking soda paste all over the interior surfaces of your oven. This includes the back, sides, top, bottom, and even the inside of the door. Avoid the heating elements! We just want to coat the baked-on grime.
4. Be Generous: Don’t be shy with the paste! The thicker the layer, the better it will work. Pay special attention to areas with heavy buildup. I usually focus on the bottom of the oven, where spills tend to accumulate.
5. Let it Sit (Overnight is Best!): This is the most important step: patience! Let the baking soda paste sit for at least 12 hours, or even better, overnight. The longer it sits, the more time it has to break down the grease and grime. I usually apply the paste before I go to bed and then tackle the cleaning in the morning.
Phase 2: The Vinegar Power Wash
Now that the baking soda has done its job, it’s time to unleash the power of vinegar!
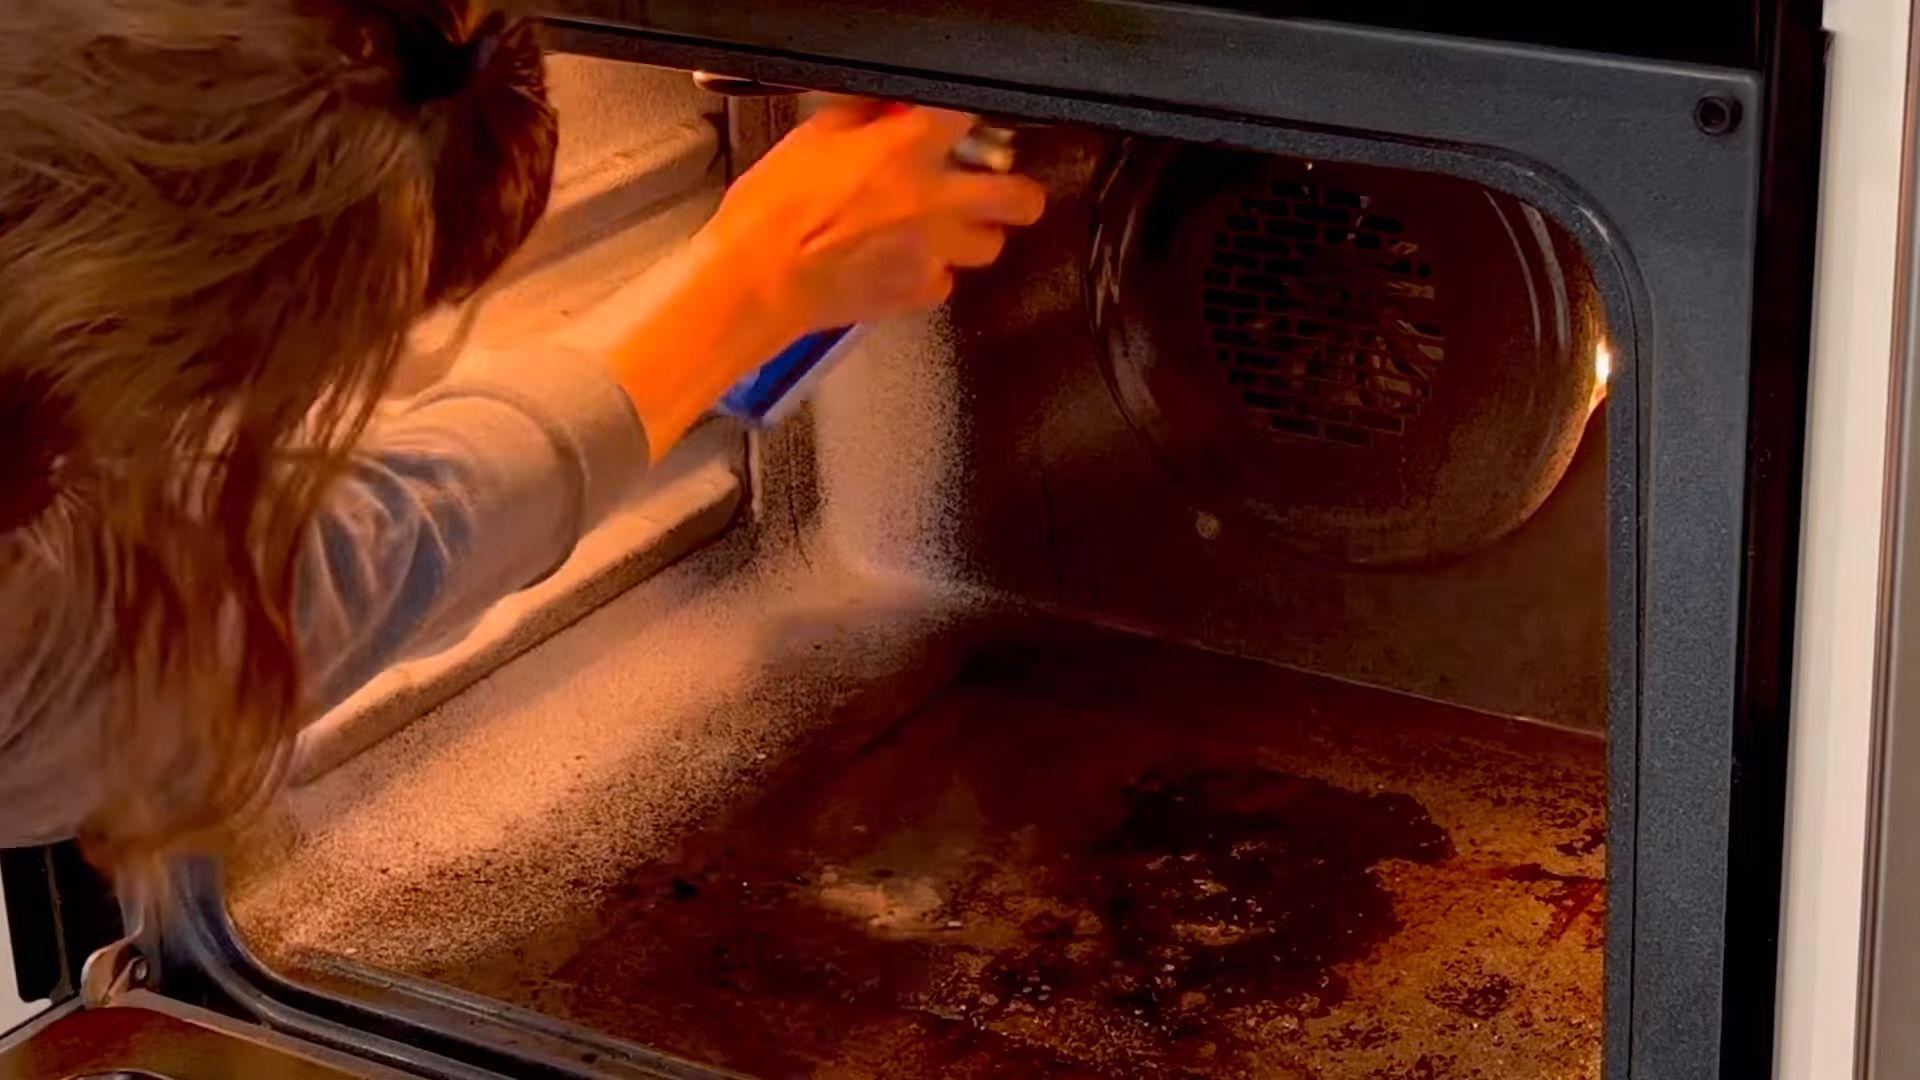
6. Prepare the Vinegar: Pour some white vinegar into your spray bottle. You don’t need to dilute it; we’re using it full strength.
7. Spray the Vinegar: Generously spray the baking soda paste with vinegar. You’ll notice it will start to fizz and bubble – that’s the chemical reaction between the baking soda and vinegar, and it’s exactly what we want! This fizzing action helps to further loosen the grime.
8. Let it Fizz: Allow the vinegar to fizz for a few minutes. This gives it time to work its magic.
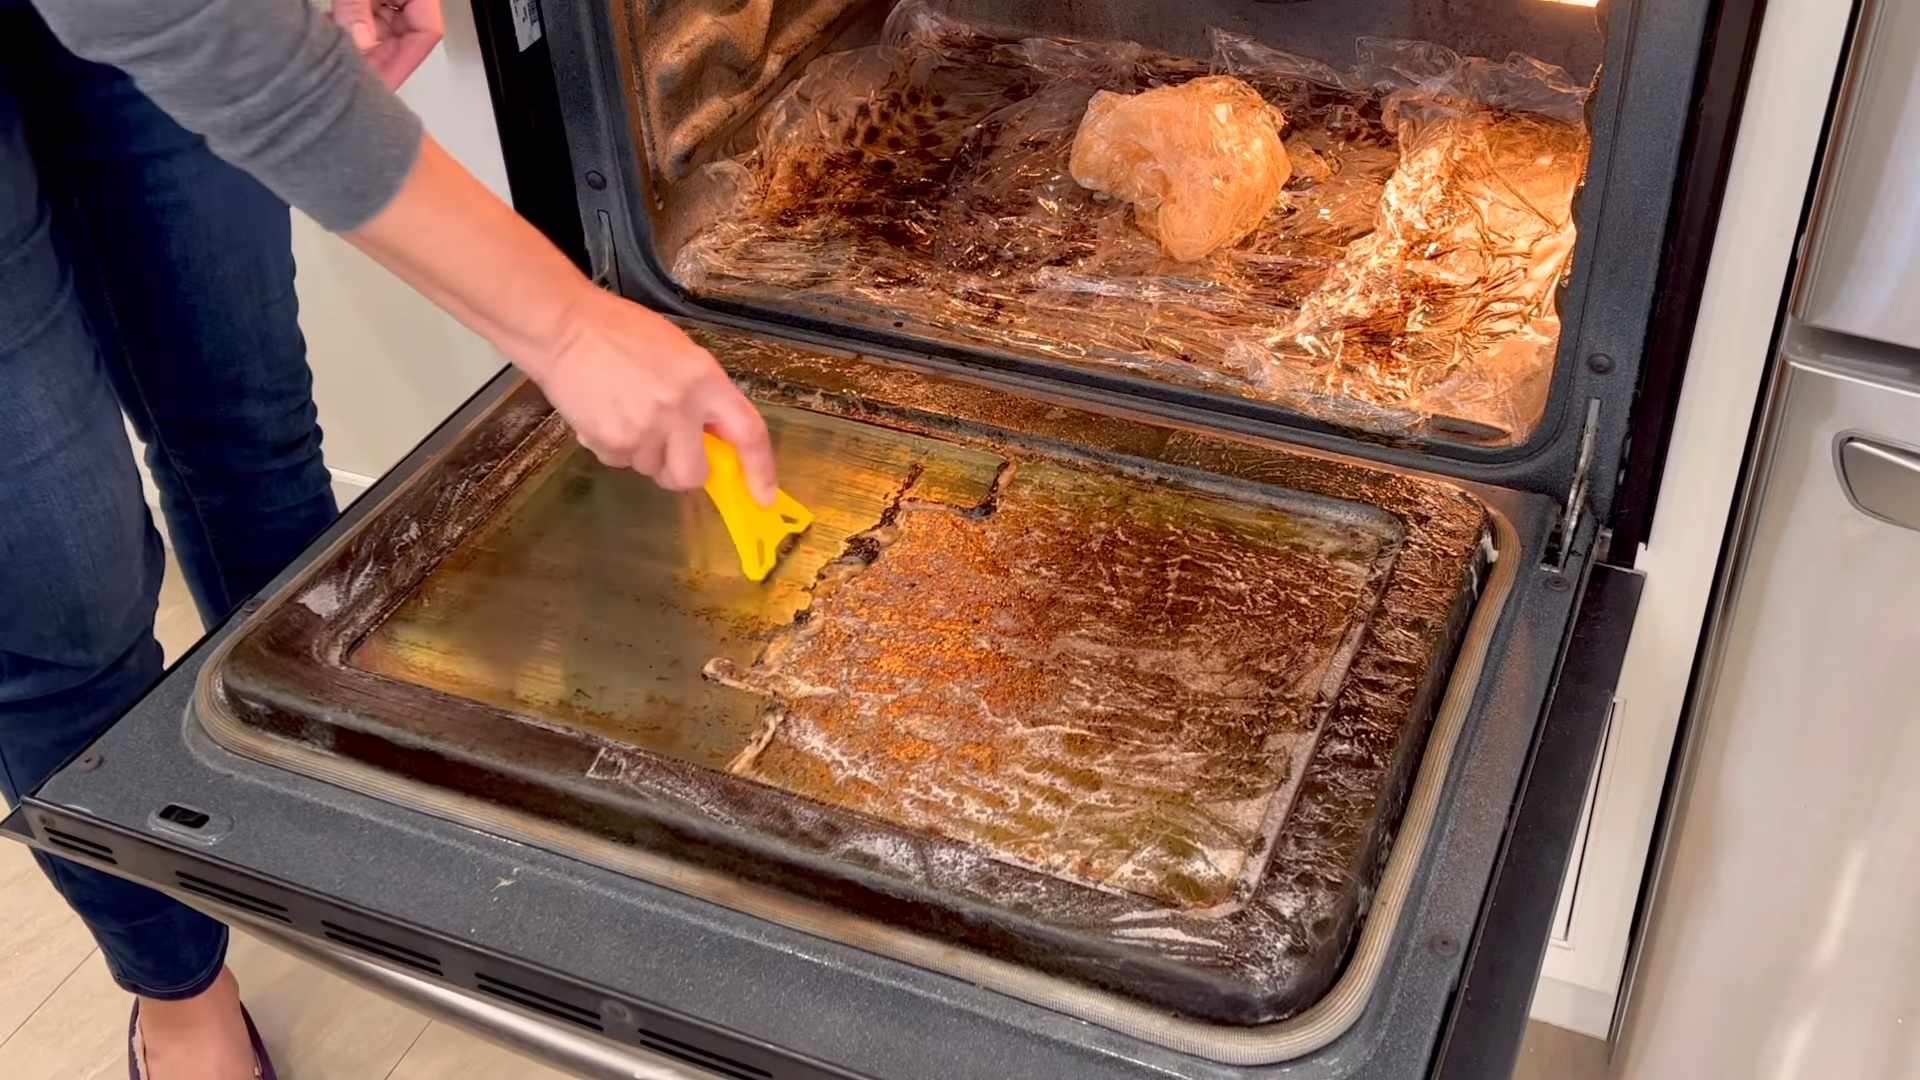
9. Wipe Away the Grime: Now, using your sponge or cloth, start wiping away the baking soda paste and loosened grime. You might need to use a little elbow grease, especially in areas with heavy buildup. The spatula or scraper can be helpful for scraping away stubborn spots.
10. Rinse and Repeat: Rinse your sponge or cloth frequently with clean water. You’ll probably need to rinse it several times as you go. If you encounter any areas that are particularly difficult to clean, repeat the vinegar spray and wiping process.
11. Keep Wiping: Continue wiping until you’ve removed all the baking soda paste and grime. It might take a little time, but keep at it! You’ll be amazed at how much gunk comes off.
Phase 3: Cleaning the Oven Racks
While the baking soda paste is working its magic inside the oven, let’s tackle those racks.
12. Soak the Racks: The easiest way to clean oven racks is to soak them in hot, soapy water. You can use your bathtub or a large utility sink. Fill the tub or sink with hot water and add a generous amount of dish soap.
13. Add Baking Soda (Optional): For extra cleaning power, you can also add a cup of baking soda to the water.
14. Submerge the Racks: Submerge the oven racks in the soapy water and let them soak for several hours, or even overnight. The longer they soak, the easier it will be to remove the grime.
15. Scrub the Racks: After soaking, use a scrub brush or steel wool to scrub the racks clean. The grime should come off fairly easily after soaking.
16. Rinse Thoroughly: Rinse the racks thoroughly with clean water to remove all traces of soap and grime.
17. Dry the Racks: Dry the racks completely with a clean towel before placing them back in the oven.
Phase 4: The Final Touches
We’re almost there! Just a few more steps to ensure a sparkling clean oven.
18. Rinse the Oven: Once you’ve removed all the baking soda paste and grime, give the inside of the oven a final rinse with a damp cloth. This will remove any remaining residue.
19. Dry the Oven: Dry the inside of the oven with a clean towel.
20. Reassemble: Place the clean oven racks back inside the oven.
21. Ventilate: Leave the oven door open for a few hours to allow the oven to air out completely. This will help to remove any lingering vinegar smell.
Tips and Tricks for a Sparkling Clean Oven
Here are a few extra tips to help you get the best results:
* For Extra Stubborn Grime: If you have areas with particularly stubborn grime, you can try making a thicker baking soda paste and letting it sit for even longer. You can also try using a plastic scraper to gently scrape away the grime.
* Protect Your Floor: Place an old towel or newspaper under the oven door to protect your floor from drips and spills.
* Clean Regularly: The more often you clean your oven, the easier it will be to keep it clean. Try to clean your oven every few months to prevent buildup.
* Self-Cleaning Ovens: While this method works great for most ovens, it’s always a good idea to consult your oven’s manual before using any cleaning products or methods. Some self-cleaning ovens may have specific instructions or warnings.
* Vinegar Smell: If you’re sensitive to the smell of vinegar, you can add a few drops of essential oil to the vinegar spray bottle. Lavender, lemon, or orange essential oils work well.
* Don’t Forget the Door: Pay attention to the oven door, especially the glass. You can use the same baking soda paste and vinegar method to clean the glass.
Why This Method Works
You might be wondering why this simple baking soda and vinegar method is so effective. Here’s the science behind it:
* Baking Soda: Baking soda is a mild alkali, which means it can help to dissolve grease and grime. It’s also a gentle abrasive, which helps to scrub away stubborn stains.
* Vinegar: Vinegar is a mild acid, which helps to break down mineral deposits and other types of buildup. When combined with baking soda, it creates a fizzing reaction that helps to loosen grime.
Together, baking soda and vinegar create a powerful cleaning combination that is both effective and natural.
Enjoy Your Sparkling Clean Oven!
And there you have it! A sparkling clean oven without the harsh chemicals. I hope this guide has been helpful. Happy cleaning!
Conclusion
So, there you have it! No more dreading oven cleaning day. This simple, effective, and surprisingly affordable DIY method to clean dirty oven easily is a game-changer. Forget harsh chemicals, expensive cleaners, and hours of back-breaking scrubbing. This approach harnesses the power of readily available ingredients and a little bit of patience to deliver sparkling results.
Why is this a must-try? Because it’s not just about a clean oven; it’s about reclaiming your time, protecting your health, and saving money. Commercial oven cleaners are often laden with harsh chemicals that can irritate your skin, eyes, and respiratory system. This DIY solution offers a safer, more natural alternative without compromising on cleaning power. Plus, think of all the money you’ll save by ditching those expensive sprays and gels!
But the benefits don’t stop there. A clean oven isn’t just aesthetically pleasing; it also improves your cooking. Built-up grease and grime can affect the taste and smell of your food, and in extreme cases, even pose a fire hazard. By regularly cleaning your oven using this method, you’ll ensure that your culinary creations are always at their best.
Looking for variations? Absolutely! For particularly stubborn stains, you can create a paste of baking soda and water and let it sit overnight before scrubbing. You can also add a few drops of your favorite essential oil, like lemon or lavender, to the water and vinegar mixture for a fresh, clean scent. If you have a self-cleaning oven, you can use this method as a pre-cleaner to loosen up grime before running the self-cleaning cycle, making it even more effective. Remember to always consult your oven’s manual before using any cleaning method.
We’re confident that once you try this DIY oven cleaning trick, you’ll never go back to store-bought cleaners. It’s easy, effective, and environmentally friendly. So, roll up your sleeves, gather your supplies, and prepare to be amazed by the results.
Don’t just take our word for it – try it yourself! We encourage you to give this method a try and share your experience with us. Let us know in the comments below how it worked for you, any variations you tried, and any tips you have to share. We’re all in this together, striving for cleaner ovens and happier kitchens! We are eager to hear how this method helped you clean dirty oven easily. Your feedback will help other readers and contribute to a community of clean-oven enthusiasts. Happy cleaning!
FAQ
Frequently Asked Questions About Cleaning Your Dirty Oven Easily
Q: Is this DIY oven cleaning method safe for all types of ovens?
A: Generally, yes, this method is safe for most ovens, including gas and electric models. However, it’s always a good idea to consult your oven’s manual before using any cleaning method, especially if you have a self-cleaning oven. Some manufacturers may have specific recommendations or warnings. If you have a convection oven, be sure to remove any convection fan covers before cleaning.
Q: How often should I clean my oven using this method?
A: The frequency of cleaning depends on how often you use your oven and how much it tends to get dirty. As a general rule, cleaning your oven every 3-6 months is a good practice. However, if you notice spills, splatters, or excessive buildup of grease, you may want to clean it more frequently. Regular cleaning will prevent grime from hardening and becoming more difficult to remove.
Q: Can I use this method on a self-cleaning oven?
A: Yes, you can use this method on a self-cleaning oven. In fact, it can be a great way to pre-clean your oven before running the self-cleaning cycle. This will help loosen up stubborn grime and make the self-cleaning cycle more effective. However, be sure to remove any baking soda residue before running the self-cleaning cycle, as it can potentially damage the oven. Always consult your oven’s manual for specific instructions.
Q: What if I have a really dirty oven with years of baked-on grease? Will this method still work?
A: For ovens with years of baked-on grease, this method may require a bit more patience and effort. You may need to repeat the process several times, allowing the baking soda paste to sit for longer periods (even overnight) to soften the grime. You can also use a plastic scraper or a non-abrasive scrubbing pad to help remove stubborn stains. In extreme cases, you may need to consider using a commercial oven cleaner, but always follow the manufacturer’s instructions carefully and ensure proper ventilation.
Q: What if I don’t have baking soda? Can I use something else?
A: Baking soda is the key ingredient in this DIY oven cleaning method due to its mild abrasive and alkaline properties. While there isn’t a direct substitute that will work as effectively, you could try using a mixture of salt and cream of tartar as a mild abrasive. However, baking soda is generally the most readily available and effective option.
Q: The baking soda paste is drying out and becoming difficult to scrub off. What should I do?
A: If the baking soda paste is drying out, you can lightly spray it with water to rehydrate it and make it easier to scrub off. You can also use a damp sponge or cloth to loosen the paste. Avoid using excessive amounts of water, as this can dilute the cleaning solution.
Q: Can I use this method to clean the oven door glass?
A: Yes, this method is generally safe to use on the oven door glass. However, avoid using abrasive scrubbing pads, as they can scratch the glass. Instead, use a soft cloth or sponge to gently scrub the glass. For particularly stubborn stains, you can try using a glass cleaner after removing the baking soda paste.
Q: Is there a specific type of vinegar I should use?
A: White vinegar is the most commonly recommended type of vinegar for cleaning due to its acidity and lack of color. However, you can also use apple cider vinegar, although it may leave a slight odor. Avoid using other types of vinegar, such as balsamic vinegar, as they may contain sugars that can leave a sticky residue.
Q: How do I get rid of the vinegar smell after cleaning?
A: The vinegar smell should dissipate quickly after cleaning. You can speed up the process by opening a window or turning on the exhaust fan. You can also place a bowl of baking soda or coffee grounds in the oven to absorb any lingering odors. Adding a few drops of essential oil, like lemon or lavender, to the water and vinegar mixture can also help mask the vinegar smell.
Q: What are some tips for preventing my oven from getting so dirty in the first place?
A: Preventing your oven from getting dirty is easier than cleaning it! Here are a few tips:
* Use oven liners or baking sheets to catch spills and splatters.
* Clean up spills immediately before they bake onto the oven surface.
* Avoid overfilling baking dishes, as this can lead to spills.
* Consider using a splatter screen when cooking foods that tend to splatter.
* Regularly wipe down the oven interior with a damp cloth to remove any loose debris.
By following these tips and using this DIY method to clean dirty oven easily, you can keep your oven sparkling clean and enjoy hassle-free cooking for years to come.


Leave a Comment