

Grow Radishes Easily and unlock the surprisingly simple secrets to a vibrant, peppery harvest right in your own backyard! Have you ever dreamt of plucking crisp, colorful radishes straight from the earth, adding a zesty kick to your salads and snacks? I know I have! For centuries, radishes have been a staple in gardens around the world, from ancient Egypt where they were a common offering to the gods, to the bustling markets of modern-day Europe and Asia. Their quick growth and adaptability have made them a favorite among gardeners of all skill levels.
But let’s be honest, sometimes even the easiest plants can present a challenge. Maybe your radishes are all leaves and no bulb, or perhaps they’re splitting and cracking before you even get a chance to enjoy them. That’s where these DIY tricks and hacks come in! I’m going to share my tried-and-true methods to help you grow radishes easily and consistently, ensuring a bountiful crop every time. Forget complicated gardening techniques and expensive equipment. These simple, practical tips will empower you to cultivate delicious, healthy radishes, no matter your space or experience. Get ready to transform your garden and your plate with the peppery goodness of homegrown radishes!
Grow Radishes Easily: A Beginner’s Guide to a Bountiful Harvest
Hey there, fellow gardening enthusiasts! I’m so excited to share my foolproof method for growing radishes. These little peppery gems are incredibly easy to cultivate, even if you’re a complete newbie like I was when I started. They’re fast-growing, rewarding, and add a delightful zing to salads and snacks. Get ready to impress your friends and family with your homegrown radishes!
Why Radishes Are Awesome
Before we dive into the how-to, let’s talk about why radishes are such a fantastic choice for beginner gardeners:
* Quick Harvest: Radishes are ready to harvest in as little as 3-4 weeks! Talk about instant gratification.
* Easy to Grow: They’re not fussy and tolerate a wide range of conditions.
* Space-Saving: Radishes don’t need a lot of space, making them perfect for small gardens or containers.
* Succession Planting: You can plant radishes every few weeks for a continuous harvest throughout the growing season.
* Edible Greens: Don’t throw away the radish tops! They’re delicious in salads, stir-fries, or as a cooked green.
What You’ll Need
Here’s a list of everything you’ll need to get started:
* Radish seeds (choose your favorite variety! I love French Breakfast and Cherry Belle)
* Well-draining soil (potting mix or garden soil amended with compost)
* A sunny location (at least 6 hours of sunlight per day)
* A garden bed or container (at least 6 inches deep)
* Watering can or hose
* Hand trowel or garden fork
* Optional: Organic fertilizer
Getting Started: Planting Your Radish Seeds
Okay, let’s get our hands dirty! This is the fun part.
1. Prepare the Soil:
* First, choose your planting location. Radishes love sunshine, so pick a spot that gets at least 6 hours of direct sunlight each day.
* If you’re using a garden bed, loosen the soil with a hand trowel or garden fork to a depth of about 6 inches. Remove any rocks, weeds, or debris.
* If you’re using a container, make sure it has drainage holes. Fill it with well-draining potting mix or garden soil amended with compost. I usually mix in about 1/3 compost to give my radishes a good start.
2. Sow the Seeds:
* Radish seeds are small, so handle them carefully.
* Create shallow furrows in the soil, about ½ inch deep and 1 inch apart. You can use your finger or a small tool to make these.
* Sow the radish seeds thinly in the furrows, spacing them about 1 inch apart. Don’t overcrowd them, or they won’t have enough room to develop.
* Gently cover the seeds with soil and lightly pat it down.
3. Water Thoroughly:
* After planting, water the soil gently but thoroughly. You want to make sure the soil is moist but not waterlogged.
* I like to use a watering can with a gentle rose head to avoid disturbing the seeds.
Caring for Your Radishes: The Key to Success
Now that your radishes are planted, it’s time to give them the TLC they need to thrive.
1. Watering:
* Radishes need consistent moisture to grow quickly and develop crisp roots.
* Water regularly, especially during dry spells. Aim to keep the soil consistently moist, but not soggy.
* I usually water my radishes every other day, or more often if the weather is hot and dry.
* A good rule of thumb is to check the soil moisture by sticking your finger about an inch into the soil. If it feels dry, it’s time to water.
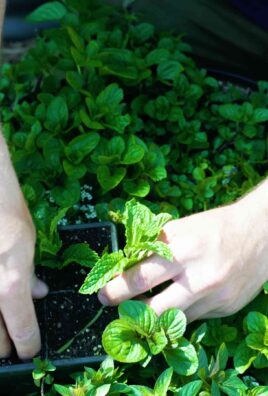
2. Thinning (Important!):
* This is a crucial step that many beginners overlook. Thinning ensures that your radishes have enough space to grow properly.
* When the seedlings are about 1-2 inches tall, thin them to about 1-2 inches apart.
* To thin, gently pull out the weaker seedlings, leaving the strongest ones to grow.
* Don’t be afraid to thin! It might seem counterintuitive, but it will result in a much better harvest.
3. Weeding:
* Keep your radish patch free of weeds. Weeds compete with radishes for water, nutrients, and sunlight.
* Hand-pull weeds regularly, being careful not to disturb the radish roots.
* Mulching around your radishes can also help to suppress weeds.
4. Fertilizing (Optional):
* Radishes don’t need a lot of fertilizer, but a light feeding can help them grow faster and produce larger roots.
* If you choose to fertilize, use an organic fertilizer that is low in nitrogen. Too much nitrogen can cause the radish greens to grow excessively at the expense of the roots.
* I usually fertilize my radishes once or twice during the growing season, using a diluted seaweed emulsion or fish emulsion.
Dealing with Pests and Diseases
Radishes are generally pest-resistant, but there are a few things to watch out for:
* Flea Beetles: These tiny beetles can chew small holes in the radish leaves. To control flea beetles, you can cover your radishes with row covers or spray them with insecticidal soap.
* Root Maggots: These pests can tunnel into the radish roots, causing them to become damaged and unmarketable. To prevent root maggots, practice crop rotation and avoid planting radishes in the same location year after year. You can also use row covers to prevent the adult flies from laying their eggs near the radishes.
* Aphids: These small, sap-sucking insects can cluster on the radish leaves and stems. To control aphids, you can spray them with a strong stream of water or use insecticidal soap.
As for diseases, radishes are generally resistant, but good air circulation and well-draining soil can help prevent any potential problems.
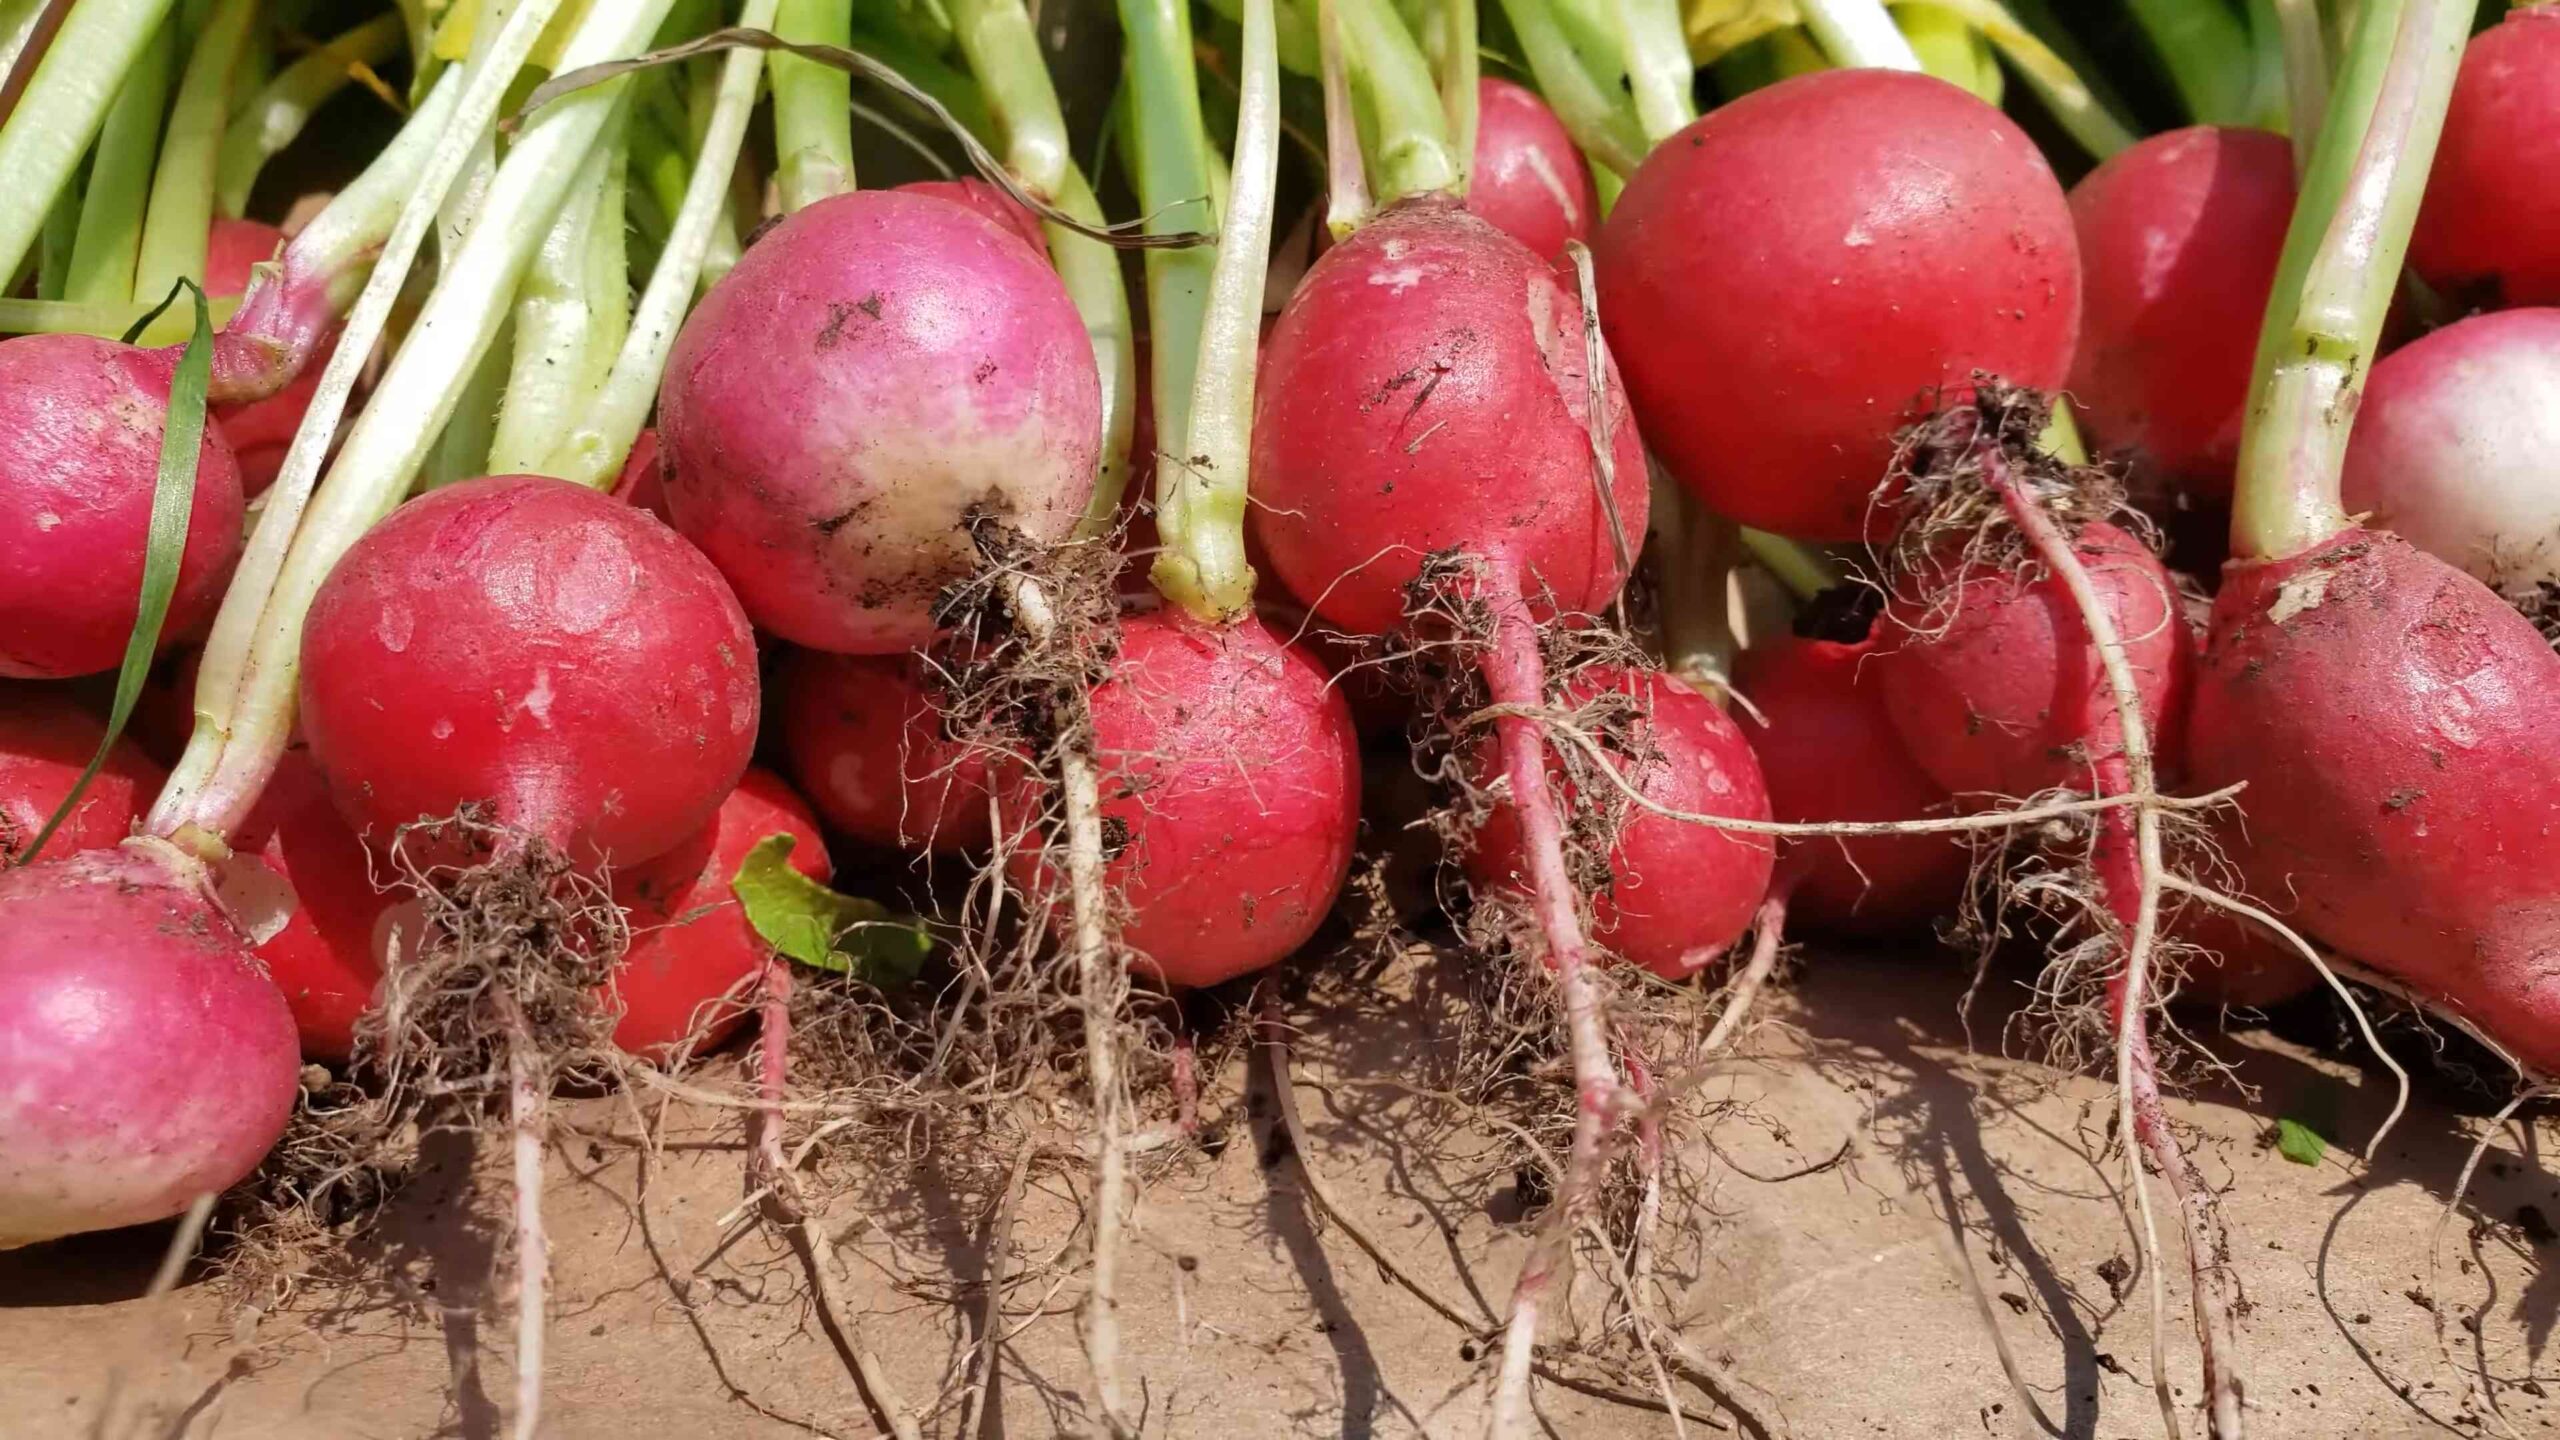
Harvesting Your Radishes: The Moment of Truth!
This is the moment you’ve been waiting for! Harvesting your radishes is the most rewarding part of the process.
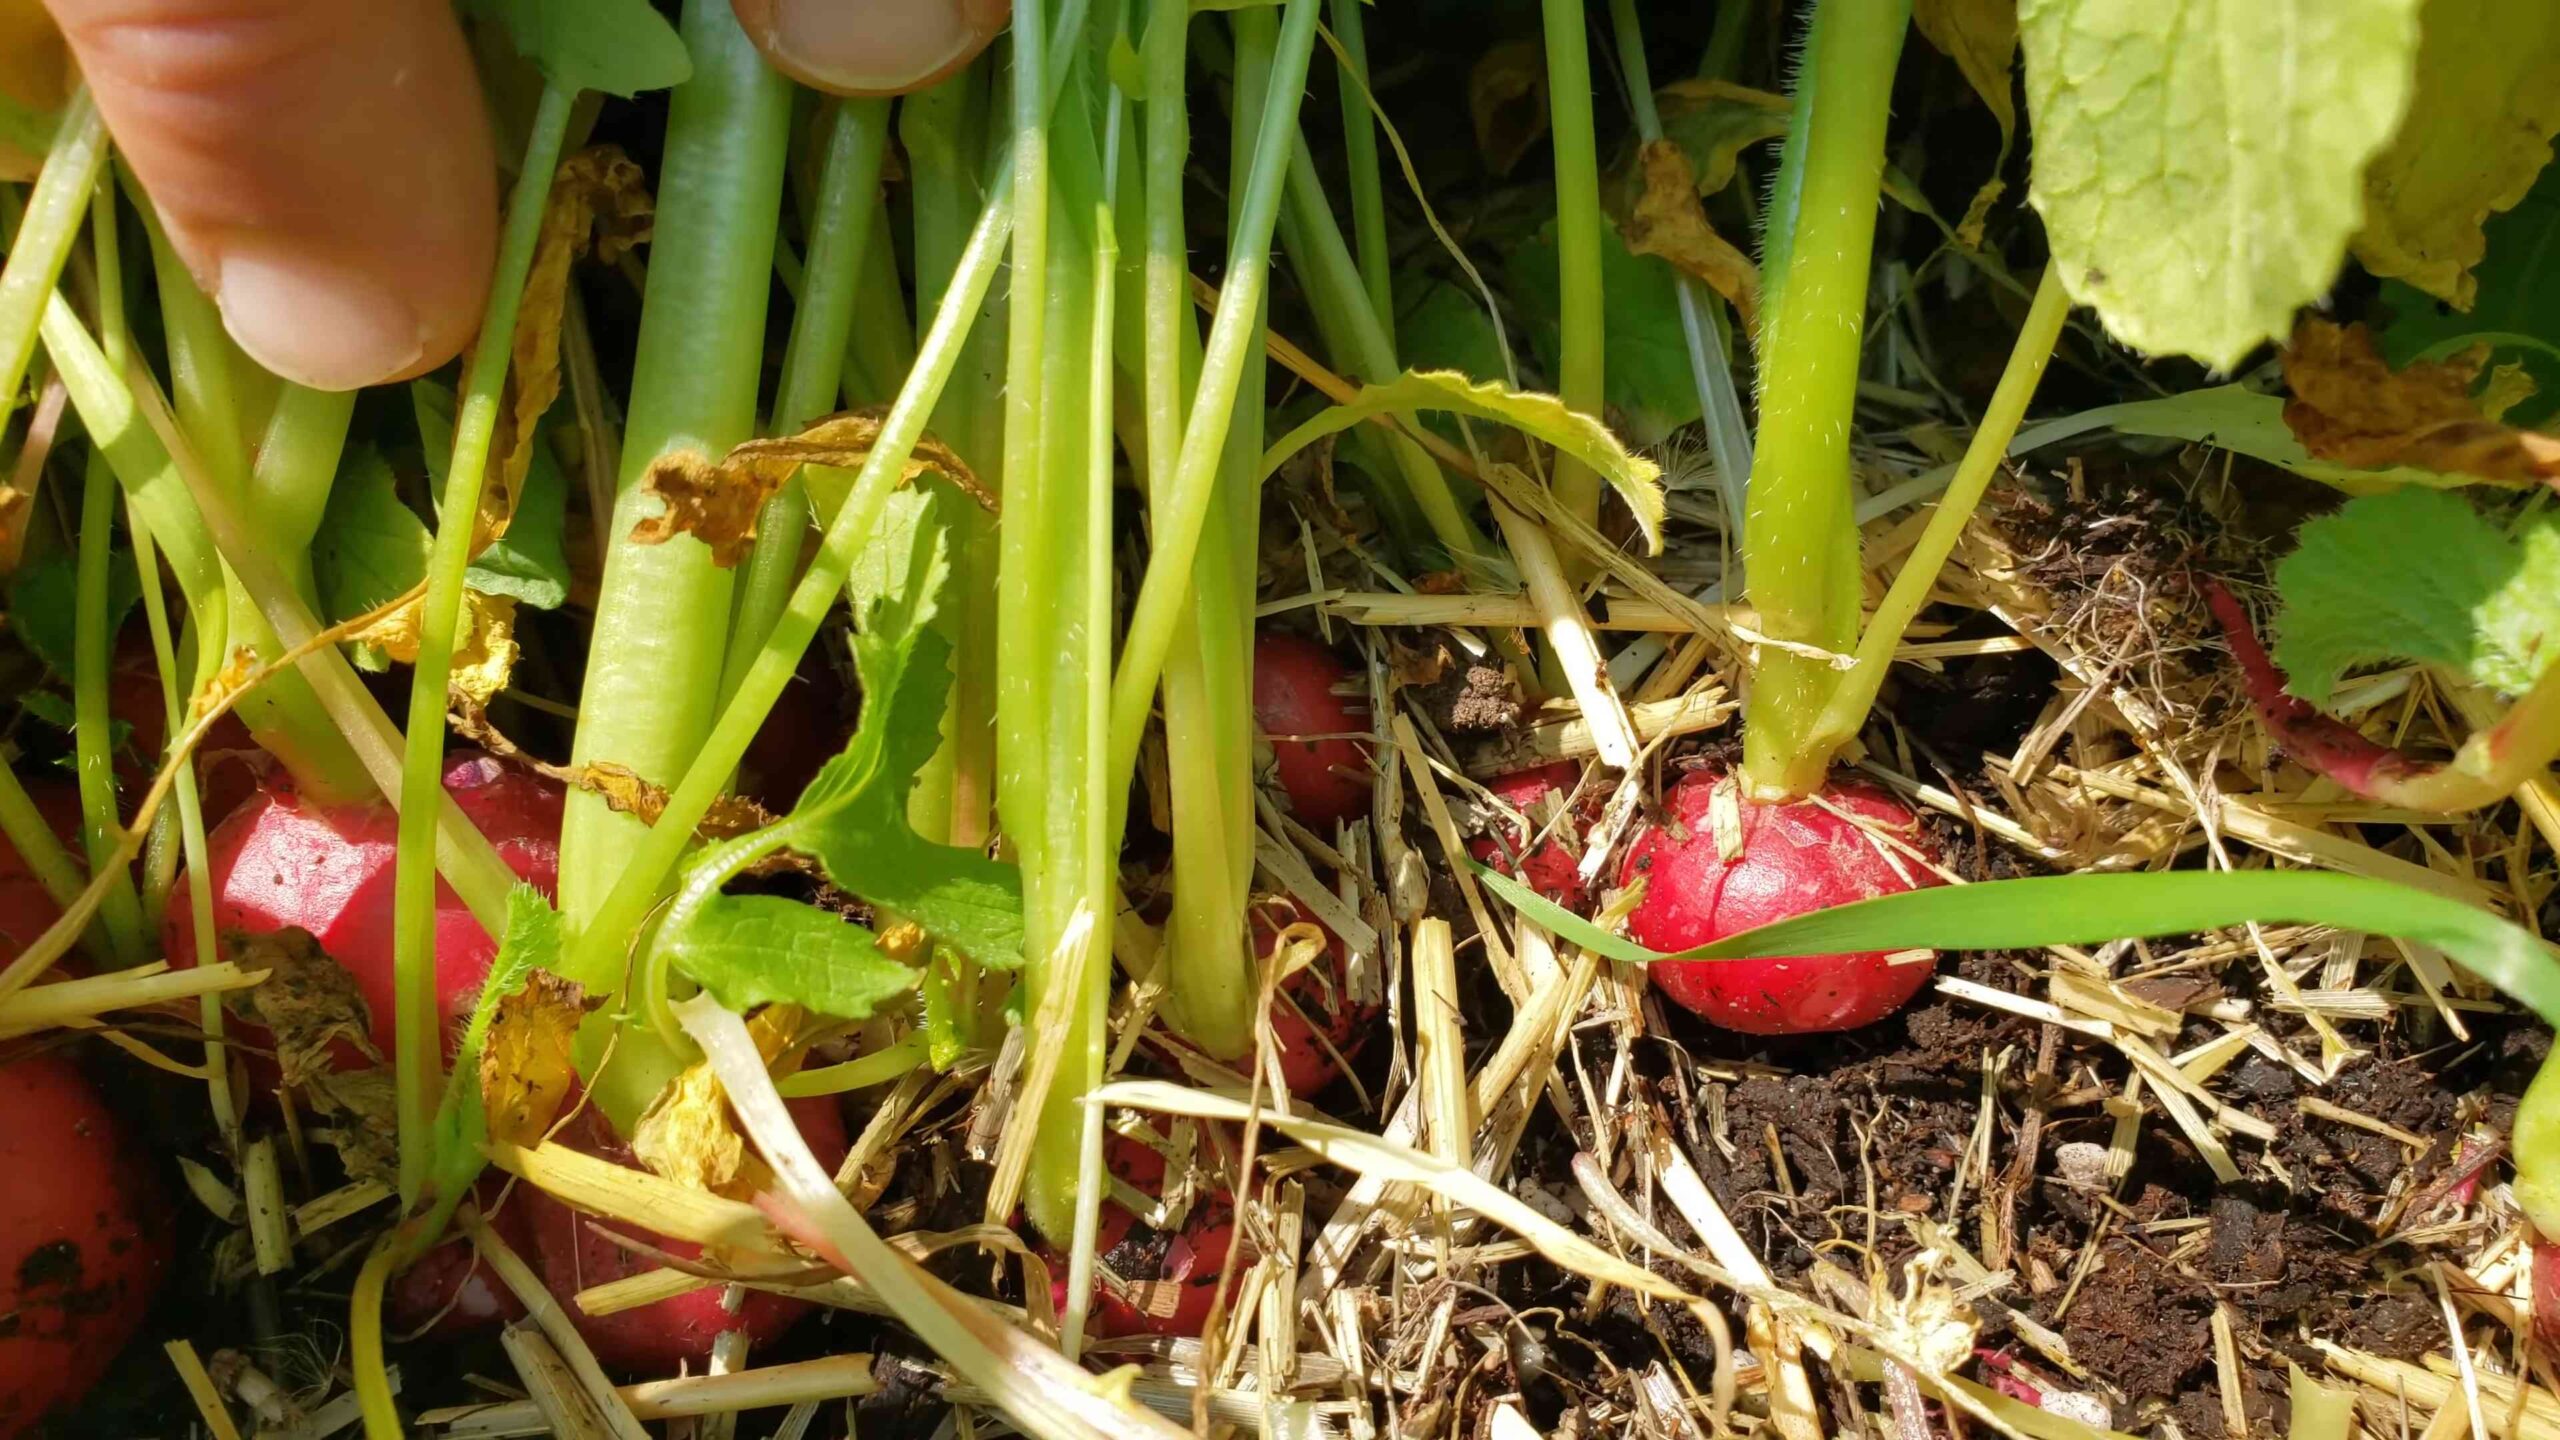
1. Timing is Key:
* Radishes are ready to harvest when they reach the size specified for their variety. Check the seed packet for specific information.
* Generally, radishes are ready to harvest in 3-4 weeks from planting.
* Don’t let them get too big, or they can become woody and bitter.
2. How to Harvest:
* Gently loosen the soil around the radish with your fingers or a small tool.
* Grasp the radish greens near the base and pull gently but firmly. The radish should pop out of the ground easily.
* If the radish is difficult to pull, it may not be ready yet.
3. Cleaning and Storing:
* After harvesting, wash the radishes thoroughly to remove any soil.
* Trim off the radish greens, leaving about an inch of stem attached.
* Store the radishes in a plastic bag in the refrigerator. They will keep for about a week.
* The radish greens can also be stored in a plastic bag in the refrigerator, but they will only keep for a few days.
Succession Planting for a Continuous Harvest
To enjoy a continuous supply of radishes throughout the growing season, practice succession planting. This means planting a new batch of radishes every 2-3 weeks.
* Simply repeat the planting process described above, sowing new seeds in a different location or in the same location after harvesting the previous batch.
* Succession planting ensures that you always have fresh radishes on hand.
Radish Varieties to Try
There are many different radish varieties to choose from, each with its own unique flavor and appearance. Here are a few of my favorites:
* Cherry Belle: A classic red radish with a mild, slightly sweet flavor.
* French Breakfast: An elongated red and white radish with a crisp texture and a mild, peppery flavor.
* Easter Egg: A mix of colorful radishes in shades of red, pink, purple, and white.
* Black Spanish: A large, black-skinned radish with a pungent, spicy flavor.
* Watermelon Radish: A beautiful radish with a green and white exterior and a bright pink interior. It has a mild, slightly sweet flavor.
Experiment with different varieties to find your favorites!
Enjoying Your Harvest
Now that you’ve harvested your radishes, it’s time to enjoy them! Here are a few ideas:
* Eat
Conclusion
So, there you have it! Growing radishes easily doesn’t have to be a daunting task reserved for seasoned gardeners. With these simple DIY tricks, you can transform your garden (or even a container on your balcony!) into a radish-producing powerhouse. We’ve demystified the process, breaking it down into manageable steps that anyone can follow, regardless of their prior gardening experience.
Why is this a must-try? Because fresh, homegrown radishes are simply incomparable to the ones you find at the grocery store. The peppery bite is more pronounced, the texture is crisper, and the satisfaction of harvesting something you’ve nurtured from seed is incredibly rewarding. Plus, radishes are incredibly fast-growing, offering almost instant gratification in the gardening world. You’ll be enjoying your own harvest in just a few short weeks!
But don’t stop there! Experiment with different radish varieties. Try French Breakfast radishes for their mild flavor and elongated shape, or go bold with Watermelon radishes for their stunning pink interior. You can even plant different varieties together for a colorful and diverse harvest. Consider companion planting too! Carrots and radishes are excellent companions, as radishes help to deter pests that might otherwise attack your carrots.
Ready to take the plunge and grow radishes easily? We encourage you to give these DIY tricks a try. Start small, perhaps with a single container, and see how it goes. The key is to provide well-draining soil, consistent moisture, and plenty of sunlight. Don’t be afraid to experiment and adjust your approach as needed. Gardening is a learning process, and every mistake is an opportunity to grow (pun intended!).
We’re confident that you’ll be amazed at how easy and rewarding it is to grow your own radishes. And we want to hear all about your experience! Share your photos, tips, and challenges in the comments below. Let’s create a community of radish enthusiasts and help each other cultivate thriving gardens. Happy gardening!
Frequently Asked Questions (FAQ)
What is the best time of year to plant radishes?
Radishes are cool-season crops, meaning they thrive in cooler temperatures. The best time to plant them is in early spring or late summer/early fall. In spring, plant as soon as the soil can be worked. For a fall harvest, plant about 4-6 weeks before the first expected frost. Avoid planting during the hottest months of summer, as the heat can cause the radishes to become tough and bitter. Successive planting every 2 weeks will ensure a continuous harvest.
What kind of soil do radishes need?
Radishes prefer loose, well-draining soil that is rich in organic matter. Heavy clay soil can hinder root development, resulting in small or misshapen radishes. Amend heavy soil with compost or other organic matter to improve drainage and aeration. A slightly acidic to neutral soil pH (around 6.0 to 7.0) is ideal. Before planting, till the soil to a depth of at least 6 inches and remove any rocks or debris that could obstruct root growth.
How much sunlight do radishes need?
Radishes need at least 6 hours of sunlight per day to grow properly. However, they can tolerate some partial shade, especially in hotter climates. If you’re growing radishes indoors, provide them with supplemental lighting, such as grow lights, to ensure they receive enough light. Insufficient sunlight can lead to leggy growth and poor root development.
How often should I water radishes?
Radishes need consistent moisture to grow quickly and develop crisp, flavorful roots. Water deeply and regularly, especially during dry periods. Aim to keep the soil consistently moist but not waterlogged. Overwatering can lead to root rot, while underwatering can cause the radishes to become tough and bitter. A good rule of thumb is to water when the top inch of soil feels dry to the touch.
How far apart should I plant radish seeds?
Radish seeds should be planted about 1/2 inch deep and 1 inch apart in rows that are 6-12 inches apart. Thin the seedlings to 2-3 inches apart once they emerge to allow for proper root development. Overcrowding can result in small, underdeveloped radishes.
How long does it take for radishes to mature?
Radishes are one of the fastest-growing vegetables, typically maturing in just 3-4 weeks. The exact time will depend on the variety and growing conditions. Check the seed packet for specific maturity dates. Harvest radishes as soon as they reach the desired size, as they can become tough and bitter if left in the ground too long.
What are some common radish pests and diseases?
Radishes are generally pest-resistant, but they can be susceptible to certain pests and diseases, such as flea beetles, root maggots, and fungal diseases. Flea beetles can chew small holes in the leaves, while root maggots can damage the roots. Prevent flea beetle infestations by using row covers or applying insecticidal soap. Control root maggots by practicing crop rotation and using beneficial nematodes. Prevent fungal diseases by providing good air circulation and avoiding overwatering.
Can I eat the radish greens?
Yes, radish greens are edible and nutritious! They have a peppery flavor similar to the roots. Use them in salads, soups, or stir-fries. Harvest the greens when they are young and tender. Avoid eating greens from radishes that have been treated with pesticides.
How do I store radishes?
Remove the greens from the radishes and store them separately in the refrigerator. Store the radishes in a plastic bag or container in the crisper drawer. They will keep for about 1-2 weeks. The greens should be used within a few days.
Why are my radishes cracking?
Cracking in radishes is often caused by inconsistent watering. When the soil dries out and then is suddenly saturated, the radishes can absorb water too quickly, causing them to crack. Ensure consistent moisture levels to prevent cracking. Mulching around the plants can also help to retain moisture in the soil.
My radishes are all tops and no bottoms. What did I do wrong?
This issue, where you get lush green tops but small or non-existent radish roots, can be due to several factors. First, ensure the soil isn’t too rich in nitrogen. Excessive nitrogen promotes leafy growth at the expense of root development. Second, make sure they are getting enough sunlight. Insufficient sunlight can also lead to this problem. Third, the soil might be too compacted, preventing the roots from expanding. Loosen the soil well before planting. Finally, planting too densely can also contribute to this issue, so thin your seedlings appropriately.
Can I grow radishes in containers?
Absolutely! Radishes are well-suited for container gardening. Choose a container that is at least 6 inches deep and has drainage holes. Use a well-draining potting mix and follow the same planting and care instructions as you would for growing radishes in the ground. Container-grown radishes may need more frequent watering, as the soil in containers tends to dry out more quickly.
Leave a Comment