

Grow Watermelons Backyard – sounds like a dream, right? Imagine stepping outside your back door and harvesting your own juicy, sweet watermelons. It’s not just a dream; it’s an achievable reality with a few clever tricks and a little DIY spirit! For centuries, watermelons have been a symbol of summer, abundance, and community gatherings. From ancient Egypt, where they were depicted in hieroglyphics, to modern-day picnics, this refreshing fruit has always held a special place in our hearts (and stomachs!).
But let’s be honest, the thought of growing watermelons can be a little intimidating. They seem so big, so demanding, and so…tropical! That’s where this DIY guide comes in. I’m here to show you that you don’t need a sprawling farm to grow watermelons backyard successfully. Whether you’re short on space, time, or experience, I’ve got you covered with simple, effective hacks that will transform your backyard into a watermelon wonderland.
Why do you need these DIY tricks? Because store-bought watermelons just don’t compare to the taste of a homegrown one! Plus, you’ll know exactly what went into growing it – no mystery chemicals or long-distance transportation. Get ready to roll up your sleeves, get your hands dirty, and experience the joy of harvesting your very own, perfectly ripe watermelons. Let’s get started!
Growing Watermelons in Your Backyard: A Comprehensive DIY Guide
Hey there, fellow gardening enthusiasts! Ever dreamt of biting into a juicy, homegrown watermelon on a hot summer day? Well, you’re in the right place! I’m going to walk you through everything you need to know to successfully grow watermelons right in your own backyard. It might seem daunting, but trust me, with a little planning and effort, you’ll be harvesting your own sweet treats in no time.
Choosing the Right Watermelon Variety
First things first, let’s talk about watermelon varieties. Not all watermelons are created equal, and some are better suited for backyard gardens than others. Consider your climate, space, and personal preferences when making your choice.
* **Space Savers:** If you’re short on space, look for bush or dwarf varieties like ‘Bush Sugar Baby’ or ‘Garden Baby’. These compact plants produce smaller melons but still pack a flavorful punch.
* **Classic Favorites:** For that classic watermelon taste and size, ‘Crimson Sweet’ and ‘Charleston Gray’ are popular choices. They require more space but are well worth it.
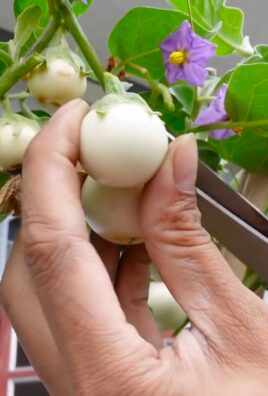
* **Unique Options:** Want to try something different? Consider yellow or orange-fleshed varieties like ‘Yellow Doll’ or ‘OrangeGlo’. They offer a unique flavor profile and visual appeal.
* **Seedless Wonders:** If you prefer seedless watermelons, ‘Triploid’ varieties are the way to go. Keep in mind that they require a pollinator variety nearby to produce fruit.
Preparing Your Garden Bed
Watermelons are heavy feeders, meaning they need nutrient-rich soil to thrive. Proper soil preparation is crucial for a successful harvest.
* **Sunlight is Key:** Watermelons need at least 6-8 hours of direct sunlight per day. Choose a location in your yard that receives plenty of sunshine.
* **Soil Testing:** Before you start amending your soil, it’s a good idea to get it tested. This will tell you the pH level and nutrient content, allowing you to make targeted adjustments. You can usually get a soil test kit from your local garden center or agricultural extension office.
* **Amend the Soil:** Watermelons prefer well-drained soil with a pH between 6.0 and 6.8. Amend your soil with plenty of organic matter, such as compost, aged manure, or leaf mold. This will improve drainage, aeration, and nutrient availability.
* **Raised Beds (Optional):** If you have heavy clay soil or poor drainage, consider growing your watermelons in raised beds. This will provide better drainage and warmer soil temperatures.
* **Spacing:** Give your watermelon plants plenty of room to spread. Depending on the variety, space plants 2-5 feet apart in rows that are 6-8 feet apart.
Starting Your Watermelon Seeds
You can either direct sow watermelon seeds in your garden or start them indoors. Starting indoors gives you a head start, especially in cooler climates.
* **Starting Indoors (4-6 weeks before the last frost):**
1. **Choose Your Containers:** Use peat pots or biodegradable containers to avoid disturbing the roots when transplanting.
2. **Sow the Seeds:** Plant 2-3 seeds per pot, about 1 inch deep.
3. **Provide Warmth:** Watermelon seeds need warm temperatures (70-85°F) to germinate. Use a heat mat or place the pots in a warm location.
4. **Keep the Soil Moist:** Water gently to keep the soil consistently moist but not waterlogged.
5. **Thin the Seedlings:** Once the seedlings emerge, thin them to one strong seedling per pot.
6. **Provide Light:** Place the seedlings under grow lights or in a sunny window.
7. **Harden Off:** Before transplanting, gradually acclimate the seedlings to outdoor conditions by exposing them to increasing amounts of sunlight and wind over a week or two.
* **Direct Sowing (after the last frost):**
1. **Prepare the Soil:** Make sure the soil is warm and well-drained.
2. **Sow the Seeds:** Plant 4-5 seeds in hills, about 1 inch deep.
3. **Thin the Seedlings:** Once the seedlings emerge, thin them to the strongest 2-3 seedlings per hill.
Transplanting Watermelon Seedlings
Once the danger of frost has passed and the soil has warmed up, it’s time to transplant your watermelon seedlings into the garden.
1. **Choose a Cloudy Day:** Transplanting on a cloudy day will help reduce stress on the seedlings.
2. **Dig the Holes:** Dig holes that are slightly larger than the root balls of the seedlings.
3. **Carefully Remove the Seedlings:** Gently remove the seedlings from their containers, being careful not to damage the roots. If you used peat pots, you can plant the entire pot.
4. **Plant the Seedlings:** Place the seedlings in the holes and backfill with soil.
5. **Water Thoroughly:** Water the seedlings thoroughly after transplanting.
6. **Mulch:** Apply a layer of mulch around the plants to help retain moisture, suppress weeds, and regulate soil temperature. Straw, hay, or wood chips are good options.
Caring for Your Watermelon Plants
Watermelons require consistent care throughout the growing season to produce a bountiful harvest.
* **Watering:** Watermelons need plenty of water, especially during fruit development. Water deeply and regularly, aiming for about 1-2 inches of water per week. Avoid overhead watering, as this can promote fungal diseases. Drip irrigation or soaker hoses are ideal.
* **Fertilizing:** Watermelons are heavy feeders and benefit from regular fertilization. Use a balanced fertilizer (e.g., 10-10-10) at planting time and then side-dress with a nitrogen-rich fertilizer when the vines start to run. Switch to a phosphorus and potassium-rich fertilizer when the fruits start to develop. Follow the instructions on the fertilizer label.
* **Weed Control:** Keep the garden bed free of weeds, as they can compete with the watermelon plants for nutrients and water. Hand-pull weeds or use a hoe to cultivate the soil.
* **Pollination:** Watermelons require pollination to set fruit. Bees are the primary pollinators. Attract bees to your garden by planting flowering plants nearby. If you’re not seeing enough bee activity, you can hand-pollinate the flowers.
1. **Identify Male and Female Flowers:** Male flowers have a long, thin stem, while female flowers have a small, immature watermelon at the base.
2. **Hand-Pollinate:** In the morning, use a small paintbrush to collect pollen from the male flower and transfer it to the stigma of the female flower.
* **Vine Training:** As the vines grow, you can train them to grow in a specific direction. This can help save space and prevent the fruits from rotting on the ground.
* **Fruit Support:** As the watermelons grow larger, you may need to support them to prevent them from breaking off the vine. Use slings made from old pantyhose or netting to support the fruits.
Pest and Disease Control
Watermelons are susceptible to various pests and diseases. Here are some common problems and how to deal with them:
* **Cucumber Beetles:** These beetles can damage young plants and spread diseases. Use row covers to protect young plants or hand-pick the beetles off the plants.
* **Aphids:** These small insects suck sap from the plants, causing them to weaken. Spray the plants with insecticidal soap or neem oil.
* **Squash Bugs:** These bugs can cause significant damage to watermelon plants. Hand-pick the bugs and their eggs off the plants.
* **Powdery Mildew:** This fungal disease causes a white, powdery coating on the leaves. Improve air circulation and spray the plants with a fungicide.
* **Anthracnose:** This fungal disease causes dark, sunken lesions on the leaves and fruits. Use disease-resistant varieties and avoid overhead watering.
Harvesting Your Watermelons
Knowing when to harvest your watermelons is crucial for getting that perfect, sweet taste. Here are some signs that your watermelons are ripe:
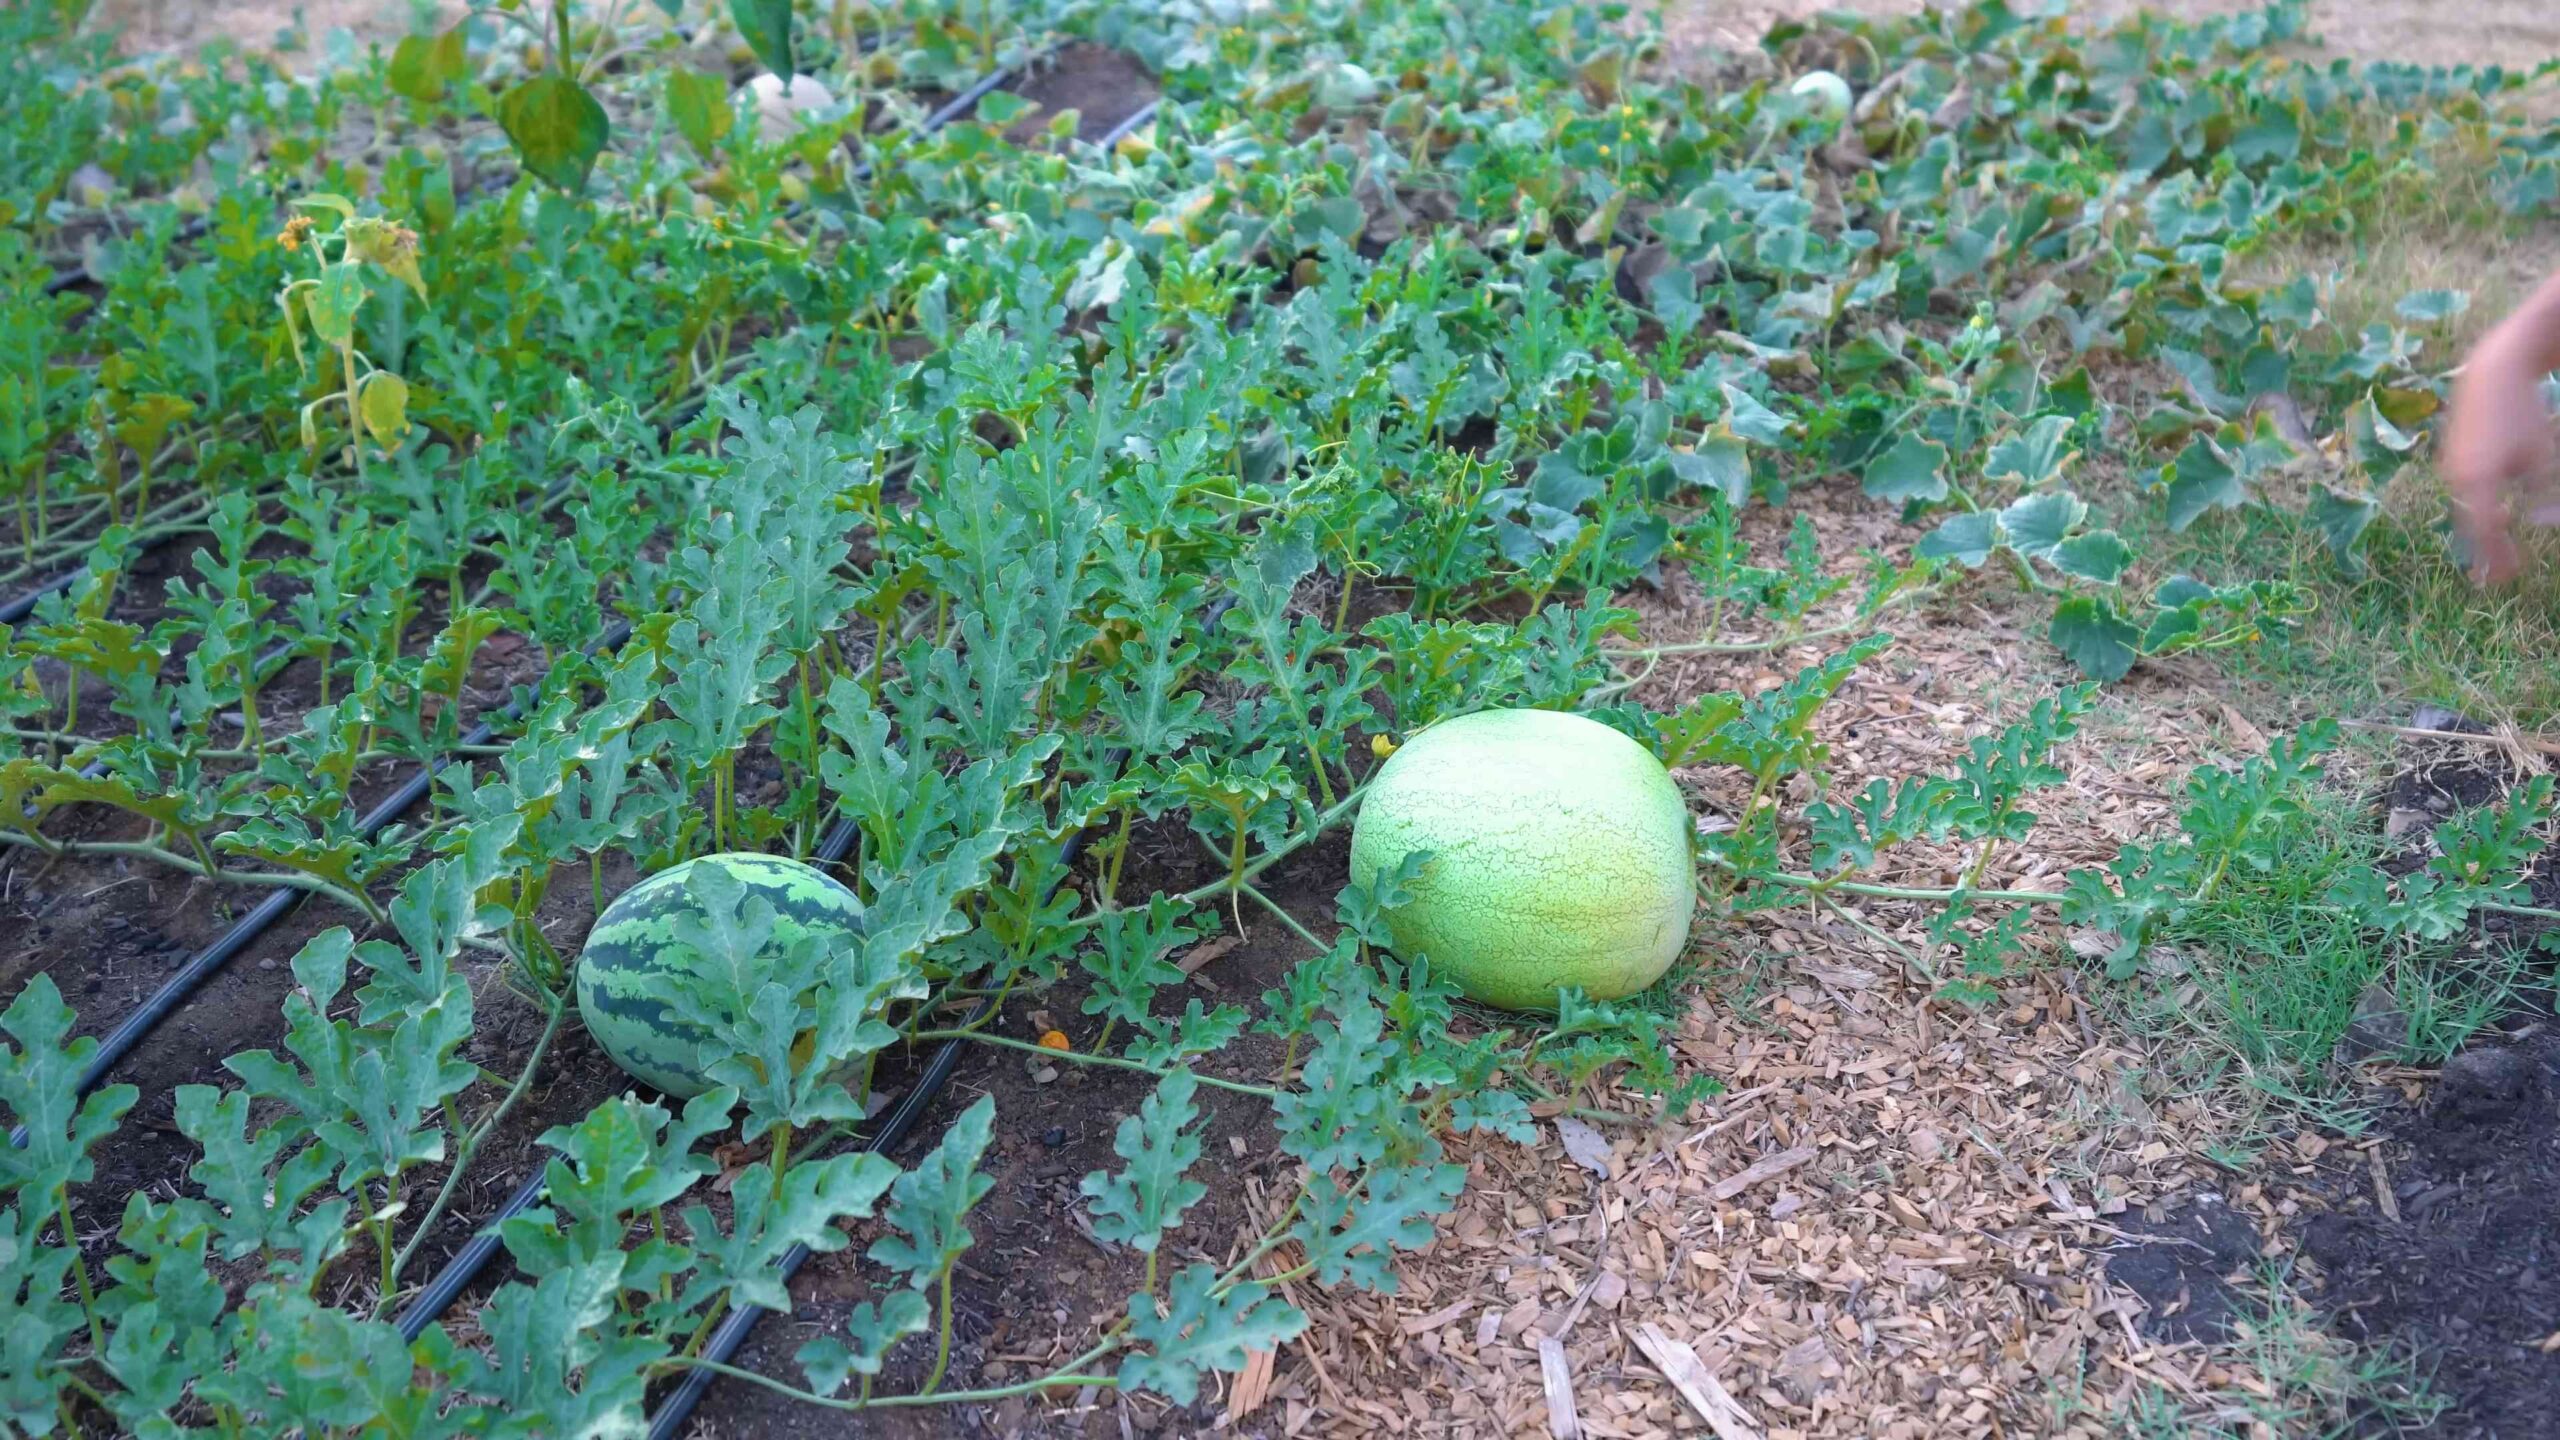
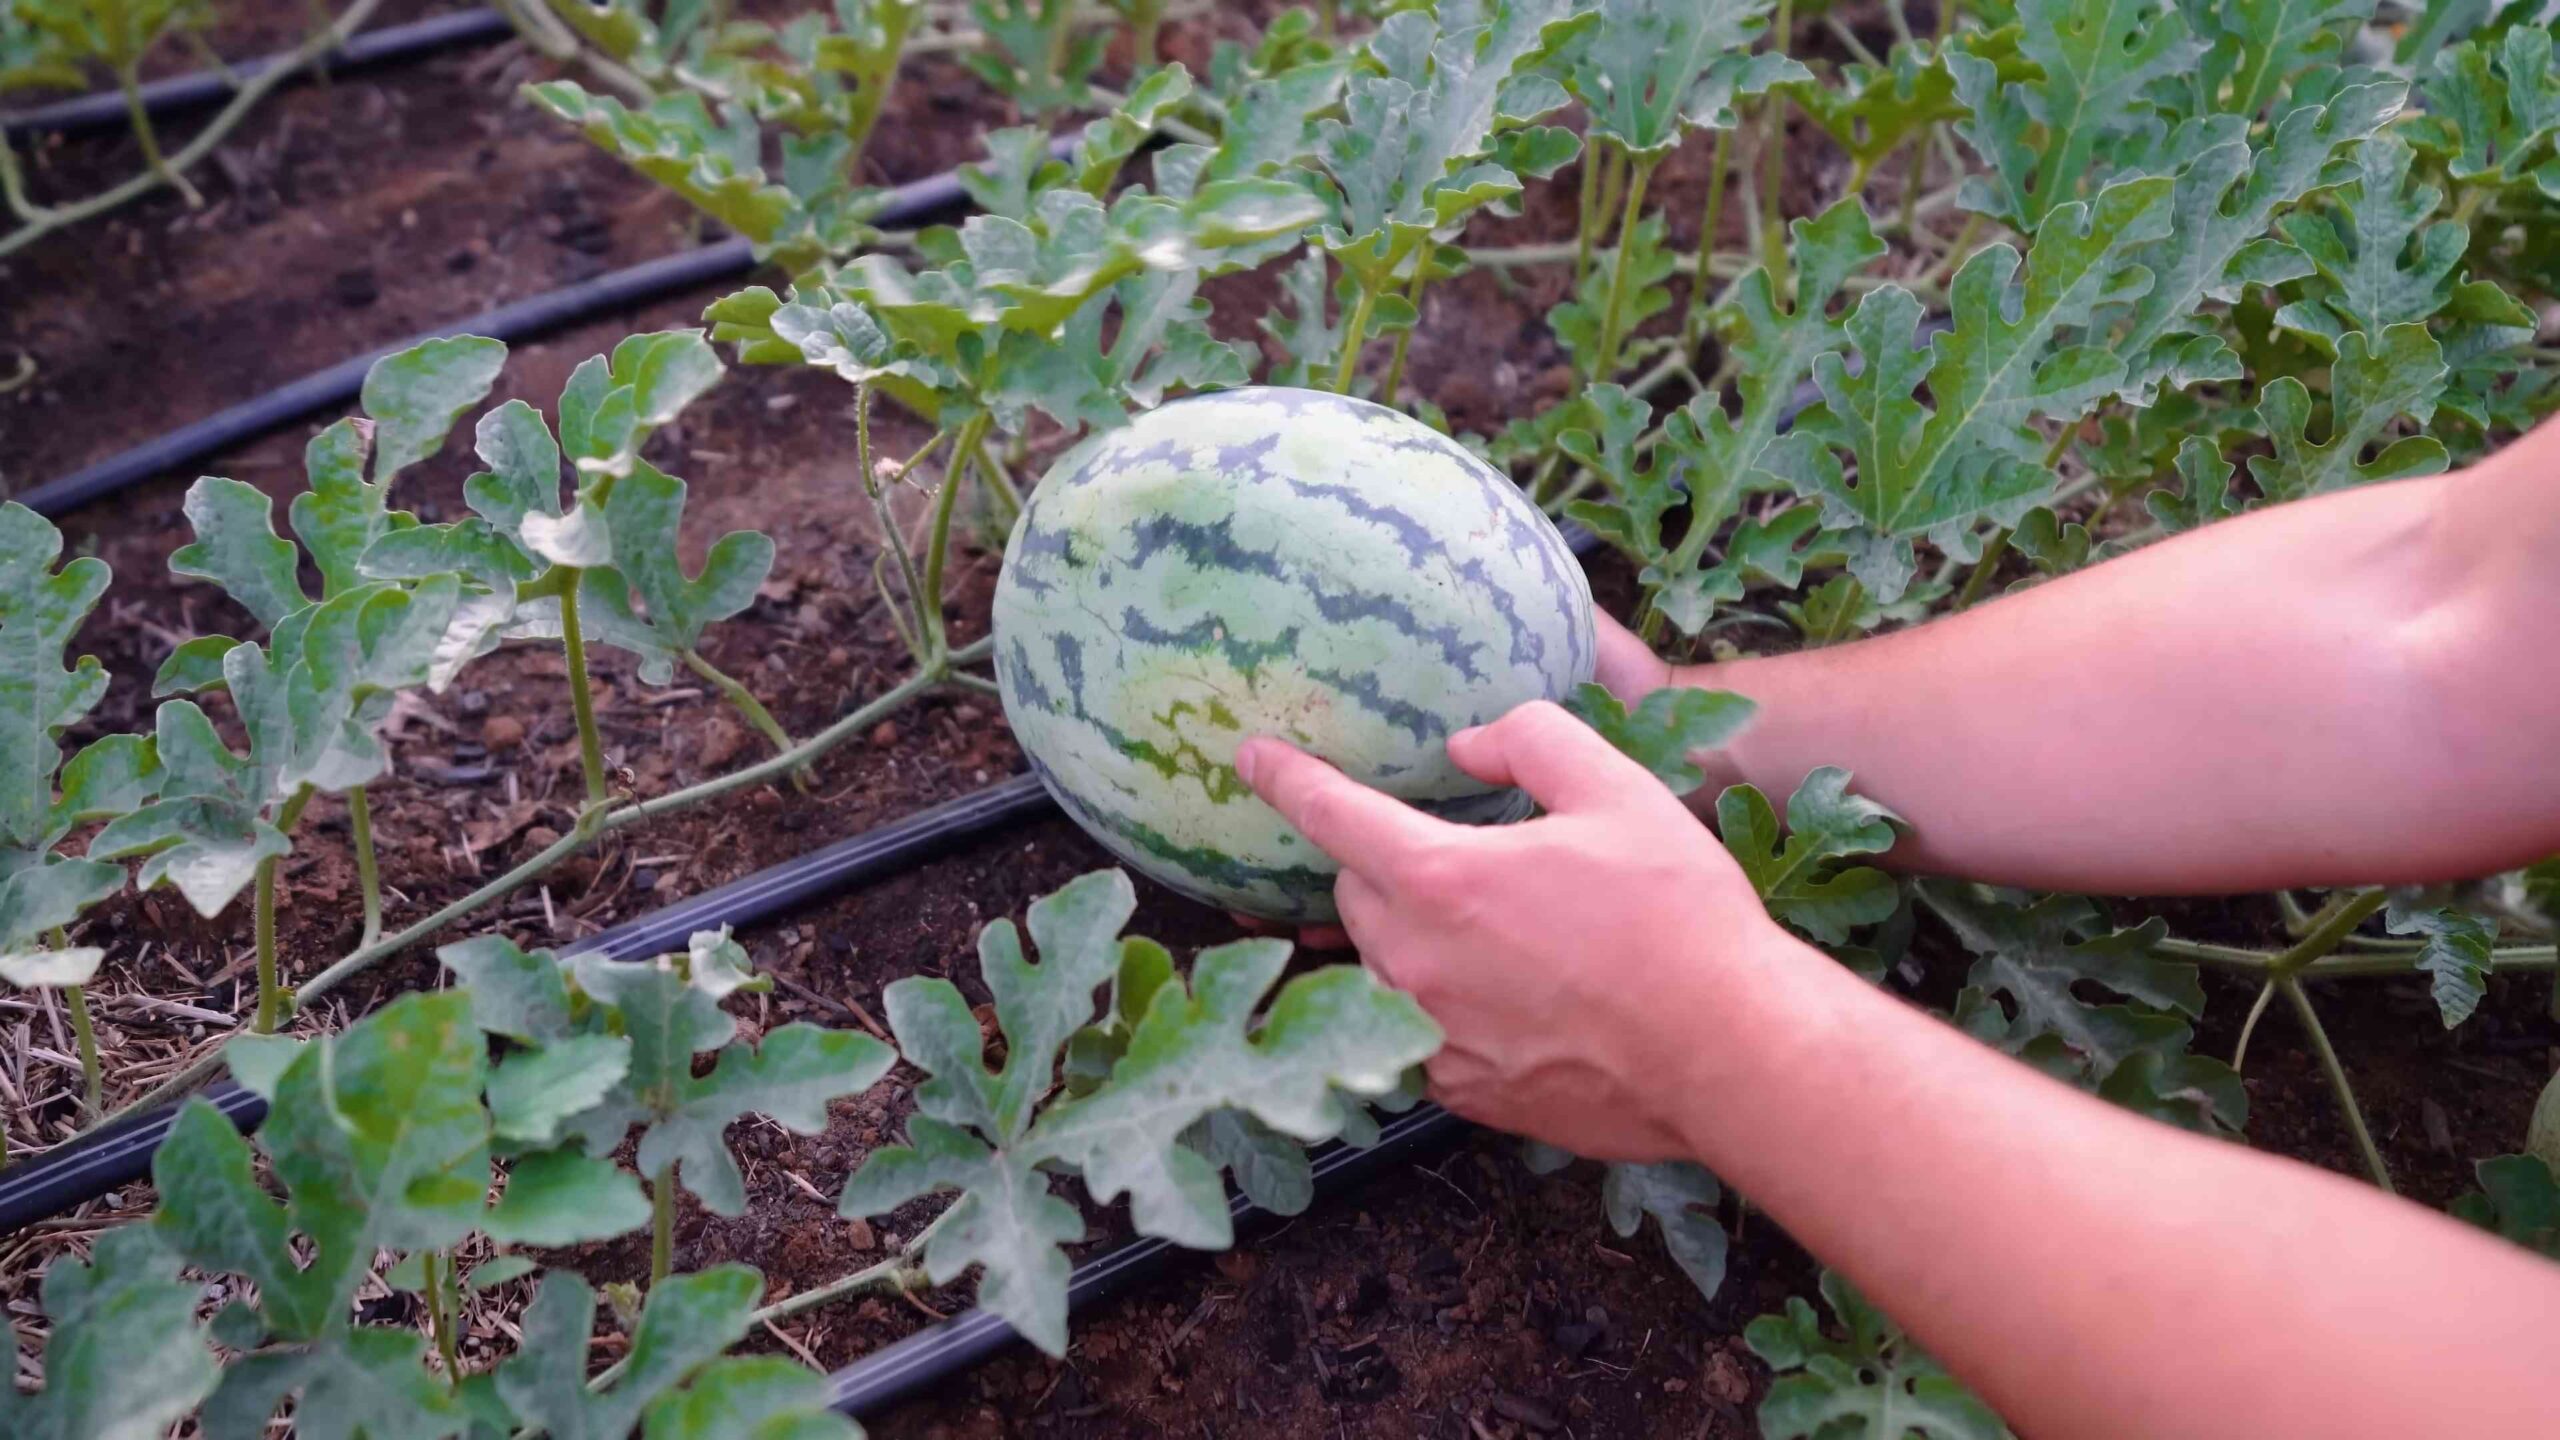
* **The Tendril:** The tendril closest to the fruit should be brown and dry.
* **The Ground Spot:** The spot where the watermelon rests on the ground should be yellow or cream-colored.
* **The Sound:** When you thump the watermelon, it should sound dull and hollow.
* **Days to Maturity:** Check the seed packet for the days to maturity and harvest accordingly.
Once you’ve determined that your watermelon is ripe, use a sharp knife to cut it from the vine, leaving a few inches of stem attached.
Enjoying Your Harvest
Congratulations! You’ve successfully grown your own watermelons. Now it’s time to enjoy the fruits of your labor.
* **Chill the Watermelon:** Chill the watermelon in the refrigerator for a few hours before cutting it.
* **Cut and Serve:** Cut the watermelon into wedges or cubes and
Conclusion
So, there you have it! Growing watermelons in your backyard might seem daunting at first, but with a little planning, preparation, and the right DIY tricks, you can be harvesting juicy, sweet watermelons before you know it. This isn’t just about saving money; it’s about experiencing the unparalleled satisfaction of nurturing something from seed to table, knowing exactly what went into it, and enjoying a flavor that store-bought watermelons simply can’t match.
The DIY trick we’ve explored – whether it’s about creating the perfect soil blend, building a mini-greenhouse for early starts, or crafting a clever watering system – is a game-changer. It empowers you to take control of your watermelon-growing journey, addressing common challenges and maximizing your chances of success. Think of it as your secret weapon against unpredictable weather, nutrient deficiencies, and even pesky pests.
But don’t stop there! Experiment with different watermelon varieties to find your absolute favorite. Try growing smaller, personal-sized watermelons if space is limited, or go for a giant heirloom variety for a real showstopper. Consider companion planting with herbs like basil or marigolds to deter pests and attract beneficial insects. You can even try training your watermelon vines up a trellis to save space and improve air circulation. The possibilities are endless!
Growing watermelons in your backyard is more than just a gardening project; it’s an adventure. It’s a chance to connect with nature, learn new skills, and share the fruits (literally!) of your labor with family and friends. Imagine the look on their faces when you present them with a homegrown watermelon, bursting with flavor and sunshine.
We wholeheartedly encourage you to give this DIY trick a try. Don’t be afraid to get your hands dirty, make mistakes, and learn along the way. Gardening is a journey, not a destination, and every challenge is an opportunity to grow (pun intended!).
Once you’ve experienced the joy of growing your own watermelons, we’d love to hear about it! Share your successes, your challenges, and any variations you’ve tried in the comments below. Let’s build a community of backyard watermelon growers, sharing tips and inspiring each other to create the most delicious and rewarding gardens possible. Happy growing!
Frequently Asked Questions (FAQ)
Q: What is the best time to start growing watermelons in my backyard?
A: The timing depends on your climate. Watermelons need a long, warm growing season (70-90 days). In colder climates, start seeds indoors 6-8 weeks before the last expected frost. In warmer climates, you can direct sow seeds after the soil has warmed to at least 70°F (21°C). A good rule of thumb is to plant when the danger of frost has passed and the soil is consistently warm.
Q: What kind of soil is best for growing watermelons?
A: Watermelons thrive in well-drained, sandy loam soil that is rich in organic matter. The soil pH should be between 6.0 and 6.8. Amend heavy clay soil with compost, aged manure, or other organic matter to improve drainage and aeration. A DIY trick is to add some sand to your soil to improve drainage. Watermelons are heavy feeders, so incorporating plenty of compost or well-rotted manure before planting is crucial.
Q: How much sun do watermelons need?
A: Watermelons need at least 6-8 hours of direct sunlight per day to produce sweet, juicy fruit. Choose a sunny location in your backyard where your watermelon plants will receive ample sunlight throughout the growing season.
Q: How often should I water my watermelon plants?
A: Watermelons need consistent moisture, especially during fruit development. Water deeply and regularly, aiming for about 1-2 inches of water per week. Avoid overhead watering, as this can promote fungal diseases. A DIY trick is to use a soaker hose or drip irrigation system to deliver water directly to the roots. Reduce watering as the fruits ripen to prevent them from splitting.
Q: How do I know when my watermelons are ripe?
A: There are several indicators of watermelon ripeness:
* **The tendril closest to the fruit turns brown and dries up.** This is one of the most reliable signs.
* **The underside of the watermelon (where it rests on the ground) turns from white to a creamy yellow.** This is often referred to as the “ground spot.”
* **The watermelon sounds dull and hollow when thumped.** This takes some practice, but you’ll eventually learn to recognize the sound of a ripe watermelon.
* **The skin becomes dull and less shiny.**
Q: What are some common pests and diseases that affect watermelons?
A: Common pests include aphids, squash bugs, vine borers, and cucumber beetles. Common diseases include powdery mildew, fusarium wilt, and anthracnose. Regularly inspect your plants for signs of pests or diseases and take action promptly. Organic pest control methods include using insecticidal soap, neem oil, or hand-picking pests. For diseases, ensure good air circulation, avoid overhead watering, and use disease-resistant varieties.
Q: Can I grow watermelons in containers?
A: Yes, you can grow watermelons in containers, but you’ll need a large container (at least 20 gallons) and a dwarf or bush variety. Ensure the container has good drainage and use a high-quality potting mix. Water container-grown watermelons more frequently than those grown in the ground, as the soil in containers dries out more quickly. You may also need to provide support for the vines.
Q: How can I improve pollination of my watermelon plants?
A: Watermelons rely on bees for pollination. To attract bees to your garden, plant flowers that are rich in nectar and pollen. Avoid using pesticides that can harm bees. If you’re not seeing enough bee activity, you can hand-pollinate your watermelon flowers. Use a small paintbrush to transfer pollen from the male flowers (which have a long, thin stem) to the female flowers (which have a small, immature watermelon at the base).
Q: What are some good companion plants for watermelons?
A: Good companion plants for watermelons include:
* **Marigolds:** Repel nematodes and other pests.
* **Basil:** Deters pests and attracts beneficial insects.
* **Nasturtiums:** Attract aphids away from watermelon plants.
* **Radishes:** Repel cucumber beetles.
* **Oregano:** Acts as a general pest deterrent.
Q: How do I store my harvested watermelons?
A: Store whole watermelons in a cool, dry place (around 50-60°F or 10-15°C) for up to 2-3 weeks. Once cut, wrap the watermelon tightly in plastic wrap and store it in the refrigerator for up to 3-5 days.


Leave a Comment