

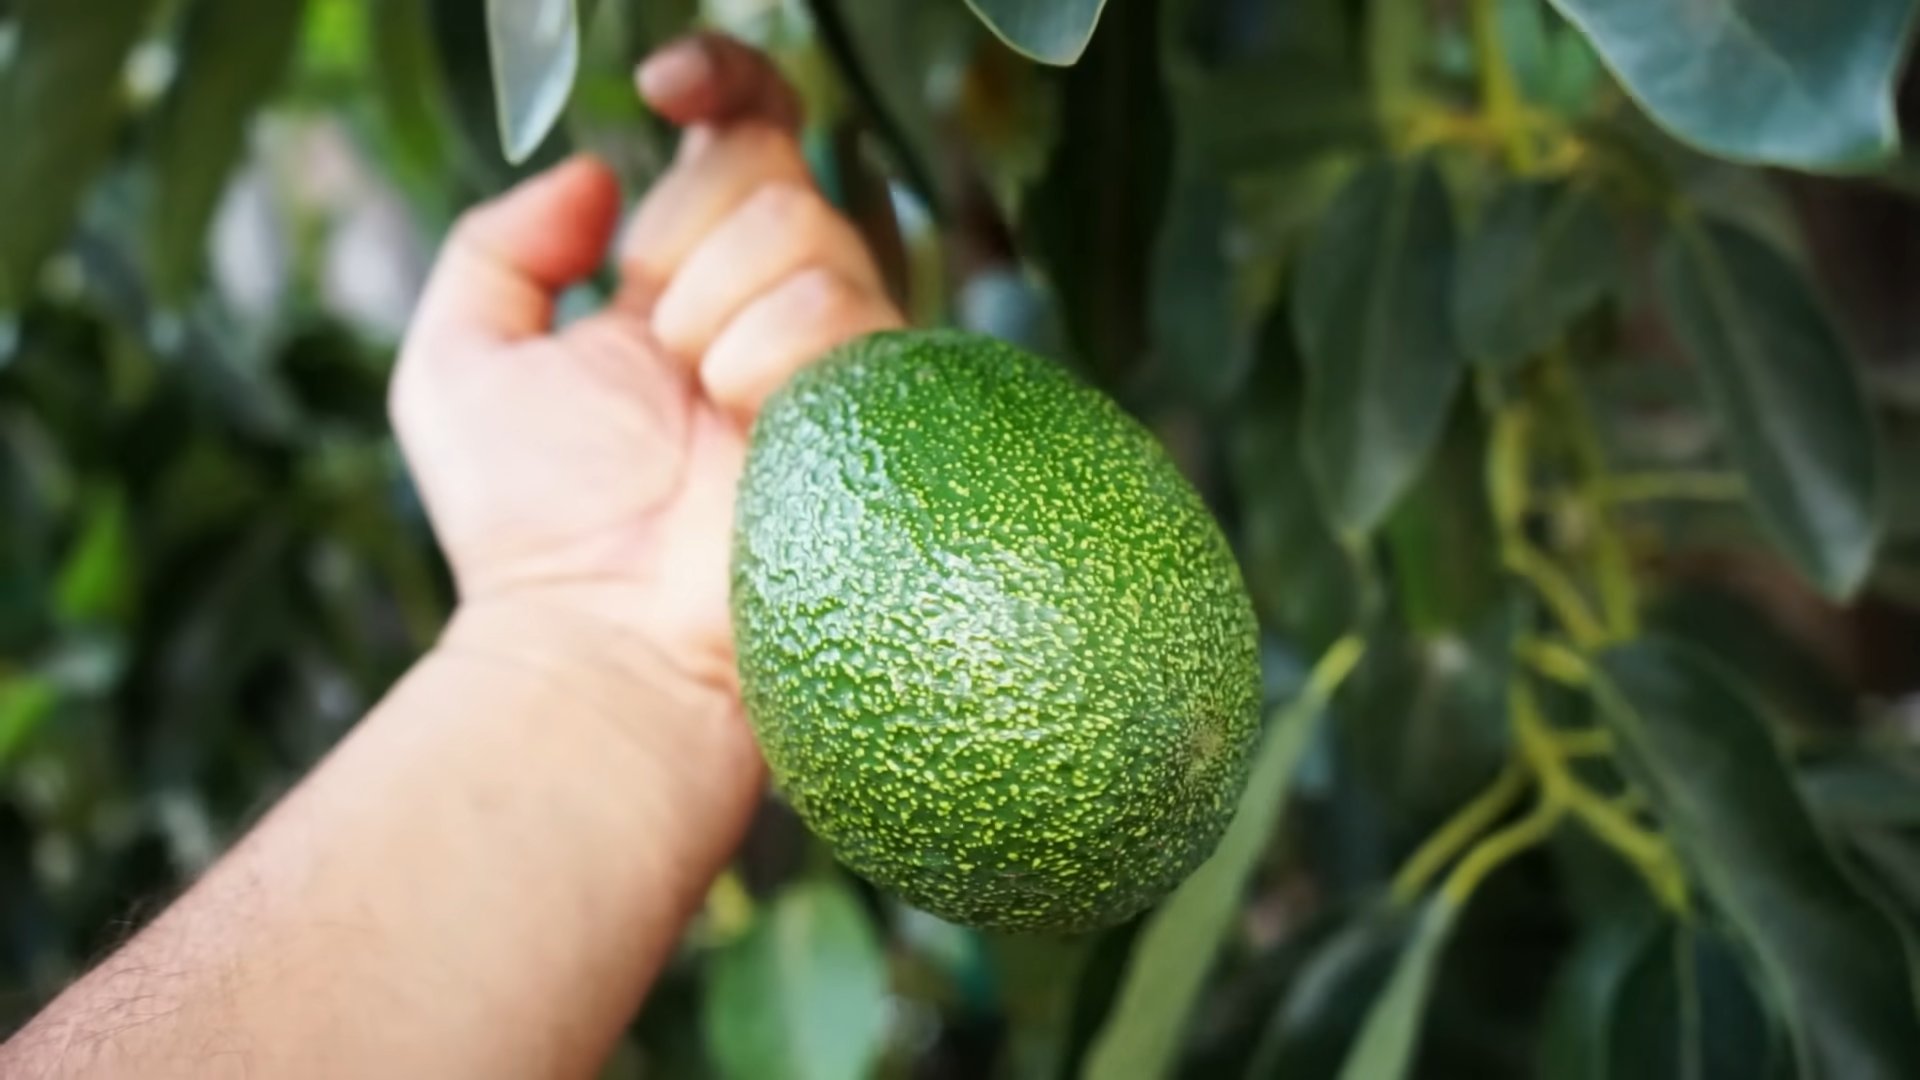
Growing Avocados for Beginners might seem daunting, but trust me, with a little know-how, you can cultivate your own creamy, green goodness right at home! Imagine plucking a perfectly ripe avocado straight from your own tree – the taste is simply unmatched. For centuries, avocados have been cherished, originating in south-central Mexico as early as 5000 BC. The Aztecs even believed the avocado possessed mystical properties!
But beyond the historical allure, why should you embark on this green adventure? Well, store-bought avocados can be expensive, and let’s be honest, sometimes disappointing. Plus, knowing exactly where your food comes from and nurturing it from seed to fruit is incredibly rewarding. This DIY guide is your passport to fresh, delicious avocados, free from harmful pesticides and grown with love. I’ll walk you through every step, from sprouting the seed to caring for your young tree, ensuring even the most novice gardener can experience the joy of growing avocados for beginners. Get ready to ditch the grocery store and embrace the satisfaction of homegrown avocados!
Growing Avocados From Seed: A Beginner’s Guide
Okay, so you want to grow your own avocado tree from a seed? Awesome! It’s a fun and rewarding project, even if it takes a while to see those delicious fruits. I’ve done this a few times, and I’m going to walk you through the whole process, step-by-step. Just remember, growing an avocado tree from seed is more of a fun experiment than a guaranteed way to get a fruit-bearing tree quickly. Grafted trees are much faster and more reliable for fruit production. But hey, let’s get started!
Phase 1: Germinating the Avocado Seed
This is the most crucial part. If you don’t get the seed to sprout, you won’t have an avocado tree!
What you’ll need:
* A ripe avocado (obviously!)
* A sharp knife
* Three toothpicks
* A glass or jar
* Water
Step-by-step instructions:
1. Carefully remove the pit: Slice the avocado lengthwise around the pit. Twist the two halves apart. Be careful not to cut yourself! Gently remove the pit. I usually use the tip of my knife to carefully pry it out, but you can also use a spoon.
2. Clean the pit: Wash the avocado pit thoroughly under cool water. Remove any remaining avocado flesh. This is important to prevent mold growth. I usually scrub it gently with my fingers.
3. Identify the top and bottom: The avocado pit has a slightly pointed end (the top) and a flatter end (the bottom). The roots will emerge from the bottom, and the sprout will come from the top. It’s crucial to get this right!
4. Insert the toothpicks: Insert three toothpicks evenly spaced around the middle of the avocado pit. These toothpicks will act as a support system, allowing you to suspend the pit in water. I try to insert them at a slight downward angle.
5. Suspend the pit in water: Fill your glass or jar with enough water so that the bottom inch of the avocado pit is submerged. The toothpicks should rest on the rim of the glass, holding the pit in place.
6. Find the right spot: Place the glass in a warm, bright location, but away from direct sunlight. A windowsill is usually a good choice.
7. Change the water regularly: Change the water every one to two days to prevent mold and bacteria growth. This is super important! I usually set a reminder on my phone.
8. Be patient: This is where the waiting game begins. It can take anywhere from 2 to 8 weeks (or even longer!) for the pit to sprout. Don’t give up! You should start to see the bottom of the pit crack open, and then a root will emerge. Eventually, a sprout will appear at the top.
Phase 2: Planting the Sprouted Seed
Once you have a decent root system and a sprout, it’s time to move your avocado to soil!
What you’ll need:
* A small pot (about 6-8 inches in diameter) with drainage holes
* Potting mix (well-draining is key!)
* Water
Step-by-step instructions:
1. Prepare the pot: Fill the pot with potting mix, leaving about an inch of space at the top. I like to use a mix specifically formulated for avocados or citrus, but a general-purpose potting mix will work too, as long as it drains well.
2. Carefully remove the toothpicks: Gently remove the toothpicks from the avocado pit. Be careful not to damage the roots.
3. Plant the pit: Make a hole in the center of the potting mix, large enough to accommodate the avocado pit and its roots. Carefully place the pit in the hole, ensuring that the top half of the pit remains exposed above the soil line. The roots should be spread out gently in the soil.
4. Cover the roots: Gently fill in the hole with potting mix, covering the roots. Don’t pack the soil too tightly.
5. Water thoroughly: Water the newly planted avocado tree thoroughly until water drains out of the drainage holes. This will help settle the soil and ensure that the roots are properly hydrated.
6. Find the right spot (again!): Place the pot in a warm, sunny location. Avocado trees need plenty of sunlight to thrive. A south-facing window is ideal.
Phase 3: Caring for Your Avocado Tree
Now that your avocado tree is planted, it’s time to provide it with the care it needs to grow strong and healthy.
What you’ll need:
* Water
* Fertilizer (specifically for avocados or citrus)
* Pruning shears (optional)
Step-by-step instructions:
1. Watering: Water your avocado tree regularly, but don’t overwater it. Allow the top inch of soil to dry out between waterings. Overwatering can lead to root rot, which is a common problem with avocado trees. I usually check the soil moisture with my finger before watering.
2. Fertilizing: Fertilize your avocado tree every 2-3 months during the growing season (spring and summer) with a fertilizer specifically formulated for avocados or citrus. Follow the instructions on the fertilizer package.
3. Pruning: Pruning is optional, but it can help to encourage bushier growth. You can prune your avocado tree in the spring to remove any dead or damaged branches, or to shape the tree. I usually wait until the tree is at least a foot tall before I start pruning.
4. Repotting: As your avocado tree grows, it will eventually need to be repotted into a larger container. Repot it when the roots start to circle around the bottom of the pot. Choose a pot that is a few inches larger in diameter than the current pot.
5. Pest control: Keep an eye out for pests, such as aphids, spider mites, and mealybugs. If you notice any pests, treat them with an appropriate insecticide or insecticidal soap. I prefer to use organic pest control methods whenever possible.
6. Winter care: If you live in an area with cold winters, you’ll need to protect your avocado tree from frost. You can bring it indoors or cover it with a frost blanket. Avocado trees are sensitive to frost and can be damaged or killed by freezing temperatures.
Important Considerations and Troubleshooting
Growing an avocado tree from seed is a long-term project, and there are a few things to keep in mind:
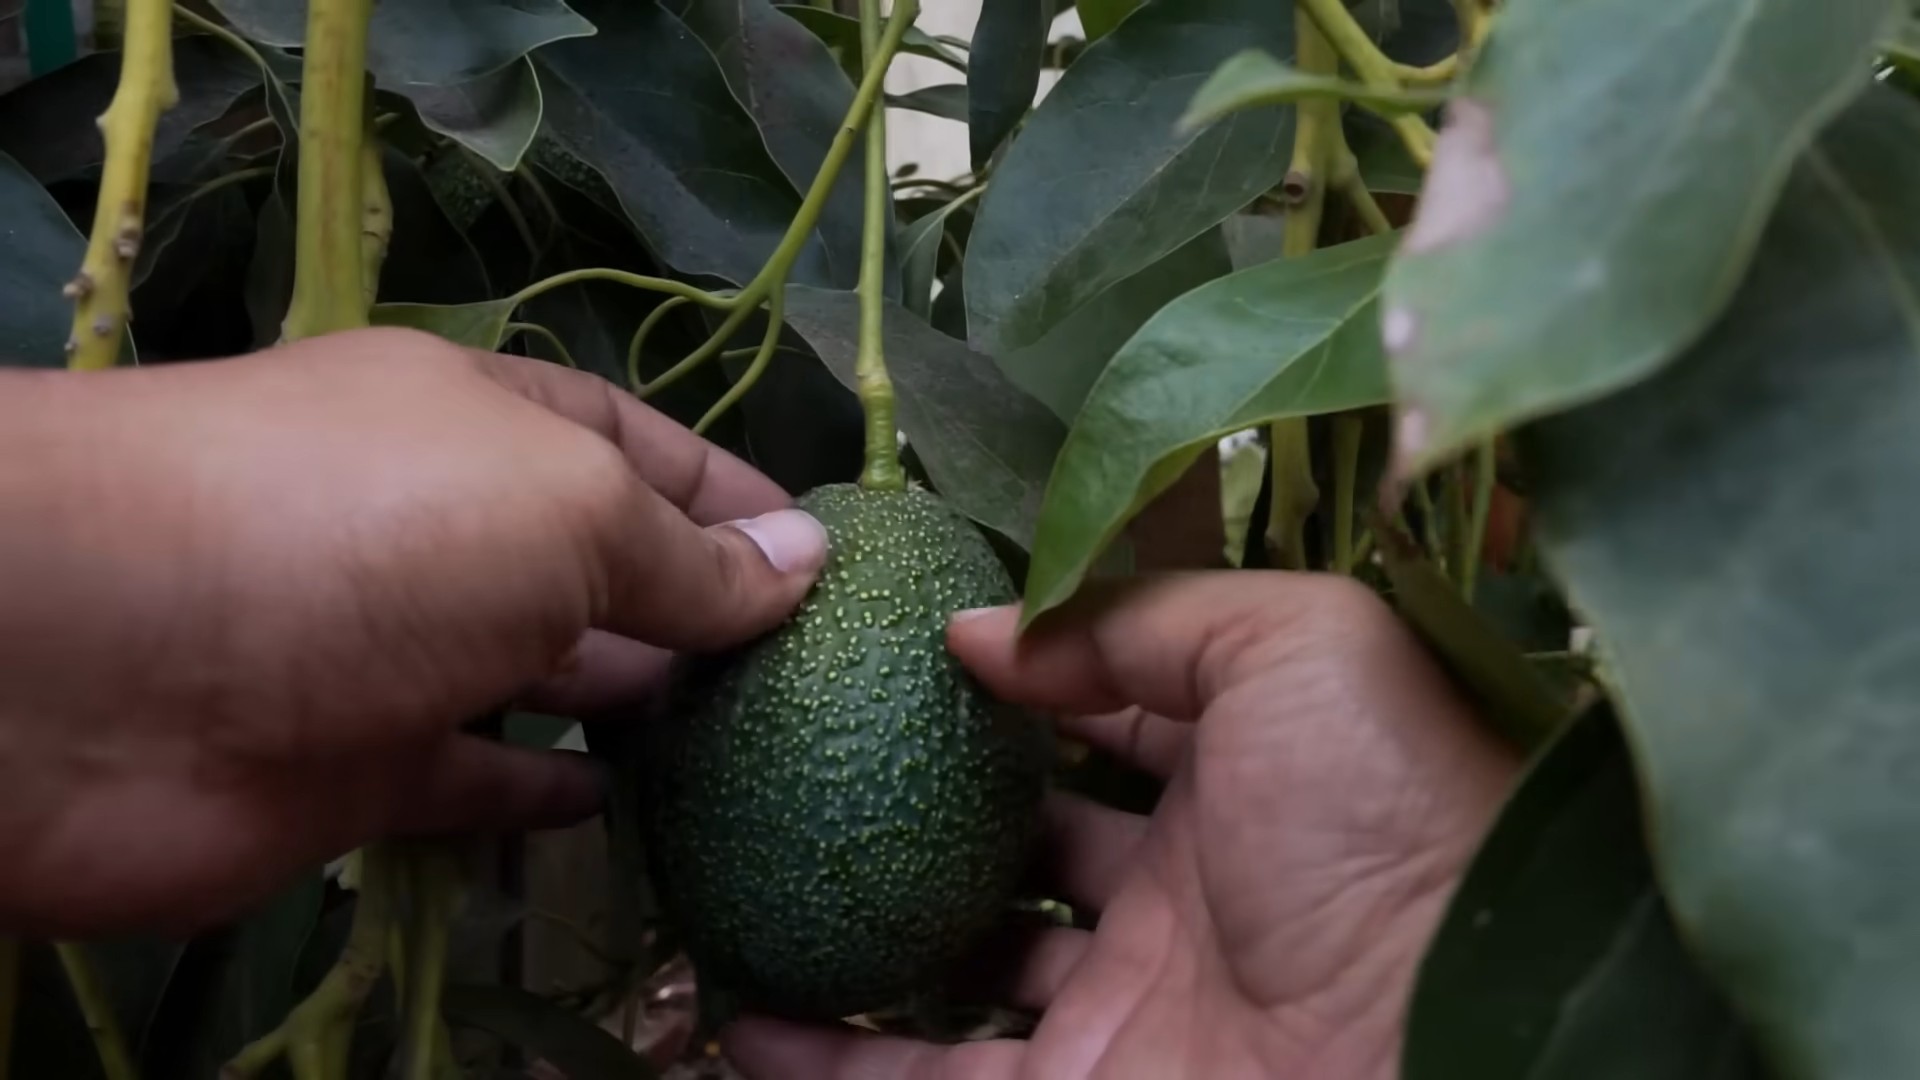
* Fruit production: As I mentioned earlier, avocado trees grown from seed can take many years (5-10 years or even longer) to produce fruit, and there’s no guarantee that they will produce fruit at all. The fruit may also not be the same as the avocado you got the seed from. Grafted trees are much more reliable for fruit production.
* Leaf browning: If the leaves of your avocado tree start to turn brown, it could be due to a number of factors, such as overwatering, underwatering, nutrient deficiencies, or salt buildup in the soil. Try to identify the cause and adjust your care accordingly.
* Leggy growth: If your avocado tree is growing tall and spindly, it may not be getting enough sunlight. Move it to a sunnier location or provide supplemental lighting.
* Patience is key: Growing an avocado tree from seed takes time and patience. Don’t get discouraged if it takes a while for your tree to grow and thrive. Just keep providing it with the care it needs, and you’ll eventually have a beautiful and rewarding plant.
* Variety Matters: The type of avocado you use can influence success. Hass avocados are commonly used, but other varieties can work too. Research your local climate and choose a variety that’s likely to thrive in your area.
* Drainage is Non-Negotiable: I can’t stress this enough! Avocado roots are very susceptible to root rot. Make sure your pot has excellent drainage and avoid letting the soil stay soggy.
* Sunlight is Your Friend: These trees love sunlight. The more, the better (within reason). If you don’t have a sunny spot, consider using a grow light.
* Don’t Over-Love It: Sometimes, the best thing you can do is leave it alone. Overwatering and over-fertilizing are common mistakes. Observe your tree and adjust your care based on its needs.
So, there you have it! My comprehensive guide to growing avocados from seed. It’s a journey, not a race, so enjoy the process and celebrate every little milestone. Good luck, and happy growing!
Conclusion
So, there you have it! Growing avocados from seed might seem like a long game, but the reward of nurturing a plant from its very beginning is truly unparalleled. It’s more than just a fun project; it’s a lesson in patience, a connection to nature, and a potential source of delicious, homegrown fruit in the years to come. This DIY avocado growing trick is a must-try for anyone with a green thumb (or even those aspiring to have one!).
Why is this method so compelling? It’s simple, cost-effective, and incredibly satisfying. You’re not just buying a plant; you’re creating one. You’re witnessing the miracle of life unfold right before your eyes. Plus, it’s a fantastic conversation starter and a unique way to impress your friends and family.
But the journey doesn’t end with the basic method. Feel free to experiment! Try different varieties of avocados to see which ones thrive best in your climate. Consider using different types of water – filtered, rainwater, or even water from your aquarium (which is rich in nutrients!). You can also explore different potting mixes to find the perfect blend for your avocado tree.
Once your tree is established, think about grafting. Grafting allows you to combine the hardy rootstock of your seed-grown avocado with the desirable fruiting characteristics of a known variety. This significantly increases your chances of getting high-quality fruit sooner.
Don’t be discouraged if your first attempt isn’t a roaring success. Growing avocados from seed requires patience and persistence. Learn from your mistakes, adjust your approach, and keep trying. The joy of seeing that tiny sprout emerge from the pit is well worth the effort.
We wholeheartedly encourage you to embark on this exciting adventure of growing avocados. It’s a rewarding experience that will connect you with nature and provide you with a sense of accomplishment. And most importantly, don’t forget to share your journey with us! We’d love to hear about your successes, your challenges, and any tips or tricks you discover along the way. Post pictures of your avocado seedlings, share your experiences in the comments section, and let’s create a community of avocado enthusiasts! Let’s all learn together and celebrate the joy of growing our own food.
Frequently Asked Questions (FAQ)
Q: How long does it take for an avocado seed to sprout?
A: The sprouting time for an avocado seed can vary quite a bit, depending on factors like the freshness of the seed, the temperature, and the humidity. Generally, you can expect to see a sprout emerge anywhere from 2 to 8 weeks. However, some seeds may take even longer, so don’t give up hope too soon! Patience is key. Make sure the pit stays consistently moist, but not waterlogged, and that it’s in a warm location. If you haven’t seen any signs of sprouting after 10 weeks, it might be time to try a new seed.
Q: What kind of water should I use to sprout my avocado seed?
A: Ideally, you should use filtered or distilled water to sprout your avocado seed. Tap water can sometimes contain chemicals that may inhibit germination. However, if you only have access to tap water, let it sit out for 24 hours to allow the chlorine to dissipate. Rainwater is also an excellent option, as it’s naturally soft and free of chemicals. Avoid using softened water, as it contains high levels of sodium, which can be harmful to plants.
Q: How often should I change the water?
A: It’s important to change the water in your avocado seed sprouting setup every 5-7 days. This helps to prevent the growth of mold and bacteria, which can harm the seed. When you change the water, gently rinse the seed to remove any accumulated slime or debris. Make sure to use clean water each time.
Q: What do I do when the roots are long enough?
A: Once the roots are several inches long (typically 3-4 inches) and a sprout has emerged from the top of the seed, it’s time to plant your avocado seedling in soil. Choose a pot that’s at least 6 inches in diameter with good drainage holes. Use a well-draining potting mix specifically formulated for avocados or citrus trees. Gently remove the seedling from the water, being careful not to damage the roots. Plant the seed in the pot, leaving the top half of the seed exposed. Water thoroughly after planting.
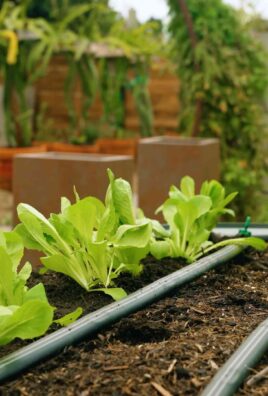
Q: What kind of soil should I use for my avocado tree?
A: Avocados thrive in well-draining soil that’s rich in organic matter. A good potting mix for avocados should consist of a blend of peat moss, perlite, and vermiculite. You can also add compost or other organic amendments to improve the soil’s fertility and drainage. Avoid using heavy clay soils, as they can become waterlogged and lead to root rot.
Q: How much sunlight does an avocado tree need?
A: Avocado trees need plenty of sunlight to thrive. Aim for at least 6 hours of direct sunlight per day. If you’re growing your avocado tree indoors, place it near a sunny window. You may also need to supplement with artificial light, especially during the winter months. Rotate the pot regularly to ensure that all sides of the tree receive adequate sunlight.
Q: How often should I water my avocado tree?
A: Water your avocado tree deeply whenever the top inch of soil feels dry to the touch. Avoid overwatering, as this can lead to root rot. During the growing season (spring and summer), you may need to water more frequently than during the dormant season (fall and winter). Always check the soil moisture before watering to ensure that your tree needs it.
Q: When will my avocado tree produce fruit?
A: Growing avocados from seed can be a long process, and it can take anywhere from 5 to 13 years for a seed-grown avocado tree to produce fruit. In some cases, seed-grown trees may never produce fruit. Grafting a branch from a known fruiting variety onto your seed-grown tree can significantly reduce the time it takes to get fruit. Grafted trees typically start producing fruit within 2-3 years.
Q: Can I grow an avocado tree indoors permanently?
A: While it’s possible to grow an avocado tree indoors, it can be challenging to provide the tree with the optimal conditions it needs to thrive. Indoor avocado trees may not grow as large or produce as much fruit as those grown outdoors. However, with proper care and attention, you can successfully grow an avocado tree indoors for many years. Make sure to provide plenty of sunlight, well-draining soil, and regular watering. You may also need to prune the tree to keep it from getting too large.
Q: My avocado leaves are turning brown. What’s wrong?
A: Brown leaves on an avocado tree can be caused by a variety of factors, including overwatering, underwatering, nutrient deficiencies, and pest infestations. Check the soil moisture to ensure that you’re not overwatering or underwatering the tree. If the soil is dry, water deeply. If the soil is waterlogged, allow it to dry out before watering again. You may also need to fertilize your avocado tree with a balanced fertilizer to correct any nutrient deficiencies. Inspect the leaves for signs of pests, such as spider mites or aphids. If you find any pests, treat the tree with an appropriate insecticide.

Leave a Comment