

Growing Shallots at home can seem daunting, but trust me, it’s easier than you think! Have you ever dreamt of snipping fresh, flavorful shallots right from your backyard to elevate your culinary creations? Imagine the satisfaction of knowing exactly where your food comes from and the burst of flavor you can’t find in store-bought varieties. For centuries, shallots have been a staple in cuisines worldwide, prized for their delicate, onion-garlic flavor profile. From the kitchens of ancient Persia to modern-day French bistros, shallots have added depth and complexity to countless dishes.
But why bother growing them yourself? Well, for starters, the taste is unparalleled. Homegrown shallots offer a freshness and intensity that you simply can’t replicate. Plus, let’s be honest, saving money is always a win! Instead of constantly buying shallots at the grocery store, you can have a continuous supply right at your fingertips. This DIY guide will walk you through simple, effective tricks and hacks to ensure a bountiful harvest, even if you’re a complete beginner. I’m here to show you that growing shallots is not only achievable but also incredibly rewarding. So, grab your gardening gloves, and let’s get started!
Growing Shallots: A Beginner’s Guide to Bountiful Harvests
Hey there, fellow gardening enthusiasts! I’m so excited to share my experience with growing shallots. These little flavor bombs are a staple in my kitchen, and growing them myself has been incredibly rewarding. Plus, it’s surprisingly easy! This guide will walk you through everything you need to know, from planting to harvesting, so you can enjoy your own homegrown shallots.
Choosing Your Shallots
Before we dive into the nitty-gritty, let’s talk about selecting the right shallots to plant. You have two main options: sets (small, immature bulbs) or seeds. I personally prefer using sets because they’re faster to mature and generally more reliable, especially for beginners.
* Sets: These are small, dry shallot bulbs that are ready to plant. You can find them at most garden centers in the fall or early spring. Look for firm, healthy bulbs with no signs of mold or rot. Different varieties offer different flavors and sizes, so do a little research to find one that suits your taste. Some popular varieties include ‘French Red’, ‘Dutch Yellow’, and ‘Gray Griselle’.
* Seeds: While it takes longer to grow shallots from seed, it offers a wider selection of varieties. You’ll need to start the seeds indoors about 8-10 weeks before the last expected frost.
Preparing Your Garden Bed
Shallots thrive in well-drained, fertile soil with plenty of sunlight. Here’s how I prepare my garden bed for them:
* Sunlight: Choose a spot that gets at least 6-8 hours of direct sunlight per day.
* Soil: Shallots prefer a slightly acidic to neutral soil pH (around 6.0 to 7.0). Amend your soil with compost or well-rotted manure to improve drainage and fertility. I usually add a generous amount of compost a few weeks before planting.
* Drainage: Good drainage is crucial to prevent the shallots from rotting. If your soil is heavy clay, consider adding sand or perlite to improve drainage. Raised beds are also a great option.
* Weed Removal: Clear the area of any weeds and grass. Weeds compete with shallots for nutrients and water, so it’s important to start with a clean slate.
Planting Your Shallots
Now for the fun part – planting! Here’s a step-by-step guide:
1. Timing: The best time to plant shallot sets is in the fall (about 4-6 weeks before the first expected frost) or early spring (as soon as the ground can be worked). Fall planting allows the shallots to establish roots before winter, resulting in an earlier harvest the following year.
2. Spacing: Plant the shallot sets about 6-8 inches apart in rows that are 12-18 inches apart. This gives them enough room to grow and develop.
3. Planting Depth: Gently push the shallot sets into the soil, pointy end up, so that the top of the bulb is just barely covered with soil. You want the tip to be almost exposed.
4. Watering: Water the newly planted shallots thoroughly. This helps settle the soil and encourages root growth.
Caring for Your Shallots
Once your shallots are planted, it’s important to provide them with the right care to ensure a healthy and abundant harvest.
1. Watering: Shallots need consistent moisture, especially during dry periods. Water deeply whenever the top inch of soil feels dry to the touch. Avoid overwatering, as this can lead to rot.
2. Weeding: Keep the area around your shallots free of weeds. Weeds compete for nutrients and water, so regular weeding is essential. I like to use a hand hoe to gently remove weeds without disturbing the shallot roots.
3. Fertilizing: Shallots benefit from regular fertilization. I like to use a balanced organic fertilizer, such as fish emulsion or compost tea, every few weeks. Avoid over-fertilizing, as this can lead to excessive foliage growth at the expense of bulb development.
4. Mulching: Apply a layer of mulch around your shallots to help retain moisture, suppress weeds, and regulate soil temperature. Straw, shredded leaves, or wood chips are all good options.
5. Pest and Disease Control: Shallots are generally resistant to pests and diseases, but they can occasionally be affected by onion maggots or fungal diseases. Inspect your plants regularly for any signs of problems. If you notice any pests, you can try using insecticidal soap or neem oil. For fungal diseases, ensure good air circulation and avoid overwatering.
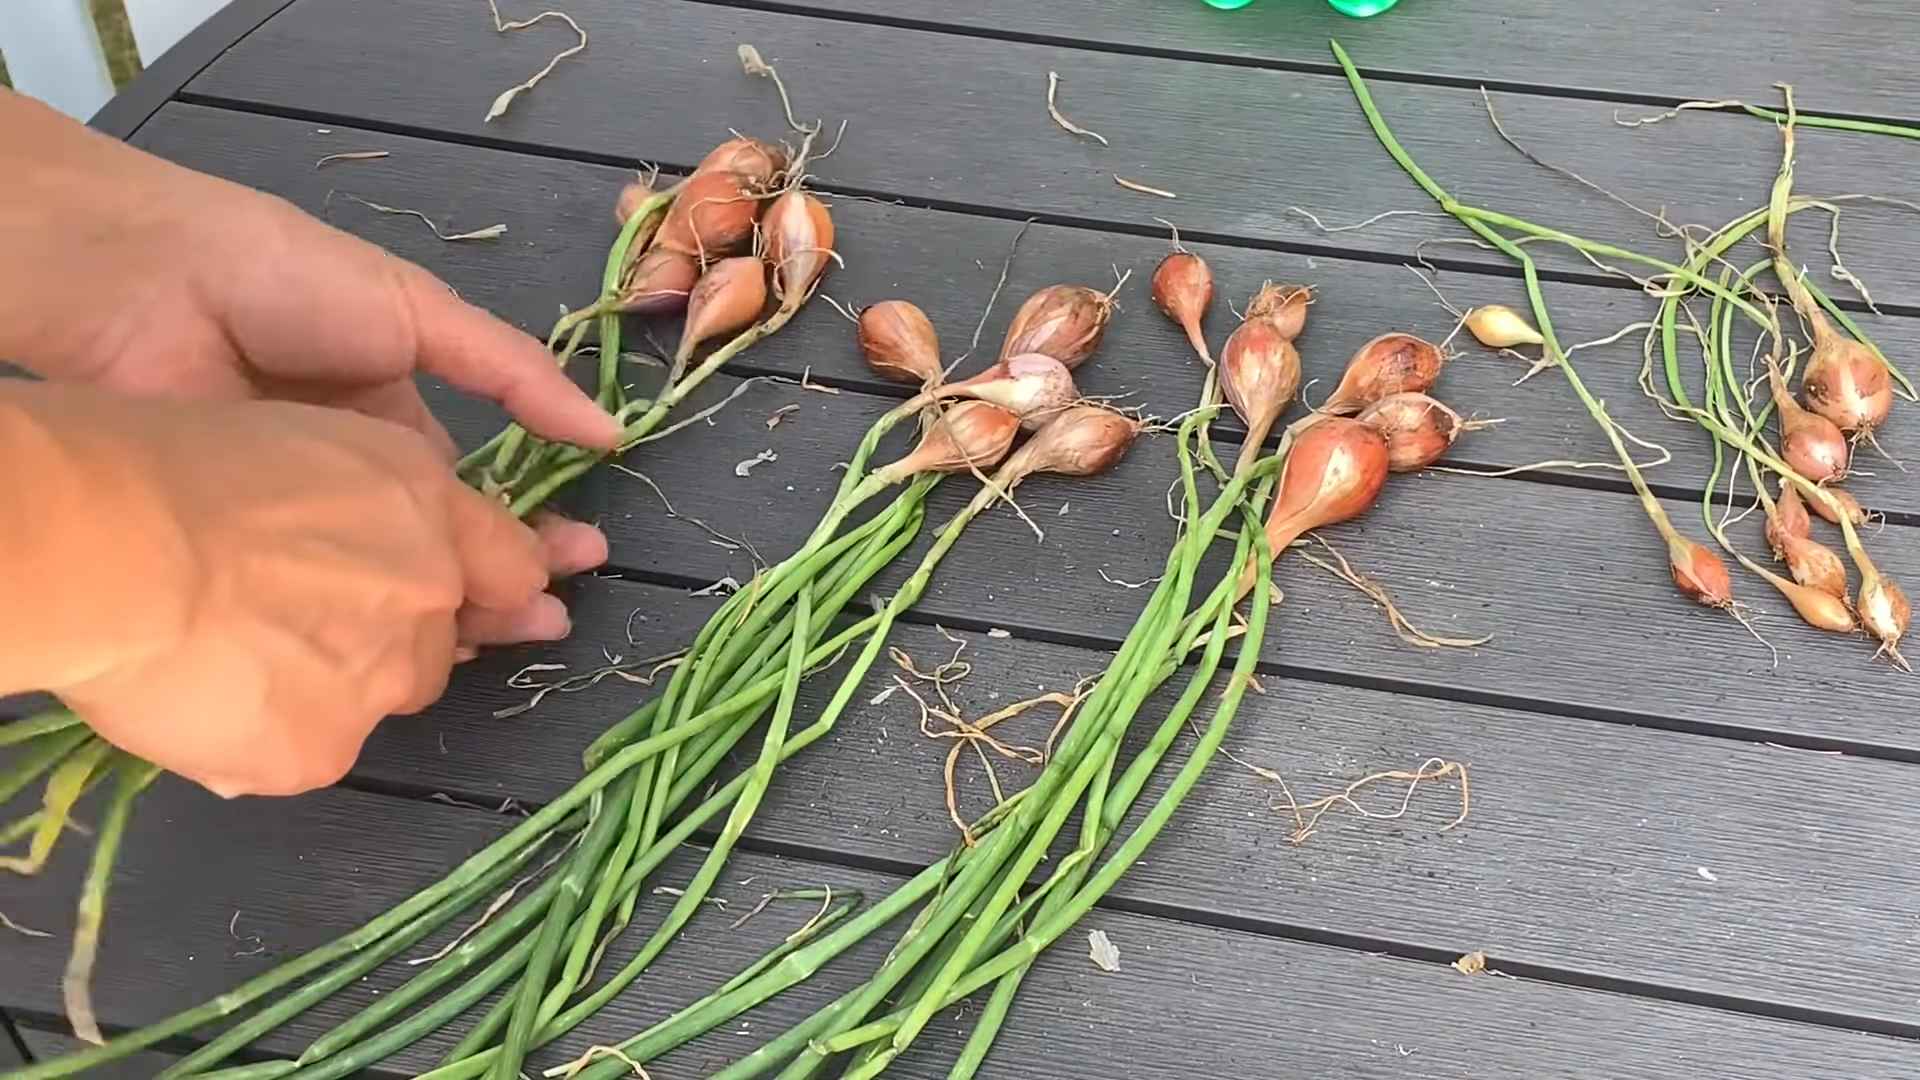
Harvesting Your Shallots
Harvesting is the most rewarding part of growing shallots! Here’s how to know when they’re ready and how to harvest them:
1. Timing: Shallots are typically ready to harvest in mid-summer to early fall, about 90-120 days after planting. The foliage will start to turn yellow and fall over when the bulbs are mature.
2. Harvesting: Gently loosen the soil around the shallots with a garden fork or trowel. Carefully lift the bulbs from the soil, being careful not to damage them.
3. Curing: After harvesting, cure the shallots in a warm, dry, well-ventilated place for about 2-3 weeks. This allows the outer skins to dry and toughen, which helps prevent rot during storage. I usually spread them out on a screen or in a well-ventilated shed.
4. Storing: Once the shallots are cured, store them in a cool, dry, dark place. A mesh bag or basket is ideal for storing shallots, as it allows for good air circulation. Properly cured and stored shallots can last for several months.
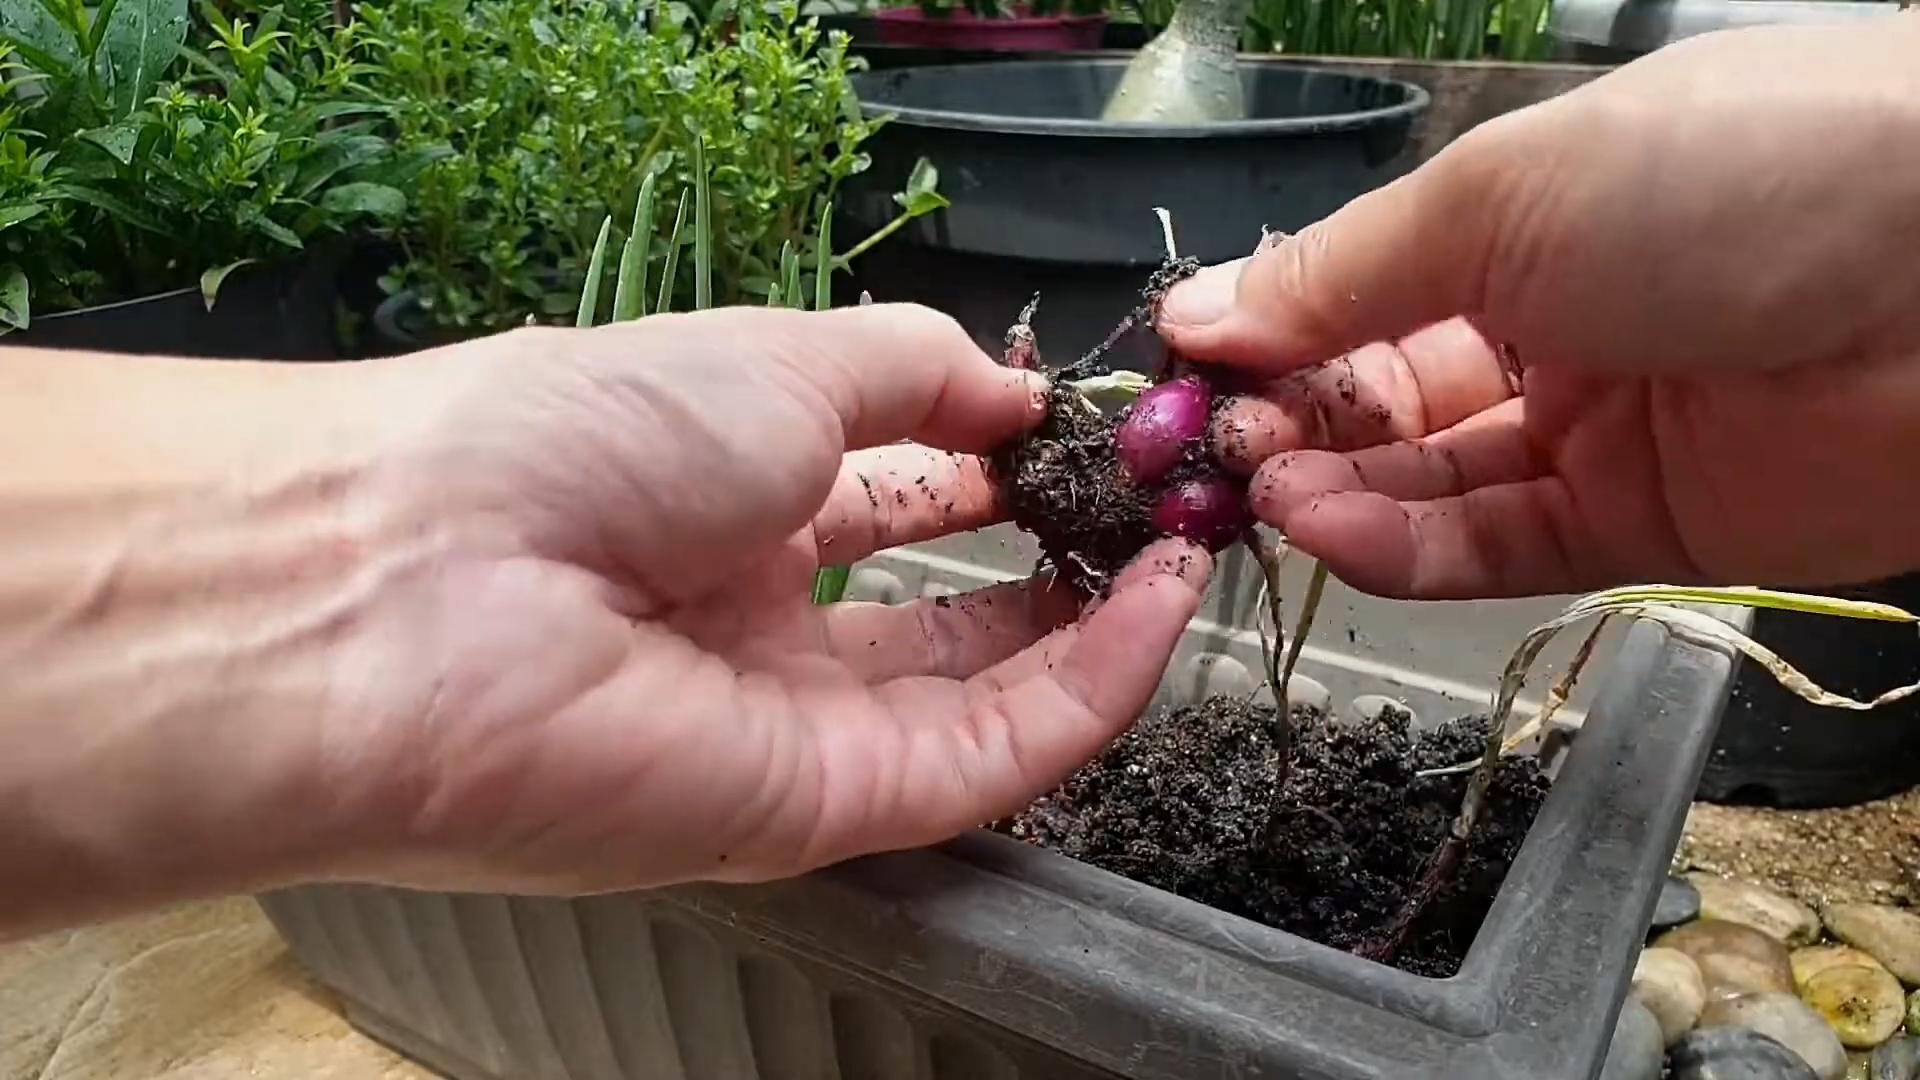
Dividing Shallots
Shallots multiply underground, forming clusters of bulbs. You can divide these clusters to propagate more shallots.
1. Timing: The best time to divide shallots is in the fall, when you’re harvesting them.
2. Dividing: Gently separate the individual bulbs from the cluster. Make sure each bulb has a healthy root system.
3. Replanting: Replant the divided shallots as described above, spacing them 6-8 inches apart.
Troubleshooting
Even with the best care, you might encounter some challenges when growing shallots. Here are a few common problems and how to address them:
* Rotting Bulbs: This is usually caused by overwatering or poor drainage. Make sure your soil is well-draining and avoid overwatering.
* Small Bulbs: This can be caused by insufficient sunlight, poor soil fertility, or overcrowding. Make sure your shallots are getting enough sunlight and fertilize them regularly. Thin out the plants if they are too crowded.
* Pest Infestations: Onion maggots can be a problem. Use row covers to prevent them from laying eggs on your plants.
* Fungal Diseases: Ensure good air circulation and avoid overwatering. You can also use a fungicide if necessary.
Enjoying Your Harvest
Now that you’ve harvested your shallots, it’s time to enjoy the fruits (or rather, bulbs) of your labor! Shallots are incredibly versatile and can be used in a wide variety of dishes.
* Raw: Finely chop shallots and add them to salads, salsas, or vinaigrettes.
* Cooked: Sauté shallots with butter or olive oil and use them as a base for sauces, soups, and stews.
* Roasted: Roast shallots whole or halved with other vegetables for a delicious side dish.
* Pickled: Pickle shallots for a tangy and flavorful condiment.
I hope this guide has inspired you to try growing your own shallots. It’s a rewarding experience that will add a delicious and flavorful touch to your cooking. Happy gardening!
Conclusion
So, there you have it! Growing shallots at home, even if you’re a complete beginner, is not only achievable but incredibly rewarding. We’ve walked through the simple steps, from selecting the right shallots to plant, preparing your soil, and nurturing them to a bountiful harvest. But why should you bother with this DIY project when you can simply buy shallots at the grocery store?
The answer lies in the unparalleled freshness and flavor you’ll experience. Store-bought shallots, while convenient, often lack the vibrancy and intensity of those freshly plucked from your own garden. Imagine the burst of flavor in your next French onion soup, the subtle sweetness enhancing your vinaigrette, or the aromatic depth it adds to your favorite stir-fry – all thanks to your homegrown shallots.
Beyond the superior taste, growing your own shallots offers a sense of accomplishment and connection to nature. There’s something deeply satisfying about nurturing a plant from a small bulb to a thriving vegetable, knowing you’ve played a direct role in providing fresh, healthy food for yourself and your family. Plus, it’s a fantastic way to reduce your carbon footprint by minimizing your reliance on commercially grown produce that travels long distances.
But the benefits don’t stop there. Growing shallots is also incredibly cost-effective. A single shallot bulb can multiply into a cluster of several, providing you with a generous supply for months to come. And once you’ve harvested your first crop, you can save some of the bulbs to replant, ensuring a continuous cycle of fresh shallots year after year.
Ready to take your shallot growing to the next level? Consider experimenting with different varieties. From the classic French Grey shallot to the larger, more robust Dutch Yellow shallot, each variety offers a unique flavor profile and growth habit. You can also try companion planting. Carrots, beets, and chamomile are all excellent companions for shallots, helping to deter pests and improve soil health.
Another variation to consider is growing shallots from seed. While it takes a bit longer than planting bulbs, it allows you to access a wider range of varieties and potentially develop your own unique shallot strain. Just be sure to start your seeds indoors several weeks before the last frost.
Don’t be afraid to experiment with different planting techniques and soil amendments to find what works best for your specific climate and growing conditions. The key is to observe your plants closely, pay attention to their needs, and adapt your approach as necessary.
We are confident that you will find growing shallots at home a rewarding and enjoyable experience. So, grab some shallot bulbs, prepare your garden bed, and get ready to embark on this exciting culinary adventure.
We encourage you to try this DIY trick and share your experience with us in the comments below. Let us know what varieties you’re growing, what challenges you’ve encountered, and what tips you’ve discovered along the way. Together, we can create a community of passionate shallot growers, sharing our knowledge and inspiring others to embrace the joys of homegrown food. Happy growing!
FAQ
What are the best shallot varieties to grow for beginners?
For beginners, we highly recommend starting with either French Grey shallots or Dutch Yellow shallots. French Grey shallots are known for their delicate flavor and are relatively easy to grow. Dutch Yellow shallots are larger and more robust, offering a higher yield and a slightly stronger flavor. Both varieties are widely available and well-suited to a range of climates. They are also relatively pest and disease resistant, making them a forgiving choice for novice gardeners. Experimenting with different varieties is encouraged once you gain more experience.
How much sunlight do shallots need?
Shallots thrive in full sun, requiring at least 6-8 hours of direct sunlight per day. Adequate sunlight is crucial for photosynthesis, which fuels the growth and development of the shallot bulbs. If you live in a particularly hot climate, providing some afternoon shade can help prevent the leaves from scorching. If you’re growing shallots indoors, use grow lights to supplement natural sunlight. Insufficient sunlight can result in smaller bulbs and reduced yields.
What type of soil is best for growing shallots?
Shallots prefer well-drained, fertile soil that is rich in organic matter. The ideal soil pH is between 6.0 and 7.0. Before planting, amend your soil with compost, well-rotted manure, or other organic materials to improve drainage, fertility, and water retention. Avoid heavy clay soils, as they can become waterlogged and lead to bulb rot. If you have clay soil, consider growing your shallots in raised beds or containers. A soil test can help you determine the pH and nutrient levels of your soil, allowing you to make necessary adjustments.
How often should I water my shallots?
Shallots need consistent moisture, especially during the early stages of growth. Water deeply whenever the top inch of soil feels dry to the touch. Avoid overwatering, as this can lead to bulb rot. During periods of heavy rain, you may need to reduce watering frequency. As the shallots mature and the leaves begin to yellow, gradually reduce watering to encourage bulb formation. Using a soaker hose or drip irrigation can help deliver water directly to the roots, minimizing water waste and reducing the risk of fungal diseases.
When is the best time to harvest shallots?
Shallots are typically ready to harvest when the leaves begin to yellow and fall over, usually around 90-120 days after planting. Gently loosen the soil around the bulbs and lift them out of the ground. Allow the shallots to cure in a warm, dry, well-ventilated place for several weeks before storing them. Curing helps to dry out the outer layers of the bulbs, preventing rot and extending their shelf life. Avoid harvesting shallots during wet weather, as this can increase the risk of spoilage.
How do I store shallots properly?
Store cured shallots in a cool, dry, and well-ventilated place, such as a pantry or basement. Avoid storing them in the refrigerator, as this can cause them to sprout or become soft. Place the shallots in a mesh bag or open container to allow for air circulation. Properly stored shallots can last for several months. Check the shallots periodically for signs of spoilage, such as soft spots or mold, and discard any affected bulbs.
What are some common pests and diseases that affect shallots?
Common pests that can affect shallots include onion thrips, onion maggots, and nematodes. Diseases include downy mildew, white rot, and pink root. To prevent pest and disease problems, practice good garden hygiene, such as removing plant debris and rotating crops. Use organic pest control methods, such as insecticidal soap or neem oil, to control pests. Ensure proper soil drainage and avoid overwatering to prevent fungal diseases. Consider using disease-resistant shallot varieties.
Can I grow shallots in containers?
Yes, shallots can be successfully grown in containers. Choose a container that is at least 8 inches deep and wide, with drainage holes. Use a well-draining potting mix that is rich in organic matter. Plant the shallot bulbs about 2 inches deep and 4 inches apart. Water regularly and fertilize every few weeks with a balanced fertilizer. Place the container in a sunny location. Container-grown shallots may require more frequent watering and fertilization than those grown in the ground.
Can I grow shallots from seed instead of bulbs?
Yes, you can grow shallots from seed, although it takes longer than growing them from bulbs. Start the seeds indoors 8-10 weeks before the last frost. Sow the seeds ¼ inch deep in a seed-starting mix. Keep the soil moist and warm. Once the seedlings are large enough to handle, transplant them into individual pots. Harden off the seedlings before transplanting them outdoors after the last frost. Growing shallots from seed allows you to access a wider range of varieties and potentially develop your own unique shallot strain.
How do I know if my shallots are getting enough nutrients?
The appearance of your shallot plants can provide clues about their nutrient status. Yellowing leaves can indicate a nitrogen deficiency, while stunted growth can suggest a phosphorus deficiency. A potassium deficiency may manifest as browning leaf tips. Conduct a soil test to determine the specific nutrient deficiencies and amend the soil accordingly. Use a balanced fertilizer or organic amendments, such as compost or bone meal, to provide the necessary nutrients. Avoid over-fertilizing, as this can lead to excessive vegetative growth at the expense of bulb development.


Leave a Comment