

Cleaning Walls and Baseboards: Let’s face it, we all dread it, but sparkling clean walls and baseboards can truly transform a room from drab to fab! Have you ever noticed how a freshly painted room just *feels* cleaner, even if nothing else has changed? That’s the power of clean surfaces! But who has the time (or energy!) for hours of scrubbing? That’s where these DIY cleaning tricks come in handy.
Historically, keeping walls clean was a sign of prosperity and good hygiene. Think back to the days before modern paints and sealants – walls were often whitewashed with lime, a natural disinfectant. While we’ve come a long way since then, the principle remains the same: clean walls contribute to a healthier and more pleasant living environment.
I know what you’re thinking: “Cleaning walls and baseboards is a back-breaking chore!” And you’re not wrong! But it doesn’t have to be. These simple, effective DIY hacks will save you time, energy, and maybe even a trip to the chiropractor. We’ll explore easy-to-follow methods using common household ingredients, so you can ditch the harsh chemicals and embrace a more natural approach to cleaning walls and baseboards. Get ready to say goodbye to dust, grime, and those mysterious smudges – and hello to a brighter, fresher home!
DIY Deep Clean: Walls and Baseboards Like a Pro!
Okay, let’s face it, cleaning walls and baseboards isn’t exactly anyone’s favorite chore. But trust me, a little elbow grease can make a HUGE difference in how clean and fresh your whole house feels. I’m going to walk you through my tried-and-true method for getting those surfaces sparkling, without damaging your paint or breaking your back.
What You’ll Need: Your Cleaning Arsenal
Before we dive in, let’s gather our supplies. Having everything ready to go will make the process so much smoother. Here’s what I always keep on hand:
* **Buckets (at least two):** One for your cleaning solution and one for rinsing.
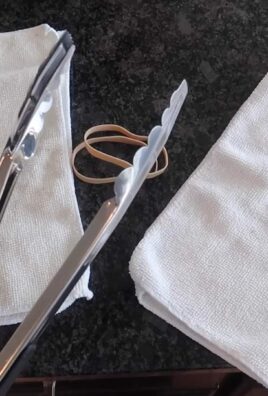
* **Microfiber cloths:** These are my absolute go-to! They’re gentle, absorbent, and reusable. Get a bunch!
* **Sponges:** For tougher spots and scrubbing. Make sure they’re non-abrasive to avoid scratching.
* **Soft-bristled brush:** An old toothbrush or a small detailing brush is perfect for getting into crevices and corners, especially on baseboards.
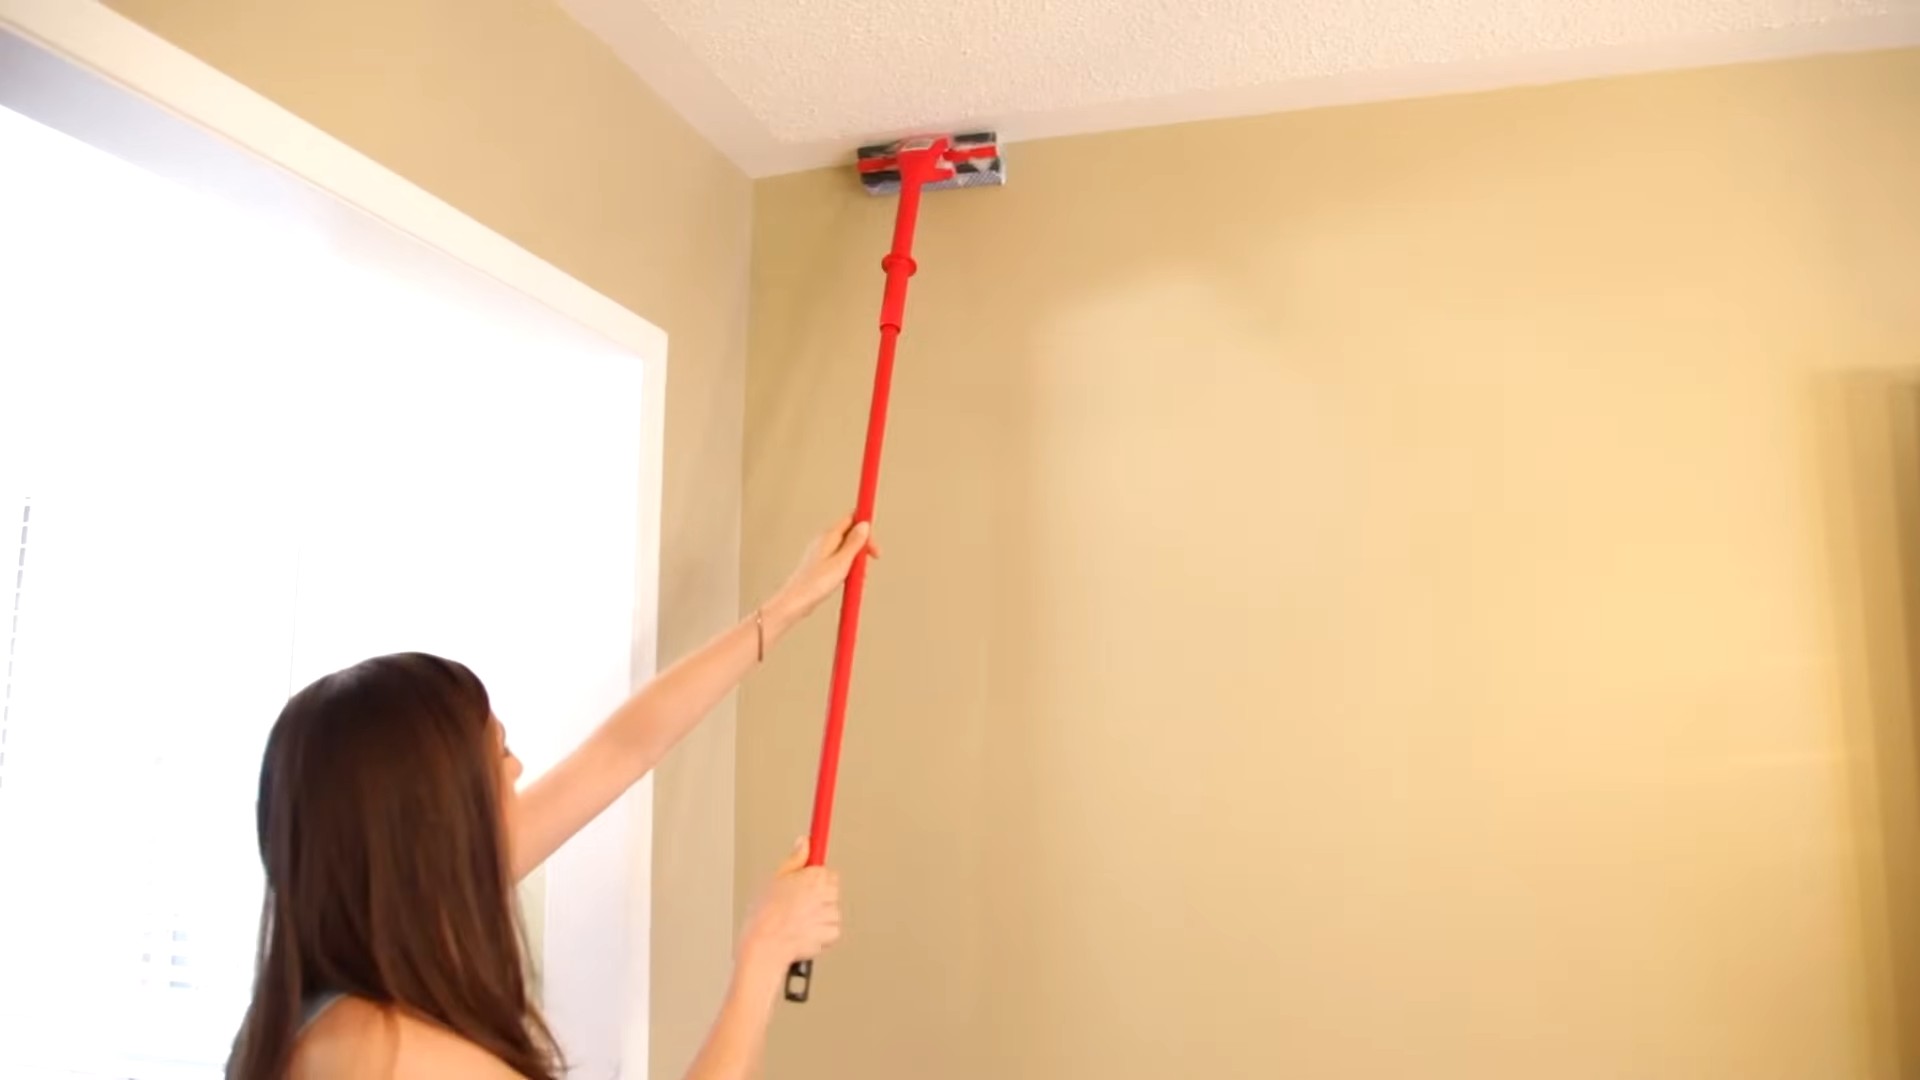
* **Telescoping mop or duster with microfiber attachment:** This is a lifesaver for reaching high walls and ceilings without straining.
* **Vacuum cleaner with brush attachment:** Essential for removing loose dust and debris before you start washing.
* **Painter’s tape (optional):** If you’re worried about getting cleaner on your trim or ceiling, this can be helpful.
* **Cleaning solutions:**
* **All-purpose cleaner:** A good all-purpose cleaner is great for general wall cleaning. I often use a diluted version of my favorite multi-surface cleaner.
* **Dish soap:** A mild dish soap mixed with warm water is a gentle and effective option for most painted surfaces.
* **Baking soda:** For stubborn stains and scuff marks, baking soda is your best friend. Make a paste with water.
* **Magic Eraser:** These are fantastic for removing marks, but use them sparingly as they can be slightly abrasive. Test in an inconspicuous area first!
* **White vinegar:** Diluted white vinegar is a natural cleaner that can help cut through grease and grime.
* **Gloves:** Protect your hands!
* **Eye protection (optional):** Especially if you’re cleaning ceilings.
* **Step stool or ladder:** For reaching high areas safely.
Prepping for Success: Getting Ready to Clean
Before you even think about getting your walls wet, there are a few crucial prep steps. Trust me, these will save you time and effort in the long run.
1. **Protect your floors:** Lay down drop cloths or old towels to protect your flooring from drips and spills. This is especially important if you have carpet or hardwood floors.
2. **Move furniture:** Clear as much furniture away from the walls as possible. This will give you plenty of room to maneuver and prevent you from accidentally bumping into things.
3. **Dust, dust, dust!:** Use your vacuum cleaner with the brush attachment to thoroughly dust the walls and baseboards. Pay special attention to corners, edges, and any areas where dust tends to accumulate. You can also use a dry microfiber cloth or a duster. This step is essential because washing dusty walls will just create a muddy mess.
4. **Test your cleaning solution:** Before you start cleaning the entire wall, test your chosen cleaning solution in an inconspicuous area, like behind a piece of furniture or in a corner. This will ensure that it doesn’t damage the paint or leave any discoloration. Let it dry completely before proceeding.
5. **Ventilate the room:** Open windows and doors to provide good ventilation. This will help the walls dry faster and prevent the buildup of fumes from the cleaning solutions.
Cleaning the Walls: Step-by-Step Guide
Alright, now for the main event! Here’s how I tackle wall cleaning, step by step:
1. **Prepare your cleaning solution:** Fill one bucket with your chosen cleaning solution (diluted all-purpose cleaner, dish soap and water, or diluted vinegar). Fill the other bucket with clean, warm water for rinsing.
2. **Dip and wring:** Dip a clean microfiber cloth or sponge into the cleaning solution, making sure to wring it out thoroughly. You want the cloth to be damp, not soaking wet. Excess water can drip down the walls and cause damage.
3. **Wash the walls:** Starting at the top of the wall and working your way down, gently wipe the surface with the damp cloth. Use overlapping strokes to ensure that you cover the entire area. Avoid scrubbing too hard, as this can damage the paint.
4. **Rinse frequently:** As you clean, rinse your cloth or sponge frequently in the clean water bucket. This will prevent you from spreading dirt and grime around.
5. **Tackle stubborn stains:** For stubborn stains or scuff marks, apply a small amount of baking soda paste to the area and gently rub with a damp cloth. You can also try using a Magic Eraser, but be careful not to overdo it.
6. **Dry the walls:** After you’ve washed and rinsed the walls, use a clean, dry microfiber cloth to dry them. This will help prevent water spots and streaks.
7. **Repeat if necessary:** If the walls are particularly dirty, you may need to repeat the cleaning process.
Cleaning the Baseboards: Getting Down and Dirty
Baseboards often get overlooked, but they can accumulate a surprising amount of dust, dirt, and grime. Here’s how I clean mine:
1. **Vacuum first:** Use your vacuum cleaner with the brush attachment to remove any loose dust and debris from the baseboards.
2. **Prepare your cleaning solution:** Use the same cleaning solution you used for the walls, or you can use a slightly stronger solution if the baseboards are particularly dirty.
3. **Wipe down the baseboards:** Dip a clean microfiber cloth or sponge into the cleaning solution and wring it out thoroughly. Then, wipe down the baseboards, paying special attention to corners and crevices.
4. **Use a brush for tight spots:** For hard-to-reach areas and intricate details, use a soft-bristled brush (like an old toothbrush) to scrub away any dirt and grime.
5. **Rinse and dry:** Rinse the baseboards with a clean, damp cloth and then dry them with a clean, dry cloth.
6. **Magic Eraser for scuffs:** For scuff marks on baseboards, a Magic Eraser can work wonders. Just be gentle!
Dealing with Specific Wall Types: A Quick Guide
Not all walls are created equal! Here’s a quick guide to cleaning different types of walls:
* **Painted walls:** Most painted walls can be cleaned with a mild dish soap and water solution. Avoid using harsh chemicals or abrasive cleaners, as these can damage the paint.
* **Wallpapered walls:** Wallpapered walls are more delicate than painted walls. Use a very gentle cleaning solution (like a mild dish soap and water) and a soft cloth. Avoid getting the wallpaper too wet, as this can cause it to peel. Always test in an inconspicuous area first!
* **Textured walls:** Textured walls can be tricky to clean because the texture can trap dirt and dust. Use a soft-bristled brush to gently scrub the surface and a vacuum cleaner to remove any loose debris.
* **Flat paint:** Flat paint is the most difficult to clean because it absorbs everything. Be very gentle and use as little water as possible. Magic Erasers are often your best bet for spot cleaning, but test first!
Extra Tips and Tricks for Sparkling Walls and Baseboards
Here are a few extra tips and tricks that I’ve learned over the years:
* Don’t be afraid to experiment: Every house is different, so what works for me might not work for you. Don’t be afraid to experiment with different cleaning solutions and techniques until you find what works best for your walls and baseboards.
* Clean regularly: The more often you clean your walls and baseboards, the easier it will be to keep them clean. Aim to clean them at least once a season, or more often if you have pets or children.
* Spot clean as needed: Don’t wait until your walls are completely filthy to clean them. Spot clean any spills or stains as soon as they happen to prevent them from setting in.
* Pay attention to high-traffic areas: Areas like hallways, entryways, and kitchens tend to get dirtier faster than other areas of the house. Pay special attention to these areas when you’re cleaning.
* Use a ladder safely: If you’re using a ladder to reach high areas, make sure it’s stable and that you’re following all safety precautions.
* Consider a professional: If you’re dealing with particularly stubborn stains or if you’re not comfortable cleaning your walls yourself, consider hiring a professional cleaning service.
Cleaning walls and baseboards might not be the most glamorous task, but it’s definitely worth the effort. With a little bit of preparation and the right tools, you

Conclusion
So, there you have it! This simple, yet incredibly effective DIY trick for cleaning walls and baseboards is a game-changer for anyone looking to maintain a spotless home without resorting to harsh chemicals or expensive professional services. We’ve walked you through the process, highlighting the ease and affordability of using readily available household items to achieve sparkling clean surfaces.
Why is this a must-try? Because it’s not just about cleaning; it’s about preserving the beauty and integrity of your walls and baseboards. Harsh chemicals can strip paint, damage finishes, and even leave behind harmful residues. Our DIY method, on the other hand, is gentle, effective, and environmentally friendly. It’s a win-win-win!
But the benefits don’t stop there. Think about the time and money you’ll save by ditching those expensive cleaning products. Imagine the satisfaction of knowing you’re creating a healthier living environment for yourself and your family. And consider the peace of mind that comes with knowing you’re using a method that’s safe for your walls and baseboards in the long run.
Now, let’s talk variations. While our basic recipe is a fantastic starting point, feel free to experiment with different ingredients to suit your specific needs and preferences. For instance, if you’re dealing with particularly stubborn stains, you might consider adding a tablespoon of baking soda to your cleaning solution for extra scrubbing power. Or, if you prefer a more fragrant cleaning experience, a few drops of your favorite essential oil (like lemon or lavender) can add a refreshing scent to your home.
For painted walls, always test your cleaning solution in an inconspicuous area first to ensure it doesn’t damage the paint. And for textured walls, be extra gentle when scrubbing to avoid removing any of the texture. You can also use a microfiber cloth wrapped around a flat mop for easier reach and cleaning of high walls and baseboards.
Another variation involves the type of sponge or cloth you use. Microfiber cloths are excellent for general cleaning, but for tougher stains, a non-abrasive scrubbing sponge might be necessary. Just be sure to use it gently to avoid scratching the surface.
We’re confident that once you try this DIY trick for cleaning walls and baseboards, you’ll be amazed by the results. It’s a simple, effective, and affordable way to keep your home looking its best.
So, what are you waiting for? Gather your supplies, follow our instructions, and prepare to be amazed. And most importantly, we want to hear about your experience! Share your before-and-after photos, your tips and tricks, and any variations you’ve tried in the comments below. Let’s create a community of clean-wall enthusiasts! We are eager to learn from your experiences and help each other achieve sparkling clean homes. Your feedback will help us refine and improve this DIY method for everyone. Don’t be shy – share your success stories and any challenges you encountered along the way. Together, we can make cleaning walls and baseboards a breeze!
Frequently Asked Questions (FAQ)
Q: How often should I clean my walls and baseboards?
A: The frequency of cleaning depends on several factors, including the number of people and pets in your home, the level of activity, and the presence of children. As a general rule, you should aim to clean your walls and baseboards at least once every three to six months. However, high-traffic areas, such as hallways and kitchens, may require more frequent cleaning. If you notice dirt, dust, or stains accumulating on your walls or baseboards, it’s time to give them a good cleaning. Regular cleaning not only keeps your home looking its best but also helps to prevent the buildup of allergens and other irritants.
Q: Can I use this DIY cleaning solution on all types of walls and baseboards?
A: While our DIY cleaning solution is generally safe for most types of walls and baseboards, it’s always a good idea to test it in an inconspicuous area first, especially if you have painted walls or delicate finishes. This will help you ensure that the solution doesn’t damage the paint or finish. For wallpapered walls, use a very gentle touch and avoid excessive moisture. For wood baseboards, be sure to dry them thoroughly after cleaning to prevent water damage. If you’re unsure about the suitability of the solution for your specific type of wall or baseboard, consult with a professional cleaner or refer to the manufacturer’s instructions.
Q: What if I have stubborn stains or marks on my walls?
A: Stubborn stains and marks can be challenging to remove, but don’t despair! For grease stains, try using a paste of baking soda and water. Apply the paste to the stain, let it sit for a few minutes, and then gently scrub with a soft cloth. For scuff marks, a magic eraser can often work wonders. For crayon marks, try using a hairdryer to soften the wax, then wipe it away with a clean cloth. Always test any cleaning method in an inconspicuous area first to avoid damaging the wall. If the stain persists, you may need to consult with a professional cleaner.
Q: Can I use this cleaning solution on textured walls?
A: Yes, you can use this cleaning solution on textured walls, but you’ll need to be extra gentle to avoid removing any of the texture. Use a soft cloth or sponge and avoid scrubbing too hard. You can also use a brush with soft bristles to get into the crevices of the texture. Be sure to rinse the wall thoroughly with clean water to remove any residue from the cleaning solution.
Q: Is this DIY cleaning solution safe for pets and children?
A: Yes, our DIY cleaning solution is generally safe for pets and children, as it uses natural ingredients like vinegar and dish soap. However, it’s always a good idea to keep pets and children away from the area while you’re cleaning and to ensure that the walls are completely dry before allowing them to come into contact with them. As with any cleaning product, it’s important to store the ingredients out of reach of children and pets.
Q: What are some other natural cleaning alternatives I can use?
A: There are many other natural cleaning alternatives you can use to clean your walls and baseboards. Lemon juice is a great natural cleaner and disinfectant. You can mix it with water to create a cleaning solution. Tea tree oil is another natural disinfectant that can be added to your cleaning solution. Borax is a natural mineral that can be used to remove stubborn stains. Always test any new cleaning solution in an inconspicuous area first to ensure it doesn’t damage the wall.
Q: How do I prevent my walls and baseboards from getting dirty in the first place?
A: Prevention is always better than cure! To prevent your walls and baseboards from getting dirty, consider placing mats at entrances to trap dirt and debris. Regularly dust your walls and baseboards with a microfiber cloth or duster. Wipe up spills and splatters immediately. Avoid touching your walls with dirty hands. And consider using a sealant on your baseboards to protect them from moisture and stains. By taking these simple steps, you can keep your walls and baseboards looking clean and fresh for longer.

Leave a Comment