

Grow Bitter Gourd Easily, even if you think you don’t have a green thumb! Have you ever dreamt of harvesting your own vibrant, healthy bitter gourds right from your backyard? It might seem intimidating, but trust me, it’s more achievable than you think. This DIY guide is packed with simple tricks and hacks that will transform your gardening experience and have you enjoying fresh, homegrown bitter gourd in no time.
Bitter gourd, also known as karela, has a rich history, deeply rooted in traditional medicine and culinary practices across Asia and Africa for centuries. It’s not just a vegetable; it’s a powerhouse of nutrients! But its distinct bitter taste can be a hurdle for many. That’s where these DIY tricks come in! I’ll show you how to grow bitter gourd easily and even minimize that bitterness for a more palatable harvest.
Why do you need these DIY tricks? Because growing your own food is incredibly rewarding! Not only do you get to enjoy fresh, organic produce, but you also gain a sense of accomplishment and connection to nature. Plus, store-bought bitter gourd can sometimes be expensive and lack the freshness of homegrown varieties. So, let’s dive in and unlock the secrets to a bountiful bitter gourd harvest!
Grow Bitter Gourd Like a Pro: My Foolproof DIY Guide
Hey there, fellow gardening enthusiasts! Are you ready to tackle a slightly challenging, but incredibly rewarding, vegetable? I’m talking about bitter gourd, also known as bitter melon or karela. Don’t let the name scare you! With the right techniques, you can grow your own bountiful harvest of this nutritious and flavorful veggie. I’ve learned a few tricks over the years, and I’m excited to share my secrets to success with you. Get ready to dive in!
Choosing the Right Variety and Starting Seeds
First things first, let’s talk about choosing the right bitter gourd variety. There are several types available, varying in size, shape, and bitterness. Some popular choices include:
* Long Green Varieties: These are common and relatively easy to grow.
* Short, Thick Varieties: These tend to be more bitter.
* White Varieties: Often milder in flavor.
I personally prefer the long green varieties for their slightly less intense bitterness. Once you’ve picked your variety, it’s time to start those seeds!
Here’s how I start my bitter gourd seeds:
1. Soaking the Seeds: This is crucial for germination. I soak my bitter gourd seeds in lukewarm water for 24 hours. This helps soften the hard outer shell and encourages sprouting.
2. Preparing the Seed Starting Mix: I use a well-draining seed starting mix. You can buy a pre-made mix or create your own by combining equal parts peat moss, perlite, and vermiculite.
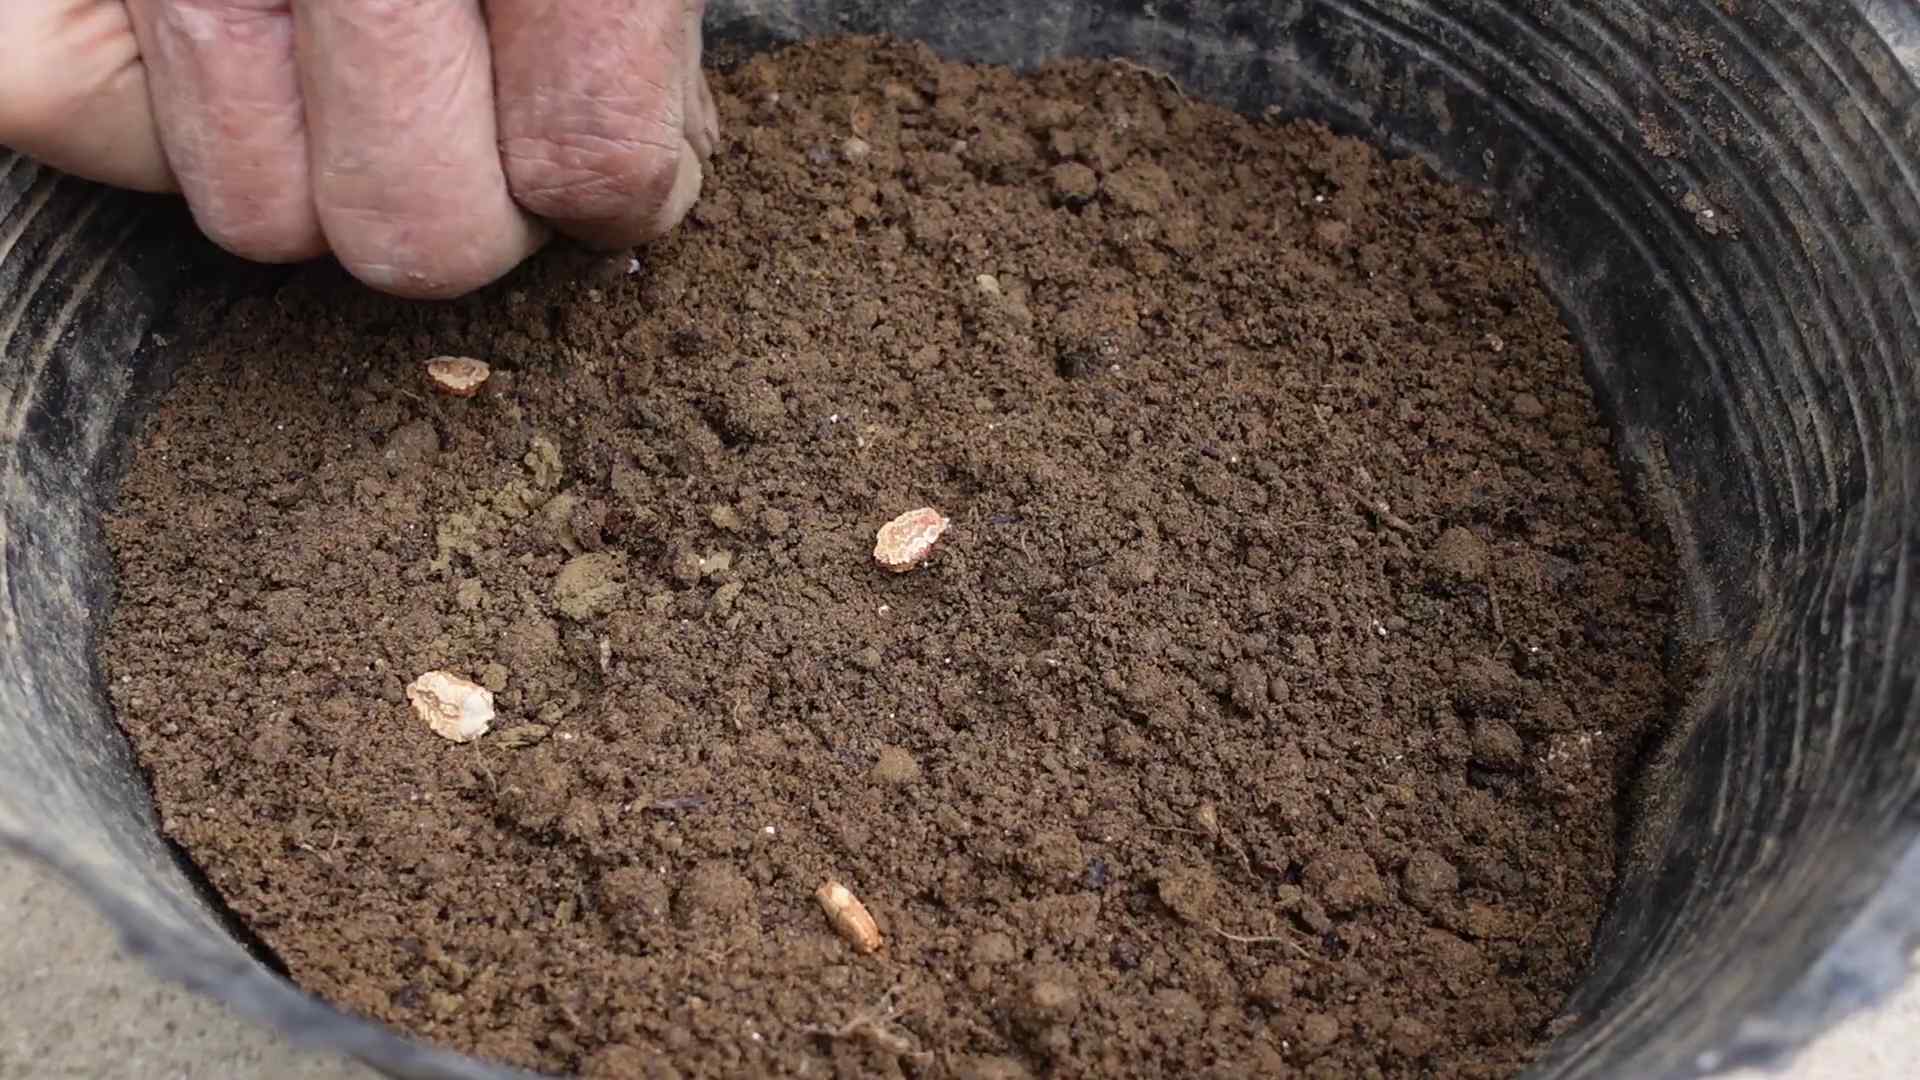
3. Planting the Seeds: Fill small pots or seedling trays with the seed starting mix. Plant the seeds about ½ inch deep. I usually plant 2-3 seeds per pot to increase my chances of success.
4. Watering and Providing Warmth: Gently water the soil until it’s moist but not soggy. Bitter gourd seeds need warmth to germinate, so I place my seed trays on a heat mat or in a warm location (around 80-85°F).
5. Waiting for Germination: Be patient! Germination can take anywhere from 7 to 14 days. Keep the soil consistently moist during this time.
Preparing the Garden Bed and Transplanting Seedlings
Now that your seeds are sprouting, it’s time to get your garden bed ready. Bitter gourd needs a sunny location with well-drained soil.
Here’s how I prepare my garden bed:
1. Choosing the Right Location: Select a spot that receives at least 6-8 hours of direct sunlight per day.
2. Soil Preparation: Bitter gourd thrives in well-drained, fertile soil. I amend my soil with plenty of compost or well-rotted manure. This improves drainage, adds nutrients, and helps retain moisture.
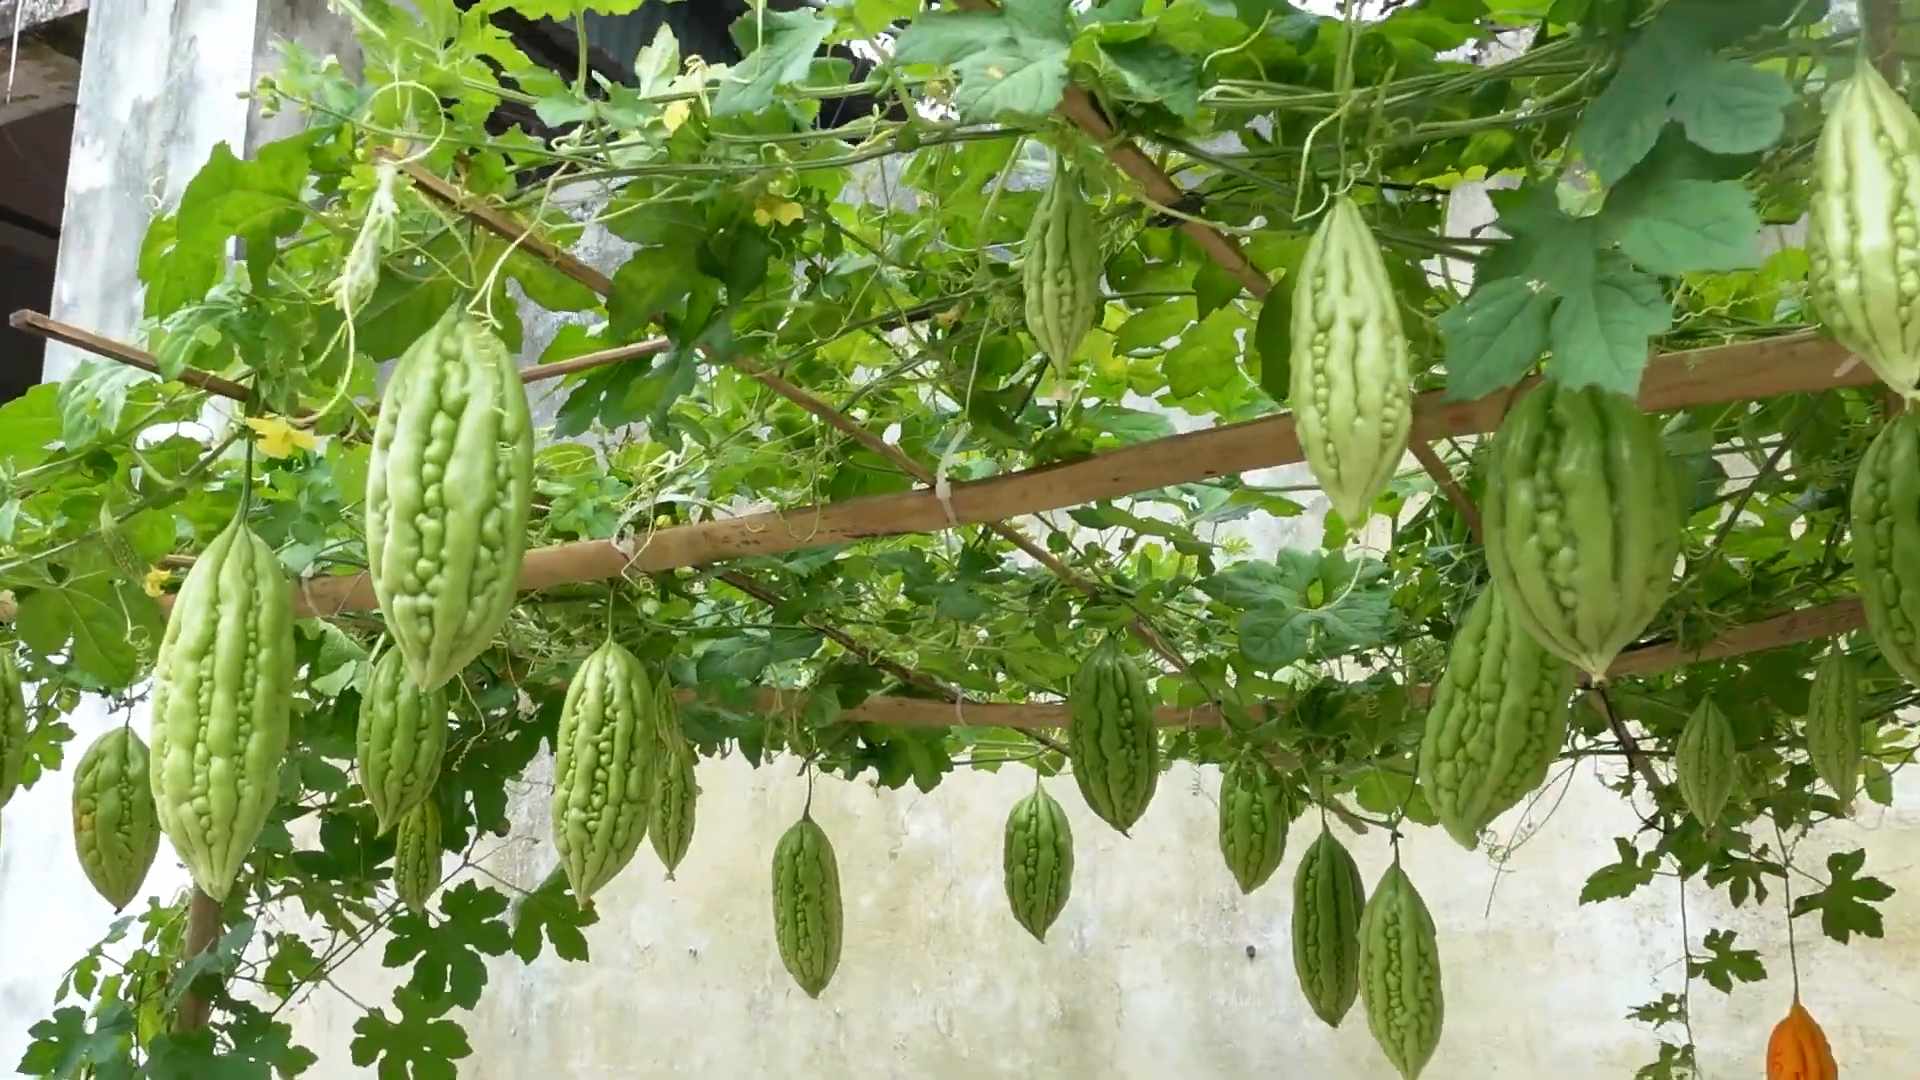
3. Building a Trellis: Bitter gourd is a vine, so it needs a trellis or other support structure to climb. I use a sturdy trellis made of wood or metal. You can also use a fence or even a strong netting. Make sure the trellis is at least 6-8 feet tall.
4. Spacing: Space your plants about 2-3 feet apart along the trellis. This gives them enough room to grow and prevents overcrowding.
Transplanting your seedlings:
1. Hardening Off: Before transplanting, you need to “harden off” your seedlings. This means gradually exposing them to outdoor conditions over a period of 7-10 days. Start by placing them outside for a few hours each day, gradually increasing the amount of time they spend outdoors.
2. Transplanting Time: Once your seedlings are hardened off and the weather is warm (soil temperature above 60°F), it’s time to transplant them into the garden bed.
3. Careful Removal: Gently remove the seedlings from their pots, being careful not to damage the roots.
4. Planting: Dig a hole that’s slightly larger than the root ball. Place the seedling in the hole and backfill with soil.
5. Watering: Water thoroughly after transplanting.
Caring for Your Bitter Gourd Plants
Once your bitter gourd plants are in the ground, it’s important to provide them with proper care.
Here’s what I do to keep my plants healthy and productive:
1. Watering: Bitter gourd needs consistent moisture, especially during hot weather. I water my plants deeply whenever the top inch of soil feels dry. Avoid overwatering, as this can lead to root rot.
2. Fertilizing: I fertilize my bitter gourd plants every 2-3 weeks with a balanced fertilizer. You can also use a liquid seaweed fertilizer.
3. Pruning: Pruning can help improve air circulation and encourage fruit production. I prune away any dead or yellowing leaves. You can also pinch off the tips of the vines to encourage branching.
4. Pest and Disease Control: Keep an eye out for pests like aphids, spider mites, and squash bugs. I use organic pest control methods, such as insecticidal soap or neem oil, to control these pests. Bitter gourd can also be susceptible to fungal diseases like powdery mildew. To prevent these diseases, make sure your plants have good air circulation and avoid overhead watering.
5. Training the Vines: As the vines grow, you’ll need to train them to climb the trellis. Gently guide the vines up the trellis and tie them in place with twine or plant ties.
Pollination and Fruit Development
Bitter gourd has separate male and female flowers. The female flowers have a small fruit behind them, while the male flowers do not.
Here’s what you need to know about pollination:
1. Natural Pollination: Bees and other insects are the primary pollinators of bitter gourd. To attract pollinators to your garden, plant flowers that are rich in nectar and pollen.
2. Hand Pollination: If you’re not seeing a lot of fruit set, you may need to hand-pollinate your bitter gourd flowers. To do this, use a small paintbrush to transfer pollen from the male flowers to the female flowers. The best time to hand-pollinate is in the morning, when the flowers are open.
3. Fruit Development: After pollination, the female flowers will begin to develop into fruit. It takes about 8-12 weeks for the fruit to mature.
Harvesting and Enjoying Your Bitter Gourd
The moment you’ve been waiting for! It’s time to harvest your bitter gourd.
Here’s how I harvest my bitter gourd:
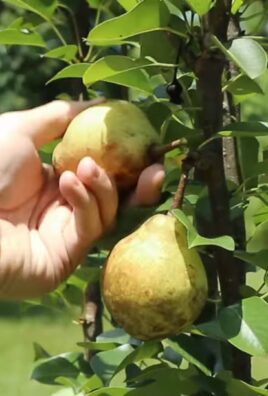
1. Harvest Time: Harvest your bitter gourd when it’s still green and slightly immature. The fruit should be firm and about 6-8 inches long. If you wait too long, the fruit will turn orange and become very bitter.
2. Cutting the Fruit: Use a sharp knife or pruning shears to cut the fruit from the vine. Leave a small stem attached to the fruit.
3. Storage: Store your bitter gourd in the refrigerator for up to a week.
Enjoying your harvest:
Bitter gourd can be used in a variety of dishes. It’s often stir-fried, curried, or stuffed. To reduce the bitterness, you can soak the sliced bitter gourd in salt water for 30 minutes before cooking. I personally love it in stir-fries with garlic, ginger, and chili peppers. It’s also delicious in soups and stews.
Tips for Reducing Bitterness
Okay, let’s be real, the bitterness is the biggest hurdle with bitter gourd. But don’t worry, I’ve got some tricks up my sleeve!
* Salt Water Soak: As mentioned before, soaking sliced bitter gourd in salt water for at least 30 minutes (or even longer) really helps draw out some of the bitterness.
* Blanching: Blanching the sliced bitter gourd in boiling water for a minute or two can also help. Just be sure to immediately plunge it into ice water to stop the cooking process.
* Removing the Pith and Seeds: The white pith and seeds inside the bitter gourd are the most bitter parts. Be sure to remove them thoroughly before cooking.
* Pairing with Strong Flavors: Cooking bitter gourd with strong flavors like garlic, ginger, onions, and chili peppers can help mask the bitterness.
* Cooking with Acid: Adding a touch of acid, like vinegar or lemon juice, can also help balance the bitterness.
Troubleshooting Common Problems
Even with the best care, you might encounter a few problems along the way. Here are some common issues and how I deal with them:
* Poor Germination: If your seeds aren’t germinating, make sure they’re getting enough warmth and moisture. You can also try scarifying the seeds by gently rubbing them with sandpaper before soaking.
* Lack of Fruit Set: If your plants are producing flowers but not fruit, it could be a pollination issue. Try hand-pollinating the
Conclusion
So, there you have it! Growing bitter gourd doesn’t have to be a daunting task. By implementing this simple yet effective DIY trick, you’re not just planting seeds; you’re cultivating a thriving, productive vine that will reward you with a bounty of fresh, healthy bitter gourds. This method, focusing on optimizing the soil and providing the right support, significantly increases your chances of success, even if you’ve struggled with bitter gourd cultivation in the past.
Why is this DIY trick a must-try? Because it addresses the two most common challenges faced by home gardeners: poor soil conditions and inadequate support systems. Bitter gourd, like many vine crops, is a heavy feeder and requires nutrient-rich soil to flourish. Our method ensures that your plants receive the nourishment they need from the very beginning, leading to stronger, healthier growth and increased fruit production. Furthermore, providing a sturdy trellis or support structure allows the vines to climb freely, maximizing sunlight exposure and air circulation, which are crucial for preventing fungal diseases and promoting healthy fruit development.
But don’t stop there! Feel free to experiment with variations to personalize this DIY trick to suit your specific gardening conditions and preferences. For instance, if you live in an area with particularly acidic soil, consider adding lime to the soil mixture to raise the pH level. You can also incorporate other organic amendments, such as composted manure or bone meal, to further enrich the soil and provide additional nutrients.
Regarding support systems, while a traditional trellis works wonders, you can also get creative with repurposed materials. Old ladders, sturdy branches, or even a chain-link fence can be transformed into effective climbing structures for your bitter gourd vines. Just ensure that the support is strong enough to bear the weight of the mature vines and developing fruits.
Remember, gardening is all about experimentation and learning. Don’t be afraid to try different techniques and observe how your plants respond. The key is to create an environment that mimics the bitter gourd’s natural habitat as closely as possible.
We are confident that this DIY trick will revolutionize your bitter gourd growing experience. It’s a game-changer that simplifies the process and dramatically improves your chances of a successful harvest. So, grab your seeds, gather your materials, and get ready to embark on a rewarding gardening adventure.
We’re eager to hear about your experiences! Once you’ve tried this DIY trick for growing bitter gourd, please share your results with us. Let us know what worked well for you, what challenges you encountered, and any variations you implemented. Your feedback will not only help us refine this method but also inspire other gardeners to give it a try. Share your photos and stories on our social media channels using #GrowBitterGourdEasily and let’s create a community of thriving bitter gourd growers! Let’s all learn how to **grow bitter gourd easily** together!
Frequently Asked Questions (FAQ)
What type of soil is best for growing bitter gourd?
Bitter gourd thrives in well-drained, fertile soil that is rich in organic matter. A slightly acidic to neutral pH (between 6.0 and 7.0) is ideal. Amend your soil with compost, well-rotted manure, or other organic materials to improve drainage, fertility, and water retention. Avoid heavy clay soils, as they can become waterlogged and hinder root development. If you have clay soil, consider growing bitter gourd in raised beds or containers with a suitable potting mix.
How often should I water my bitter gourd plants?
Water your bitter gourd plants regularly, especially during hot, dry weather. Aim to keep the soil consistently moist but not waterlogged. Water deeply at the base of the plants, avoiding wetting the foliage, which can increase the risk of fungal diseases. Mulching around the plants can help retain moisture in the soil and suppress weed growth. As the fruits mature, you may need to reduce watering slightly to prevent them from becoming waterlogged and splitting.
What kind of support system is best for bitter gourd vines?
Bitter gourd vines are vigorous climbers and require a sturdy support system to grow properly. A trellis, fence, or arbor are all excellent options. The support should be at least 6-8 feet tall to accommodate the growing vines. Ensure that the support is strong enough to bear the weight of the mature vines and developing fruits. You can also use string or wire to train the vines to climb the support. Regularly prune the vines to encourage branching and fruit production.
How do I fertilize my bitter gourd plants?
Bitter gourd plants are heavy feeders and require regular fertilization to thrive. Start by incorporating compost or well-rotted manure into the soil before planting. During the growing season, fertilize every 2-3 weeks with a balanced fertilizer or a fertilizer specifically formulated for vegetables. Follow the instructions on the fertilizer package carefully. You can also use organic fertilizers, such as fish emulsion or seaweed extract. Avoid over-fertilizing, as this can lead to excessive foliage growth and reduced fruit production.
When is the best time to plant bitter gourd?
Bitter gourd is a warm-season crop and should be planted after the last frost when the soil has warmed up to at least 65°F (18°C). In most regions, this is typically in late spring or early summer. You can start seeds indoors 4-6 weeks before the last frost and transplant them outdoors once the weather is warm enough. Choose a sunny location with at least 6-8 hours of direct sunlight per day.
How long does it take for bitter gourd to mature?
Bitter gourd typically takes 60-90 days to mature after planting. The fruits are ready to harvest when they are still green and firm, before they turn yellow or orange. The size of the fruit will vary depending on the variety. Harvest the fruits regularly to encourage continued production.
What are some common pests and diseases that affect bitter gourd?
Bitter gourd can be susceptible to various pests and diseases, including aphids, spider mites, squash bugs, powdery mildew, and downy mildew. Regularly inspect your plants for signs of pests or diseases and take action promptly. Use organic pest control methods, such as insecticidal soap or neem oil, to control pests. Ensure good air circulation around the plants to prevent fungal diseases. Remove any infected leaves or fruits immediately.
Can I grow bitter gourd in containers?
Yes, you can grow bitter gourd in containers, provided that the container is large enough to accommodate the plant’s root system. Choose a container that is at least 12-18 inches in diameter and depth. Use a well-draining potting mix and provide a sturdy trellis or support system for the vines to climb. Water and fertilize regularly, as container-grown plants tend to dry out and deplete nutrients more quickly than those grown in the ground.
How do I save seeds from my bitter gourd plants?
To save seeds from your bitter gourd plants, allow a few fruits to fully mature on the vine until they turn yellow or orange. Once the fruits are ripe, harvest them and extract the seeds. Wash the seeds thoroughly and allow them to dry completely before storing them in an airtight container in a cool, dry place. Properly stored seeds can remain viable for several years.
Is bitter gourd good for my health?
Yes, bitter gourd is a highly nutritious vegetable that offers numerous health benefits. It is rich in vitamins, minerals, and antioxidants. Bitter gourd has been shown to help regulate blood sugar levels, lower cholesterol, boost the immune system, and promote weight loss. It is also a good source of fiber, which aids in digestion. Incorporating bitter gourd into your diet can contribute to overall health and well-being.
Leave a Comment