

DIY candle making for beginners might seem intimidating, but trust me, it’s one of the most rewarding and surprisingly simple crafts you can dive into! Have you ever imagined filling your home with the warm, comforting glow of a candle you crafted with your own two hands? It’s more than just a light source; it’s an experience, a mood setter, and a personalized touch that store-bought candles simply can’t replicate.
Candles have a rich history, dating back to ancient civilizations where they were primarily used for illumination and religious ceremonies. From tallow dips to beeswax creations, candles have evolved through the ages, becoming symbols of hope, celebration, and tranquility. Today, we’re taking that ancient craft and giving it a modern, DIY twist!
In our fast-paced world, taking time for mindful activities is more important than ever. DIY candle making for beginners offers a fantastic way to de-stress, unleash your creativity, and create something beautiful and functional. Plus, think of the possibilities! You can customize scents to match your mood, create unique gifts for loved ones, or even start a small business. Who wouldn’t want to learn how to make their own candles? Let’s get started and illuminate your world, one homemade candle at a time!
DIY Candle Making for Beginners: A Step-by-Step Guide
Hey there, fellow crafters! Ever wanted to fill your home with the warm glow and comforting scent of your own handmade candles? Well, you’ve come to the right place! Candle making might seem intimidating at first, but trust me, it’s a surprisingly simple and rewarding DIY project. I’m going to walk you through the entire process, from gathering your supplies to pouring your very first candle. Let’s get started!
Gathering Your Supplies: The Candle Maker’s Toolkit
Before we dive into the melting and pouring, let’s make sure we have everything we need. Here’s a checklist of essential candle-making supplies:
* Wax: This is the heart of your candle! For beginners, I highly recommend soy wax or beeswax. Soy wax is eco-friendly, burns cleanly, and holds fragrance well. Beeswax is natural, has a subtle honey scent, and burns longer. Paraffin wax is another option, but it’s not as eco-friendly and can release soot.
* Wicks: Choosing the right wick is crucial for a well-burning candle. The size of the wick depends on the diameter of your container and the type of wax you’re using. Consult a wick size chart (easily found online) for guidance. Pre-waxed wicks with metal tabs are super convenient for beginners.
* Fragrance Oils or Essential Oils: This is where you get to personalize your candles! Choose scents that you love. Fragrance oils are synthetic and offer a wider range of scents, while essential oils are natural and have therapeutic benefits. Remember to use candle-safe fragrance oils.
* Containers: Get creative with your containers! You can use mason jars, teacups, tins, or any heat-safe vessel. Just make sure they’re clean and dry.
* Double Boiler or Heat-Safe Bowl and Saucepan: We’ll use this to melt the wax safely. A double boiler is ideal, but a heat-safe bowl placed over a saucepan of simmering water works just as well.
* Thermometer: A candy thermometer or digital thermometer is essential for monitoring the wax temperature.
* Pouring Pot or Heat-Safe Pitcher: This will make pouring the wax into your containers much easier and less messy.
* Wick Stickers or Glue Dots: To secure the wicks to the bottom of your containers.
* Clothes Pins or Wick Holders: To keep the wicks centered while the wax cools.
* Scale: For measuring wax and fragrance oil accurately.
* Stirring Utensil: A wooden skewer or stainless steel spoon works well.
* Paper Towels: For cleaning up any spills.
* Apron: To protect your clothes.
* Newspaper or Protective Covering: To protect your work surface.
Melting the Wax: The Foundation of Your Candle
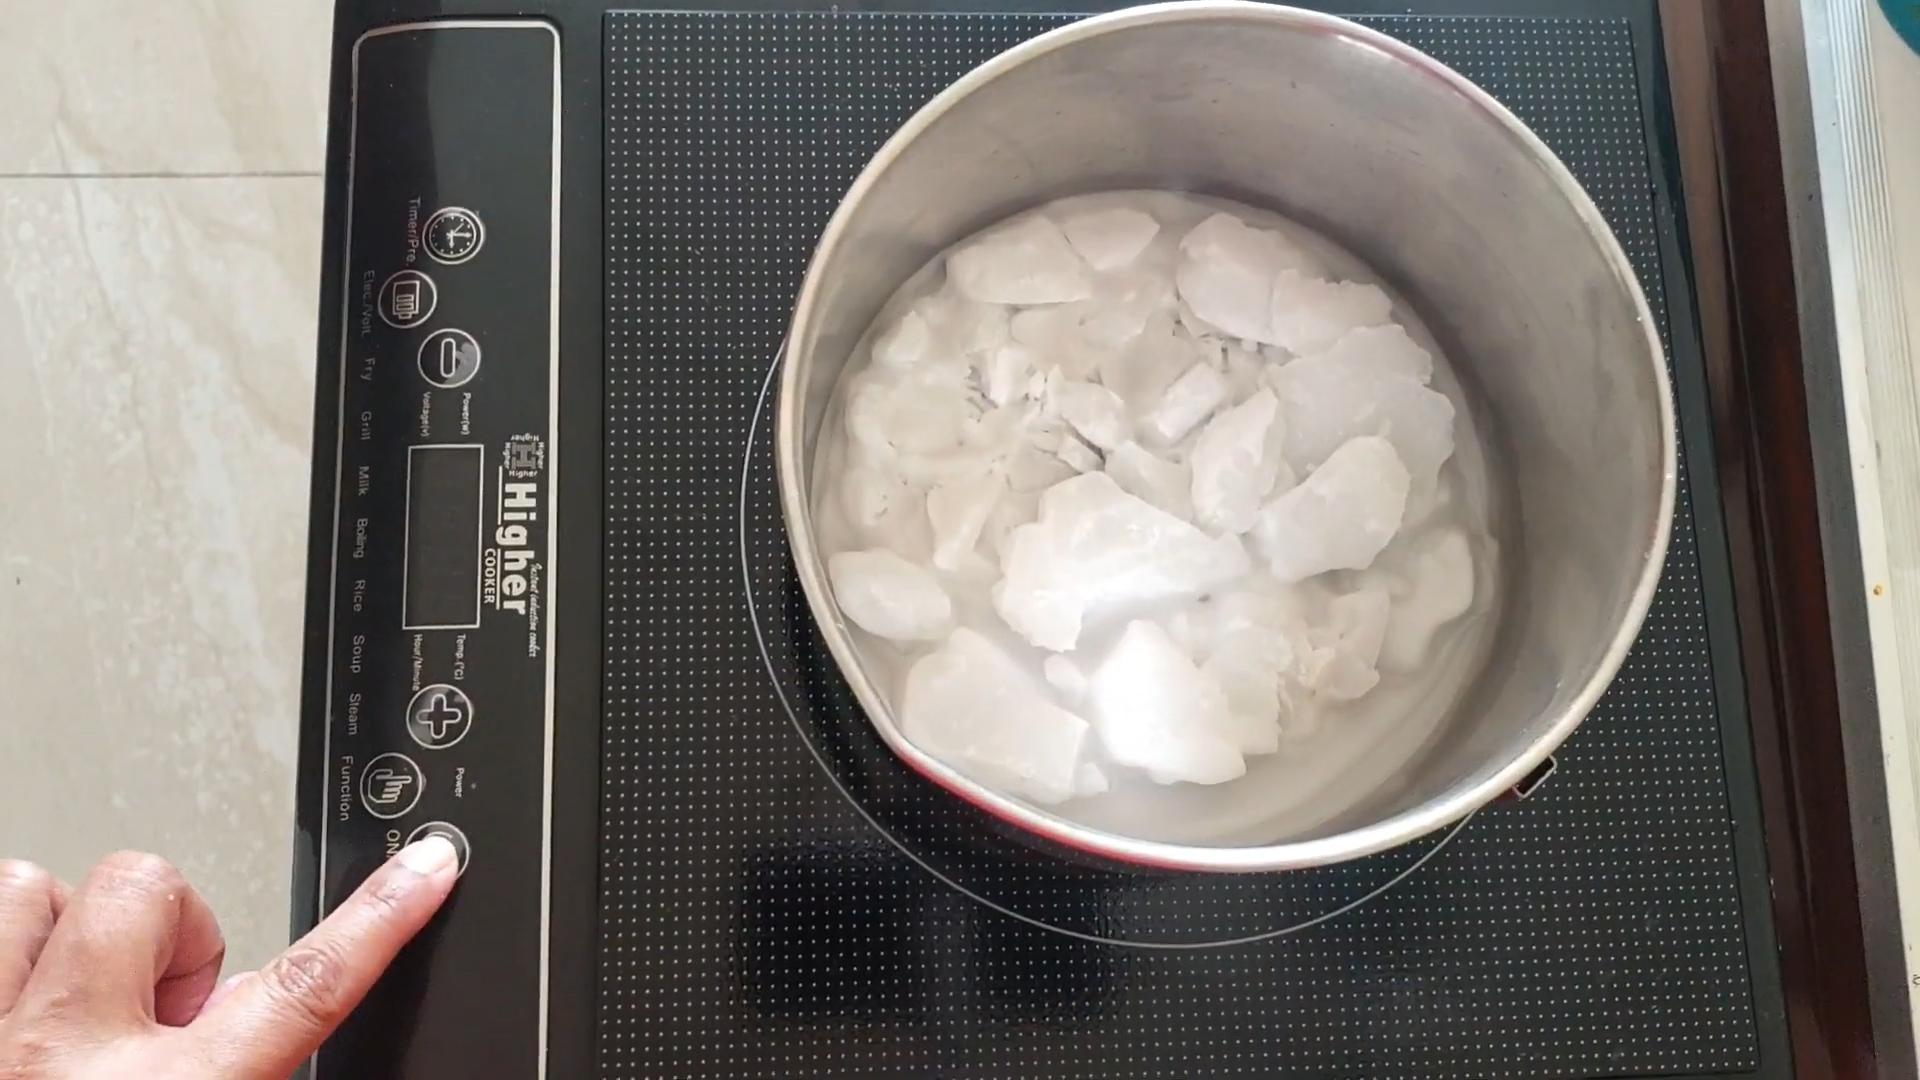
Now that we have our supplies, let’s get to the fun part: melting the wax!
1. Prepare Your Double Boiler: Fill the saucepan with a few inches of water and bring it to a simmer. Place the heat-safe bowl on top of the saucepan, ensuring the bottom of the bowl doesn’t touch the water.
2. Measure the Wax: Use your scale to measure the amount of wax you need for your containers. A good rule of thumb is to fill your container with wax flakes, then melt it down. You’ll likely need to add a bit more wax after melting to reach the desired fill level.
3. Melt the Wax: Place the wax flakes into the heat-safe bowl. Stir occasionally with your stirring utensil to help the wax melt evenly. Monitor the temperature with your thermometer. For soy wax, aim for a temperature between 180-185°F (82-85°C). For beeswax, aim for a temperature between 145-185°F (63-85°C). Never leave the melting wax unattended!
4. Remove from Heat: Once the wax is completely melted, remove the bowl from the heat source.
Adding Fragrance and Preparing to Pour: Scenting Your Creation
This is where you get to unleash your inner perfumer!
1. Let the Wax Cool Slightly: Allow the wax to cool down slightly before adding the fragrance oil. For soy wax, let it cool to around 130-140°F (54-60°C). Adding fragrance oil at too high a temperature can cause it to evaporate and weaken the scent throw.
2. Add Fragrance Oil: The typical fragrance load for candles is around 6-10% of the total wax weight. Use your scale to measure the correct amount of fragrance oil.
3. Stir Thoroughly: Gently stir the fragrance oil into the melted wax for about two minutes to ensure it’s fully incorporated. Avoid stirring too vigorously, as this can create air bubbles.
4. Prepare Your Containers: While the wax is cooling, prepare your containers. Make sure they’re clean and dry. Attach a wick sticker or glue dot to the bottom of each wick and center it in the container.
5. Secure the Wicks: Use clothespins or wick holders to keep the wicks centered and upright. Clip the clothespins to the top of the container, with the wick running through the center.
Pouring the Candles: Bringing It All Together
Almost there! This is the final step in creating your beautiful candles.
1. Pour the Wax: Carefully pour the scented wax into your prepared containers, leaving about half an inch of space at the top.
2. Let the Candles Cool and Harden: Allow the candles to cool and harden completely at room temperature. This can take several hours, or even overnight. Avoid moving the candles while they’re cooling, as this can cause uneven surfaces.
3. Trim the Wicks: Once the candles are completely cool and hardened, trim the wicks to about ¼ inch. This will ensure a clean and even burn.
4. Inspect and Re-pour (If Necessary): Sometimes, after the candle cools, you might notice a sinkhole or uneven surface around the wick. This is perfectly normal! If this happens, simply re-melt a small amount of wax (without fragrance) and pour it over the uneven area to smooth it out. Let it cool completely again.
Troubleshooting: Common Candle Making Issues and Solutions
Even with the best instructions, sometimes things don’t go exactly as planned. Here are some common candle-making issues and how to fix them:
* Sinkholes or Uneven Surfaces: As mentioned above, re-melting and pouring a small amount of wax can fix this. You can also try tapping the container gently on a hard surface while the wax is still slightly warm to release any trapped air bubbles.
* Wet Spots: These are small, dark patches on the side of the candle. They’re caused by the wax shrinking and pulling away from the container. Wet spots don’t affect the candle’s performance, but if you find them unsightly, you can try preheating your containers before pouring the wax.
* Frosting: This is a white, crystalline coating that can appear on soy wax candles. It’s a natural characteristic of soy wax and doesn’t affect the candle’s performance. To minimize frosting, try pouring at a slightly lower temperature and avoiding rapid temperature changes.
* Poor Scent Throw: This means the candle doesn’t release enough fragrance when burning. Make sure you’re using the correct fragrance load (6-10%) and that you’re adding the fragrance oil at the correct temperature. Also, ensure you’re using a candle-safe fragrance oil.
* Smoking or Sooting: This is usually caused by a wick that’s too large. Try trimming the wick to ¼ inch before each burn. If the candle continues to smoke, extinguish it and let it cool completely. Then, remove some of the melted wax around the wick and relight it. If the problem persists, you may need to use a smaller wick in future candles.
* Tunneling: This happens when the candle burns down the center, leaving a ring of unmelted wax around the edges. This is usually caused by not burning the candle long enough on the first burn. The first burn is crucial! Allow the candle to burn long enough for the entire surface to melt completely. This will create a “memory ring” and prevent tunneling in future burns.
Safety First: Important Candle Making Precautions
Candle making is a fun and creative hobby, but it’s important to prioritize safety. Here are some essential precautions to keep in mind:
* Never leave melting wax unattended.
* Use a thermometer to monitor the wax temperature.
* Work in a well-ventilated area.
* Keep flammable materials away from the melting wax and burning candles.
* Extinguish candles before leaving the room or going to sleep.
* Keep candles
Conclusion
So, there you have it! This simple, yet incredibly rewarding, DIY candle making for beginners trick opens up a world of possibilities for creating personalized ambiance in your home. Forget those expensive store-bought candles with generic scents and questionable ingredients. With just a few readily available supplies and a little bit of your time, you can craft beautiful, fragrant candles that perfectly reflect your style and preferences.
Why is this a must-try? Because it’s more than just making a candle; it’s about creating an experience. It’s about the satisfaction of knowing you made something beautiful and functional with your own hands. It’s about controlling the ingredients and ensuring you’re burning clean, natural wax and fragrances in your home. It’s about the joy of gifting a handmade candle to a loved one, knowing you’ve given them something truly special.
But the fun doesn’t stop there! Once you’ve mastered the basic technique, the possibilities are endless. Experiment with different waxes, such as soy wax for a longer burn time or beeswax for its natural honey scent. Try adding essential oils for aromatherapy benefits, creating custom blends to uplift your mood, promote relaxation, or energize your space. Get creative with your containers – repurpose vintage teacups, mason jars, or even seashells for a unique and charming look. You can also add dried flowers, herbs, or crystals to your candles for an extra touch of visual appeal and intention. Consider layering different colors of wax for a stunning ombre effect, or embedding small objects like coffee beans or sea glass for a truly personalized touch.
Don’t be afraid to experiment with different wicks as well. The size and type of wick will affect how your candle burns, so it’s important to find the right one for your container and wax type. Pre-waxed wicks are a great option for beginners, but you can also try using different types of wick material, such as cotton or hemp.
And remember, safety is always paramount. Never leave a burning candle unattended, and always place it on a heat-resistant surface away from flammable materials. Keep candles out of reach of children and pets.
We are confident that you will find this DIY candle making for beginners trick to be both enjoyable and rewarding. It’s a fantastic way to unleash your creativity, create a cozy atmosphere in your home, and even save money in the long run.
So, what are you waiting for? Gather your supplies, follow our simple instructions, and get ready to embark on your candle-making journey. We can’t wait to see what you create! Share your creations with us on social media using [Your Hashtag] – we’d love to see your unique candle designs and hear about your experiences. Happy candle making!
Frequently Asked Questions (FAQ)
What type of wax is best for beginners?
Soy wax is generally considered the best option for beginners. It’s easy to work with, burns cleanly, and has a good scent throw. It’s also a sustainable and renewable resource. Paraffin wax is another option, but it’s derived from petroleum and doesn’t burn as cleanly as soy wax. Beeswax is a natural option with a subtle honey scent, but it can be more expensive and requires a higher melting point. For DIY candle making for beginners, soy wax offers the best balance of ease of use, affordability, and environmental friendliness.
What kind of wick should I use?
The type of wick you need depends on the diameter of your container and the type of wax you’re using. Pre-waxed wicks are a convenient option for beginners. Look for wicks that are specifically designed for soy wax if that’s what you’re using. Wick size charts are readily available online and can help you determine the appropriate wick size for your project. Using the wrong wick size can lead to tunneling (where the candle burns down the center, leaving wax around the edges) or excessive smoking.
How much fragrance oil should I add?
A general guideline is to use 6-10% fragrance oil by weight. This means that for every pound of wax, you would add 0.96 to 1.6 ounces of fragrance oil. However, the optimal amount can vary depending on the specific fragrance oil and the type of wax you’re using. Always check the manufacturer’s recommendations for the fragrance oil you’re using. Start with a lower percentage and increase it if needed, but be careful not to add too much, as this can cause the candle to smoke or not burn properly.
What temperature should I add the fragrance oil?
The ideal temperature for adding fragrance oil to wax is typically between 170-185°F (77-85°C). Adding it at the correct temperature ensures that the fragrance oil binds properly with the wax and doesn’t evaporate too quickly. Use a thermometer to monitor the temperature of the wax. After adding the fragrance oil, stir gently for about two minutes to ensure it’s evenly distributed.
How long should I let the candle cure before burning it?
It’s recommended to let your candles cure for at least 24-48 hours before burning them. This allows the fragrance oil to fully bind with the wax and develop its scent. Some candle makers even recommend curing for up to a week for optimal scent throw. While you *can* burn the candle sooner, you’ll likely get a weaker scent. Patience is key for achieving the best results in DIY candle making for beginners.
Can I use essential oils instead of fragrance oils?
Yes, you can use essential oils, but keep in mind that they may not have as strong of a scent throw as fragrance oils. Essential oils are also more volatile and can evaporate more quickly, so you may need to use a higher percentage. Be sure to use high-quality, pure essential oils. Some essential oils can also be flammable, so it’s important to research the safety precautions before using them in candles.
What if my candle is tunneling?
Tunneling occurs when the candle burns down the center, leaving wax around the edges. This is often caused by using a wick that is too small for the container. To fix tunneling, you can try wrapping the candle in foil, leaving a small opening at the top. This will help to trap the heat and melt the wax around the edges. Burn the candle for a few hours until the entire surface is melted. If the tunneling persists, you may need to use a larger wick in future candles.
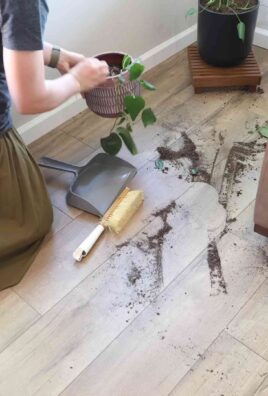
How do I clean up spilled wax?
Let the wax cool and harden completely. Then, use a dull knife or spatula to gently scrape off the wax. For any remaining residue, you can try using a hairdryer to soften the wax and then wipe it away with a paper towel. You can also use a warm iron and a clean cloth to absorb the wax. Place the cloth over the wax and iron over it on a low setting. The wax will melt and be absorbed by the cloth.
Is DIY candle making for beginners safe?
Yes, DIY candle making can be safe as long as you follow proper safety precautions. Always work in a well-ventilated area, use a thermometer to monitor the temperature of the wax, and never leave a melting pot unattended. Keep flammable materials away from the heat source, and always place burning candles on a heat-resistant surface. Keep candles out of reach of children and pets.
Where can I find supplies for candle making?
You can find candle making supplies at craft stores, online retailers, and some specialty candle supply stores. Look for soy wax, wicks, fragrance oils, containers, and melting pots. Amazon, Michael’s, and Hobby Lobby are popular options. Be sure to read reviews and compare prices before making a purchase.

Leave a Comment