

Dusting hacks for safer home – that’s what we’re diving into today, and trust me, you’re going to want to bookmark this page! Are you tired of battling dust bunnies that seem to multiply overnight? Do you feel like you’re constantly waging war against allergens that are making your home less than healthy? You’re not alone! For centuries, cultures around the world have sought effective ways to keep their living spaces clean and dust-free. From ancient civilizations using natural fibers to sweep floors to the modern-day vacuum cleaner, the quest for a dust-free home is a timeless one.
But let’s face it, traditional dusting methods can be tedious and often just redistribute the dust, rather than eliminate it. That’s where these amazing dusting hacks for safer home come in! I’m going to share some simple, yet incredibly effective, DIY tricks that will not only make your home cleaner but also create a healthier environment for you and your loved ones. Think fewer allergens, improved air quality, and a home that truly sparkles. Ready to say goodbye to those pesky dust bunnies for good? Let’s get started!
DIY Dusting Hacks for a Healthier Home
Okay, let’s face it, dusting is nobody’s favorite chore. But a dusty home isn’t just unsightly; it can actually impact your health, triggering allergies and asthma. I’m going to share some of my favorite DIY dusting hacks that will not only make the job easier but also create a cleaner, healthier living space for you and your family.
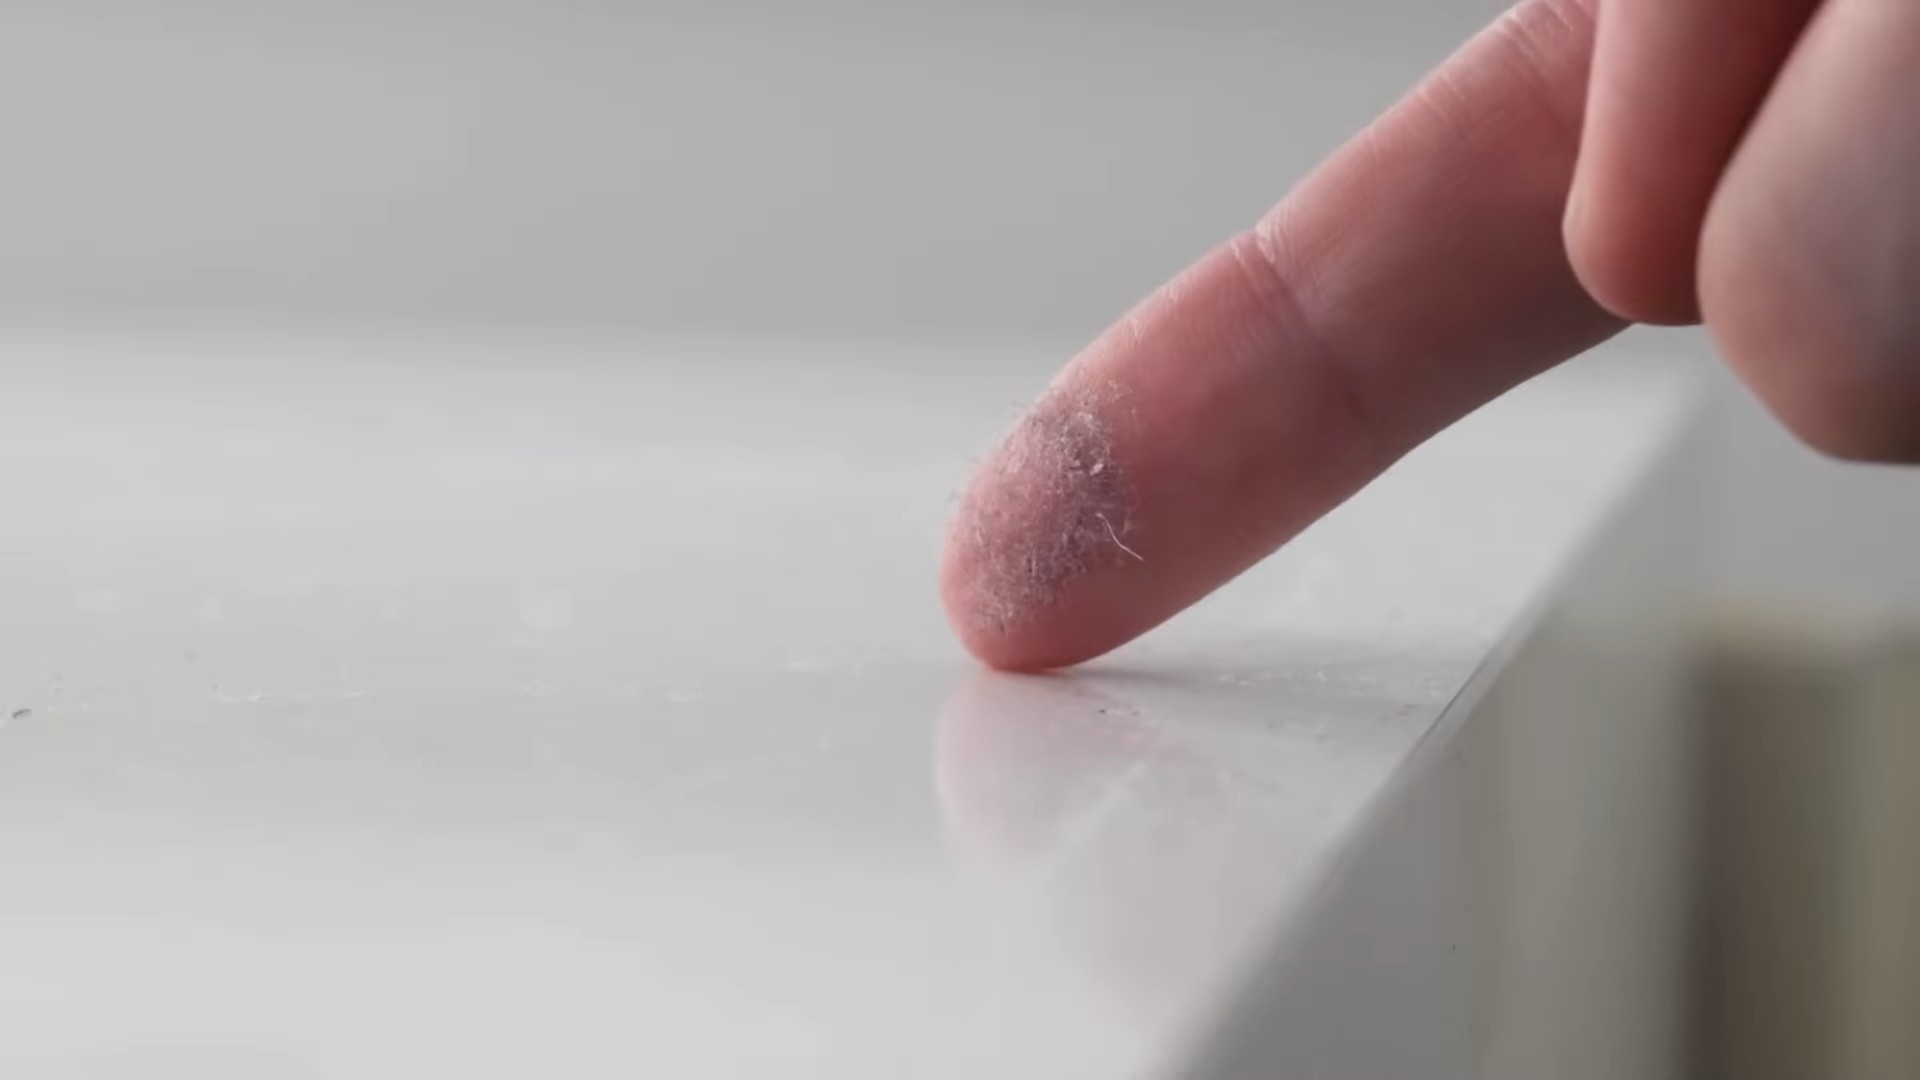
Understanding the Enemy: Dust Composition
Before we dive into the hacks, it’s helpful to understand what we’re fighting. Dust isn’t just dirt; it’s a complex mixture of:
* Dead skin cells (yuck, I know!)
* Pet dander
* Pollen
* Dust mites and their droppings (double yuck!)
* Mold spores
* Textile fibers
* Dirt and debris from outside
Knowing this helps us choose the right tools and techniques.
Hack #1: The Microfiber Magic
Microfiber cloths are my absolute go-to for dusting. They’re super absorbent and have a unique weave that traps dust instead of just pushing it around.
Why Microfiber Works:
* Electrostatic Charge: Microfibers generate a static charge that attracts dust particles like a magnet.
* Split Fibers: The fibers are split into tiny strands, creating a larger surface area for trapping dust.
* Washable and Reusable: Unlike disposable dusters, microfiber cloths can be washed and reused countless times, making them eco-friendly and cost-effective.
Step-by-Step Guide to Microfiber Dusting:
1. Dampen the Cloth: Lightly dampen your microfiber cloth with water. This helps the dust cling to the cloth even better. Make sure it’s not soaking wet; just slightly moist.
2. Fold the Cloth: Fold the cloth into quarters. This gives you multiple clean surfaces to work with.
3. Dust in Sections: Start at the top of the room and work your way down. This prevents dust from falling onto areas you’ve already cleaned.
4. Wipe Methodically: Wipe surfaces in a systematic way, overlapping each stroke slightly. This ensures you don’t miss any spots.
5. Rinse and Repeat: As the cloth becomes soiled, rinse it out in clean water and wring it dry. Refold it to expose a clean surface.
6. Wash the Cloth: After you’re finished dusting, wash the microfiber cloth in the washing machine with a mild detergent. Avoid using fabric softener, as it can reduce the cloth’s absorbency.
Hack #2: The Sock Puppet Duster (for Blinds!)
Cleaning blinds can be a real pain. But I’ve found a super simple solution using an old sock and some tongs.
Why This Works:
* Custom Fit: The sock conforms to the shape of the blind slats, allowing you to clean both sides at once.
* Easy to Maneuver: The tongs provide a handle for easy maneuvering between the slats.
* Cost-Effective: You’re repurposing an old sock, saving you money on specialized blind cleaning tools.
Step-by-Step Guide to Sock Puppet Blind Cleaning:
1. Gather Your Supplies: You’ll need an old sock (preferably cotton or microfiber), a pair of tongs or pliers, and a bowl of warm water with a few drops of dish soap.
2. Prepare the Sock: Dampen the sock with the soapy water and wring it out so it’s not dripping.
3. Attach the Sock: Slide the sock over the ends of the tongs or pliers, securing it in place.
4. Clean the Blinds: Starting at the top of the blinds, gently clamp the sock-covered tongs around each slat and slide them along the length of the slat.
5. Rinse and Repeat: As the sock becomes soiled, rinse it out in the soapy water and reattach it to the tongs.
6. Dry the Blinds: Once you’ve cleaned all the slats, use a dry sock to wipe them down and remove any excess moisture.
Hack #3: The Paintbrush Power-Up (for Tight Spaces)
Dust loves to hide in those hard-to-reach places, like crevices, corners, and decorative items. A simple paintbrush can be your secret weapon.
Why This Works:
* Precision Cleaning: The bristles of the paintbrush can reach into tight spaces that a cloth can’t.
* Gentle on Delicate Items: The soft bristles won’t scratch or damage delicate surfaces.
* Versatile: You can use it on everything from picture frames to lampshades to intricate carvings.
Step-by-Step Guide to Paintbrush Dusting:
1. Choose the Right Brush: Select a soft-bristled paintbrush that’s clean and dry. An angled brush can be particularly useful for corners.
2. Dust Gently: Gently brush away the dust from the surface, working in small sections.
3. Vacuum Up Loose Dust: Use a vacuum cleaner with a brush attachment to suck up any loose dust that falls to the floor or surrounding surfaces.
4. Clean the Brush: After you’re finished dusting, clean the paintbrush with soap and water and let it air dry.
Hack #4: The Dryer Sheet Dust Magnet
Used dryer sheets aren’t just for laundry! They can also be surprisingly effective dust magnets, especially on electronics.
Why This Works:
* Static Reduction: Dryer sheets contain antistatic agents that reduce static electricity, preventing dust from clinging to surfaces.
* Dust Repellent: They leave behind a thin coating that helps repel dust in the future.
* Pleasant Scent: They leave behind a subtle, fresh scent.
Step-by-Step Guide to Dryer Sheet Dusting:
1. Use a Used Dryer Sheet: Grab a used dryer sheet from your laundry. A new one might leave behind too much residue.
2. Wipe Surfaces: Gently wipe the dryer sheet over surfaces like TV screens, computer monitors, and furniture.
3. Avoid Excessive Pressure: Don’t press too hard, especially on delicate screens.
4. Dispose of the Sheet: After you’re finished dusting, dispose of the dryer sheet.
Important Note: While dryer sheets are great for many surfaces, avoid using them on wood furniture, as they can leave behind a waxy residue.
Hack #5: The Vacuum Cleaner Power-Up
Your vacuum cleaner isn’t just for floors! With the right attachments, it can be a powerful dusting tool.
Why This Works:
* Powerful Suction: Vacuums provide strong suction to remove dust and debris from surfaces.
* Versatile Attachments: Different attachments allow you to clean a variety of surfaces, from upholstery to curtains to hard-to-reach areas.
* Allergy Relief: Vacuums with HEPA filters can trap allergens and dust mites, improving air quality.
Step-by-Step Guide to Vacuum Cleaner Dusting:
1. Choose the Right Attachment: Select the appropriate attachment for the surface you’re cleaning. A brush attachment is ideal for upholstery and curtains, while a crevice tool is perfect for tight spaces.
2. Adjust the Suction: Adjust the suction power to avoid damaging delicate surfaces.
3. Vacuum Methodically: Vacuum surfaces in a systematic way, overlapping each stroke slightly.
4. Empty the Vacuum Bag or Canister: Empty the vacuum bag or canister regularly to maintain optimal suction.
5. Clean the Filters: Clean the vacuum filters regularly to prevent dust buildup and maintain air quality.
Hack #6: The Essential Oil Infusion (for a Fresh Scent)
Want to add a little aromatherapy to your dusting routine? Infuse your cleaning cloths with essential oils.
Why This Works:
* Natural Cleaning Properties: Some essential oils, like lemon and tea tree, have natural antibacterial and antifungal properties.
* Aromatherapy Benefits: Essential oils can uplift your mood and create a more pleasant cleaning experience.
* Fresh Scent: They leave behind a natural, refreshing scent.
Step-by-Step Guide to Essential Oil Dusting:
1. Choose Your Essential Oil: Select an essential oil that you enjoy and that has cleaning properties. Lemon, lavender, tea tree, and eucalyptus are all good choices.
2. Dilute the Oil: Add a few drops of essential oil to a bowl of water.
3. Dampen the Cloth: Dampen your microfiber cloth with the essential oil-infused water.
4. Dust as Usual: Dust surfaces as you normally would.
Important Note: Always dilute essential oils before using them on surfaces. Avoid using essential oils on delicate surfaces like wood furniture, as they can potentially damage
Conclusion
So, there you have it! Transforming your dusting routine with these simple, yet incredibly effective DIY dusting hacks is more than just a way to keep your home looking pristine; it’s an investment in your health and well-being. We’ve explored methods that not only remove dust but also minimize its dispersal, ensuring a cleaner and healthier environment for you and your loved ones. From the electrostatic power of microfiber cloths to the surprising effectiveness of repurposed dryer sheets, these techniques offer a sustainable and budget-friendly alternative to harsh chemical-laden cleaners.
But why is this a must-try? Because conventional dusting often just moves dust around, sending it airborne only to settle again later. These DIY methods, however, actively trap and remove dust, significantly reducing allergens and irritants in your home. This is especially crucial for individuals with allergies, asthma, or other respiratory sensitivities. Imagine breathing easier, sleeping better, and enjoying a home that truly feels clean and fresh. That’s the power of effective dusting.
Beyond the basic techniques, there’s room for personalization and experimentation. For instance, if you’re dealing with stubborn dust buildup on wooden furniture, consider adding a few drops of lemon essential oil to your dusting solution. The oil not only helps to loosen the dust but also leaves behind a refreshing citrus scent. For delicate surfaces like electronics, a can of compressed air can be a lifesaver, gently blasting away dust from hard-to-reach crevices. And don’t forget about your plants! A gentle wipe down of their leaves with a damp cloth can remove dust buildup and allow them to photosynthesize more efficiently.
Remember, the key to successful dusting is consistency. Incorporate these DIY dusting hacks into your regular cleaning routine, and you’ll notice a significant difference in the air quality and overall cleanliness of your home. Even dedicating just 15-20 minutes a day to targeted dusting can make a world of difference.
We’ve armed you with the knowledge and the tools; now it’s time to put these DIY dusting hacks into action. We are confident that you’ll be amazed by the results. But don’t just take our word for it! We encourage you to try these methods for yourself and discover the joy of a truly dust-free home.
And most importantly, we want to hear about your experiences! Share your tips, tricks, and variations in the comments below. What worked best for you? Did you discover any unexpected benefits? Your feedback will not only help other readers but also contribute to a community of clean-living enthusiasts. Let’s work together to create healthier and happier homes, one dust-free surface at a time. Embrace the power of DIY and experience the difference that effective dusting can make!
FAQ
What are the benefits of using DIY dusting hacks compared to commercial dusting products?
DIY dusting hacks offer several advantages over commercial dusting products. Firstly, they are often more cost-effective, utilizing readily available household items like microfiber cloths, vinegar, and baking soda. Secondly, they are environmentally friendly, reducing your reliance on chemical-laden products that can be harmful to your health and the planet. Many commercial dusting sprays contain volatile organic compounds (VOCs) that can irritate the respiratory system and contribute to indoor air pollution. DIY methods, on the other hand, often rely on natural ingredients that are safer for you and your family. Finally, DIY dusting hacks can be customized to suit your specific needs and preferences. You can adjust the ingredients and techniques to address particular dusting challenges in your home.
How often should I dust my home using these DIY methods?
The frequency of dusting depends on several factors, including the size of your home, the number of occupants, and the presence of pets. As a general guideline, aim to dust high-traffic areas like living rooms and bedrooms at least once a week. Less frequently used areas like guest rooms can be dusted every two weeks. If you have pets, you may need to dust more frequently to remove pet dander and hair. Individuals with allergies or asthma may also benefit from more frequent dusting. Pay attention to areas that tend to accumulate dust quickly, such as shelves, window sills, and electronic devices. Regular dusting, even for a short period each day, is more effective than infrequent deep cleaning.
Are these DIY dusting hacks safe for all types of surfaces?
While most of these DIY dusting hacks are safe for a wide range of surfaces, it’s always a good idea to test a small, inconspicuous area first, especially when dealing with delicate or antique furniture. Avoid using abrasive cleaners or harsh chemicals on sensitive surfaces like wood, leather, or marble. For wooden furniture, a gentle dusting with a microfiber cloth or a solution of water and vinegar is usually sufficient. For leather furniture, use a specialized leather cleaner or conditioner. For marble surfaces, use a pH-neutral cleaner to avoid etching or damaging the stone. Always read the manufacturer’s instructions for cleaning specific surfaces.
What are some common mistakes to avoid when dusting?
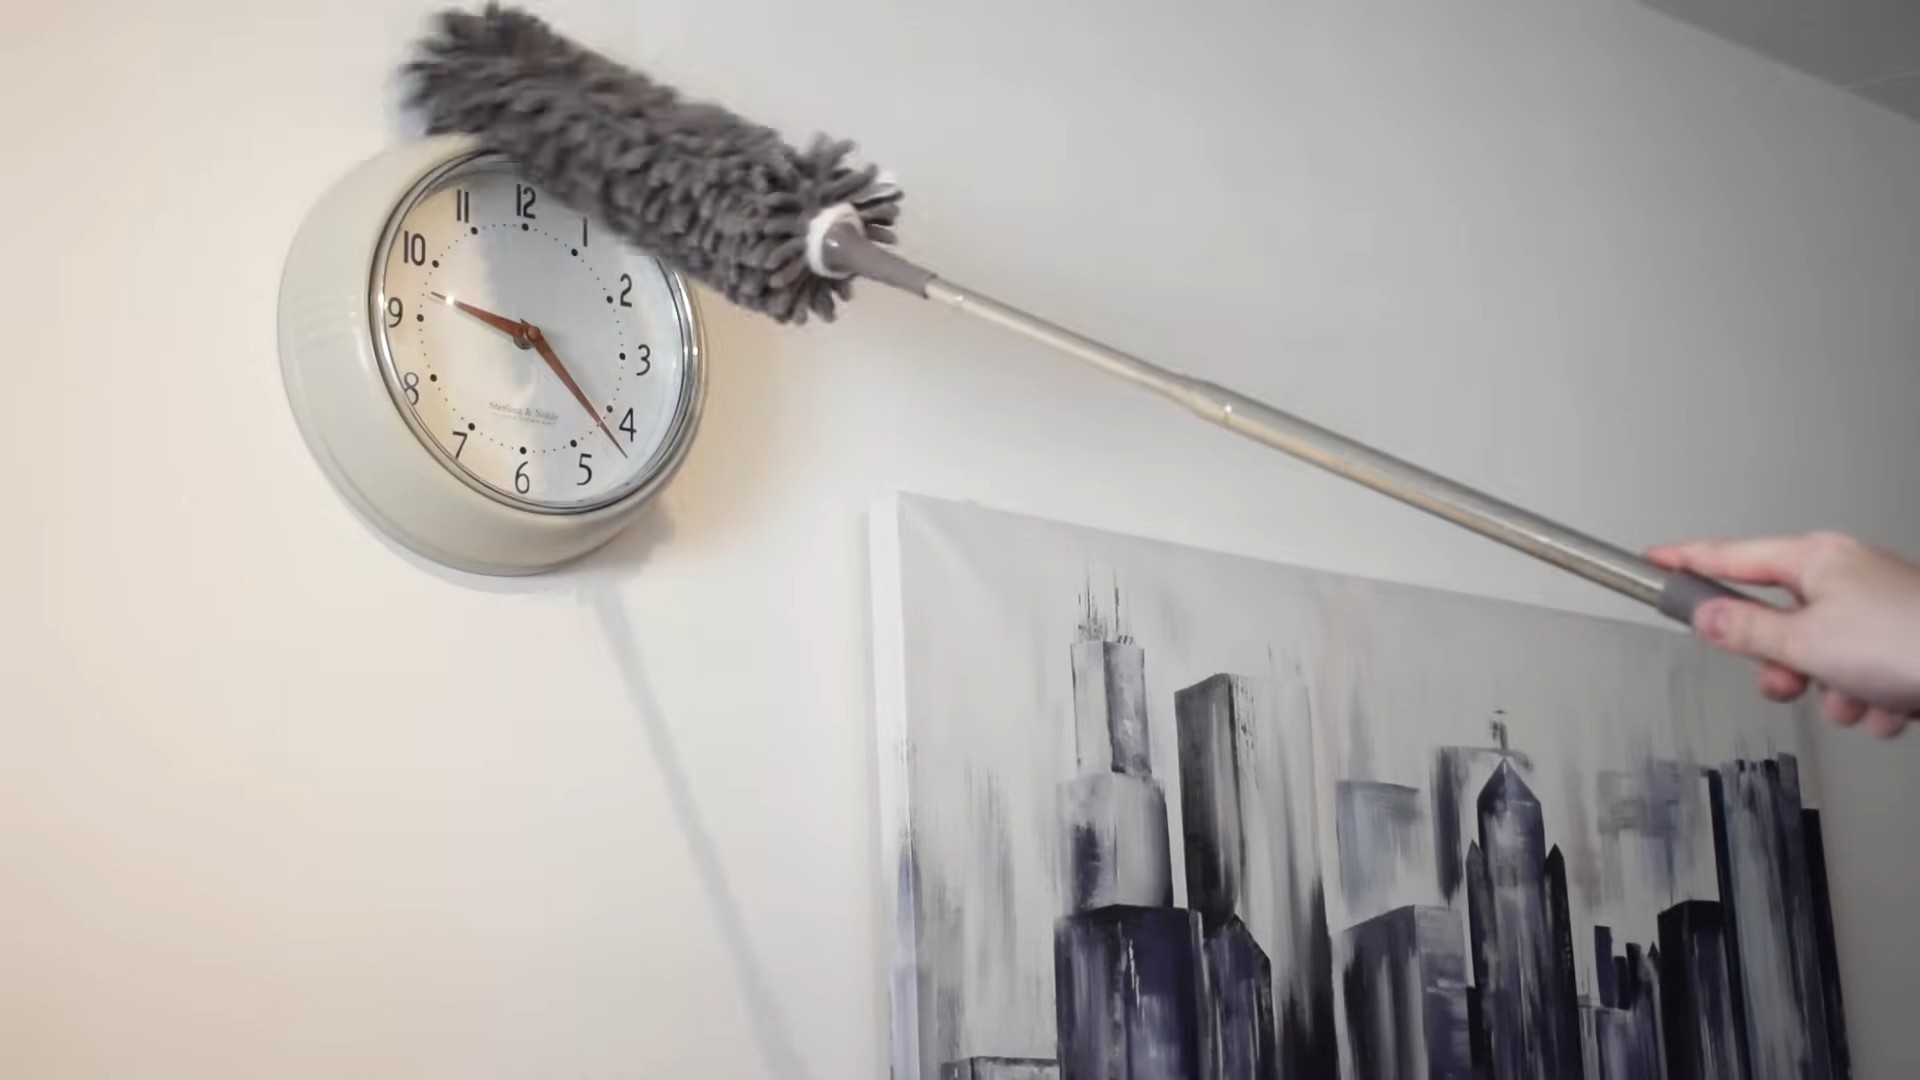
One of the most common mistakes is using a dry cloth to dust, which simply moves the dust around instead of removing it. Always dampen your cloth slightly to trap the dust particles. Another mistake is neglecting to dust high-up areas like ceiling fans and light fixtures, which can accumulate a significant amount of dust. Use a long-handled duster or a vacuum cleaner with an extension wand to reach these areas. Don’t forget to dust behind furniture and appliances, where dust can accumulate unnoticed. Finally, avoid using too much dusting spray, which can leave a sticky residue that attracts more dust.
Can I use essential oils in my DIY dusting solutions?
Yes, essential oils can be a great addition to your DIY dusting solutions, adding a pleasant scent and providing additional cleaning benefits. Lemon essential oil is known for its degreasing properties and can help to loosen stubborn dust buildup. Tea tree oil has antibacterial and antifungal properties and can help to disinfect surfaces. Lavender essential oil has a calming scent and can help to create a relaxing atmosphere. When using essential oils, add a few drops to your dusting solution and test a small area first to ensure that it doesn’s damage the surface. Always use high-quality, pure essential oils for the best results.
How do I clean microfiber cloths after dusting?
Microfiber cloths are easy to clean and can be reused multiple times. After dusting, rinse the cloth thoroughly with warm water and a mild detergent. Avoid using fabric softener, which can reduce the effectiveness of the microfiber. For heavily soiled cloths, you can wash them in the washing machine on a gentle cycle. Tumble dry on low heat or air dry. Avoid ironing microfiber cloths, as the heat can damage the fibers. With proper care, microfiber cloths can last for years.
What is the best way to dust electronics?
Electronics require special care when dusting to avoid damaging sensitive components. Always turn off and unplug the device before dusting. Use a can of compressed air to gently blow away dust from hard-to-reach crevices, such as keyboards and vents. For screens, use a microfiber cloth specifically designed for electronics. Avoid using harsh chemicals or abrasive cleaners, which can scratch the screen. For keyboards, you can use a small brush or cotton swab to remove dust and debris from between the keys.
How can I prevent dust from accumulating in my home?
Preventing dust accumulation is an ongoing process, but there are several steps you can take to minimize dust buildup. Use air purifiers with HEPA filters to remove dust and allergens from the air. Change your air filters regularly, especially during allergy season. Vacuum carpets and rugs frequently, using a vacuum cleaner with a HEPA filter. Dust regularly using these DIY dusting hacks. Keep windows and doors closed as much as possible to prevent dust from entering your home. Consider using dust-mite-proof covers on your mattresses and pillows. By taking these preventative measures, you can significantly reduce the amount of dust in your home and create a cleaner, healthier living environment.


Leave a Comment