

Grow Chayote at Home: Ever dreamt of harvesting your own exotic, pear-shaped squash right in your backyard? I know I have! It sounds like something out of a tropical fantasy, but trust me, it’s totally achievable, even if you’re a beginner gardener like I once was. This often-overlooked vegetable, also known as mirliton or vegetable pear, is surprisingly easy to cultivate, offering a rewarding experience and a delicious addition to your meals.
Chayote has a rich history, originating in Mesoamerica, where it was a staple food for centuries. The Aztecs and Mayans revered it, and its cultivation spread throughout Latin America and eventually to other parts of the world. Today, it’s enjoyed in diverse cuisines, from stir-fries and salads to soups and stews.
But why should you bother learning how to grow chayote at home? Well, for starters, it’s incredibly versatile in the kitchen. Plus, with rising grocery costs, growing your own food is becoming increasingly appealing. More importantly, chayote is a vigorous grower, often producing a bountiful harvest from just a single plant. Imagine the satisfaction of serving a meal featuring chayote you nurtured from a tiny sprout! In this article, I’ll share my tried-and-true DIY tricks and hacks to help you successfully cultivate chayote, regardless of your gardening experience. Get ready to embark on a fun and fruitful gardening adventure!
Growing Chayote Squash: A Beginner’s Guide to Bountiful Harvests
Hey there, fellow gardening enthusiasts! Ever heard of chayote squash? It’s this amazing, versatile vegetable that’s super easy to grow, and I’m here to share my secrets to getting a fantastic harvest right in your own backyard. Trust me, once you taste homegrown chayote, you’ll never go back!
What is Chayote Squash?
Chayote (Sechium edule), also known as mirliton or vegetable pear, is a type of squash that’s native to Mexico. It has a mild, slightly sweet flavor that’s similar to zucchini or cucumber, making it a great addition to all sorts of dishes. Plus, the entire plant is edible – the fruit, leaves, shoots, and even the root!
Why Grow Chayote?
* Easy to Grow: Chayote is incredibly forgiving and thrives even with minimal care.
* Prolific Producer: One plant can produce dozens, even hundreds, of fruits in a single season.
* Versatile in the Kitchen: You can use chayote in salads, stir-fries, soups, stews, and even desserts.
* Space Saver: While the vine can get quite large, you can train it to grow on a trellis or fence, saving valuable garden space.
* Nutritious: Chayote is packed with vitamins, minerals, and fiber.
Getting Started: Choosing Your Chayote
The most important thing to remember about growing chayote is that you need a whole fruit to start. That’s right, you can’t grow it from seeds! The seed is inside the fruit and needs the fruit’s moisture and nutrients to germinate.
* Finding a Fruit: Look for a mature, unblemished chayote fruit at your local grocery store, farmers market, or even from a friend who grows it. It should be firm and free of any soft spots or bruises.
* Sprouting: Ideally, you want a fruit that has already started to sprout. You might see a small shoot emerging from the broader end of the fruit. If you can find one like that, you’re already ahead of the game!
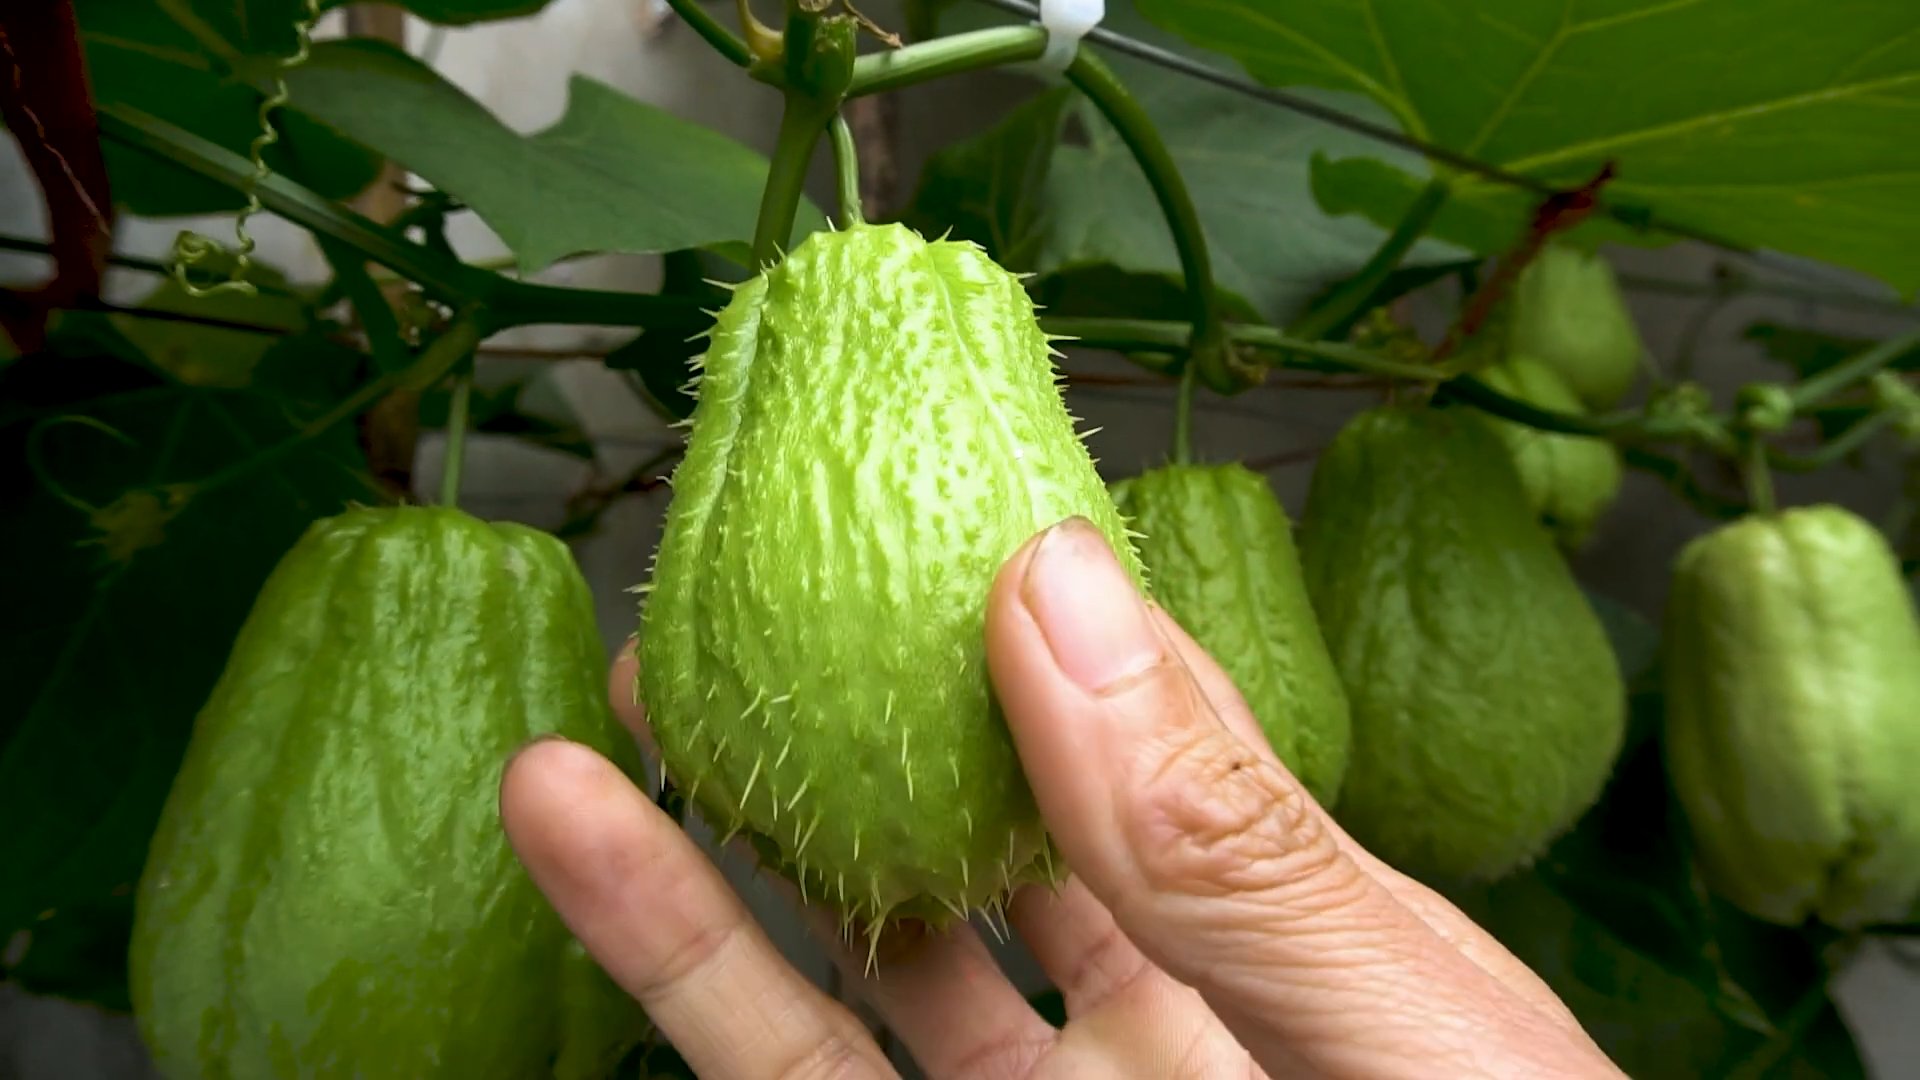
* Variety: There are different varieties of chayote, some with smooth skin and others with prickly skin. The taste is generally the same, so choose whichever one you prefer or can find.
Germinating Your Chayote
This is where the magic happens! You have a couple of options for germinating your chayote:
Method 1: The Paper Towel Method
This is a great option if your chayote hasn’t started sprouting yet.
1. Wrap it Up: Dampen a paper towel and wrap it around the broader end of the chayote fruit (the end where the sprout will emerge).
2. Bag it: Place the wrapped fruit in a plastic bag or container. This will help retain moisture.
3. Warm Spot: Store the bag in a warm, dark place, like a kitchen cabinet or pantry.
4. Check Regularly: Check the paper towel every few days and re-dampen it if it’s drying out.
5. Be Patient: It can take several weeks for the chayote to sprout, so don’t give up! You should see a shoot emerging from the broader end.
Method 2: Planting Directly in a Pot
This method is best if your chayote has already started sprouting or if you’re feeling impatient.
1. Choose a Pot: Select a large pot (at least 12 inches in diameter) with good drainage.
2. Prepare the Soil: Fill the pot with a well-draining potting mix.
3. Planting: Lay the chayote fruit horizontally on top of the soil, with the sprouting end slightly exposed. Gently press it into the soil so that about half of the fruit is buried.
4. Watering: Water the soil thoroughly, making sure it’s evenly moist but not soggy.
5. Warm and Sunny: Place the pot in a warm, sunny location.
6. Keep it Moist: Keep the soil consistently moist, but avoid overwatering.
Transplanting Your Chayote Seedling
Once your chayote seedling has developed a few leaves and a strong root system (usually after a few weeks), it’s time to transplant it into its permanent home in the garden.
1. Choose a Location: Select a sunny spot in your garden with well-draining soil. Chayote vines need plenty of space to grow, so make sure you have a trellis, fence, or other support structure for them to climb on.
2. Prepare the Soil: Dig a hole that’s twice as wide and as deep as the pot your seedling is in. Amend the soil with compost or other organic matter to improve drainage and fertility.
3. Carefully Remove the Seedling: Gently remove the chayote seedling from the pot, being careful not to damage the roots.
4. Planting: Place the seedling in the hole, making sure the top of the root ball is level with the surrounding soil. Backfill the hole with soil and gently firm it around the base of the plant.
5. Watering: Water the newly transplanted seedling thoroughly.
6. Mulching: Apply a layer of mulch around the base of the plant to help retain moisture and suppress weeds.
Caring for Your Chayote Plant
Chayote is relatively low-maintenance, but here are a few tips to keep your plant happy and productive:
* Watering: Water regularly, especially during dry spells. Chayote plants need consistent moisture to thrive.
* Fertilizing: Fertilize every few weeks with a balanced fertilizer.
* Pruning: Prune the vine as needed to control its size and shape. You can also prune off any dead or diseased leaves.
* Pest Control: Keep an eye out for pests like aphids and squash bugs. Treat them with insecticidal soap or other organic pest control methods.
* Support: Make sure your chayote vine has adequate support to climb on. A sturdy trellis or fence is ideal.
Harvesting Your Chayote
You can start harvesting chayote fruits about 3-4 months after planting.
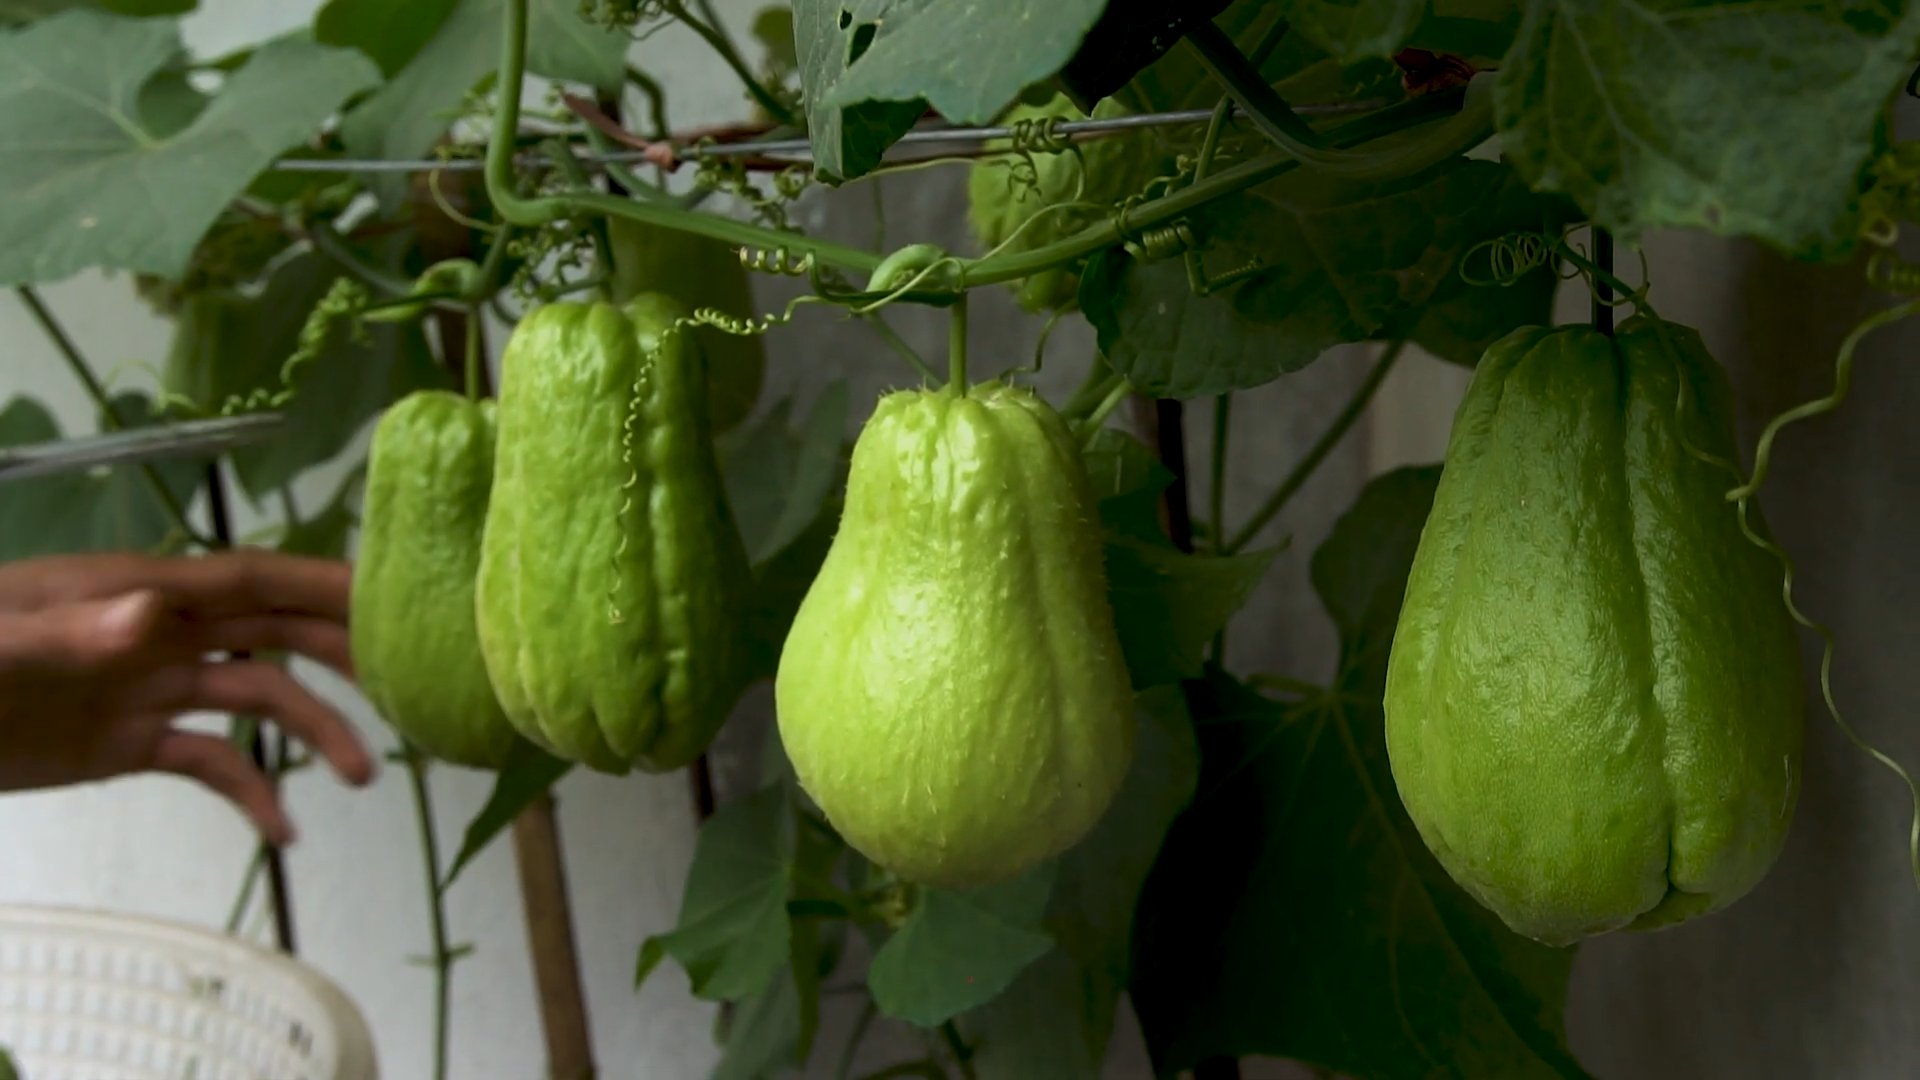
* Timing: Harvest the fruits when they are young and tender, about 4-6 inches long. They should be firm and have a smooth, glossy skin.
* Harvesting Technique: Use a sharp knife or pruners to cut the fruit from the vine, leaving a short stem attached.
* Storage: Store chayote fruits in the refrigerator for up to a few weeks.
Enjoying Your Harvest
Now for the best part – eating your homegrown chayote! Here are just a few ideas:
* Salads: Slice or dice chayote and add it to your favorite salads.
* Stir-fries: Add chayote to stir-fries for a mild, slightly sweet flavor.
* Soups and Stews: Chayote is a great addition to soups and stews, adding a subtle sweetness and texture.
* Pickles: Pickle chayote for a tangy and refreshing snack.
* Baked Dishes: Use chayote in baked dishes like casseroles and gratins.
* Chayote Fries: Cut chayote into fry shapes, toss with oil and spices, and bake or air fry until crispy.
Troubleshooting
Even with the best care, you might encounter a few challenges when growing chayote. Here are some common problems and how to fix them:
* No Fruit Production: This can be caused by a lack of pollination. Chayote plants have separate male and female flowers, and they need to be pollinated by insects or by hand. You can try hand-pollinating the flowers by transferring pollen from the male flowers to the female flowers with a small brush. Also, ensure you have enough pollinators in your garden by planting flowers that attract bees and other beneficial insects.
* Yellowing Leaves: This can be a sign of overwatering or nutrient deficiency. Make sure your soil is well-draining and fertilize regularly with a balanced fertilizer.
* Pest Infestations: Keep an eye out for pests like aphids, squash bugs, and spider mites. Treat them with insecticidal soap or other organic pest control methods.
* Rotting Fruit: This can be caused by overwatering or poor drainage. Make sure your soil is well-draining and avoid overwatering.
Tips for Success
* Start Early: Start germinating your chayote fruit indoors a few weeks before the last frost.
* Choose the Right Location: Chayote plants need plenty of sunlight and well-draining soil.
* Provide Support: Make sure your chayote vine has adequate support to climb on.
* Water Regularly: Chayote plants need
Conclusion
So, there you have it! Growing chayote at home is not only achievable, but it’s also a deeply rewarding experience. Forget those bland, overpriced chayotes at the grocery store. Imagine stepping into your own backyard and harvesting fresh, vibrant chayote squash, bursting with flavor and packed with nutrients. This DIY trick transforms the seemingly complex task of cultivating this unique vegetable into a simple, accessible project for gardeners of all levels.
Why is this a must-try? Because it empowers you to control the quality and freshness of your food. You know exactly where your chayote comes from, how it was grown, and what (or rather, what wasn’t) used in its cultivation. Plus, it’s incredibly satisfying to nurture a plant from a single fruit to a thriving vine laden with delicious produce.
But the benefits don’t stop there. Growing your own chayote is also an environmentally friendly choice. You’re reducing your carbon footprint by eliminating the need for long-distance transportation and supporting sustainable gardening practices. And let’s not forget the cost savings! Once your chayote vine is established, it will provide you with a generous harvest year after year, significantly reducing your grocery bill.
Looking for variations? Absolutely! Consider growing your chayote on a sturdy trellis or pergola to create a beautiful and functional green wall. You can also experiment with different growing mediums, such as raised beds or containers, to find what works best for your space and climate. For those in cooler climates, starting your chayote indoors in a pot before transplanting it outdoors can give it a head start. You can also try different varieties of chayote, some are smoother and lighter green, while others are darker green and have spines.
Don’t be intimidated by the prospect of growing something new. This DIY trick is designed to be straightforward and foolproof. With a little patience and care, you’ll be enjoying homegrown chayote in no time.
We wholeheartedly encourage you to give this DIY trick a try. Embrace the joy of gardening, the satisfaction of self-sufficiency, and the deliciousness of fresh, homegrown chayote. And most importantly, share your experience with us! We’d love to hear about your successes, your challenges, and any tips or tricks you discover along the way. Post photos of your chayote vines, share your favorite chayote recipes, and let’s build a community of chayote enthusiasts together! Let us know how this **DIY chayote** growing method worked for you!
Frequently Asked Questions (FAQ)
What exactly is chayote, and what does it taste like?
Chayote (Sechium edule) is a type of squash that belongs to the gourd family. It’s native to Mexico and Central America but is now grown in many parts of the world. The fruit is typically pear-shaped and has a mild, slightly sweet flavor. Some describe it as a cross between a cucumber and an apple. It’s incredibly versatile and can be used in a variety of dishes, both savory and sweet. The texture is crisp when raw and tender when cooked.
How long does it take to grow chayote from fruit to harvest?
The time it takes to grow chayote from fruit to harvest can vary depending on your climate and growing conditions. Generally, it takes about 4-6 months from planting the sprouted fruit to harvesting your first chayotes. The plant will typically start producing fruit in the late summer or early fall. Be patient, as chayote vines can be slow to get started, but once they take off, they are prolific producers.
What are the best growing conditions for chayote?
Chayote thrives in warm climates with plenty of sunshine. It needs at least 6-8 hours of direct sunlight per day. The soil should be well-draining and rich in organic matter. Chayote vines are vigorous growers and require a sturdy trellis or support structure to climb on. They also need consistent watering, especially during dry periods. Protect young plants from frost, as they are sensitive to cold temperatures.
Can I grow chayote in a container?
Yes, you can grow chayote in a container, but you’ll need a large one – at least 20 gallons – to accommodate the plant’s extensive root system. Make sure the container has drainage holes to prevent waterlogging. Use a high-quality potting mix and provide a sturdy trellis or support structure for the vine to climb on. Container-grown chayote may require more frequent watering and fertilization than those grown in the ground.
How do I know when my chayote is ready to harvest?
Chayote is ready to harvest when the fruit is firm, smooth, and a light green color. The skin should be unblemished and free from bruises. The fruit should be about 4-6 inches long. You can harvest chayote at different stages of maturity, depending on your preference. Younger fruits will be more tender and have a milder flavor, while older fruits will be slightly tougher and have a more pronounced flavor.
What are some common pests and diseases that affect chayote?
Chayote is generally a pest-resistant plant, but it can be susceptible to certain pests and diseases, such as aphids, spider mites, squash bugs, and powdery mildew. Regularly inspect your plants for signs of infestation or disease and take appropriate action if necessary. You can use organic pest control methods, such as insecticidal soap or neem oil, to control pests. To prevent powdery mildew, ensure good air circulation around the plants and avoid overhead watering.
How do I store chayote after harvesting?
Chayote can be stored in the refrigerator for up to a few weeks. Wrap the fruit in a plastic bag or container to prevent it from drying out. You can also freeze chayote for longer storage. To freeze chayote, peel and dice the fruit, blanch it in boiling water for a few minutes, and then transfer it to an ice bath to stop the cooking process. Drain the chayote and pack it into freezer bags or containers.
Can I eat the chayote leaves and shoots?
Yes, the chayote leaves and shoots are edible and can be used in salads, stir-fries, and soups. They have a mild, slightly grassy flavor. Harvest the young, tender leaves and shoots for the best flavor and texture. Be sure to wash them thoroughly before using.
What are some delicious ways to cook with chayote?
Chayote is incredibly versatile and can be used in a variety of dishes. It can be eaten raw in salads, pickled, or cooked in stir-fries, soups, stews, and casseroles. It can also be baked, grilled, or stuffed. Chayote pairs well with a variety of flavors, including Mexican, Asian, and Mediterranean. Some popular chayote recipes include chayote salad, chayote soup, chayote stir-fry, and stuffed chayote.
My chayote vine is growing, but it’s not producing any fruit. What could be the problem?
There are several reasons why your chayote vine might not be producing fruit. One common reason is a lack of pollination. Chayote plants have separate male and female flowers, and they require pollination to produce fruit. If you’re not seeing any bees or other pollinators visiting your plants, you may need to hand-pollinate the flowers. Another possible reason is a lack of nutrients. Make sure your plants are getting enough fertilizer, especially phosphorus and potassium, which are essential for fruit production. Finally, ensure your plant is getting enough sunlight and water.


Leave a Comment