

Growing Bellflowers Perennial Flowers can transform your garden into a vibrant, enchanting space that bursts with color year after year. Have you ever dreamt of a garden that practically takes care of itself, rewarding you with stunning blooms season after season? Well, you’re in the right place! This DIY guide is packed with simple yet effective tricks to help you cultivate thriving bellflowers, even if you don’t have a green thumb.
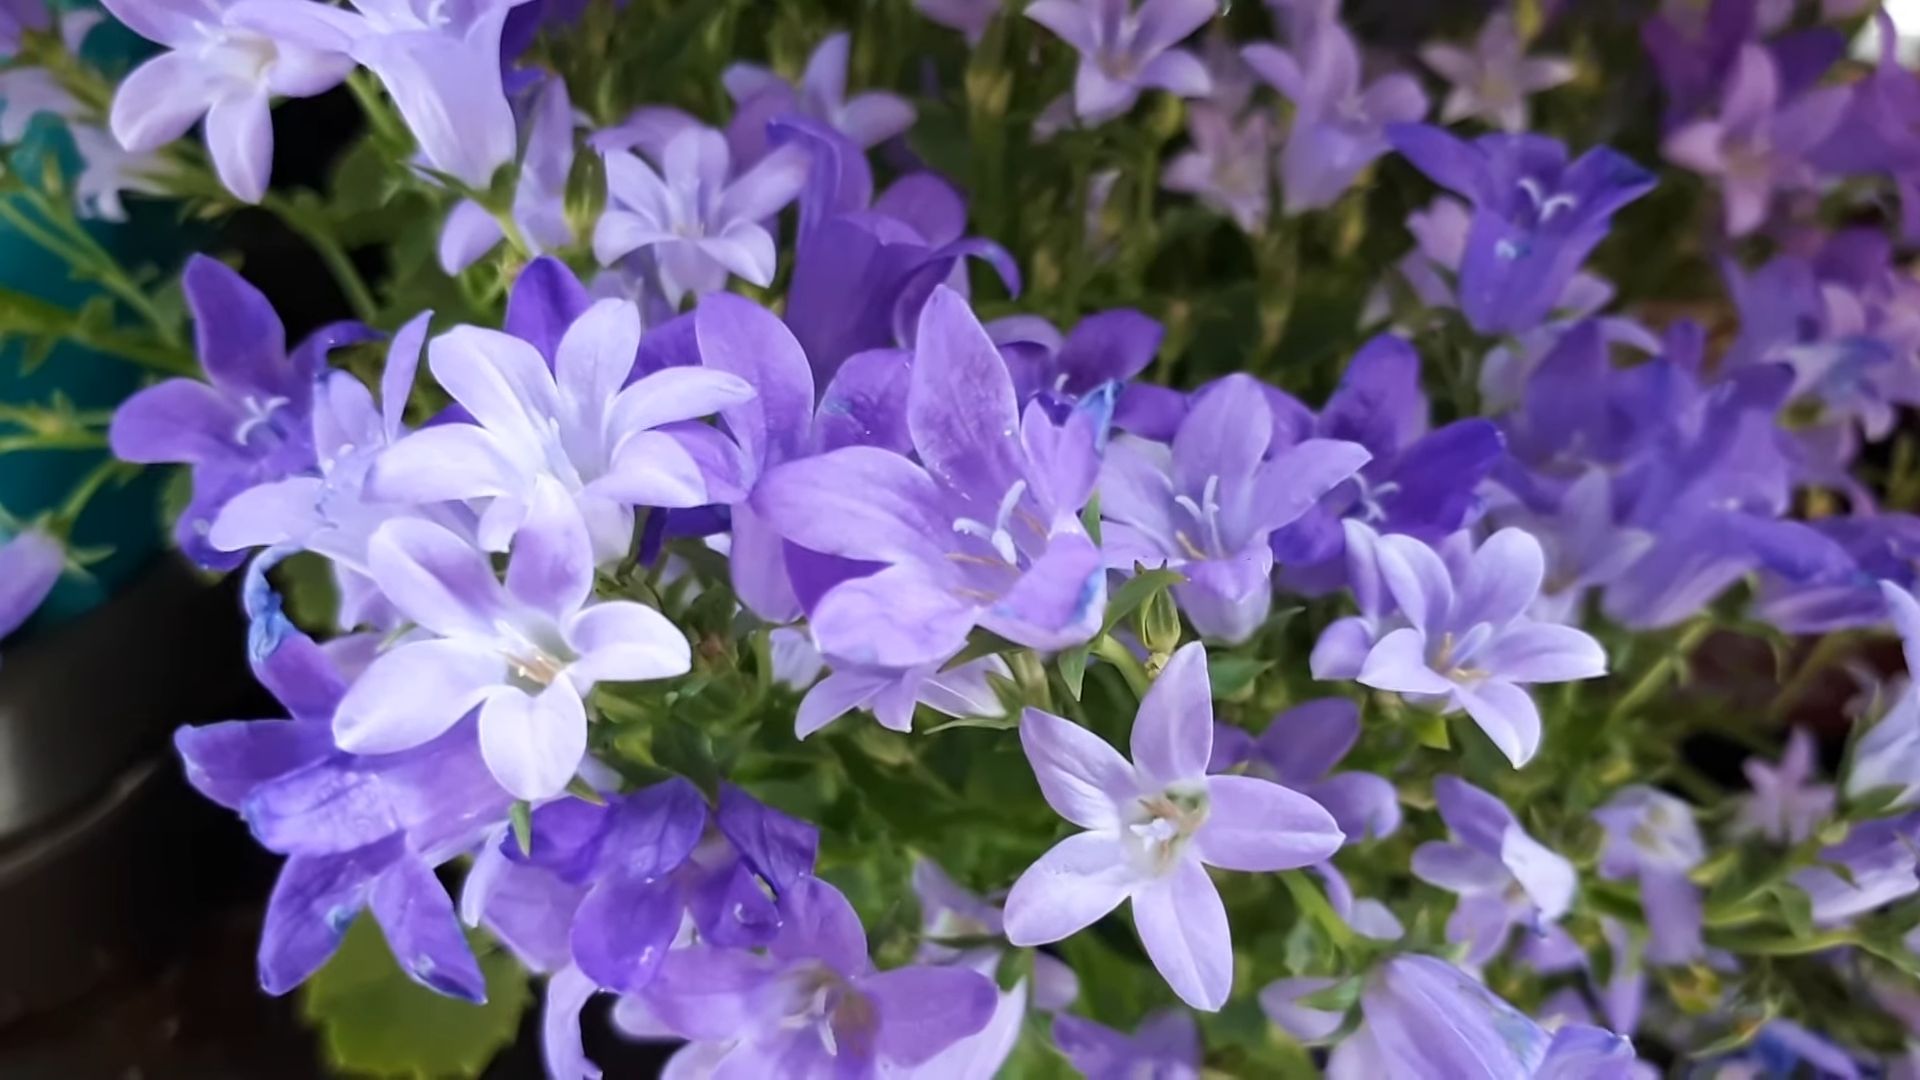
Bellflowers, also known as Campanula, have a rich history, gracing gardens and folklore for centuries. Their name, derived from the Latin word for “little bell,” perfectly captures their delicate, bell-shaped blossoms. In some cultures, they symbolize gratitude and everlasting love, making them a meaningful addition to any garden.
But why should you bother with these DIY tricks for growing bellflowers perennial flowers? Because let’s face it, gardening can sometimes feel overwhelming. We all want beautiful gardens, but who has the time for complicated routines and constant maintenance? These hacks are designed to simplify the process, ensuring that even the busiest gardener can enjoy the beauty of bellflowers. I’m here to show you how to unlock the secrets to effortless bellflower cultivation, saving you time, money, and frustration. Get ready to create a stunning, low-maintenance garden that will be the envy of the neighborhood!
DIY: Propagating Bellflowers (Campanula) for a Bountiful Bloom
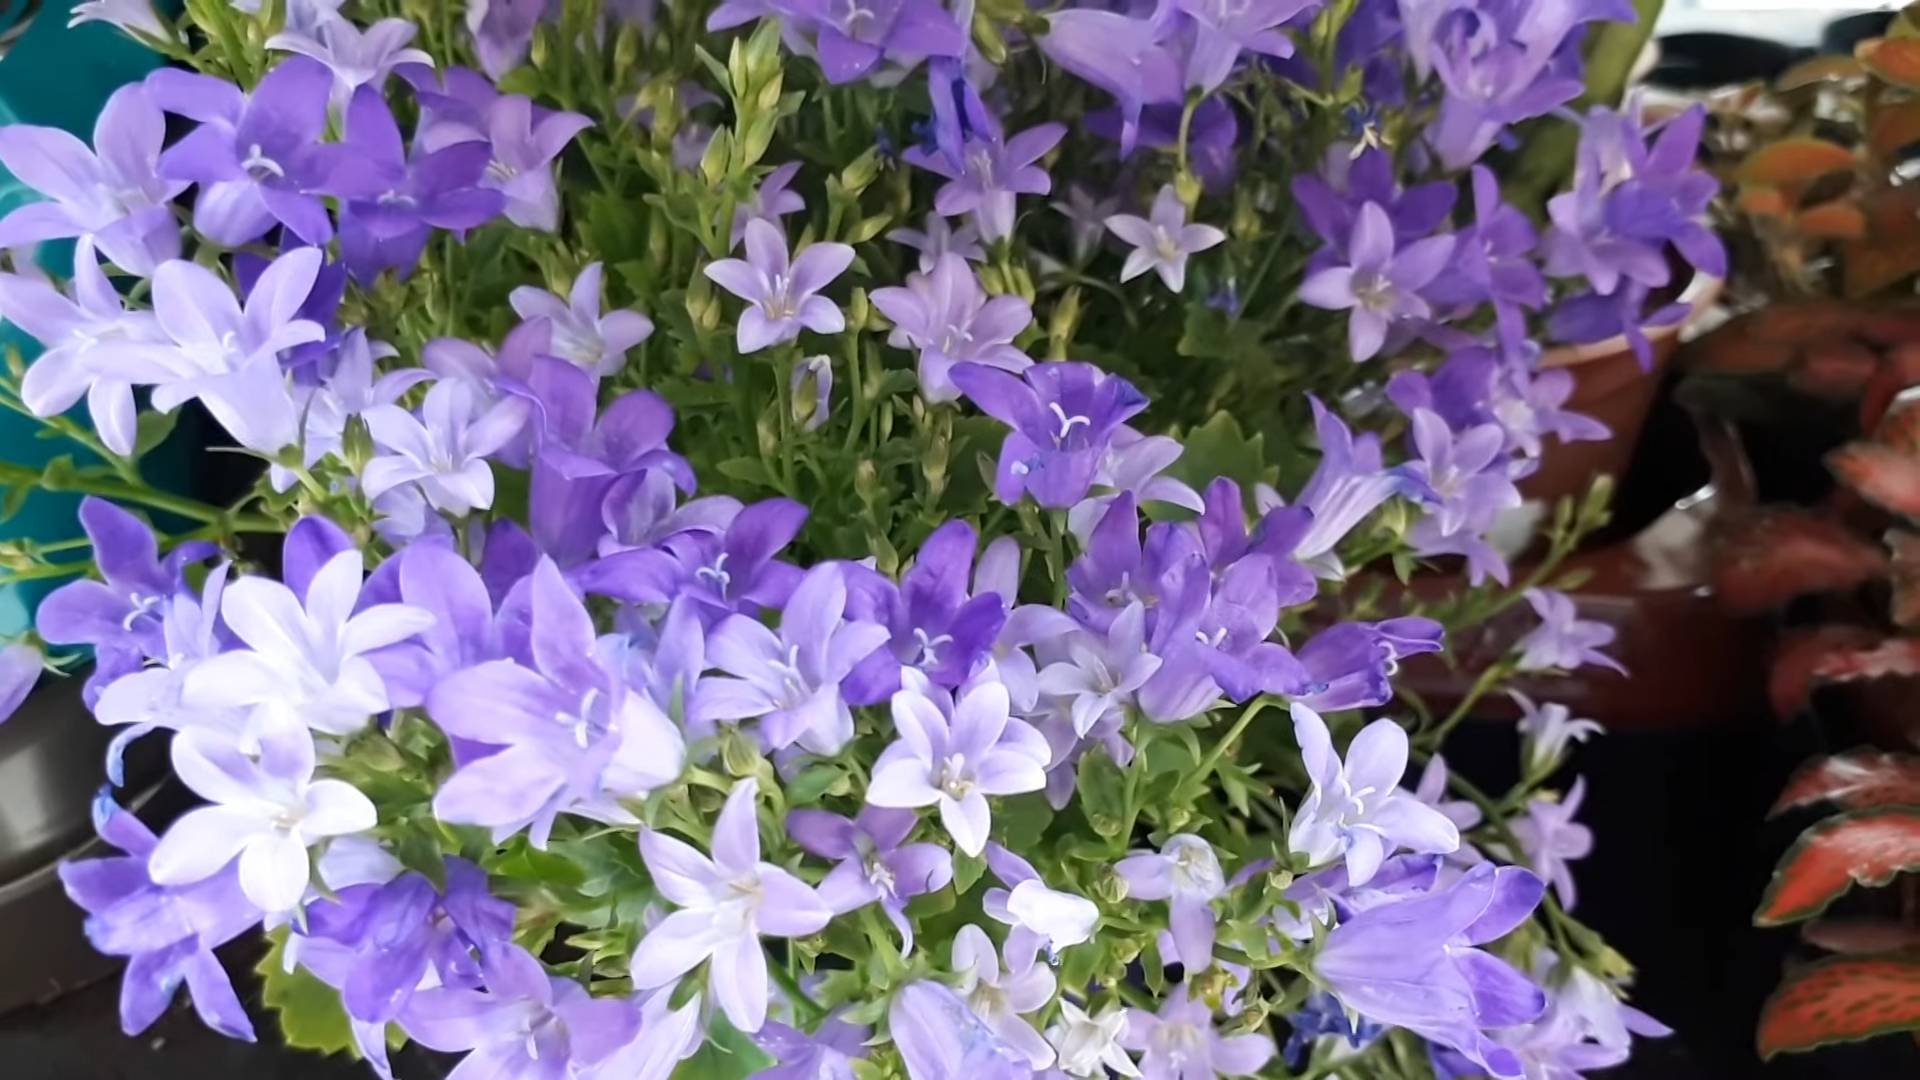
Bellflowers, with their charming, bell-shaped blooms, are a delightful addition to any garden. They come in various shades of blue, purple, pink, and white, adding a touch of whimsy and elegance. While you can always purchase bellflower plants from a nursery, propagating them yourself is a rewarding and cost-effective way to expand your collection. Plus, it’s incredibly satisfying to watch a tiny cutting or seed grow into a thriving plant! I’m going to walk you through a few different methods, so you can choose the one that best suits your needs and skill level.
Understanding Bellflower Propagation
Before we dive into the nitty-gritty, let’s quickly cover the basics. Bellflowers can be propagated in a few different ways:
* **Seed Propagation:** This is a great option if you want to grow a large number of plants or if you’re looking for specific varieties that might be hard to find as established plants. However, it can be a bit slower than other methods.
* **Division:** This method is ideal for established bellflower plants that have formed clumps. It’s a quick and easy way to create new plants that are genetically identical to the parent plant.
* **Stem Cuttings:** This involves taking cuttings from the stems of your bellflower plant and rooting them in water or soil. It’s a relatively simple method that can be done in spring or summer.
* **Root Cuttings:** Some bellflower varieties can also be propagated from root cuttings, which involves taking small sections of the roots and planting them.
I’ll cover each of these methods in detail below.
Propagating Bellflowers from Seed
This is probably the most common method, and while it requires a bit of patience, it’s definitely worth the effort.
When to Sow Bellflower Seeds
The best time to sow bellflower seeds depends on your climate and the specific variety you’re growing. Generally, you can start seeds indoors 6-8 weeks before the last expected frost in your area. Alternatively, you can sow seeds directly outdoors in the spring after the last frost or in the fall.
Materials You’ll Need
* Bellflower seeds (purchase from a reputable source or collect from existing plants)
* Seed starting trays or small pots
* Seed starting mix (a fine-textured, well-draining mix is ideal)
* Spray bottle filled with water
* Clear plastic wrap or a humidity dome (optional)
* Grow lights (optional, but recommended for indoor starting)
Step-by-Step Instructions
1. **Prepare Your Seed Starting Trays or Pots:** Fill your seed starting trays or pots with seed starting mix. Gently firm the soil surface.
2. **Sow the Seeds:** Bellflower seeds are very small, so handle them carefully. Sprinkle the seeds evenly over the surface of the soil. You don’t need to bury them deeply; just gently press them into the soil. They need light to germinate.
3. **Water Gently:** Use a spray bottle to mist the soil surface with water. Be careful not to dislodge the seeds.
4. **Create a Humid Environment:** Cover the seed starting trays or pots with clear plastic wrap or a humidity dome. This will help to keep the soil moist and create a humid environment, which is essential for germination.
5. **Provide Light and Warmth:** Place the seed starting trays or pots in a warm location with bright, indirect light. If you’re starting seeds indoors, grow lights can be very helpful. Aim for a temperature of around 65-70°F (18-21°C).
6. **Monitor Moisture Levels:** Check the soil moisture regularly and mist with water as needed to keep the soil consistently moist but not soggy.
7. **Remove the Cover:** Once the seeds have germinated (usually within 10-21 days), remove the plastic wrap or humidity dome.
8. **Thin Seedlings (If Necessary):** If you have multiple seedlings growing in the same cell or pot, thin them out to allow the strongest seedling to thrive.
9. **Harden Off Seedlings:** Before transplanting your seedlings outdoors, you’ll need to harden them off. This involves gradually exposing them to outdoor conditions over a period of 7-10 days. Start by placing them in a sheltered location for a few hours each day, gradually increasing the amount of time they spend outdoors.
10. **Transplant Seedlings:** Once your seedlings have been hardened off, you can transplant them into your garden. Choose a location with well-draining soil and full sun to partial shade. Space the plants according to the specific variety you’re growing.
Dividing Bellflowers
Division is a fantastic way to propagate bellflowers, especially if you already have established plants. It’s a quick and easy method that results in new plants that are genetically identical to the parent plant.
When to Divide Bellflowers
The best time to divide bellflowers is in the spring or fall, when the plants are not actively flowering.
Materials You’ll Need
* A mature bellflower plant
* A sharp spade or garden fork
* Gardening gloves
* New planting locations or pots
* Well-draining soil
Step-by-Step Instructions
1. **Prepare the Planting Location:** Before you dig up your bellflower plant, prepare the new planting locations or pots. Make sure the soil is well-draining and amended with compost or other organic matter.
2. **Dig Up the Plant:** Carefully dig up the bellflower plant, being sure to get as much of the root system as possible.
3. **Divide the Plant:** Use a sharp spade or garden fork to divide the plant into smaller clumps. Each clump should have several healthy stems and a good portion of the root system.
4. **Plant the Divisions:** Plant the divisions in the prepared planting locations or pots. Water thoroughly.
5. **Care for the New Plants:** Keep the soil moist but not soggy until the new plants are established. Fertilize lightly in the spring.
Propagating Bellflowers from Stem Cuttings
Stem cuttings are another effective way to propagate bellflowers. This method involves taking cuttings from the stems of your bellflower plant and rooting them in water or soil.
When to Take Stem Cuttings
The best time to take stem cuttings is in the spring or early summer, when the plants are actively growing.
Materials You’ll Need
* A healthy bellflower plant
* Sharp, clean pruning shears or a knife
* Rooting hormone (optional, but recommended)
* Small pots or containers
* Well-draining potting mix
* Clear plastic bags or a humidity dome
Step-by-Step Instructions
1. **Take the Cuttings:** Using sharp, clean pruning shears or a knife, take cuttings from the stems of your bellflower plant. The cuttings should be about 4-6 inches long and have several leaves.
2. **Prepare the Cuttings:** Remove the lower leaves from the cuttings, leaving only a few leaves at the top. This will help to prevent rot.
3. **Apply Rooting Hormone (Optional):** Dip the cut end of each cutting in rooting hormone. This will help to stimulate root growth.
4. **Plant the Cuttings:** Fill small pots or containers with well-draining potting mix. Make a hole in the soil and insert the cutting. Gently firm the soil around the cutting.
5. **Water the Cuttings:** Water the cuttings thoroughly.
6. **Create a Humid Environment:** Cover the pots or containers with clear plastic bags or a humidity dome. This will help to keep the cuttings moist and create a humid environment, which is essential for rooting.
7. **Provide Light and Warmth:** Place the cuttings in a warm location with bright, indirect light. Avoid direct sunlight, which can scorch the leaves.
8. **Monitor Moisture Levels:** Check the soil moisture regularly and water as needed to keep the soil consistently moist but not soggy.
9. **Check for Rooting:** After a few weeks, gently tug on the cuttings to check for root growth. If the cuttings resist being pulled out of the soil, they have likely rooted.
10. **Transplant the Cuttings:** Once the cuttings have rooted, you can transplant them into your garden or larger pots.
Propagating Bellflowers from Root Cuttings
While not all bellflower varieties are easily propagated from root cuttings, it’s worth a try, especially if you’re looking for a unique challenge.
When to Take Root Cuttings
The best time to take root cuttings is in the late fall or early winter, when the plants are dormant.
Materials You’ll Need
* A mature bellflower plant
* A sharp spade or garden fork
* Sharp, clean knife
* Small pots or containers
* Well-draining potting mix
Step-by-Step Instructions
1. **Dig Up the Plant:** Carefully dig up the bellflower plant, being sure to get as much
Conclusion
So, there you have it! Mastering the art of growing bellflowers, these enchanting perennial flowers, is not only achievable but also incredibly rewarding. We’ve explored a simple yet effective DIY trick that can significantly boost your success rate, ensuring a vibrant display of these captivating blooms in your garden year after year.
Why is this DIY trick a must-try? Because it addresses a common challenge faced by many gardeners: providing the optimal growing conditions for bellflowers, especially during their crucial early stages. By creating a mini-greenhouse environment using readily available materials, you’re essentially giving your bellflower seedlings a head start, protecting them from harsh weather, pests, and diseases. This translates to stronger, healthier plants that are more likely to thrive and produce an abundance of those iconic bell-shaped flowers.
But the beauty of gardening lies in its adaptability and personal touch. Feel free to experiment with variations of this DIY trick to suit your specific needs and preferences. For instance, if you live in a particularly windy area, you might want to reinforce your mini-greenhouse with sturdier materials or anchor it securely to the ground. Alternatively, if you’re growing bellflowers in containers, you can adapt the trick by using smaller plastic bottles or even clear plastic wrap to create individual covers for each pot.
Consider the specific variety of bellflower you’re growing. Some varieties, like the taller Campanula persicifolia, might benefit from additional support as they mature. You can easily incorporate stakes or trellises into your garden design to provide the necessary structure. Others, like the creeping Campanula portenschlagiana, are perfect for cascading over walls or rock gardens, adding a touch of whimsical charm to your landscape.
Don’t be afraid to get creative with your bellflower arrangements. Plant them alongside other complementary perennials, such as lavender, salvia, or echinacea, to create a visually stunning and ecologically diverse garden. The contrasting colors and textures will create a captivating display that will attract pollinators and enhance the overall beauty of your outdoor space.
Remember, gardening is a journey of learning and discovery. There will be successes and setbacks along the way, but each experience will teach you something valuable about the natural world and your own capabilities. So, embrace the challenge, get your hands dirty, and embark on the adventure of growing bellflowers.
We wholeheartedly encourage you to try this DIY trick and witness the remarkable difference it can make in your bellflower garden. And most importantly, we want to hear about your experiences! Share your photos, tips, and stories with us and the wider gardening community. Let’s learn from each other and inspire others to cultivate their own beautiful bellflower havens. Your insights could be invaluable to someone just starting out, and together, we can spread the joy of gardening and the beauty of these enchanting perennial flowers. Happy gardening!
Frequently Asked Questions (FAQs)
What exactly are bellflowers, and why should I grow them?
Bellflowers, scientifically known as Campanula, are a genus of flowering plants in the family Campanulaceae. They are prized for their distinctive bell-shaped flowers, which come in a range of colors, including blue, purple, pink, and white. Bellflowers are relatively easy to grow, making them a popular choice for both beginner and experienced gardeners. They are also known for their long blooming season, providing a continuous display of color throughout the summer months. Beyond their aesthetic appeal, bellflowers attract pollinators like bees and butterflies, contributing to a healthy and vibrant garden ecosystem. Growing bellflowers also offers a sense of accomplishment and connection to nature, providing a therapeutic and rewarding experience.
What are the best conditions for growing bellflowers?
Bellflowers generally prefer well-drained soil and full sun to partial shade. The specific requirements can vary depending on the variety, so it’s always a good idea to research the specific needs of the bellflowers you’re growing. Most bellflowers thrive in slightly acidic to neutral soil. Regular watering is essential, especially during dry periods, but avoid overwatering, as this can lead to root rot. Mulching around the plants can help retain moisture and suppress weeds. Deadheading spent flowers will encourage continued blooming throughout the season.
Can I grow bellflowers in containers?
Yes, many bellflower varieties are well-suited for container gardening. Choose a pot that is large enough to accommodate the plant’s root system and ensure that it has drainage holes. Use a high-quality potting mix that is well-draining. Container-grown bellflowers may require more frequent watering and fertilization than those grown in the ground. Place the container in a location that receives adequate sunlight. Consider using a slow-release fertilizer to provide a steady supply of nutrients.
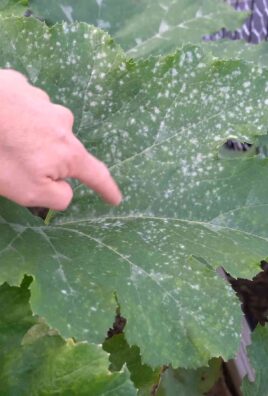
What are some common problems when growing bellflowers, and how can I prevent them?
Some common problems when growing bellflowers include powdery mildew, slugs, and snails. Powdery mildew can be prevented by ensuring good air circulation around the plants and avoiding overhead watering. Slugs and snails can be controlled by using slug bait or hand-picking them off the plants. Root rot can occur if the soil is poorly drained or if the plants are overwatered. To prevent root rot, ensure that the soil is well-draining and avoid overwatering. Regularly inspect your plants for signs of pests or diseases and take action promptly to prevent them from spreading.
How often should I fertilize my bellflowers?
Bellflowers generally benefit from regular fertilization, especially during the growing season. Use a balanced fertilizer, such as a 10-10-10 formula, and apply it according to the manufacturer’s instructions. Avoid over-fertilizing, as this can lead to excessive foliage growth and reduced flowering. You can also use a slow-release fertilizer to provide a steady supply of nutrients throughout the season. Consider amending the soil with compost or other organic matter to improve its fertility and drainage.
What are some good companion plants for bellflowers?
Bellflowers pair well with a variety of other perennials, creating a visually appealing and ecologically diverse garden. Some good companion plants for bellflowers include lavender, salvia, echinacea, coreopsis, and yarrow. These plants share similar growing requirements and complement the colors and textures of bellflowers. Planting bellflowers alongside these companion plants can also attract pollinators and beneficial insects to your garden. Consider the height and spread of each plant when planning your garden design to ensure that each plant receives adequate sunlight and space to grow.
How do I propagate bellflowers?
Bellflowers can be propagated by seed, division, or cuttings. Seed propagation is a relatively easy method, but it can take longer to produce flowering plants. Division involves separating the root clumps of mature plants and replanting them. This method is best done in the spring or fall. Cuttings can be taken from the stems of healthy plants and rooted in water or soil. This method is a good way to propagate specific varieties of bellflowers. Choose the propagation method that best suits your needs and resources.
How do I deadhead bellflowers?
Deadheading bellflowers is essential for encouraging continued blooming throughout the season. Simply remove the spent flowers by cutting the stem back to a healthy leaf node. This will prevent the plant from putting energy into seed production and encourage it to produce more flowers. Deadheading also helps to keep the plants looking neat and tidy. Regularly deadhead your bellflowers to enjoy a continuous display of color throughout the summer months.

Leave a Comment