

Growing Daikon Radish can seem intimidating, but trust me, it’s a rewarding experience that brings a unique and delicious addition to your garden and table! Have you ever dreamt of pulling a massive, crisp radish from the earth, a radish so big it practically screams “garden success”? Well, that dream can be a reality with a few simple tricks and a little DIY know-how.
The Daikon radish, with its origins rooted deep in East Asian culinary traditions, has been cultivated for centuries. From Japan to Korea, this versatile vegetable has been a staple ingredient, celebrated for its crisp texture, mild flavor, and impressive health benefits. It’s more than just a vegetable; it’s a cultural icon!
But why should you bother growing Daikon Radish? In today’s world, where fresh, locally sourced produce is increasingly valued, cultivating your own Daikon offers a fantastic way to enjoy organic, flavorful radishes right from your backyard. Plus, it’s incredibly satisfying to nurture something from seed to harvest. This DIY guide will equip you with the essential tips and tricks to successfully grow these impressive radishes, even if you’re a beginner gardener. We’ll cover everything from soil preparation to pest control, ensuring you have a bountiful harvest. So, let’s get our hands dirty and embark on this exciting gardening adventure together!
Growing Daikon Radish: A DIY Guide from Seed to Harvest
Okay, radish lovers, let’s talk about growing daikon! These aren’t your average, peppery little radishes. Daikon are the giants of the radish world, known for their mild flavor, crisp texture, and impressive size. I’m going to walk you through everything you need to know to successfully grow these amazing veggies in your own backyard.
Choosing the Right Daikon Variety
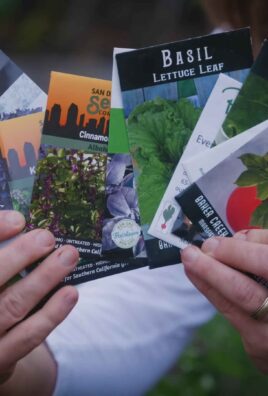
First things first, you need to pick a variety that suits your climate and growing space. There are tons of daikon varieties out there, each with its own unique characteristics. Here are a few popular choices:
* ‘Minowase Summer Cross’: This is a classic, reliable variety that’s known for its long, slender roots and excellent flavor. It’s a great choice for beginners.
* ‘April Cross’: As the name suggests, this variety is quick to mature, making it ideal for spring or fall planting. It produces medium-sized roots with a mild, sweet flavor.
* ‘Watermelon Radish’: This one’s a showstopper! It has a green exterior and a vibrant pink interior, resembling a watermelon. It has a slightly peppery flavor.
* ‘Chinese Rose’: Another visually appealing variety with a pinkish-red skin and a crisp, mild flesh. It’s a good choice for pickling.
Consider your local climate and the length of your growing season when making your selection. Daikon typically needs 50-70 days to mature, so choose a variety that will have enough time to reach its full potential before the first frost.
Preparing the Soil: The Foundation for Success
Daikon needs loose, well-drained soil to thrive. These roots can grow quite long, so compacted soil will hinder their development and result in misshapen radishes. Here’s how to prepare your soil:
* Choose a sunny location: Daikon needs at least 6 hours of sunlight per day.
* Loosen the soil: Use a garden fork or tiller to loosen the soil to a depth of at least 12 inches, preferably even deeper (18-24 inches is ideal). This will allow the roots to grow freely.
* Amend the soil: Incorporate plenty of organic matter, such as compost, well-rotted manure, or leaf mold. This will improve drainage, fertility, and water retention.
* Check the pH: Daikon prefers a slightly acidic to neutral soil pH (6.0-7.0). You can test your soil pH with a home testing kit or send a sample to your local extension office. Amend the soil as needed to achieve the desired pH.
* Remove rocks and debris: Clear the planting area of any rocks, stones, or other debris that could obstruct root growth.
Planting Daikon Seeds: Timing is Everything
Timing is crucial when planting daikon. You want to plant them so they mature in cool weather, as hot weather can cause them to become bitter and bolt (go to seed).
* Best planting times: Late summer (July-August) for a fall harvest, or early spring (as soon as the soil can be worked) for a spring harvest.
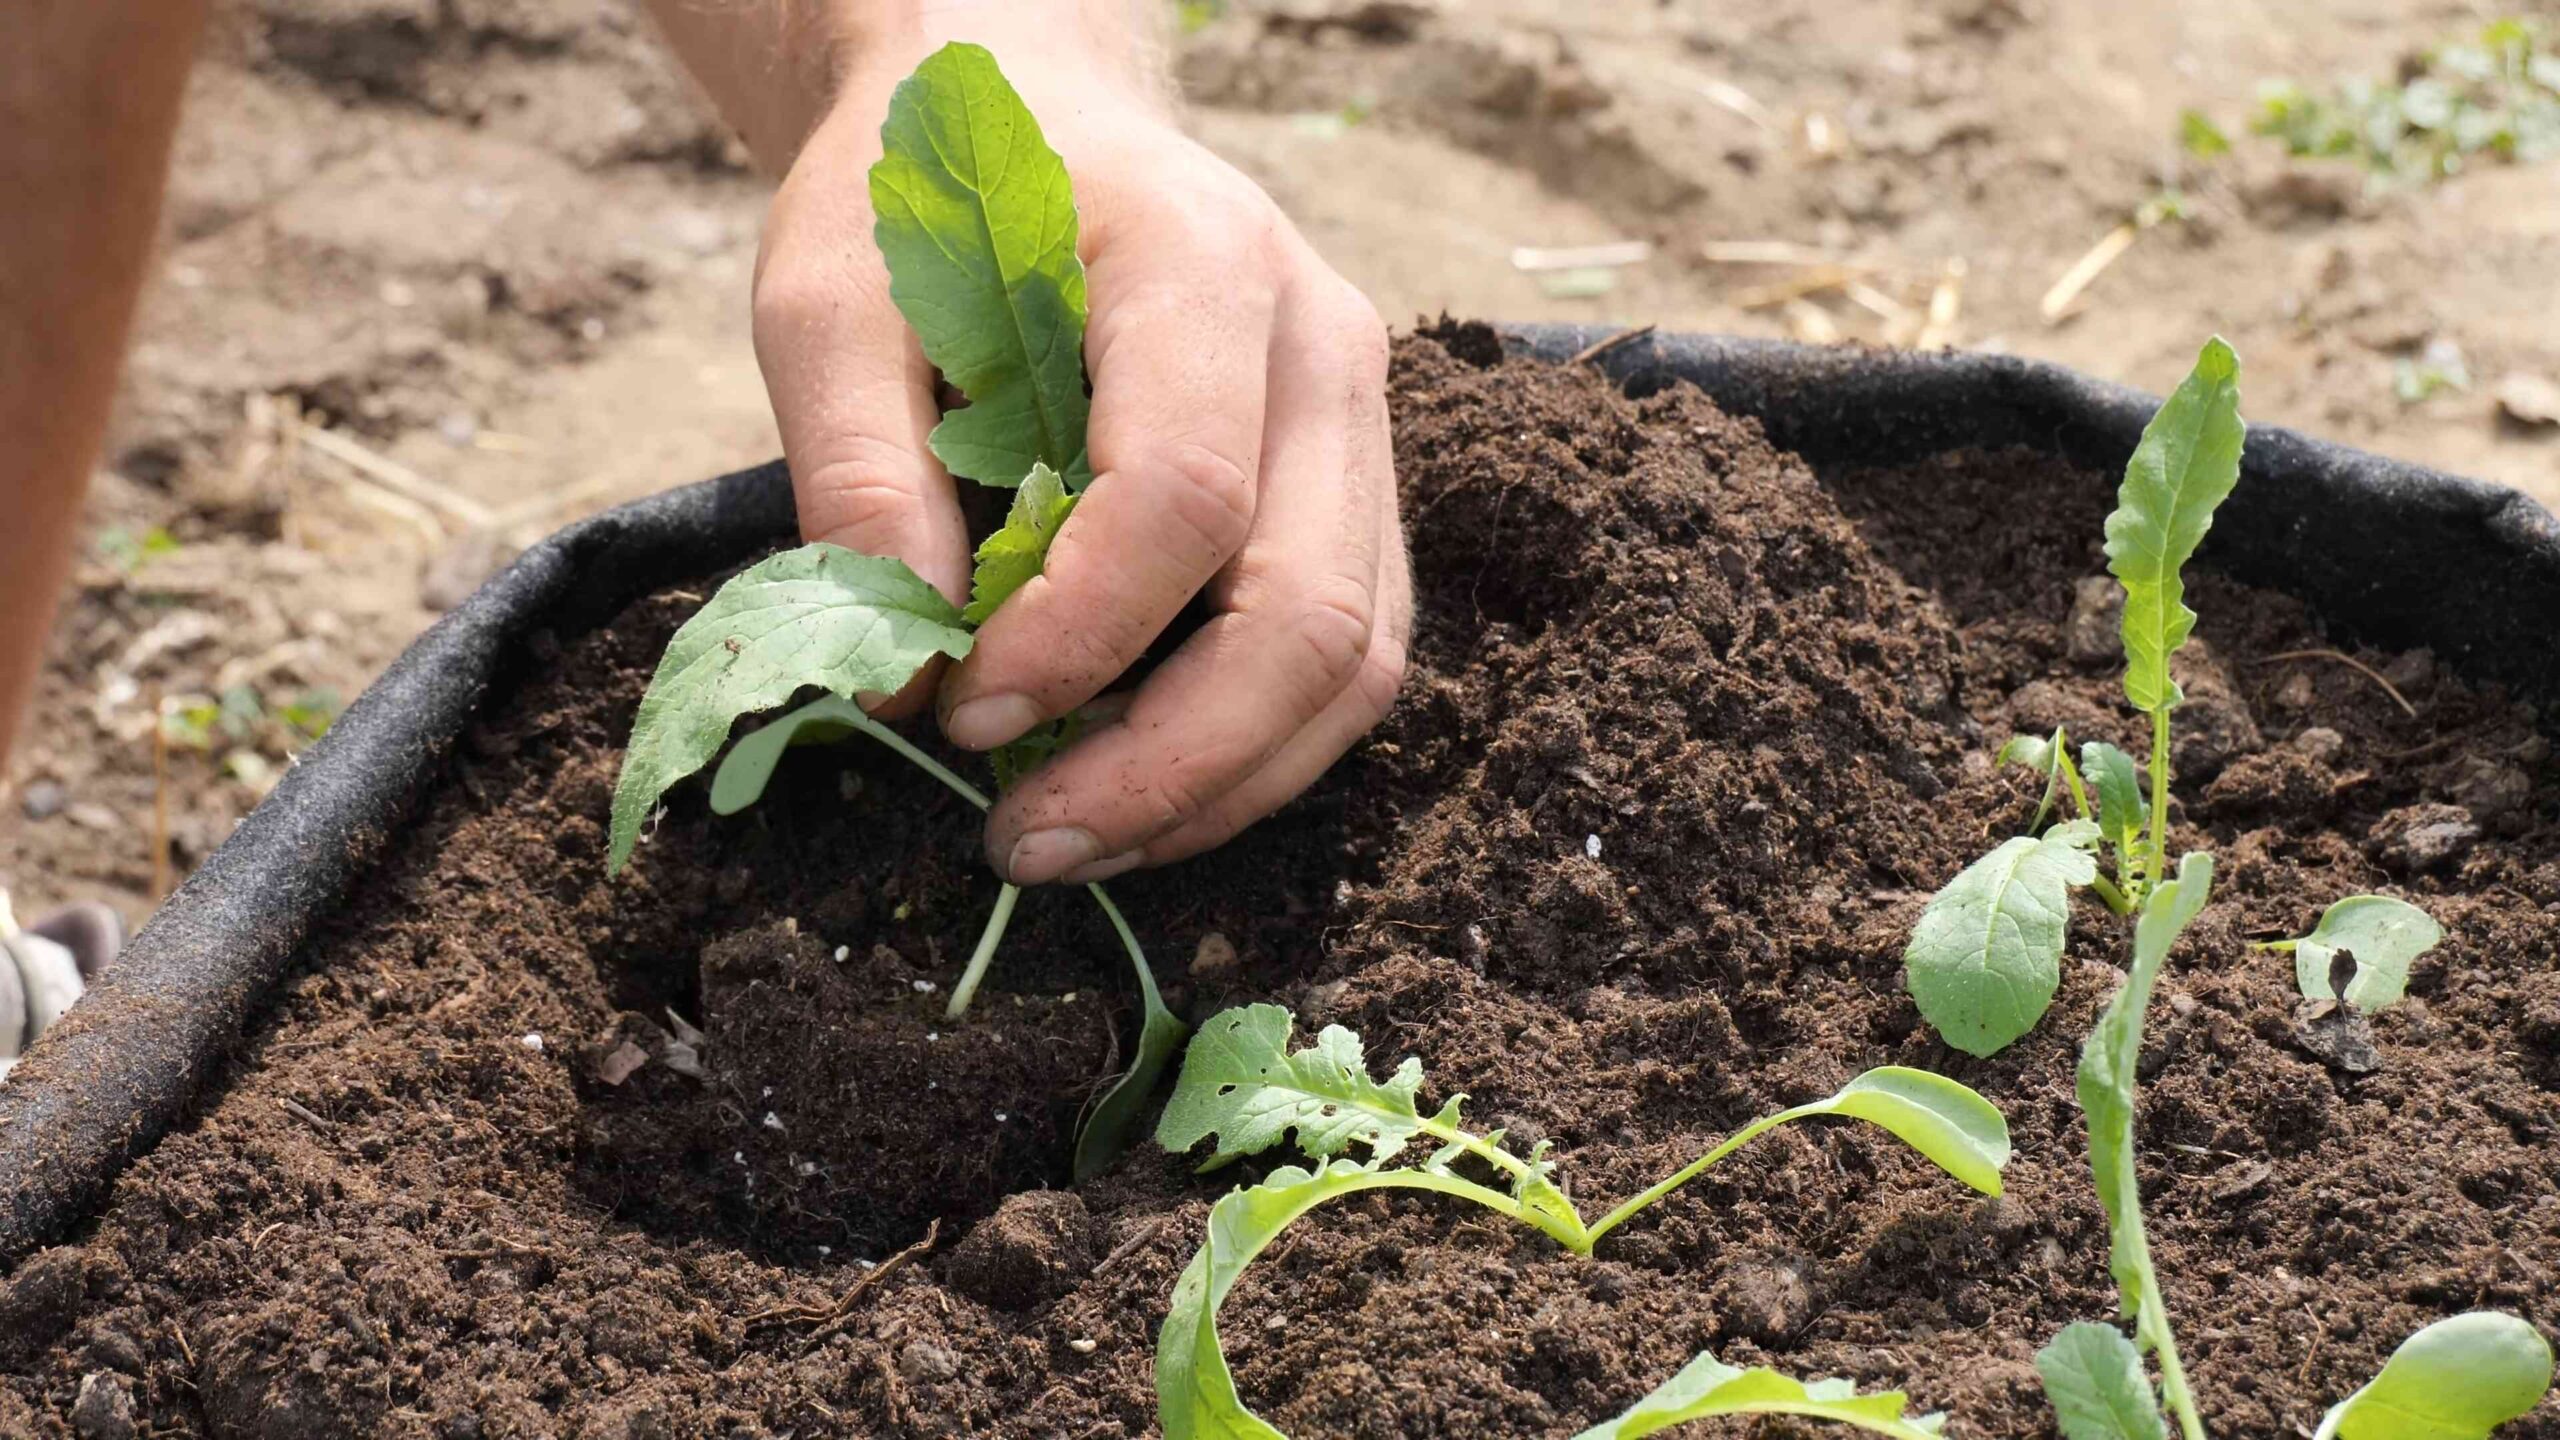
* Direct sowing: Daikon is best direct-sown, meaning you plant the seeds directly into the garden. They don’t transplant well.
* Spacing: Sow seeds about ½ inch deep and 2-3 inches apart in rows that are 12-18 inches apart.
* Thinning: Once the seedlings emerge, thin them to 4-6 inches apart. This will give the roots enough space to develop properly.
Caring for Your Daikon: Watering, Weeding, and Fertilizing
Once your daikon seedlings are established, it’s important to provide them with the care they need to thrive.
* Watering: Daikon needs consistent moisture to grow properly. Water deeply and regularly, especially during dry spells. Aim for about 1 inch of water per week.
* Weeding: Keep the planting area free of weeds, which can compete with the daikon for nutrients and water. Hand-pull weeds carefully to avoid disturbing the roots.
* Fertilizing: Daikon is a heavy feeder, so it benefits from regular fertilization. Apply a balanced fertilizer (e.g., 10-10-10) according to the package directions. You can also side-dress with compost or well-rotted manure.
* Pest and disease control: Daikon is generally pest-resistant, but it can be susceptible to certain pests, such as flea beetles and root maggots. Monitor your plants regularly and take action if you notice any signs of infestation. Use organic pest control methods whenever possible. Common diseases include fungal issues, so ensure good air circulation and avoid overhead watering to minimize risk.
Harvesting Daikon: The Grand Finale
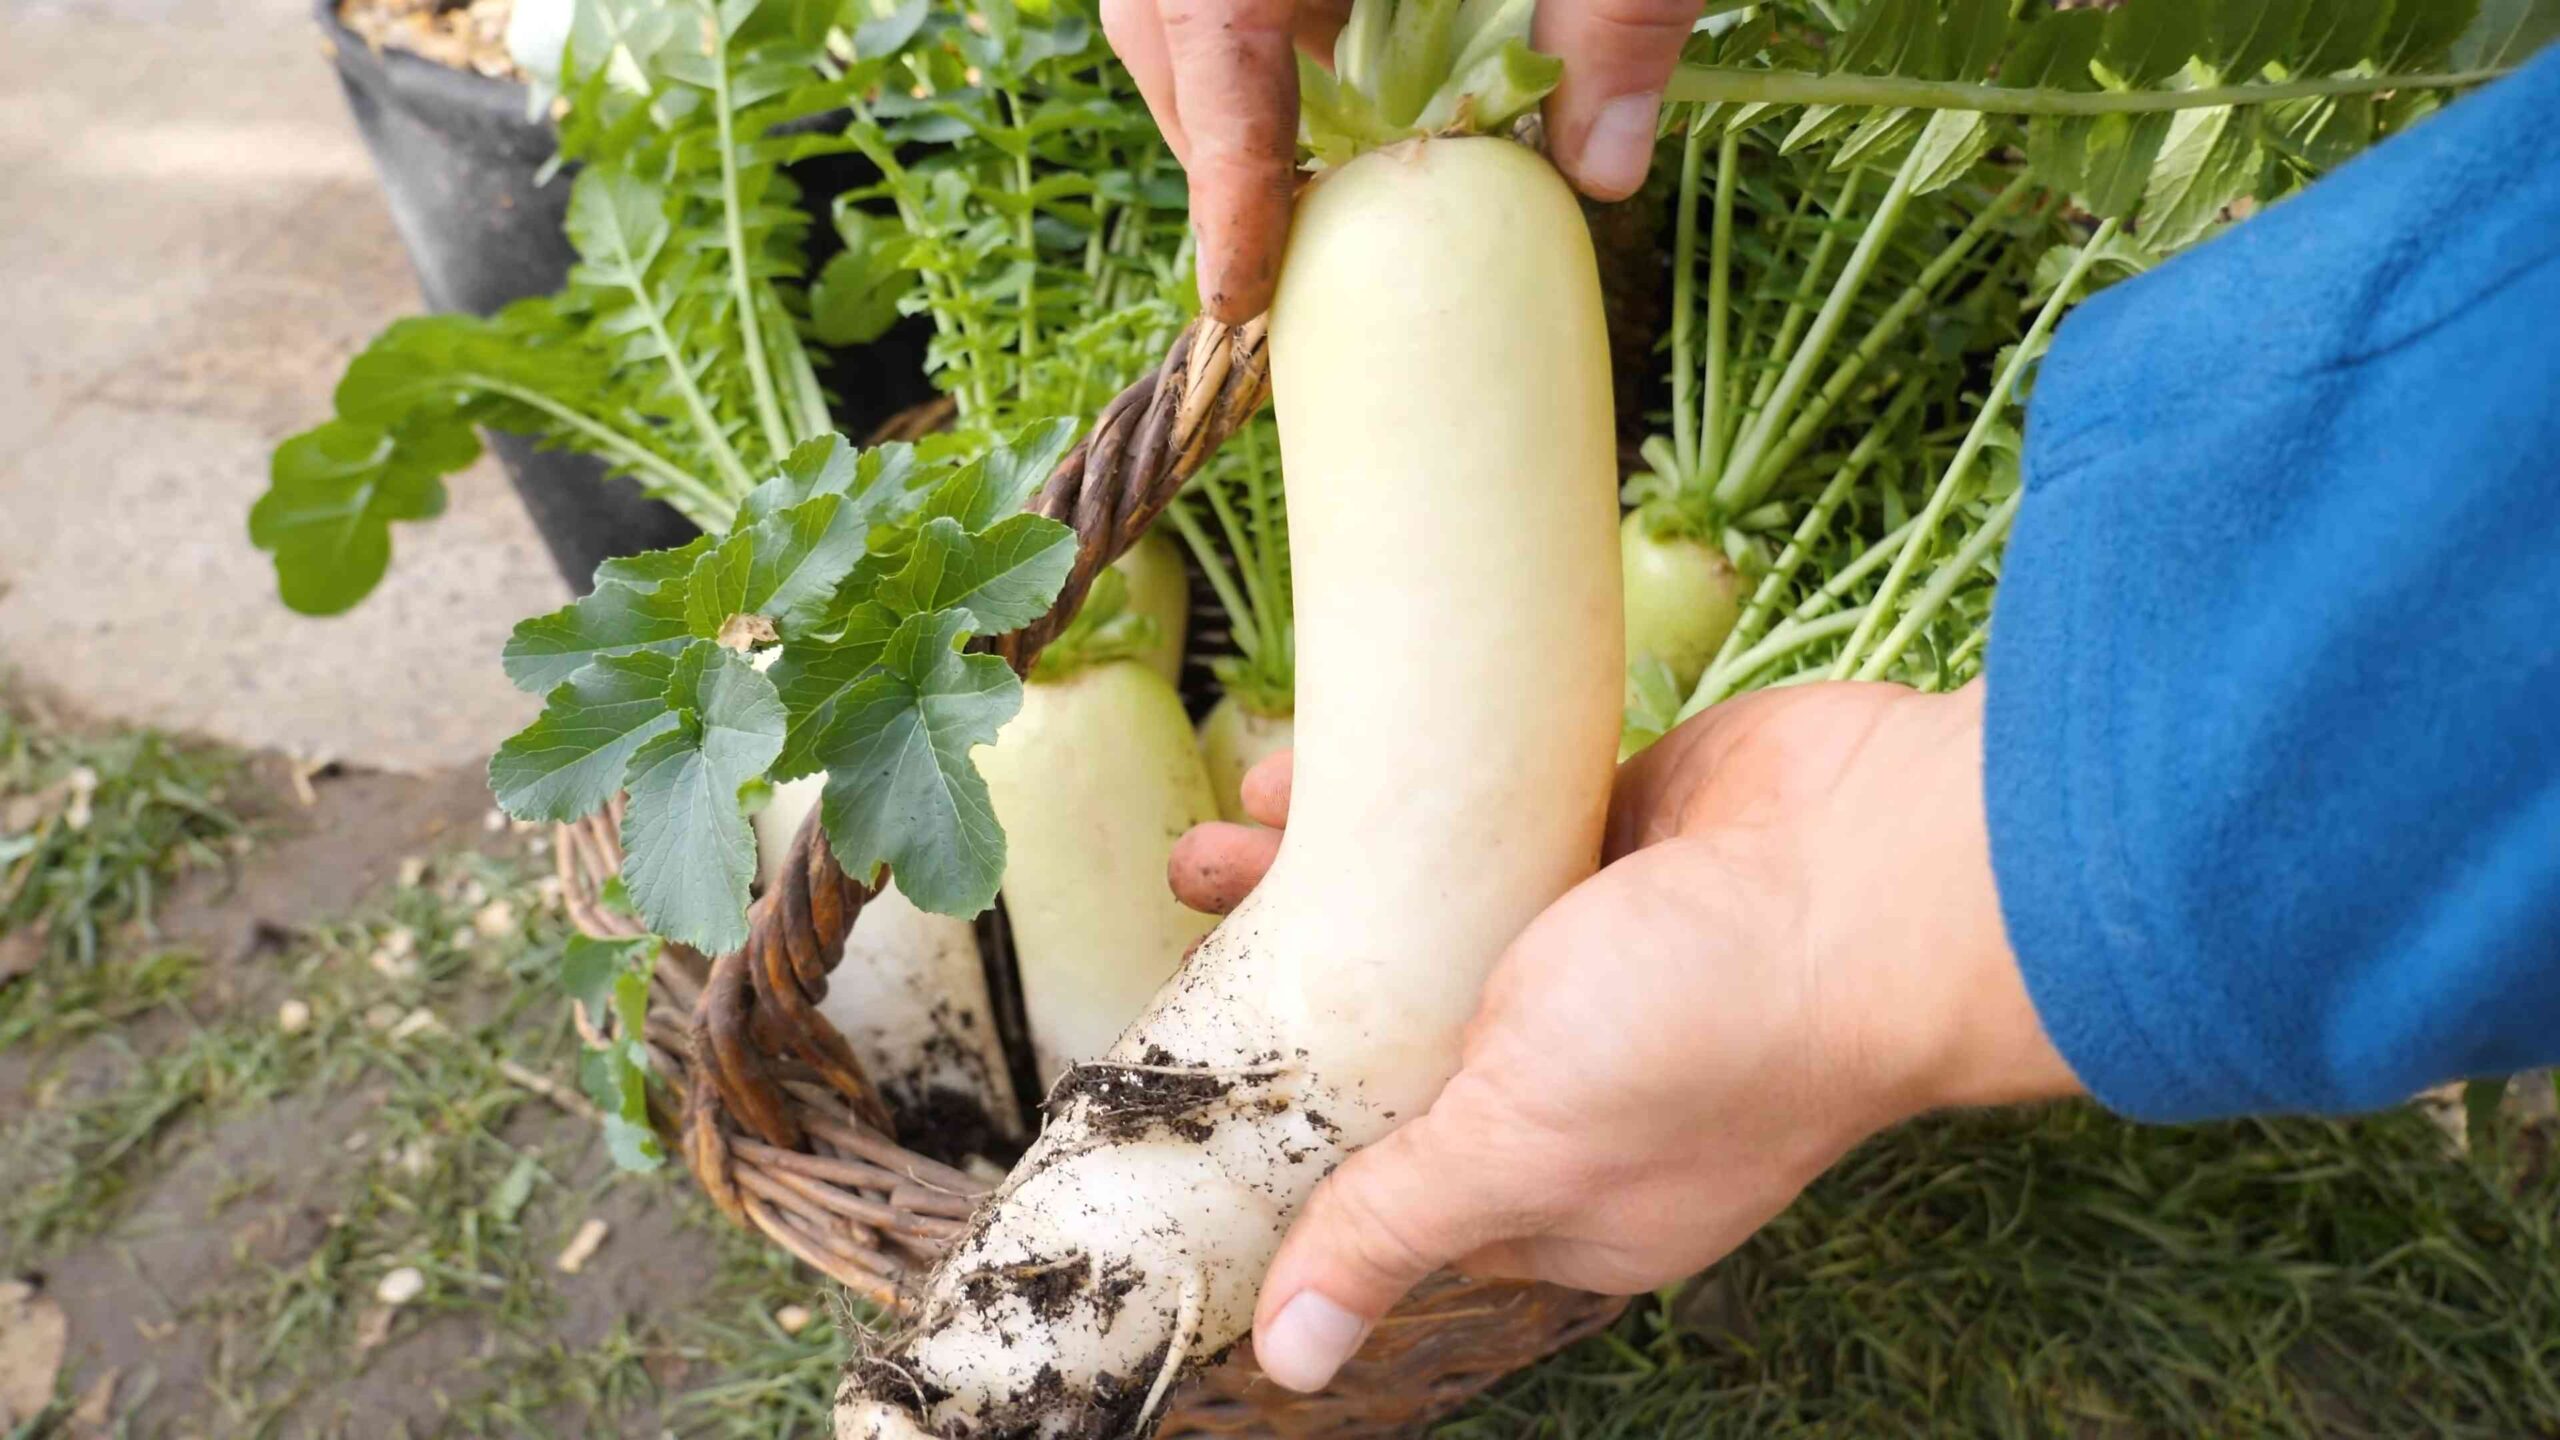
Harvest time is the most rewarding part of growing daikon! You’ll know your daikon is ready to harvest when the roots are the size you desire. This typically takes 50-70 days, depending on the variety.
* Harvesting tips: Gently loosen the soil around the roots with a garden fork or trowel. Then, carefully pull the daikon out of the ground.
* Storage: Store daikon in the refrigerator for up to several weeks. Remove the greens before storing, as they can draw moisture from the roots. You can also store daikon in a root cellar or other cool, dark place.
* Enjoying your harvest: Daikon can be eaten raw, cooked, or pickled. It’s delicious in salads, soups, stir-fries, and slaws. You can also grate it and use it as a condiment.
Troubleshooting: Common Daikon Growing Problems
Even with the best care, you might encounter some problems when growing daikon. Here are a few common issues and how to address them:
* Roots splitting: This can be caused by inconsistent watering or soil that is too dry. Make sure to water regularly and deeply, especially during dry spells.
* Roots forking or misshapen: This can be caused by compacted soil or rocks in the soil. Prepare the soil properly before planting and remove any rocks or debris.
* Bitter flavor: This can be caused by hot weather or stress. Plant daikon at the right time of year and provide them with consistent moisture.
* Pests and diseases: Monitor your plants regularly and take action if you notice any signs of infestation or disease. Use organic pest control methods whenever possible.
Section: Seed Saving for Future Harvests
If you want to save seeds from your daikon plants for future harvests, it’s a relatively straightforward process, but it requires letting the plant bolt (go to seed). Here’s how:
1. Select healthy plants: Choose the healthiest and most vigorous daikon plants to save seeds from. These should be free from disease and pests.
2. Allow bolting: Let the selected plants bolt and flower. Daikon is a biennial, meaning it typically flowers in its second year. However, some varieties may bolt in their first year if exposed to cold temperatures.
3. Support the plants: As the seed pods develop, the plants may become top-heavy. Provide support with stakes or trellises to prevent them from falling over.
4. Harvest the seed pods: Once the seed pods are dry and brown, harvest them.
5. Extract the seeds: Break open the seed pods and remove the seeds.
6. Dry the seeds: Spread the seeds out on a tray and let them dry completely in a cool, dry place.
7. Store the seeds: Store the dried seeds in an airtight container in a cool, dark place. They should remain viable for several years.
Section: Companion Planting for Daikon
Companion planting is a great way to improve the health and productivity of your daikon plants. Here are a few good companion plants for daikon:
* Carrots: Carrots help to deter root maggots, which can damage daikon roots.
* Marigolds: Marigolds repel nematodes and other soil pests.
* Nasturtiums: Nasturtiums attract aphids away from daikon plants.
* Lettuce: Lettuce provides shade for daikon roots, which can help to keep them cool and moist.
* Mint: Mint repels flea beetles, which can damage daikon leaves.
Avoid planting daikon near other members of the brassica family, such as cabbage, broccoli, and cauliflower, as they can attract the same pests and diseases.
Section: Daikon in Different Climates
Daikon can be grown in a variety of climates, but it’s important to adjust your planting schedule and care practices accordingly.
* Cool climates: In cool climates, you can plant daikon in early spring for a summer harvest or in late summer for a fall harvest. Choose varieties that are quick to mature.
* Warm climates: In
Conclusion
So, there you have it! Growing your own Daikon Radish is not only achievable but also incredibly rewarding. From seed to harvest, the process is a fascinating journey that connects you directly to the food you eat. Forget those bland, store-bought radishes that lack the vibrant flavor and satisfying crunch of a freshly grown Daikon. This DIY trick unlocks a world of culinary possibilities, allowing you to enjoy the crisp, peppery taste of Daikon in salads, slaws, pickles, stir-fries, and so much more.
Why is this a must-try? Because you’re not just growing a vegetable; you’re cultivating a connection to nature, enhancing your culinary skills, and ensuring access to the freshest, most flavorful ingredients imaginable. Plus, the satisfaction of pulling a massive, perfectly formed Daikon Radish from your own garden is an experience that’s hard to beat.
But the fun doesn’t stop there! Feel free to experiment with different varieties of Daikon. Consider trying the ‘Minowase Summer Cross’ for its exceptional length and mild flavor, or the ‘April Cross’ for its early maturity. You can also adjust the planting time based on your local climate to extend your harvest season. Another variation is to try companion planting. Daikon Radish grows well alongside carrots, lettuce, and spinach, creating a mutually beneficial ecosystem in your garden.
Don’t be afraid to get your hands dirty and embrace the learning process. Gardening is all about experimentation and discovery. Even if you encounter a few challenges along the way, the rewards of growing your own Daikon Radish are well worth the effort.
We wholeheartedly encourage you to try this DIY trick and experience the joy of growing your own Daikon Radish. Once you’ve harvested your first crop, we’d love to hear about your experience! Share your photos, tips, and recipes in the comments below. Let’s build a community of Daikon enthusiasts and inspire others to embark on this rewarding gardening adventure. Happy growing!
Frequently Asked Questions (FAQ)
What is the best time to plant Daikon Radish?
The ideal time to plant Daikon Radish depends on your climate. Generally, it’s best to plant them in late summer or early fall for a fall or winter harvest. This allows the radishes to mature in cooler temperatures, which improves their flavor and texture. In warmer climates, you can also plant them in early spring for a spring harvest, but be mindful of bolting (premature flowering) if temperatures rise too quickly. Check your local planting calendar for specific dates based on your region’s average first and last frost dates.
How much sunlight does Daikon Radish need?
Daikon Radish thrives in full sun, requiring at least 6 hours of direct sunlight per day. Adequate sunlight is crucial for healthy growth and the development of large, well-formed radishes. If you’re growing them in a partially shaded area, they may still grow, but the radishes might be smaller and less flavorful.
What type of soil is best for growing Daikon Radish?
Daikon Radish prefers loose, well-drained soil that is rich in organic matter. Heavy clay soil can hinder root development and result in misshapen radishes. Amend your soil with compost, aged manure, or other organic materials to improve drainage and fertility. A slightly acidic to neutral soil pH (around 6.0 to 7.0) is ideal.
How often should I water Daikon Radish?
Consistent watering is essential for growing healthy Daikon Radish. Keep the soil consistently moist, but not waterlogged. Water deeply whenever the top inch of soil feels dry to the touch. During hot, dry weather, you may need to water more frequently. Avoid letting the soil dry out completely, as this can cause the radishes to become tough and bitter.
How long does it take for Daikon Radish to mature?
Daikon Radish typically matures in 50 to 70 days, depending on the variety and growing conditions. Check the seed packet for specific maturity dates. You can start harvesting them when they reach the desired size, which is usually around 12 to 18 inches long.
What are some common pests and diseases that affect Daikon Radish?
Common pests that can affect Daikon Radish include flea beetles, aphids, and root maggots. Flea beetles can damage the leaves, while aphids suck sap from the plants. Root maggots can burrow into the roots, causing damage and decay. To prevent pest problems, use row covers, practice crop rotation, and encourage beneficial insects. Diseases that can affect Daikon Radish include downy mildew and clubroot. Ensure good air circulation and avoid overwatering to prevent fungal diseases.
Can I grow Daikon Radish in containers?
Yes, you can grow Daikon Radish in containers, but you’ll need to choose a large container that is at least 12 inches deep and wide to accommodate the long roots. Use a well-draining potting mix and provide adequate sunlight and water. Container-grown Daikon Radish may not grow as large as those grown in the ground, but they can still provide a delicious harvest.
How do I store Daikon Radish after harvesting?
After harvesting, remove the greens and store the Daikon Radish in the refrigerator. Wrap them in a damp paper towel or place them in a plastic bag to prevent them from drying out. Daikon Radish can be stored in the refrigerator for several weeks. You can also pickle or ferment Daikon Radish to preserve them for longer periods.
Why are my Daikon Radishes splitting or cracking?
Splitting or cracking in Daikon Radishes is often caused by inconsistent watering. When the soil dries out and then is suddenly saturated with water, the radishes can grow too quickly, causing the skin to split. Maintain consistent soil moisture to prevent this problem.
My Daikon Radishes are very pungent and spicy, what can I do?
The pungency of Daikon Radish can be influenced by several factors, including the variety, growing conditions, and maturity. Hot weather and dry soil can increase the spiciness. Harvesting them earlier, providing consistent watering, and choosing milder varieties can help reduce the pungency. You can also soak the sliced Daikon in cold water for a few minutes before using it to mellow the flavor.
Can I eat the Daikon Radish greens?
Yes, Daikon Radish greens are edible and nutritious! They have a slightly peppery flavor similar to the radish root. You can use them in salads, stir-fries, soups, or as a cooked green vegetable. Make sure to wash them thoroughly before using.

Leave a Comment