

Expert cleaning hacks – who doesn’t want them? Let’s be honest, cleaning isn’t usually anyone’s favorite pastime. But what if I told you that with a few clever tricks and DIY solutions, you could transform your cleaning routine from a dreaded chore into a surprisingly satisfying experience?
For centuries, resourceful individuals have been developing ingenious methods to keep their homes sparkling. From ancient civilizations using natural ingredients like vinegar and baking soda to modern-day innovations in cleaning technology, the quest for a spotless home has always been a part of human culture. Think about it – our grandmothers probably had a whole arsenal of cleaning secrets passed down through generations!
But in today’s busy world, who has time to spend hours scrubbing and scouring? That’s where these expert cleaning hacks come in. I’m going to share some of my favorite DIY cleaning solutions and time-saving tips that will help you tackle even the toughest messes with ease. Whether you’re dealing with stubborn stains, grimy grout, or just want to maintain a consistently clean and fresh-smelling home, these hacks will be your new best friends. Get ready to say goodbye to endless hours of cleaning and hello to a sparkling clean home, achieved with minimal effort!
DIY Cleaning Hacks That Will Blow Your Mind (and Save You Money!)
Okay, let’s be honest, cleaning isn’t exactly anyone’s favorite pastime. But a clean home is a happy home, right? And what if I told you that you could achieve sparkling results without breaking the bank or spending hours scrubbing? I’m about to share some of my absolute favorite DIY cleaning hacks that use everyday items you probably already have in your pantry. Get ready to be amazed!
Cleaning with Vinegar: The All-Purpose Wonder
Vinegar is a cleaning superhero! Its acidity makes it a fantastic disinfectant, deodorizer, and grime-fighter. Plus, it’s super cheap and eco-friendly.
* What you’ll need: White vinegar, spray bottle, microfiber cloths, water.
* Best for: Cleaning countertops, windows, showerheads, coffee makers, and more.
Cleaning Your Microwave with Vinegar
That microwave looking a little… exploded? Don’t worry, vinegar to the rescue!
1. Prepare the solution: Fill a microwave-safe bowl with 1 cup of water and 1/4 cup of white vinegar.
2. Microwave it: Place the bowl in the microwave and heat on high for 5-7 minutes, or until the solution is boiling and the window is steamy.
3. Let it sit: Leave the door closed for another 5-10 minutes. This allows the steam to loosen all the stuck-on food particles.
4. Wipe it clean: Carefully remove the bowl (it will be hot!). Then, use a damp cloth or sponge to easily wipe away all the grime. You might need to scrub a little in stubborn spots, but it should come off much easier than before.
5. Clean the turntable: Remove the turntable and wash it with warm, soapy water.
6. Enjoy your sparkling clean microwave!
Cleaning Your Showerhead with Vinegar
Hard water got your showerhead looking crusty? Vinegar can dissolve those mineral deposits like a charm.
1. Gather your supplies: You’ll need a plastic bag (a sandwich bag works well), white vinegar, a rubber band, and an old toothbrush.
2. Fill the bag: Pour enough white vinegar into the plastic bag to completely submerge the showerhead.
3. Secure the bag: Attach the bag to the showerhead using the rubber band, making sure the showerhead is fully immersed in the vinegar.
4. Soak overnight: Let the showerhead soak in the vinegar overnight (or for at least a few hours).
5. Remove and scrub: Remove the bag and discard the vinegar. Use the old toothbrush to scrub away any remaining mineral deposits.
6. Rinse and shine: Rinse the showerhead thoroughly with water. Run the shower for a few minutes to flush out any remaining vinegar. Your showerhead should now be sparkling clean and spraying like new!
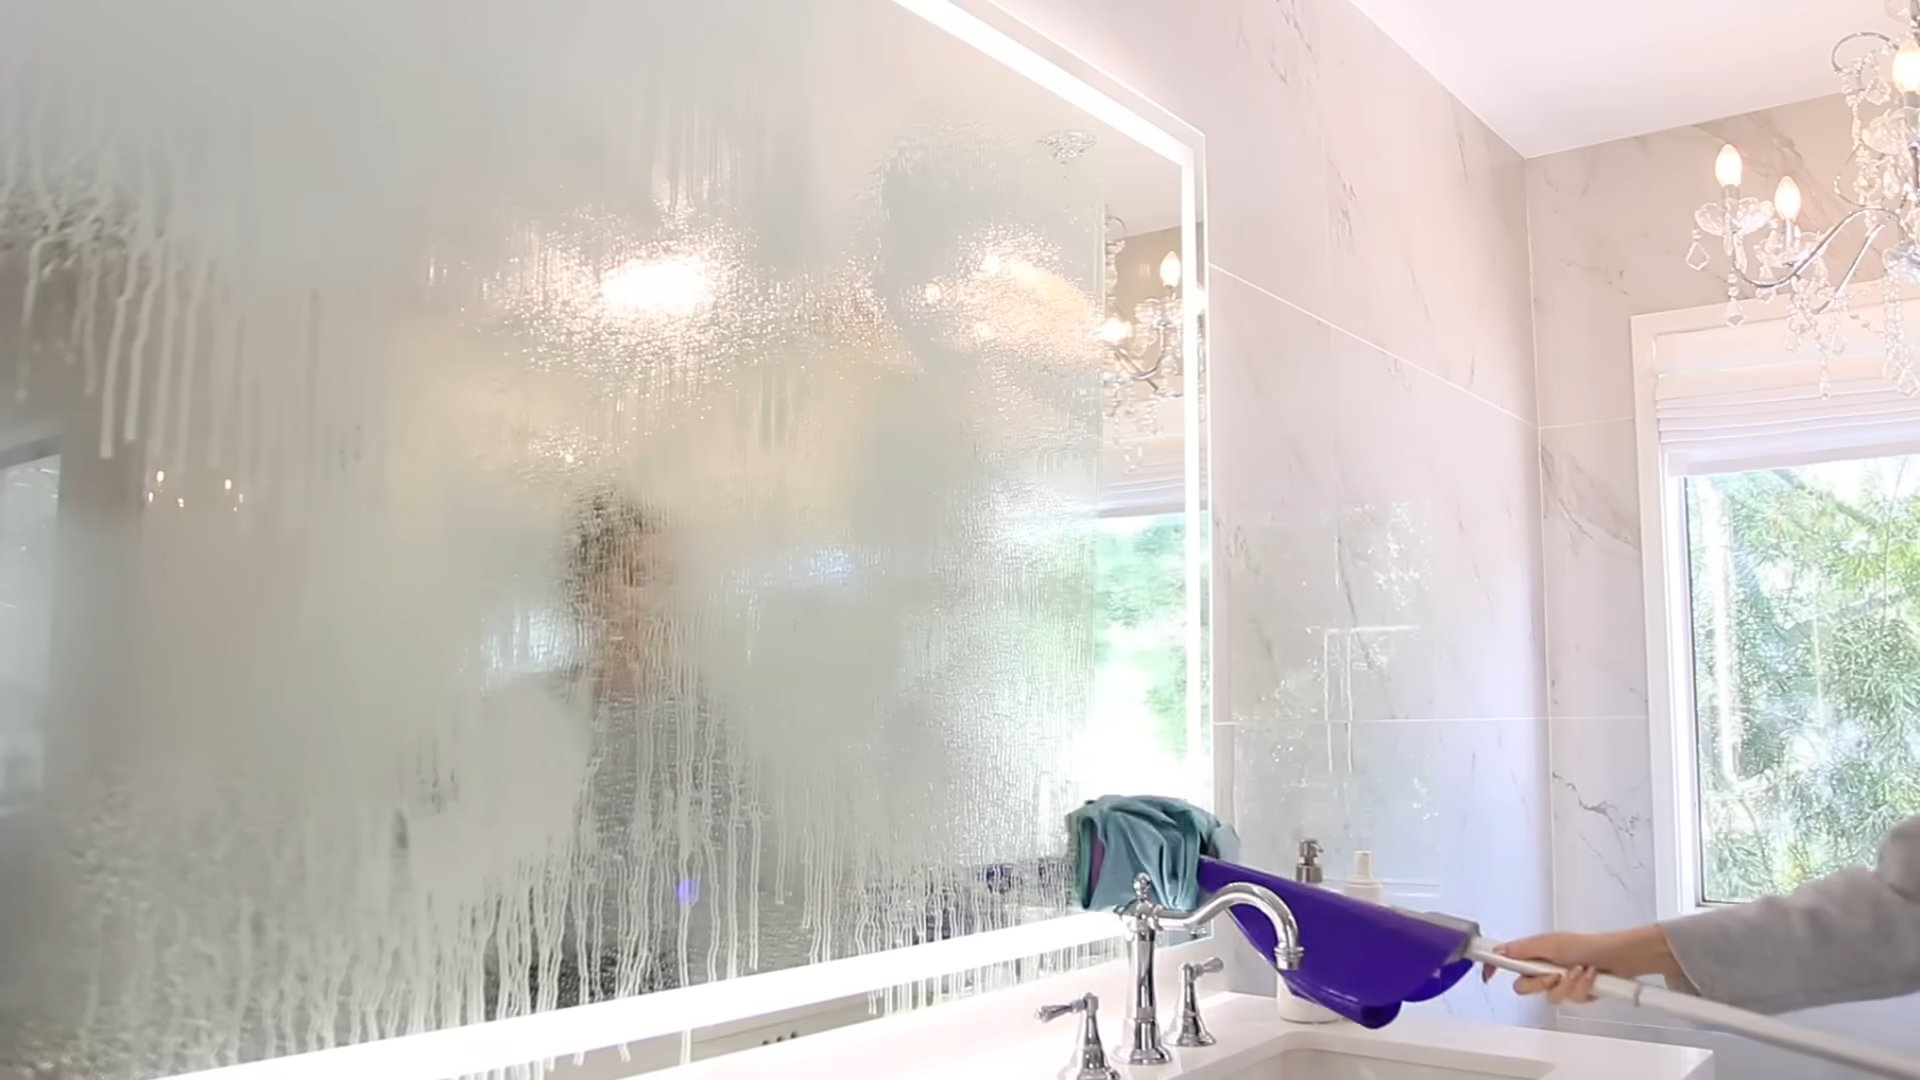
Cleaning Windows and Mirrors with Vinegar
Forget expensive window cleaners! Vinegar makes an excellent, streak-free alternative.
1. Mix your solution: In a spray bottle, combine equal parts white vinegar and water.
2. Spray and wipe: Spray the solution onto the window or mirror.
3. Wipe clean: Use a clean microfiber cloth to wipe the surface dry. For best results, use a clean, dry cloth for a final polish.
4. Admire your streak-free shine!
Baking Soda: The Gentle Abrasive
Baking soda is another cleaning powerhouse. It’s a mild abrasive, making it perfect for scrubbing away stains and grime without scratching surfaces. Plus, it’s a natural deodorizer!
* What you’ll need: Baking soda, water, sponge, toothbrush, vinegar (optional).
* Best for: Cleaning sinks, ovens, bathtubs, and removing stains.
Cleaning Your Oven with Baking Soda
Oven cleaning is the worst, right? But this baking soda paste makes it surprisingly easy.
1. Remove oven racks: Take out the oven racks and set them aside to soak in hot, soapy water.
2. Make a baking soda paste: In a bowl, mix 1/2 cup of baking soda with enough water to form a thick paste.
3. Coat the oven: Spread the paste evenly over the interior surfaces of the oven, avoiding the heating elements.
4. Let it sit overnight: Let the paste sit for at least 12 hours, or preferably overnight. This gives the baking soda time to loosen the baked-on grime.
5. Scrub and wipe: The next day, use a damp sponge or cloth to scrub away the baking soda paste. You may need to use a little elbow grease for stubborn spots.
6. Rinse thoroughly: Rinse the oven thoroughly with water to remove any remaining baking soda residue.
7. Replace the racks: Once the oven is dry, replace the oven racks.
8. Optional vinegar spray: For any remaining residue, spray the oven with white vinegar and wipe clean. The vinegar will react with any remaining baking soda, making it easier to remove.
9. Enjoy your sparkling clean oven!
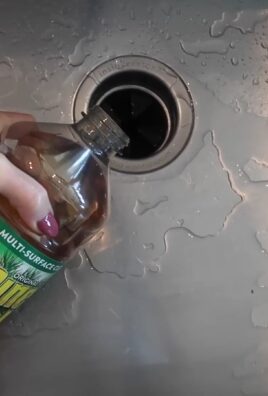
Cleaning Your Sink with Baking Soda
Baking soda is perfect for cleaning and deodorizing your sink.
1. Sprinkle baking soda: Sprinkle a generous amount of baking soda into the sink.
2. Scrub: Use a damp sponge or cloth to scrub the sink, paying attention to any stains or grime.
3. Rinse: Rinse the sink thoroughly with water.
4. Optional vinegar rinse: For extra cleaning power and to deodorize the drain, pour 1/2 cup of white vinegar down the drain, followed by 1/2 cup of baking soda. Let it fizz for 30 minutes, then flush with hot water.
Removing Stains with Baking Soda
Baking soda can be used to remove a variety of stains from different surfaces.
1. Make a paste: Mix baking soda with a small amount of water to form a paste.
2. Apply to stain: Apply the paste to the stain and let it sit for 15-30 minutes.
3. Scrub gently: Gently scrub the stain with a damp cloth or sponge.
4. Rinse: Rinse the area thoroughly with water.
Lemon Juice: The Natural Brightener
Lemon juice is a natural acid that can brighten surfaces, remove stains, and leave a fresh, clean scent.
* What you’ll need: Lemon juice, spray bottle, microfiber cloths, salt (optional).
* Best for: Cleaning cutting boards, polishing chrome, and removing hard water stains.
Cleaning Cutting Boards with Lemon Juice
Cutting boards can harbor bacteria, so it’s important to clean them thoroughly. Lemon juice is a natural disinfectant and deodorizer.
1. Cut a lemon: Cut a lemon in half.
2. Rub the lemon: Rub the cut side of the lemon all over the cutting board, squeezing out the juice as you go.
3. Optional salt scrub: For extra cleaning power, sprinkle coarse salt on the cutting board before rubbing with the lemon. The salt will act as a gentle abrasive.
4. Let it sit: Let the lemon juice sit on the cutting board for 10-15 minutes.
5. Rinse: Rinse the cutting board thoroughly with water.
6. Dry: Dry the cutting board with a clean cloth.
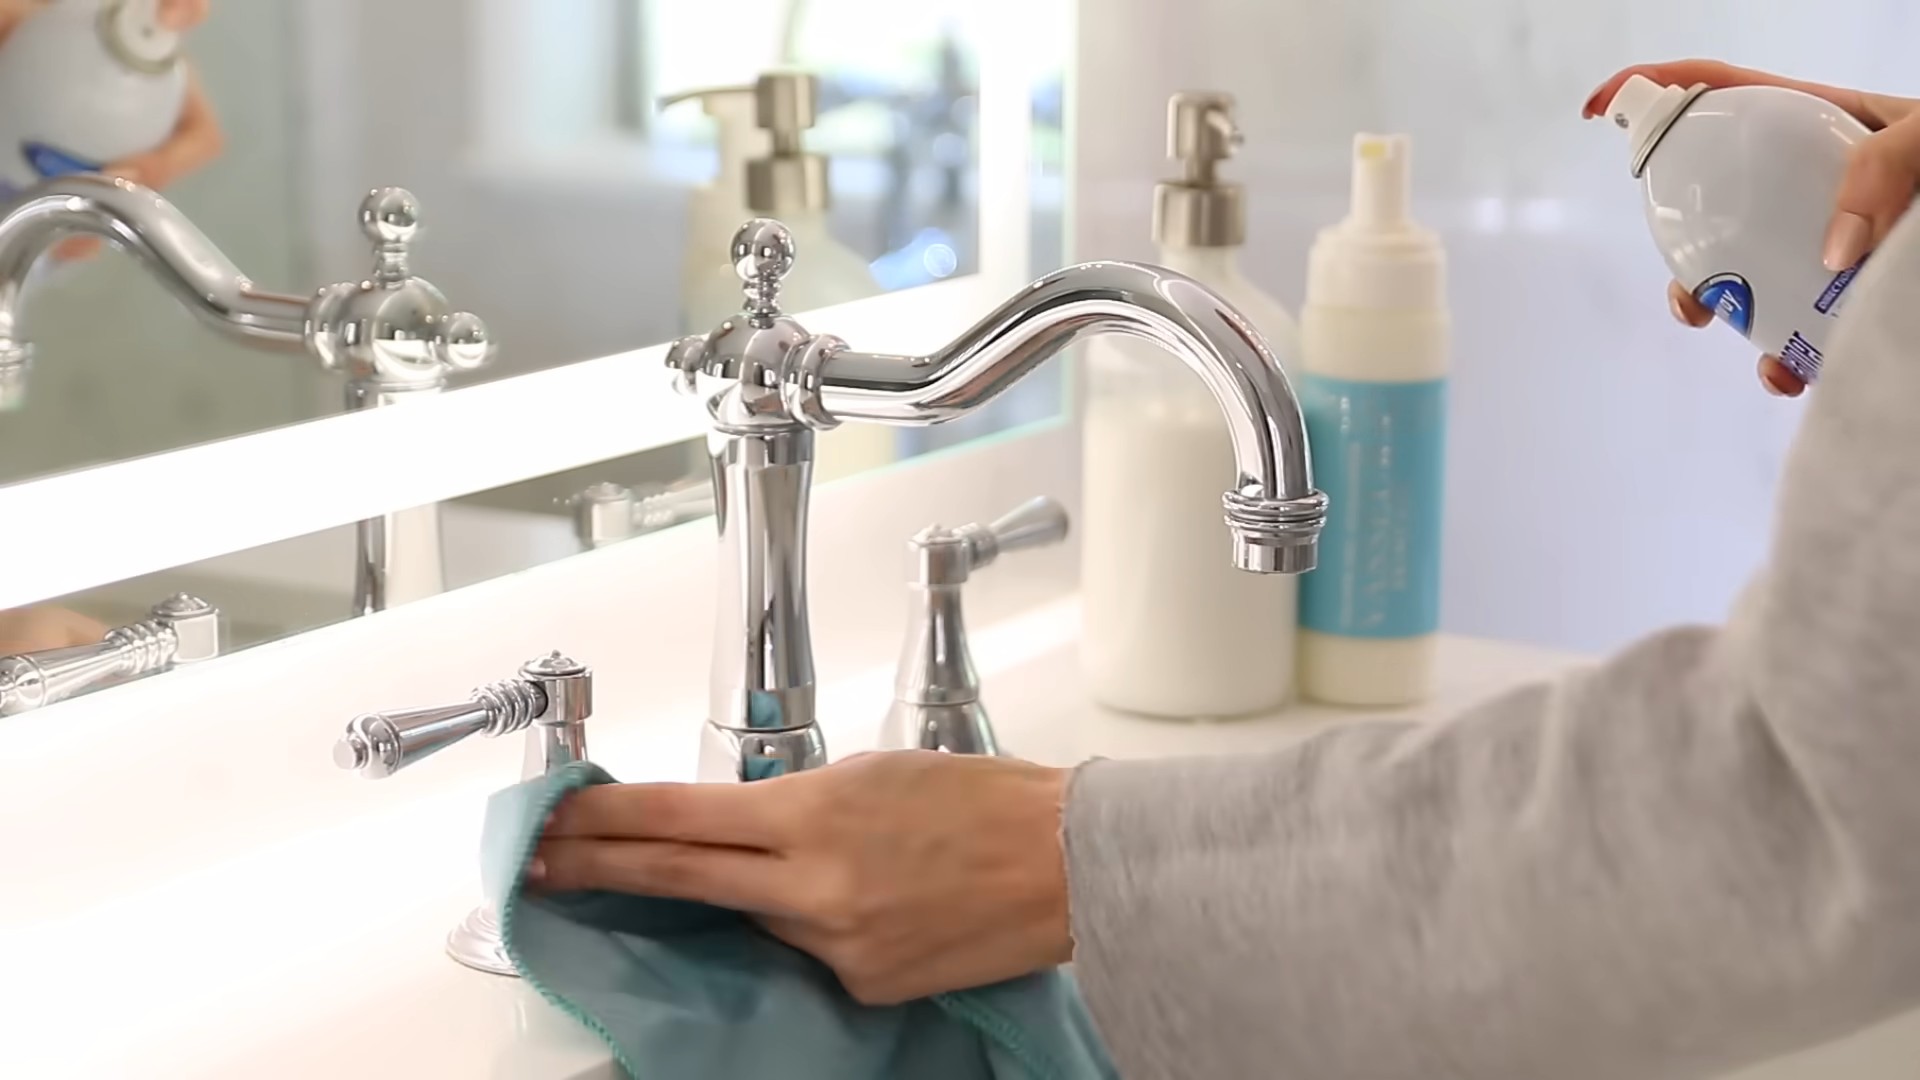
Polishing Chrome with Lemon Juice
Lemon juice can remove water spots and tarnish from chrome surfaces.
1. Apply lemon juice: Apply lemon juice to a clean cloth.
2. Rub the chrome: Rub the cloth over the chrome surface, paying attention to any tarnished areas.
3. Rinse: Rinse the chrome with water.
4. Dry: Dry the chrome with a clean cloth.
Removing Hard Water Stains with Lemon Juice
Lemon juice can dissolve hard water stains on faucets, shower doors, and other surfaces.
1. Apply lemon juice: Apply lemon juice to the affected area. You can use a spray bottle or a cloth.
2. Let it sit: Let the lemon juice sit for 15-30 minutes.
3. Scrub: Scrub the area with a sponge or cloth.
4. Rinse: Rinse the area thoroughly with water.
5. Dry: Dry the area with a clean cloth.
Bonus Hack: Cleaning Your Blender with Soap and Water
This is so simple, but it’s a game-changer!
1. Fill with water: Fill your blender halfway with warm water.
2. Add soap: Add a drop or two of dish soap.
3. Blend: Secure the lid and blend on high speed for 30-
Conclusion
So, there you have it! This simple yet incredibly effective DIY cleaning trick is more than just a hack; it’s a game-changer for anyone looking to maintain a sparkling clean home without breaking the bank or relying on harsh chemicals. We’ve shown you how to harness the power of readily available ingredients to tackle common cleaning challenges, leaving your surfaces gleaming and your home smelling fresh.
Why is this a must-try? Because it’s economical, eco-friendly, and, most importantly, it works! Store-bought cleaners often come with a hefty price tag and a long list of ingredients you can’t even pronounce. This DIY solution puts you in control, allowing you to customize the formula to suit your specific needs and preferences. Plus, you’ll be reducing your environmental footprint by minimizing plastic waste and avoiding potentially harmful chemicals.
But the benefits don’t stop there. This DIY cleaning trick is also incredibly versatile. While we’ve focused on [mention a specific application from the main article if there was one, otherwise use a general example like “all-purpose cleaning”], the basic formula can be adapted to tackle a wide range of cleaning tasks.
Here are a few suggestions and variations to get you started:
* **For a stronger disinfectant:** Add a few drops of tea tree oil or eucalyptus oil to the mixture. These essential oils have natural antibacterial and antiviral properties.
* **For extra scrubbing power:** Sprinkle a bit of baking soda onto the surface before spraying with the cleaning solution. The baking soda will act as a gentle abrasive, helping to remove stubborn stains and grime.
* **For a pleasant scent:** Experiment with different essential oil combinations to create your own signature cleaning scent. Lavender, lemon, and orange are all popular choices.
* **For cleaning glass and mirrors:** Dilute the solution with more water to prevent streaking. Use a microfiber cloth for best results.
* **For tackling mold and mildew:** Increase the concentration of vinegar in the solution. Be sure to ventilate the area well while cleaning.
Ultimately, the best way to discover the full potential of this DIY cleaning trick is to try it for yourself. We’re confident that you’ll be amazed by the results. It’s a simple, effective, and sustainable way to keep your home clean and healthy.
We encourage you to give this **expert cleaning hack** a try and see the difference it can make. Don’t be afraid to experiment with different variations and find what works best for you. And most importantly, share your experience with us! We’d love to hear your tips, tricks, and success stories in the comments below. Let’s create a community of DIY cleaning enthusiasts who are passionate about keeping their homes clean and green. Your insights could help others discover the joy and satisfaction of making their own cleaning products. So go ahead, give it a try, and let us know what you think! We are excited to hear from you.
Frequently Asked Questions (FAQ)
What exactly makes this DIY cleaning trick an “expert” hack?
The term “expert cleaning hack” refers to the efficiency and effectiveness of this method, combined with its reliance on readily available, often overlooked ingredients. It’s a technique that professionals might use to achieve superior cleaning results without resorting to expensive or harsh chemicals. The “expert” aspect also comes from the knowledge of how to combine these ingredients in the right proportions to maximize their cleaning power. It’s about understanding the science behind cleaning and applying it in a practical, cost-effective way.
Is this DIY cleaning solution safe for all surfaces?
While this DIY cleaning solution is generally safe for most surfaces, it’s always a good idea to test it in an inconspicuous area first, especially on delicate or sensitive materials like natural stone, wood, or painted surfaces. The acidity of vinegar, for example, could potentially damage certain finishes. If you’re unsure, consult the manufacturer’s recommendations for cleaning specific surfaces. When in doubt, dilute the solution further with water to reduce its potency.
How long will the DIY cleaning solution last?
The shelf life of your DIY cleaning solution depends on the ingredients you use. Generally, a solution made with vinegar and water will last for several weeks or even months when stored in a cool, dark place. However, if you add fresh ingredients like lemon peels or herbs, the solution may only last for a week or two before it starts to spoil. It’s best to make smaller batches of the solution and use them up within a reasonable timeframe. If the solution starts to smell off or change color, discard it and make a fresh batch.
Can I use this DIY cleaning solution on my kitchen countertops?
Yes, you can generally use this DIY cleaning solution on kitchen countertops, but it’s important to consider the material of your countertops. For example, granite and marble are porous and can be damaged by acidic cleaners like vinegar. If you have granite or marble countertops, it’s best to use a pH-neutral cleaner specifically designed for those surfaces. For other types of countertops, such as laminate, quartz, or stainless steel, this DIY cleaning solution should be safe to use. Always test in an inconspicuous area first, and avoid using abrasive scrubbers that could scratch the surface.
What are the environmental benefits of using this DIY cleaning trick?
There are several significant environmental benefits to using this DIY cleaning trick. First, it reduces your reliance on commercially produced cleaning products, which often contain harsh chemicals that can pollute waterways and harm aquatic life. Second, it minimizes plastic waste by eliminating the need to purchase single-use plastic bottles of cleaning solution. Third, it allows you to use natural, biodegradable ingredients that are less harmful to the environment. By making your own cleaning solution, you’re taking a proactive step towards reducing your environmental footprint and promoting a more sustainable lifestyle.
What if I don’t have all the ingredients listed in the recipe?
Don’t worry if you don’t have all the ingredients listed in the recipe. The beauty of DIY cleaning is that you can often substitute ingredients based on what you have on hand. For example, if you don’t have white vinegar, you can use apple cider vinegar instead. If you don’t have essential oils, you can simply omit them or use a different type of essential oil that you do have. The key is to experiment and find what works best for you. The basic principles of cleaning remain the same, even if you tweak the ingredients slightly.
How can I make this DIY cleaning solution smell better?
There are several ways to enhance the scent of your DIY cleaning solution. As mentioned earlier, you can add a few drops of your favorite essential oils. Citrus oils like lemon, orange, and grapefruit are popular choices for their fresh, clean scent. Lavender and eucalyptus oils are also great options for their calming and antibacterial properties. You can also infuse the vinegar with herbs like rosemary or thyme for a more subtle, natural fragrance. Simply add the herbs to the vinegar and let it steep for a few days before using it in your cleaning solution.
Can this DIY cleaning solution be used to clean bathroom surfaces?
Yes, this DIY cleaning solution is excellent for cleaning bathroom surfaces such as sinks, toilets, showers, and tiles. The vinegar helps to dissolve soap scum and hard water stains, while the other ingredients help to disinfect and deodorize. Be sure to ventilate the bathroom well while cleaning, and avoid using the solution on natural stone surfaces like marble, as mentioned earlier. For stubborn stains, you can let the solution sit on the surface for a few minutes before scrubbing.
Is this DIY cleaning trick effective against bacteria and viruses?
While this DIY cleaning solution can help to reduce the number of bacteria and viruses on surfaces, it’s important to note that it may not be as effective as commercial disinfectants that are specifically designed to kill pathogens. However, the vinegar in the solution does have some antibacterial and antiviral properties, and adding essential oils like tea tree oil or eucalyptus oil can further enhance its disinfecting power. For optimal disinfection, it’s best to use a combination of cleaning and disinfecting techniques, such as washing surfaces with soap and water followed by disinfecting with a bleach solution or other EPA-approved disinfectant.
How often should I use this DIY cleaning solution?
The frequency with which you use this DIY cleaning solution will depend on your cleaning habits and the level of dirt and grime in your home. For general cleaning, you can use it as often as you would use any other cleaning solution. For areas that are prone to dirt and grime, such as kitchens and bathrooms, you may want to use it more frequently. The key is to be consistent with your cleaning routine and to address spills and messes as soon as they occur. Regular cleaning will help to prevent the buildup of dirt and grime and make your home easier to maintain.


Leave a Comment