

Effective bathroom cleaning hacks are the secret weapon you need to reclaim your weekends! Let’s face it, nobody enjoys scrubbing toilets and battling soap scum. But what if I told you that you could spend less time cleaning and more time enjoying your sparkling clean bathroom? This article is packed with DIY solutions and clever tricks that will transform your cleaning routine from a dreaded chore into a breeze.
For centuries, maintaining hygiene has been a cornerstone of healthy living. From ancient Roman bathhouses to the meticulous cleaning rituals of various cultures, a clean bathroom has always been associated with well-being. But modern life is busy, and finding the time for deep cleaning can feel impossible. That’s where these effective bathroom cleaning hacks come in!
I know firsthand how frustrating it can be to spend hours scrubbing, only to be left with lingering stains and stubborn grime. That’s why I’ve compiled these tried-and-true methods that are not only effective but also budget-friendly and eco-conscious. Whether you’re dealing with hard water stains, mildew, or just want to keep your bathroom looking its best, these DIY tricks will save you time, money, and a whole lot of elbow grease. Get ready to discover the secrets to a sparkling clean bathroom without breaking a sweat!
DIY Bathroom Cleaning Hacks That Will Save You Time and Money!
Okay, let’s be honest, cleaning the bathroom is nobody’s favorite chore. But a sparkling clean bathroom is a happy bathroom! I’m going to share some of my favorite DIY cleaning hacks that are not only effective but also use ingredients you probably already have in your pantry. Get ready to say goodbye to harsh chemicals and hello to a fresh, clean bathroom!
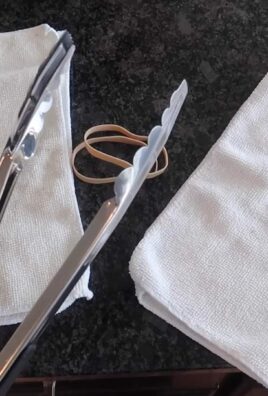
Hack 1: Sparkling Clean Showerhead with Vinegar
Hard water deposits can really gunk up your showerhead, reducing water pressure and making it look pretty gross. This vinegar trick is a game-changer!
What you’ll need:
* White vinegar
* Plastic bag (a Ziploc bag works great)
* Rubber band or twist tie
* Old toothbrush
Step-by-step instructions:
1. Prepare the vinegar bath: Pour enough white vinegar into the plastic bag to completely submerge your showerhead.
2. Attach the bag: Carefully position the bag over the showerhead, ensuring the showerhead is fully immersed in the vinegar. Secure the bag tightly with a rubber band or twist tie. You want to make sure it’s sealed well to prevent leaks.
3. Soak overnight: Let the showerhead soak in the vinegar overnight (or for at least a few hours). This allows the vinegar to dissolve the mineral deposits.
4. Remove and scrub: The next day, remove the bag and discard the vinegar. Use an old toothbrush to scrub away any remaining mineral deposits. You might need to scrub a little harder in areas with heavy buildup.
5. Rinse thoroughly: Turn on the shower and let the water run for a few minutes to rinse away any lingering vinegar and loosened debris.
6. Admire your sparkling showerhead! You should notice a significant improvement in water pressure and the overall appearance of your showerhead.
Hack 2: Grout Cleaning Power with Baking Soda and Vinegar
Grime and mildew love to hide in grout lines. This baking soda and vinegar combo is my go-to for tackling those stubborn stains.
What you’ll need:
* Baking soda
* White vinegar
* Spray bottle
* Old toothbrush or grout brush
* Water
Step-by-step instructions:
1. Prepare the baking soda paste: Mix baking soda with a little water to form a thick paste.
2. Apply the paste: Apply the baking soda paste generously to the grout lines. Let it sit for at least 10-15 minutes. This allows the baking soda to loosen the grime.
3. Spray with vinegar: Fill a spray bottle with white vinegar and spray it directly onto the baking soda paste. You’ll see a fizzing reaction – that’s a good thing! It means the baking soda and vinegar are working together to break down the dirt and mildew.
4. Scrub, scrub, scrub: Use an old toothbrush or a grout brush to scrub the grout lines thoroughly. Pay extra attention to areas with heavy staining.
5. Rinse with water: Rinse the area with clean water to remove the baking soda and vinegar residue. You can use a damp sponge or cloth to wipe away any remaining paste.
6. Dry the area: Dry the area with a clean towel. This will help prevent mildew from returning.
Hack 3: Toilet Bowl Cleaning with Cola (Yes, Really!)
This one might sound a little crazy, but trust me, it works! The acids in cola can help break down stains in your toilet bowl.
What you’ll need:
* Cola (any brand will do)
Step-by-step instructions:
1. Pour cola into the toilet bowl: Pour an entire can of cola around the rim of the toilet bowl, making sure it coats the entire surface.
2. Let it sit: Let the cola sit in the toilet bowl for at least an hour, or even better, overnight. This allows the acids in the cola to break down stains and mineral deposits.
3. Flush: Flush the toilet. The stains should be significantly reduced, if not completely gone.
4. Scrub if needed: If there are any stubborn stains remaining, use a toilet brush to scrub them away before flushing again.
Hack 4: Streak-Free Mirror Cleaning with Vinegar and Water
Say goodbye to streaks and hello to a sparkling clean mirror with this simple vinegar and water solution.
What you’ll need:
* White vinegar
* Water
* Spray bottle
* Microfiber cloth
Step-by-step instructions:
1. Prepare the cleaning solution: Mix equal parts white vinegar and water in a spray bottle.
2. Spray the mirror: Lightly spray the mirror with the vinegar and water solution. Don’t over-saturate it.
3. Wipe with a microfiber cloth: Wipe the mirror with a clean, dry microfiber cloth. Use a circular motion to remove any streaks or smudges.
4. Buff to a shine: Buff the mirror with a clean, dry section of the microfiber cloth to achieve a streak-free shine.
Hack 5: Drain De-clogging with Baking Soda and Vinegar (Again!)
A clogged drain is a common bathroom problem. This baking soda and vinegar method is a natural and effective way to clear those blockages.
What you’ll need:
* Baking soda
* White vinegar
* Hot water
Step-by-step instructions:
1. Pour baking soda down the drain: Pour about 1/2 cup of baking soda down the clogged drain.
2. Pour vinegar down the drain: Follow the baking soda with 1 cup of white vinegar. You’ll hear a fizzing sound – that’s the reaction breaking down the clog.
3. Let it sit: Let the mixture sit for at least 30 minutes, or even longer for stubborn clogs.
4. Flush with hot water: After the waiting period, flush the drain with a pot of boiling hot water. This will help to clear away the loosened debris.
5. Repeat if necessary: If the drain is still clogged, repeat the process.
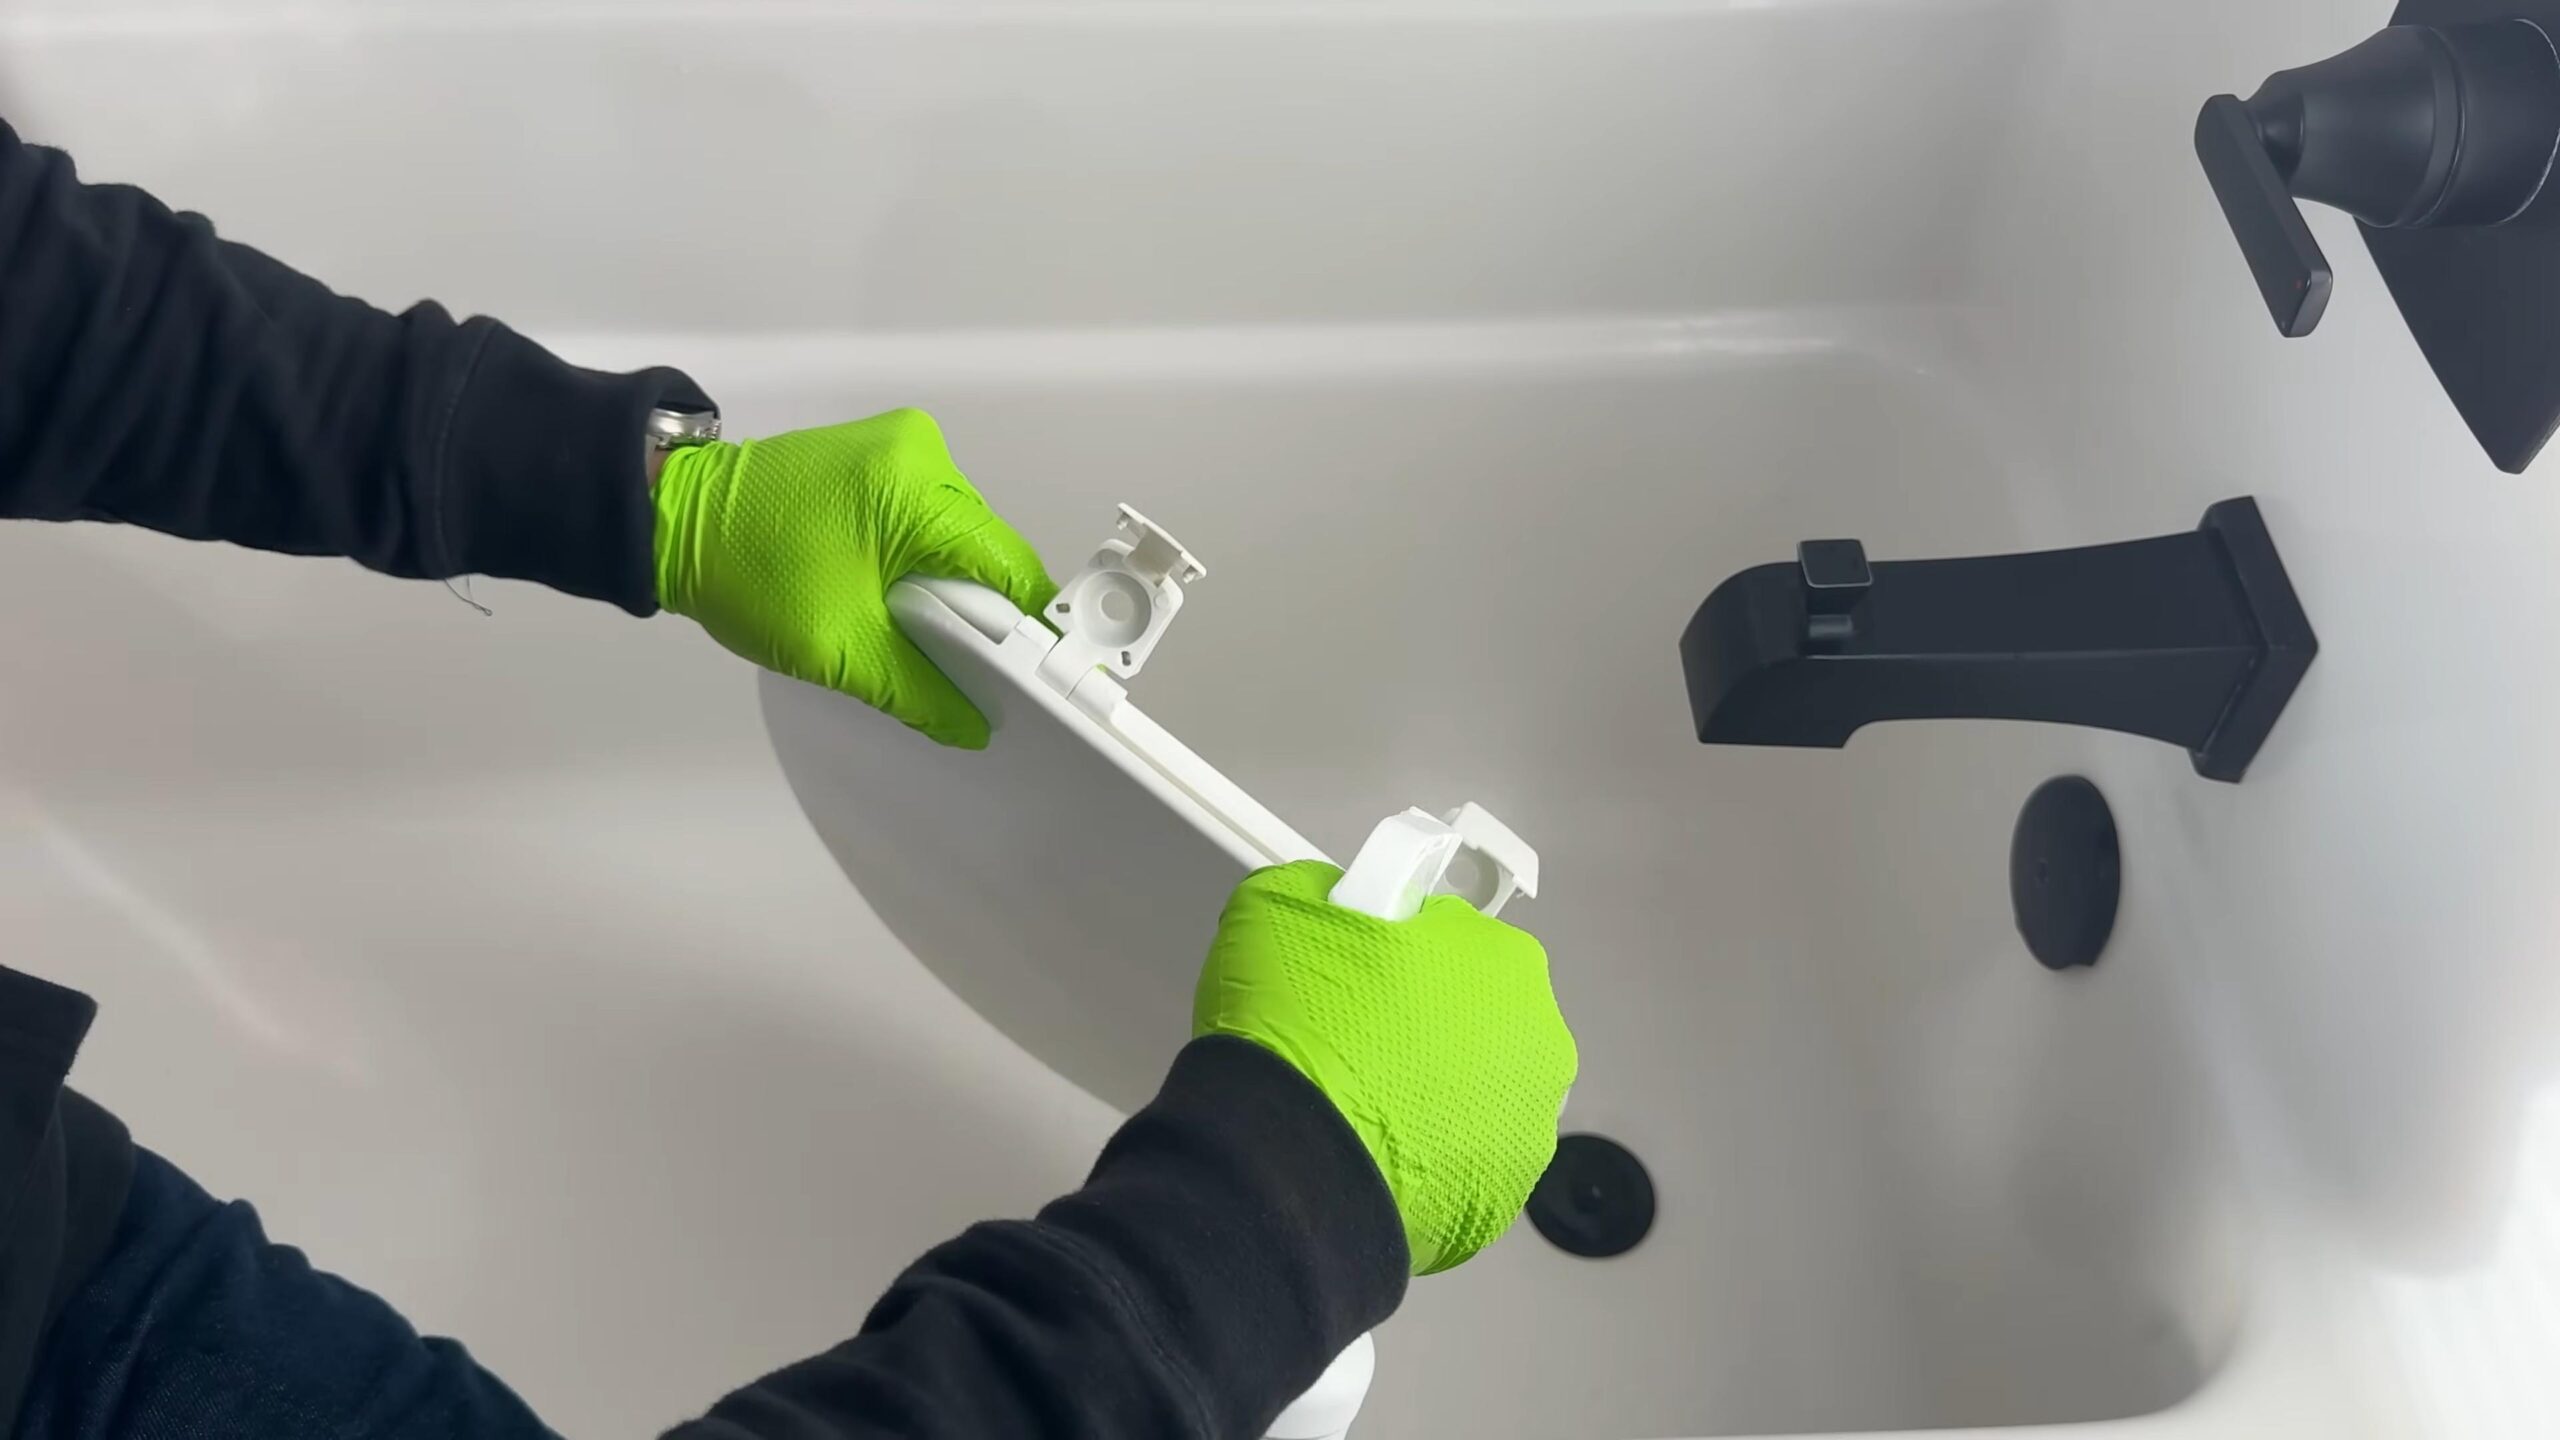
Hack 6: Cleaning Faucets and Fixtures with Lemon
Lemon juice is a natural cleaner and disinfectant, and it works wonders on faucets and fixtures. It helps remove water spots and leaves a fresh, citrusy scent.
What you’ll need:
* Lemon (half a lemon)
* Soft cloth
Step-by-step instructions:
1. Cut a lemon in half: Cut a lemon in half.
2. Rub the lemon on the fixtures: Rub the cut side of the lemon directly onto the faucets and fixtures, paying attention to areas with water spots or buildup.
3. Let it sit: Let the lemon juice sit on the fixtures for a few minutes.
4. Wipe with a soft cloth: Wipe the fixtures with a soft cloth to remove the lemon juice and any loosened grime.
5. Rinse with water: Rinse the fixtures with water to remove any remaining lemon residue.
6. Dry with a clean cloth: Dry the fixtures with a clean cloth to prevent water spots from returning.
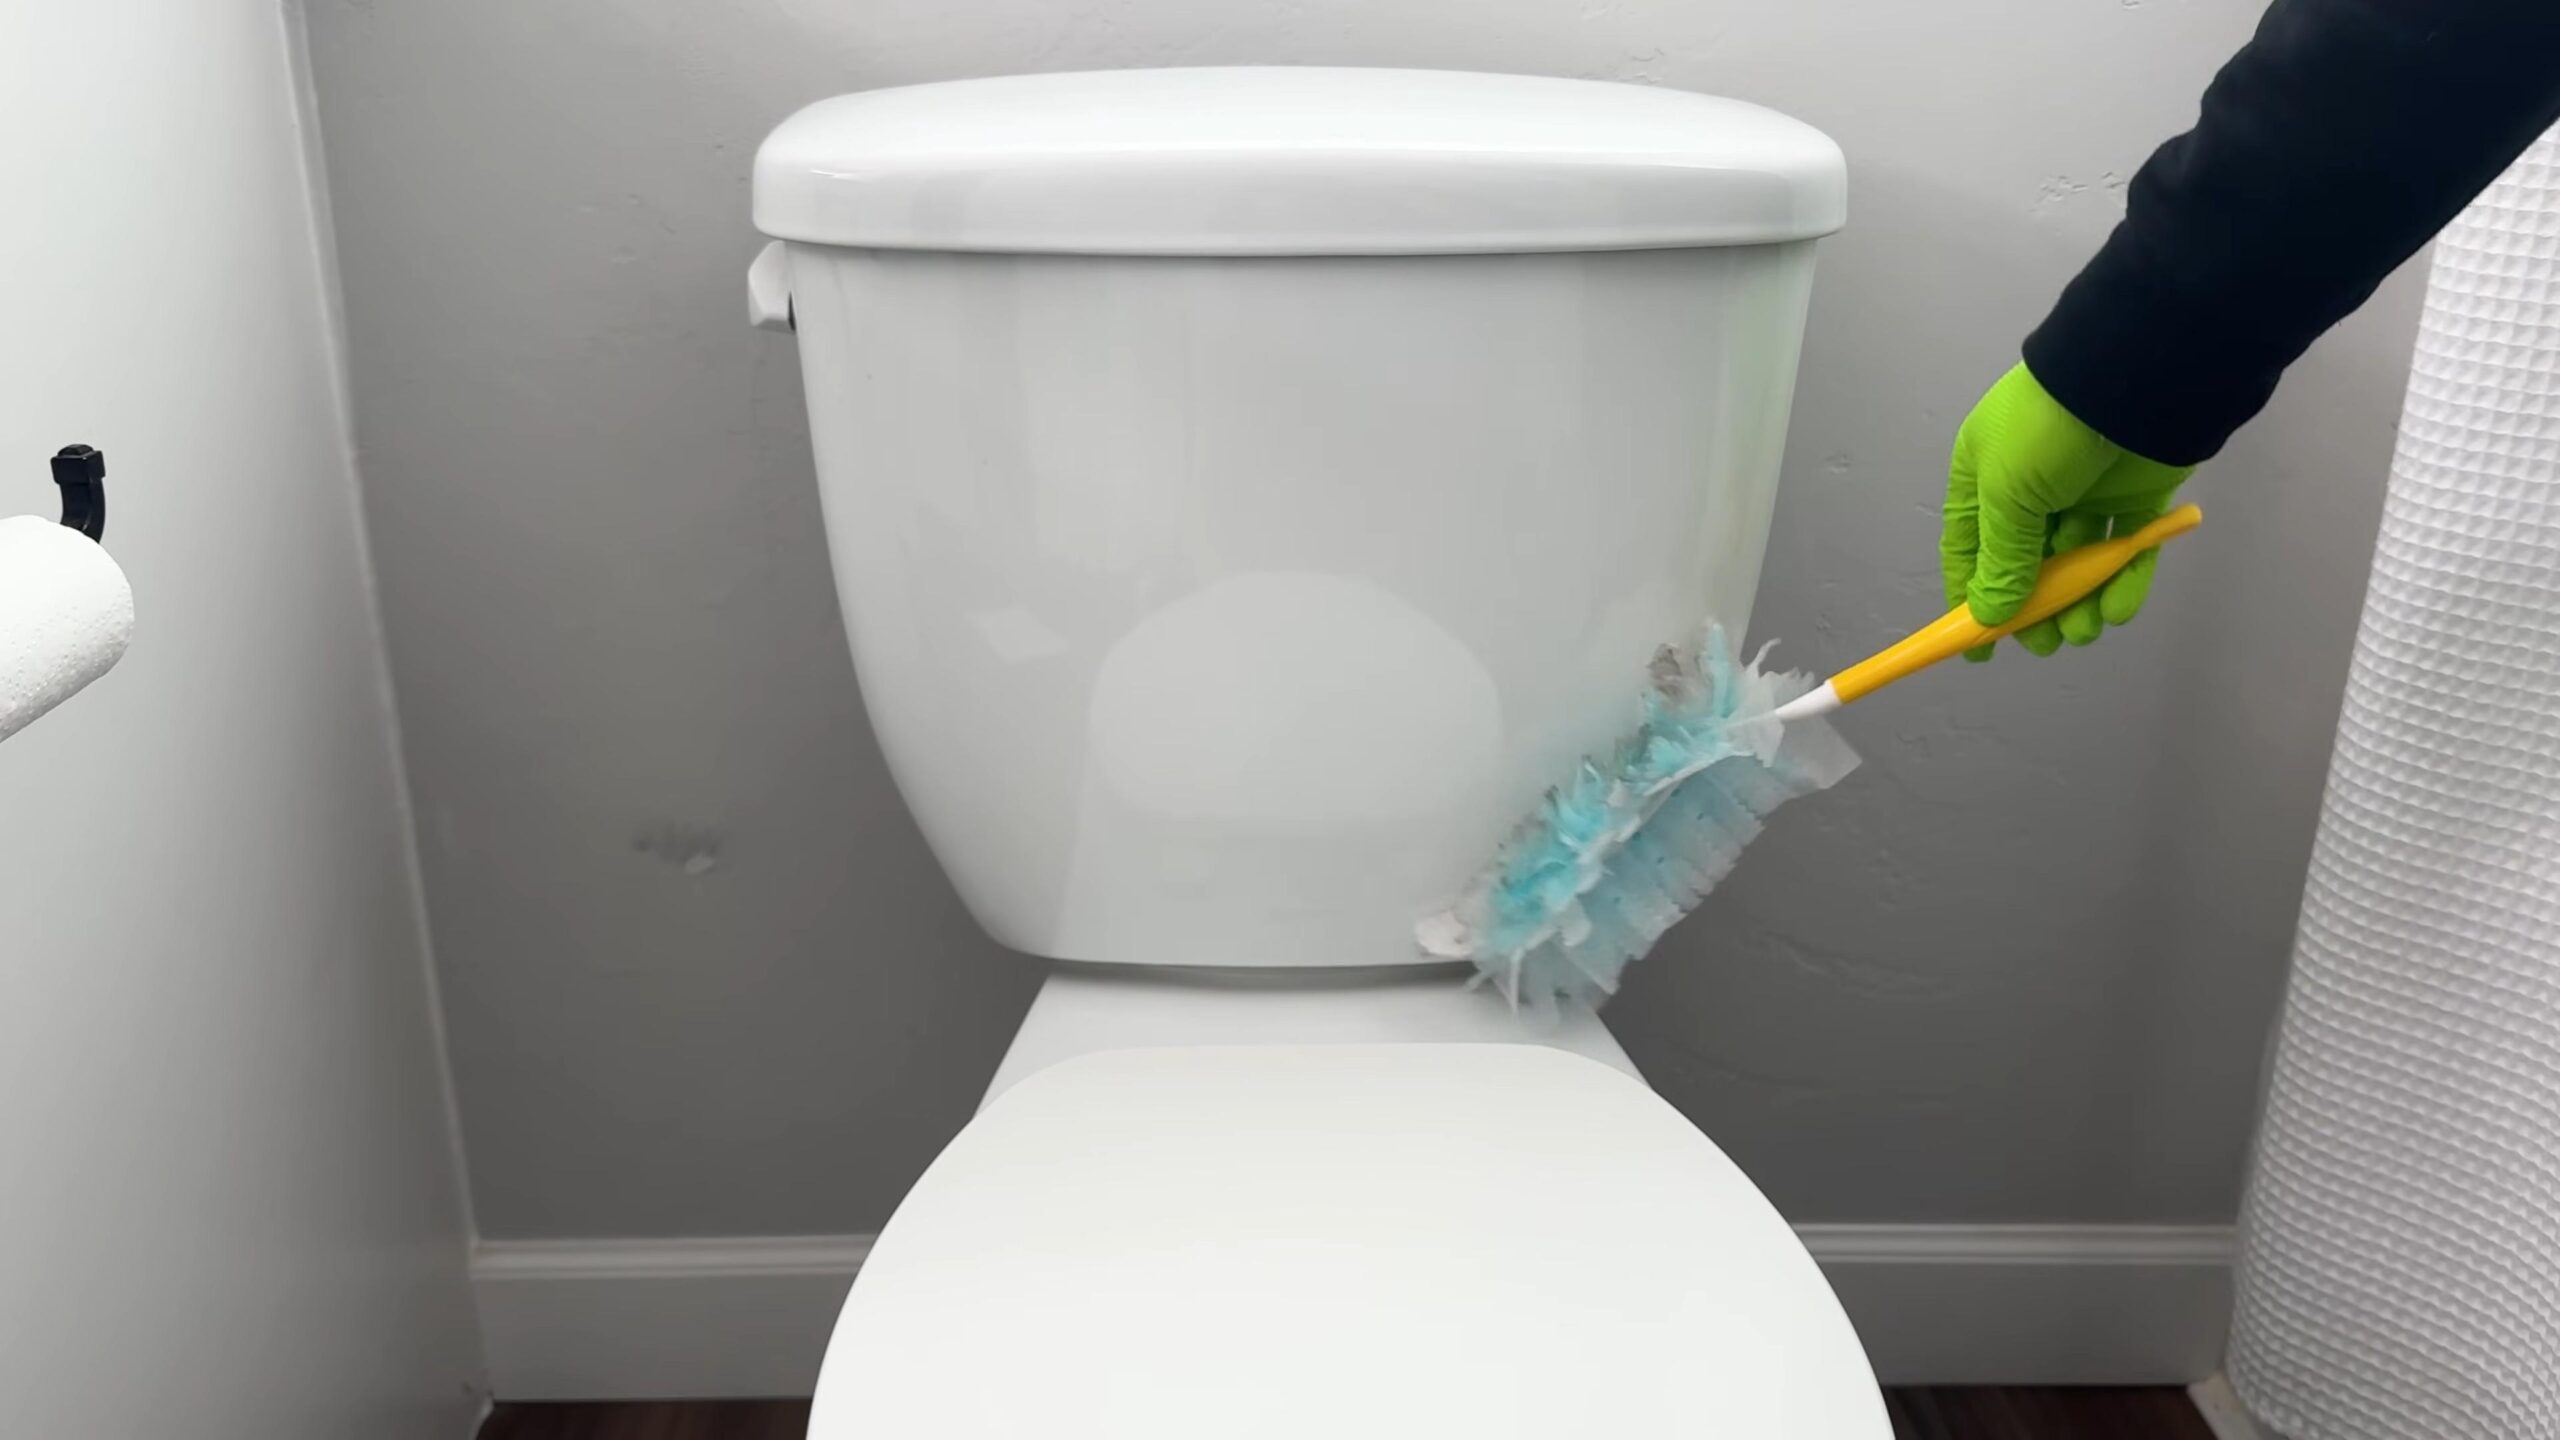
Hack 7: Freshening Up Your Toilet Brush
Even your toilet brush needs a little cleaning love! This simple trick will keep it fresh and hygienic.
What you’ll need:
* Toilet bowl cleaner (your regular brand)
Step-by-step instructions:
1. Fill the toilet brush holder: After cleaning your toilet, pour a small amount of toilet bowl cleaner into the bottom of the toilet brush holder.
2. Place the brush in the holder: Place the toilet brush back into the holder. The cleaner will help to disinfect the brush and keep it smelling fresh.
3. Change the cleaner regularly: Change the toilet bowl cleaner in the holder every few weeks to maintain its effectiveness.
Hack 8: Preventing Mildew with Proper Ventilation
This isn’t exactly a cleaning hack, but it’s crucial for preventing mildew growth in your bathroom.
What you’ll need:
* Your bathroom fan or an open window
Step-by-step instructions:
1. Run the fan or open a window: After showering or bathing, always run your bathroom fan or open a window to ventilate the room. This helps to remove excess moisture, which is a breeding ground for mildew.
2. Keep the door open: If possible, leave the bathroom door open after showering to allow for even better ventilation.
Hack 9: DIY Disinfecting Wipes
Create your own disinfecting wipes for quick cleanups.
What you’ll need:
* Paper towels (strong and absorbent)
* Container with a lid (like an old wipes container)
*
Conclusion
So, there you have it! These simple yet incredibly effective bathroom cleaning hacks are your secret weapon against grime, mildew, and the general chaos that can sometimes take over this essential space. We’ve covered everything from tackling stubborn hard water stains with readily available household ingredients to creating a sparkling shine on your shower doors without harsh chemicals. The beauty of these DIY solutions lies not only in their effectiveness but also in their affordability and eco-friendliness. You’re not just cleaning; you’re contributing to a healthier home and a more sustainable lifestyle.
But why are these bathroom cleaning hacks a must-try? Because they genuinely work! They save you time, money, and the frustration of battling persistent bathroom messes with ineffective commercial cleaners. Imagine stepping into a bathroom that smells fresh, looks immaculate, and feels genuinely clean – all achieved with minimal effort and maximum impact. That’s the power of these hacks.
Don’t be afraid to experiment and adapt these techniques to suit your specific needs and preferences. For instance, if you’re dealing with particularly stubborn mildew, consider adding a few drops of tea tree oil to your cleaning solution for its potent antifungal properties. If you prefer a different scent, swap out the lemon juice for orange or grapefruit – the citrus oils will still work wonders. For those with sensitive skin, always wear gloves when handling cleaning solutions, even natural ones.
Consider these variations:
* Vinegar Infusion: Infuse your vinegar with citrus peels for a more pleasant scent and added cleaning power. Simply soak citrus peels in vinegar for a week or two before using.
* Baking Soda Paste Power-Up: For extra scrubbing power, mix baking soda with a small amount of hydrogen peroxide to create a thick paste. This is excellent for grout and tough stains.
* Essential Oil Boost: Add a few drops of your favorite essential oils (like lavender, eucalyptus, or peppermint) to your cleaning solutions for a refreshing and aromatherapy-infused cleaning experience.
We truly believe that these bathroom cleaning hacks will revolutionize your cleaning routine. They’re not just about making your bathroom look good; they’re about creating a healthier, more enjoyable space for you and your family.
Now, it’s your turn! We wholeheartedly encourage you to try these DIY tricks and experience the difference for yourself. We’re confident that you’ll be amazed by the results. And most importantly, we want to hear about your experiences! Share your before-and-after photos, your favorite variations, and any tips or tricks you’ve discovered along the way. Let’s create a community of clean bathroom enthusiasts, all armed with the knowledge and tools to conquer bathroom grime once and for all. Share your stories on social media using relevant hashtags and tag us so we can see your sparkling transformations! Let’s make bathroom cleaning less of a chore and more of a satisfying accomplishment.
Frequently Asked Questions (FAQ)
Q: Are these bathroom cleaning hacks safe for all bathroom surfaces?
A: Generally, yes, these hacks are safe for most common bathroom surfaces like tile, porcelain, glass, and stainless steel. However, it’s always a good idea to test any cleaning solution in an inconspicuous area first, especially on delicate surfaces like natural stone (marble, granite) or painted surfaces. Vinegar, in particular, can etch some natural stone if left on for too long. For natural stone, consider using a pH-neutral cleaner specifically designed for those surfaces. When in doubt, consult the manufacturer’s recommendations for your specific bathroom fixtures and materials. Avoid using abrasive scrubbers on easily scratched surfaces.
Q: How often should I use these bathroom cleaning hacks?
A: The frequency of cleaning depends on how often your bathroom is used and how quickly it gets dirty. For general maintenance, a weekly cleaning using these hacks should be sufficient to keep your bathroom sparkling. However, high-traffic bathrooms or those prone to mildew may require more frequent attention. Spot cleaning spills and messes as they occur will also help prevent buildup and make your weekly cleaning easier. Pay special attention to areas prone to moisture, such as the shower and around the sink.
Q: Can I use these bathroom cleaning hacks if I have sensitive skin or allergies?
A: While these hacks primarily use natural ingredients, it’s still important to exercise caution if you have sensitive skin or allergies. Always wear gloves when handling cleaning solutions, even natural ones. If you’re concerned about a specific ingredient, such as vinegar or lemon juice, test a small amount on your skin before using it extensively. You can also substitute ingredients based on your sensitivities. For example, if you’re allergic to citrus, you can use a different acid like cream of tartar or a mild soap solution. Consider using fragrance-free or hypoallergenic options whenever possible.
Q: What’s the best way to prevent mildew from forming in my bathroom?
A: Preventing mildew is key to maintaining a clean and healthy bathroom. The most important factor is ventilation. Always run the exhaust fan during and after showering or bathing to remove excess moisture. If you don’t have an exhaust fan, open a window to allow air to circulate. Regularly wipe down wet surfaces, such as shower walls and doors, with a clean cloth or squeegee after each use. Consider using a dehumidifier in your bathroom, especially if you live in a humid climate. Address any leaks or plumbing issues promptly to prevent water damage and mildew growth. You can also spray a diluted vinegar solution on shower walls and doors after each use to inhibit mildew growth.
Q: Are these bathroom cleaning hacks environmentally friendly?
A: Yes, these bathroom cleaning hacks are generally more environmentally friendly than using commercial cleaners. They rely on natural ingredients like vinegar, baking soda, and lemon juice, which are biodegradable and less harmful to the environment than harsh chemicals. By making your own cleaning solutions, you also reduce plastic waste from disposable bottles. However, it’s important to use these ingredients responsibly and avoid excessive amounts. Always dispose of cleaning solutions properly and avoid pouring them down drains if possible. Consider using reusable spray bottles and cloths to further reduce your environmental impact.
Q: Can I use these hacks to clean other areas of my home?
A: Many of these bathroom cleaning hacks can be adapted for use in other areas of your home. For example, vinegar and baking soda are effective for cleaning kitchen surfaces, appliances, and even laundry. Lemon juice can be used to brighten and deodorize various items. However, it’s important to consider the specific surfaces and materials you’re cleaning and adjust the solutions accordingly. Always test any cleaning solution in an inconspicuous area first to ensure it doesn’t damage the surface. Research specific cleaning recommendations for different materials before applying any DIY solution.


Leave a Comment