

Grow pointed cabbage at home? Absolutely! Imagine stepping into your backyard and harvesting fresh, crisp pointed cabbage, ready to be transformed into a delicious slaw or a hearty stir-fry. It’s not just a dream; it’s an achievable reality with a few simple tricks and DIY hacks. For centuries, cabbage has been a staple in diets around the world, symbolizing prosperity and good health. From the humble peasant’s garden to the grandest estates, cabbage has nourished families and communities.
But let’s be honest, sometimes growing your own vegetables can feel a bit daunting. That’s where these DIY tricks come in! I’m here to share some easy-to-follow tips that will help you grow pointed cabbage at home successfully, even if you’re a complete beginner. We’ll cover everything from choosing the right seeds and preparing your soil to protecting your precious plants from pests and diseases. Why spend money on store-bought cabbage when you can enjoy the satisfaction of growing your own, knowing exactly where it came from and how it was nurtured? Let’s get our hands dirty and start growing!
Growing Pointed Cabbage at Home: A Beginner’s Guide
Hey there, fellow gardening enthusiasts! Ever thought about growing your own pointed cabbage? It’s easier than you might think, and the taste of homegrown veggies is just unbeatable. I’ve been growing pointed cabbage in my backyard for a few years now, and I’m excited to share my tips and tricks with you. Let’s dive in!
Choosing the Right Variety
First things first, let’s talk about varieties. Pointed cabbage comes in a few different types, each with its own characteristics. Some are earlier maturing, while others are more resistant to certain pests or diseases. Here are a few popular choices:
* ‘Hispi’: This is a classic, early-maturing variety known for its sweet flavor and compact size. It’s a great choice for smaller gardens.
* ‘Caraflex’: Another early variety, ‘Caraflex’ is known for its uniform, pointed heads and good disease resistance.
* ‘Sweet Point’: As the name suggests, this variety is prized for its exceptionally sweet and tender leaves. It’s a bit later maturing than ‘Hispi’ or ‘Caraflex’.
* ‘Duncan’: A slightly larger variety, ‘Duncan’ is known for its good storage qualities.
I personally love ‘Hispi’ because it’s reliable and matures quickly, but feel free to experiment and find the variety that works best for you and your climate.
Getting Started: Seeds or Seedlings?
You have two main options for starting your pointed cabbage: seeds or seedlings.
* Seeds: Starting from seed gives you more control over the entire process and allows you to choose from a wider range of varieties. However, it requires a bit more time and effort.
* Seedlings: Buying seedlings from a nursery is a quicker and easier option, especially if you’re short on time or space. Just make sure to choose healthy-looking seedlings with strong stems and vibrant green leaves.
I usually start my pointed cabbage from seed indoors, about 6-8 weeks before the last expected frost. This gives them a head start and ensures a good harvest.
Sowing Seeds Indoors (My Preferred Method)
Here’s how I sow my pointed cabbage seeds indoors:
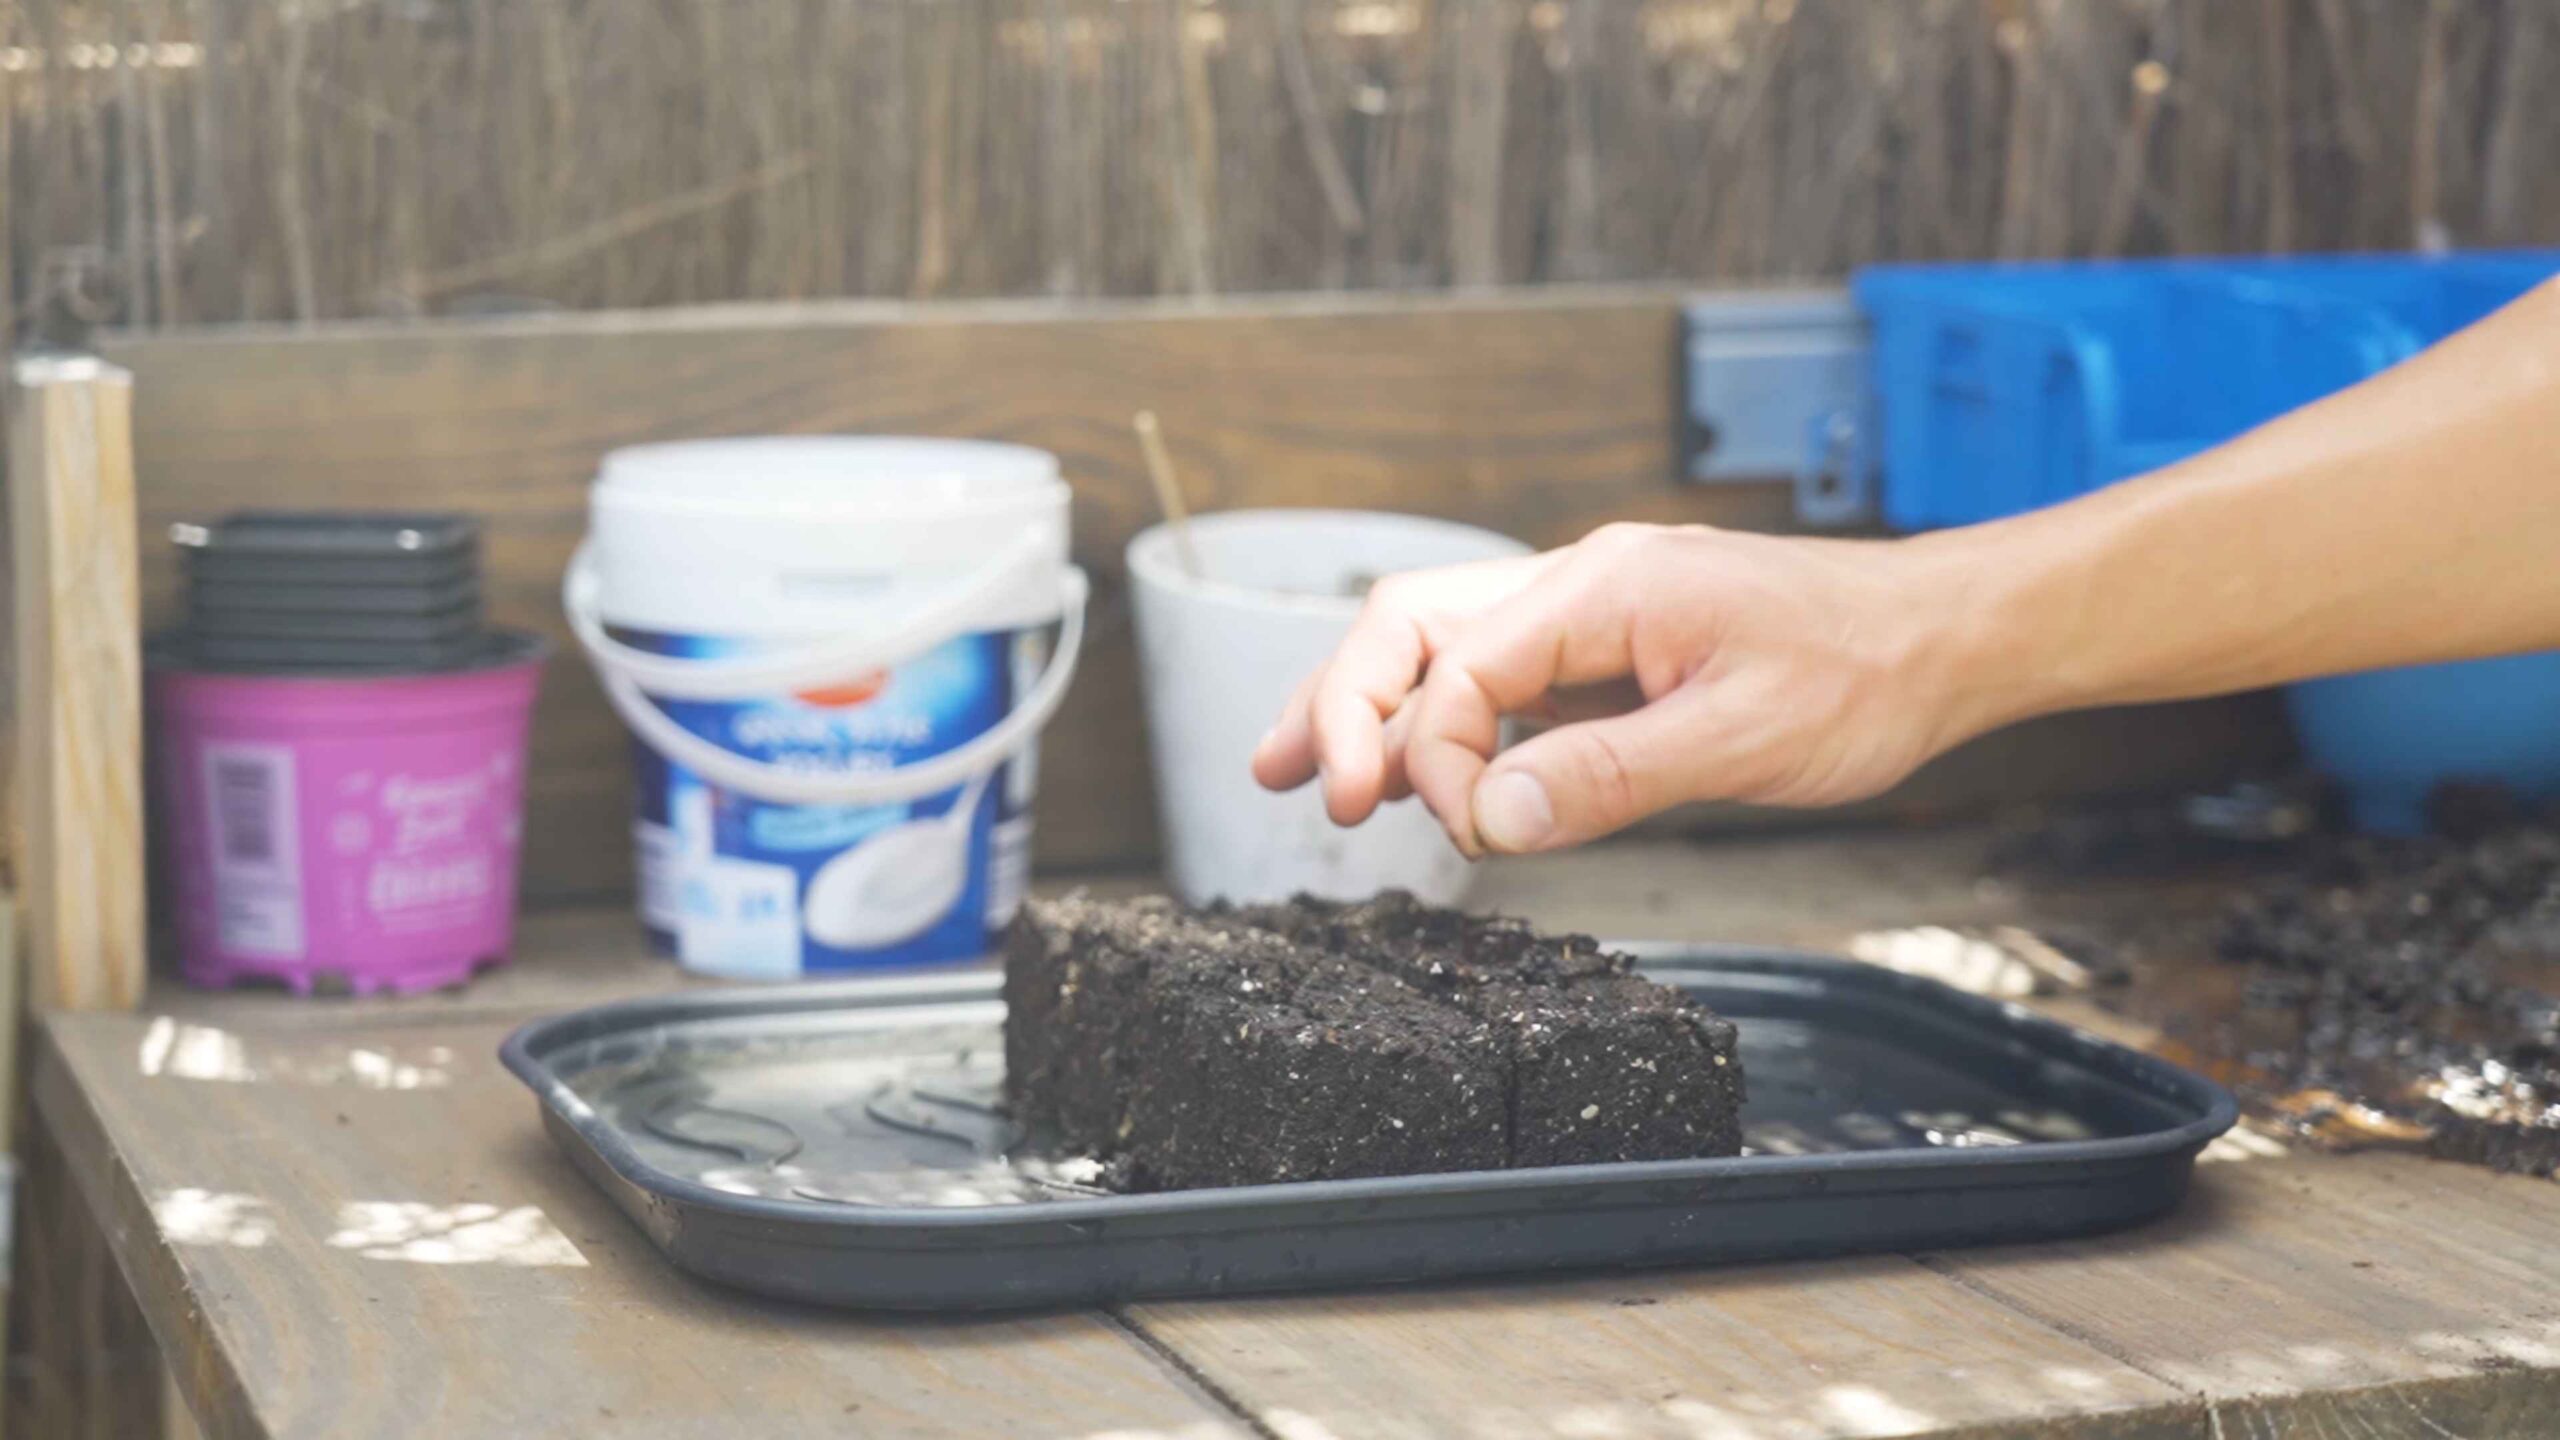
1. Gather Your Supplies: You’ll need seed trays or small pots, seed-starting mix, a spray bottle, and your chosen pointed cabbage seeds. I like to use peat pots because they’re biodegradable and can be planted directly into the ground, minimizing transplant shock.
2. Prepare the Seed-Starting Mix: Moisten the seed-starting mix with water until it’s damp but not soggy.
3. Sow the Seeds: Fill the seed trays or pots with the moistened mix. Sow the seeds about 1/4 inch deep, spacing them about an inch apart. If you’re using individual pots, sow 2-3 seeds per pot.
4. Cover and Water: Gently cover the seeds with a thin layer of seed-starting mix. Water lightly with a spray bottle to avoid disturbing the seeds.
5. Provide Warmth and Light: Place the seed trays or pots in a warm location, ideally around 70-75°F (21-24°C). A heat mat can be helpful if your home is cool. Once the seedlings emerge, move them to a bright location with plenty of sunlight. If you don’t have enough natural light, you can use grow lights.
6. Keep the Soil Moist: Water the seedlings regularly, keeping the soil consistently moist but not waterlogged.
7. Thin the Seedlings: Once the seedlings have developed their first true leaves (the leaves that appear after the initial seed leaves), thin them out, leaving only the strongest seedling in each pot or spacing them a few inches apart in the seed tray.
Hardening Off the Seedlings
Before transplanting your seedlings outdoors, it’s important to “harden them off.” This process gradually acclimates them to outdoor conditions, reducing the risk of shock.
1. Start Gradually: Begin by placing the seedlings outdoors in a sheltered location for a few hours each day.
2. Increase Exposure: Gradually increase the amount of time they spend outdoors each day, exposing them to more sunlight and wind.
3. Monitor the Weather: Protect the seedlings from extreme weather conditions, such as frost or strong winds.
4. After a Week or Two: After a week or two of hardening off, the seedlings should be ready to be transplanted into the garden.
Preparing the Garden Bed
Pointed cabbage thrives in well-drained soil that is rich in organic matter. Here’s how I prepare my garden bed:
1. Choose a Sunny Location: Pointed cabbage needs at least 6 hours of sunlight per day.
2. Amend the Soil: Dig in plenty of compost or well-rotted manure to improve soil fertility and drainage. I usually add a generous layer of compost, about 2-3 inches thick.
3. Check the Soil pH: Pointed cabbage prefers a slightly acidic to neutral soil pH, around 6.0-7.0. You can test your soil pH using a soil testing kit. If your soil is too acidic, you can add lime to raise the pH.
4. Remove Weeds: Clear the garden bed of any weeds or debris.
Transplanting the Seedlings
Now comes the exciting part – transplanting your seedlings into the garden!
1. Choose the Right Time: Transplant the seedlings on a cool, cloudy day to minimize stress.
2. Space the Seedlings: Space the seedlings about 12-18 inches apart in rows that are 24-36 inches apart. This gives them enough room to grow and mature.
3. Dig the Holes: Dig holes that are slightly larger than the root balls of the seedlings.
4. Gently Remove the Seedlings: Carefully remove the seedlings from their pots or seed trays, being careful not to damage the roots. If you used peat pots, you can plant them directly into the ground.
5. Plant the Seedlings: Place the seedlings in the holes and gently backfill with soil. Make sure the top of the root ball is level with the surrounding soil.
6. Water Thoroughly: Water the seedlings thoroughly after planting.
Caring for Your Pointed Cabbage
Once your pointed cabbage is planted, it’s important to provide proper care to ensure a healthy and abundant harvest.
* Watering: Water regularly, especially during dry periods. Pointed cabbage needs consistent moisture to thrive. Aim for about 1 inch of water per week.
* Fertilizing: Fertilize every few weeks with a balanced fertilizer. I like to use a liquid fertilizer diluted to half strength.
* Weeding: Keep the garden bed free of weeds, which can compete with the cabbage for nutrients and water.
* Pest Control: Keep an eye out for pests, such as cabbage worms, aphids, and slugs. I use a combination of organic pest control methods, such as handpicking pests, using insecticidal soap, and applying diatomaceous earth.
* Mulching: Apply a layer of mulch around the plants to help retain moisture, suppress weeds, and regulate soil temperature. I use straw or shredded leaves as mulch.
Dealing with Common Pests and Diseases
Pointed cabbage can be susceptible to a few common pests and diseases. Here’s how I deal with them:
* Cabbage Worms: These green caterpillars can quickly devour cabbage leaves. I handpick them off the plants whenever I see them. You can also use Bacillus thuringiensis (Bt), a natural bacterium that is effective against cabbage worms.
* Aphids: These tiny insects suck sap from the leaves, causing them to curl and distort. I spray them off with a strong stream of water or use insecticidal soap.
* Slugs: Slugs can damage cabbage leaves, especially young seedlings. I use slug bait or traps to control them.
* Clubroot: This fungal disease causes the roots to swell and distort, stunting the growth of the plant. To prevent clubroot, make sure to plant your cabbage in well-drained soil and rotate your crops regularly. If you suspect clubroot, remove the affected plants and dispose of them properly.
Harvesting Your Pointed Cabbage
The moment you’ve been waiting for! Pointed cabbage is typically ready to harvest about 60-80 days after transplanting, depending on the variety.
1. Check for Firmness: The head should be firm and compact.
2. Cut the Head: Use a sharp knife to cut the head from the plant, leaving a few outer leaves intact.
3. Enjoy Your Harvest: Enjoy your homegrown pointed cabbage in salads, slaws, stir-fries, or any other dish you like!
Extending the Harvest
To extend your harvest, you can plant multiple successions of pointed cabbage, sowing seeds every few weeks.
Conclusion
So, there you have it! Growing your own pointed cabbage at home isn’t just a whimsical gardening project; it’s a gateway to fresher, more flavorful meals and a deeper connection with the food you eat. We’ve walked through the process, from seed to harvest, highlighting the key steps and offering tips to ensure your success.
Why is this DIY trick a must-try? Because store-bought pointed cabbage simply can’t compare to the vibrant taste and satisfying crunch of a head you’ve nurtured yourself. You control the growing conditions, ensuring it’s free from unwanted pesticides and packed with nutrients. Plus, there’s an undeniable sense of accomplishment that comes with harvesting your own vegetables. Imagine the pride you’ll feel serving a salad featuring your homegrown pointed cabbage, knowing you cultivated it from a tiny seed.
But the benefits extend beyond taste and satisfaction. Growing your own food is a sustainable practice that reduces your carbon footprint and promotes a healthier lifestyle. It’s a fantastic way to get outdoors, connect with nature, and learn about the fascinating world of plant life. And let’s not forget the cost savings! Over time, growing your own pointed cabbage can significantly reduce your grocery bill.
Looking for variations? Experiment with different varieties of pointed cabbage to discover your favorite flavor profile. Some are sweeter, while others have a more peppery bite. You can also try companion planting to enhance growth and deter pests. Marigolds, for example, are known to repel cabbage moths, while dill attracts beneficial insects that prey on aphids. Consider interplanting your pointed cabbage with other cool-season crops like lettuce, spinach, or radishes to maximize your garden space.
Another exciting variation is to explore different ways to prepare your homegrown pointed cabbage. While it’s delicious raw in salads and slaws, it’s also fantastic cooked. Try grilling it for a smoky flavor, stir-frying it with garlic and ginger, or using it as a filling for dumplings or spring rolls. The possibilities are endless!
We wholeheartedly encourage you to give this DIY trick a try. Don’t be intimidated if you’re a beginner gardener. Pointed cabbage is relatively easy to grow, and with a little patience and care, you’ll be rewarded with a bountiful harvest. Start small, perhaps with just a few plants, and gradually expand your garden as you gain confidence.
Most importantly, we want to hear about your experience! Share your photos, tips, and challenges in the comments below. Let’s create a community of pointed cabbage enthusiasts and learn from each other. What variety did you grow? What challenges did you face, and how did you overcome them? What’s your favorite way to prepare your homegrown pointed cabbage? Your insights will be invaluable to other readers who are just starting out.
So, grab your seeds, prepare your soil, and get ready to embark on a rewarding gardening adventure. Growing your own pointed cabbage is a simple yet profound way to connect with nature, nourish your body, and enhance your culinary creations. Happy gardening!
FAQ
What exactly is pointed cabbage and why should I grow it instead of regular cabbage?
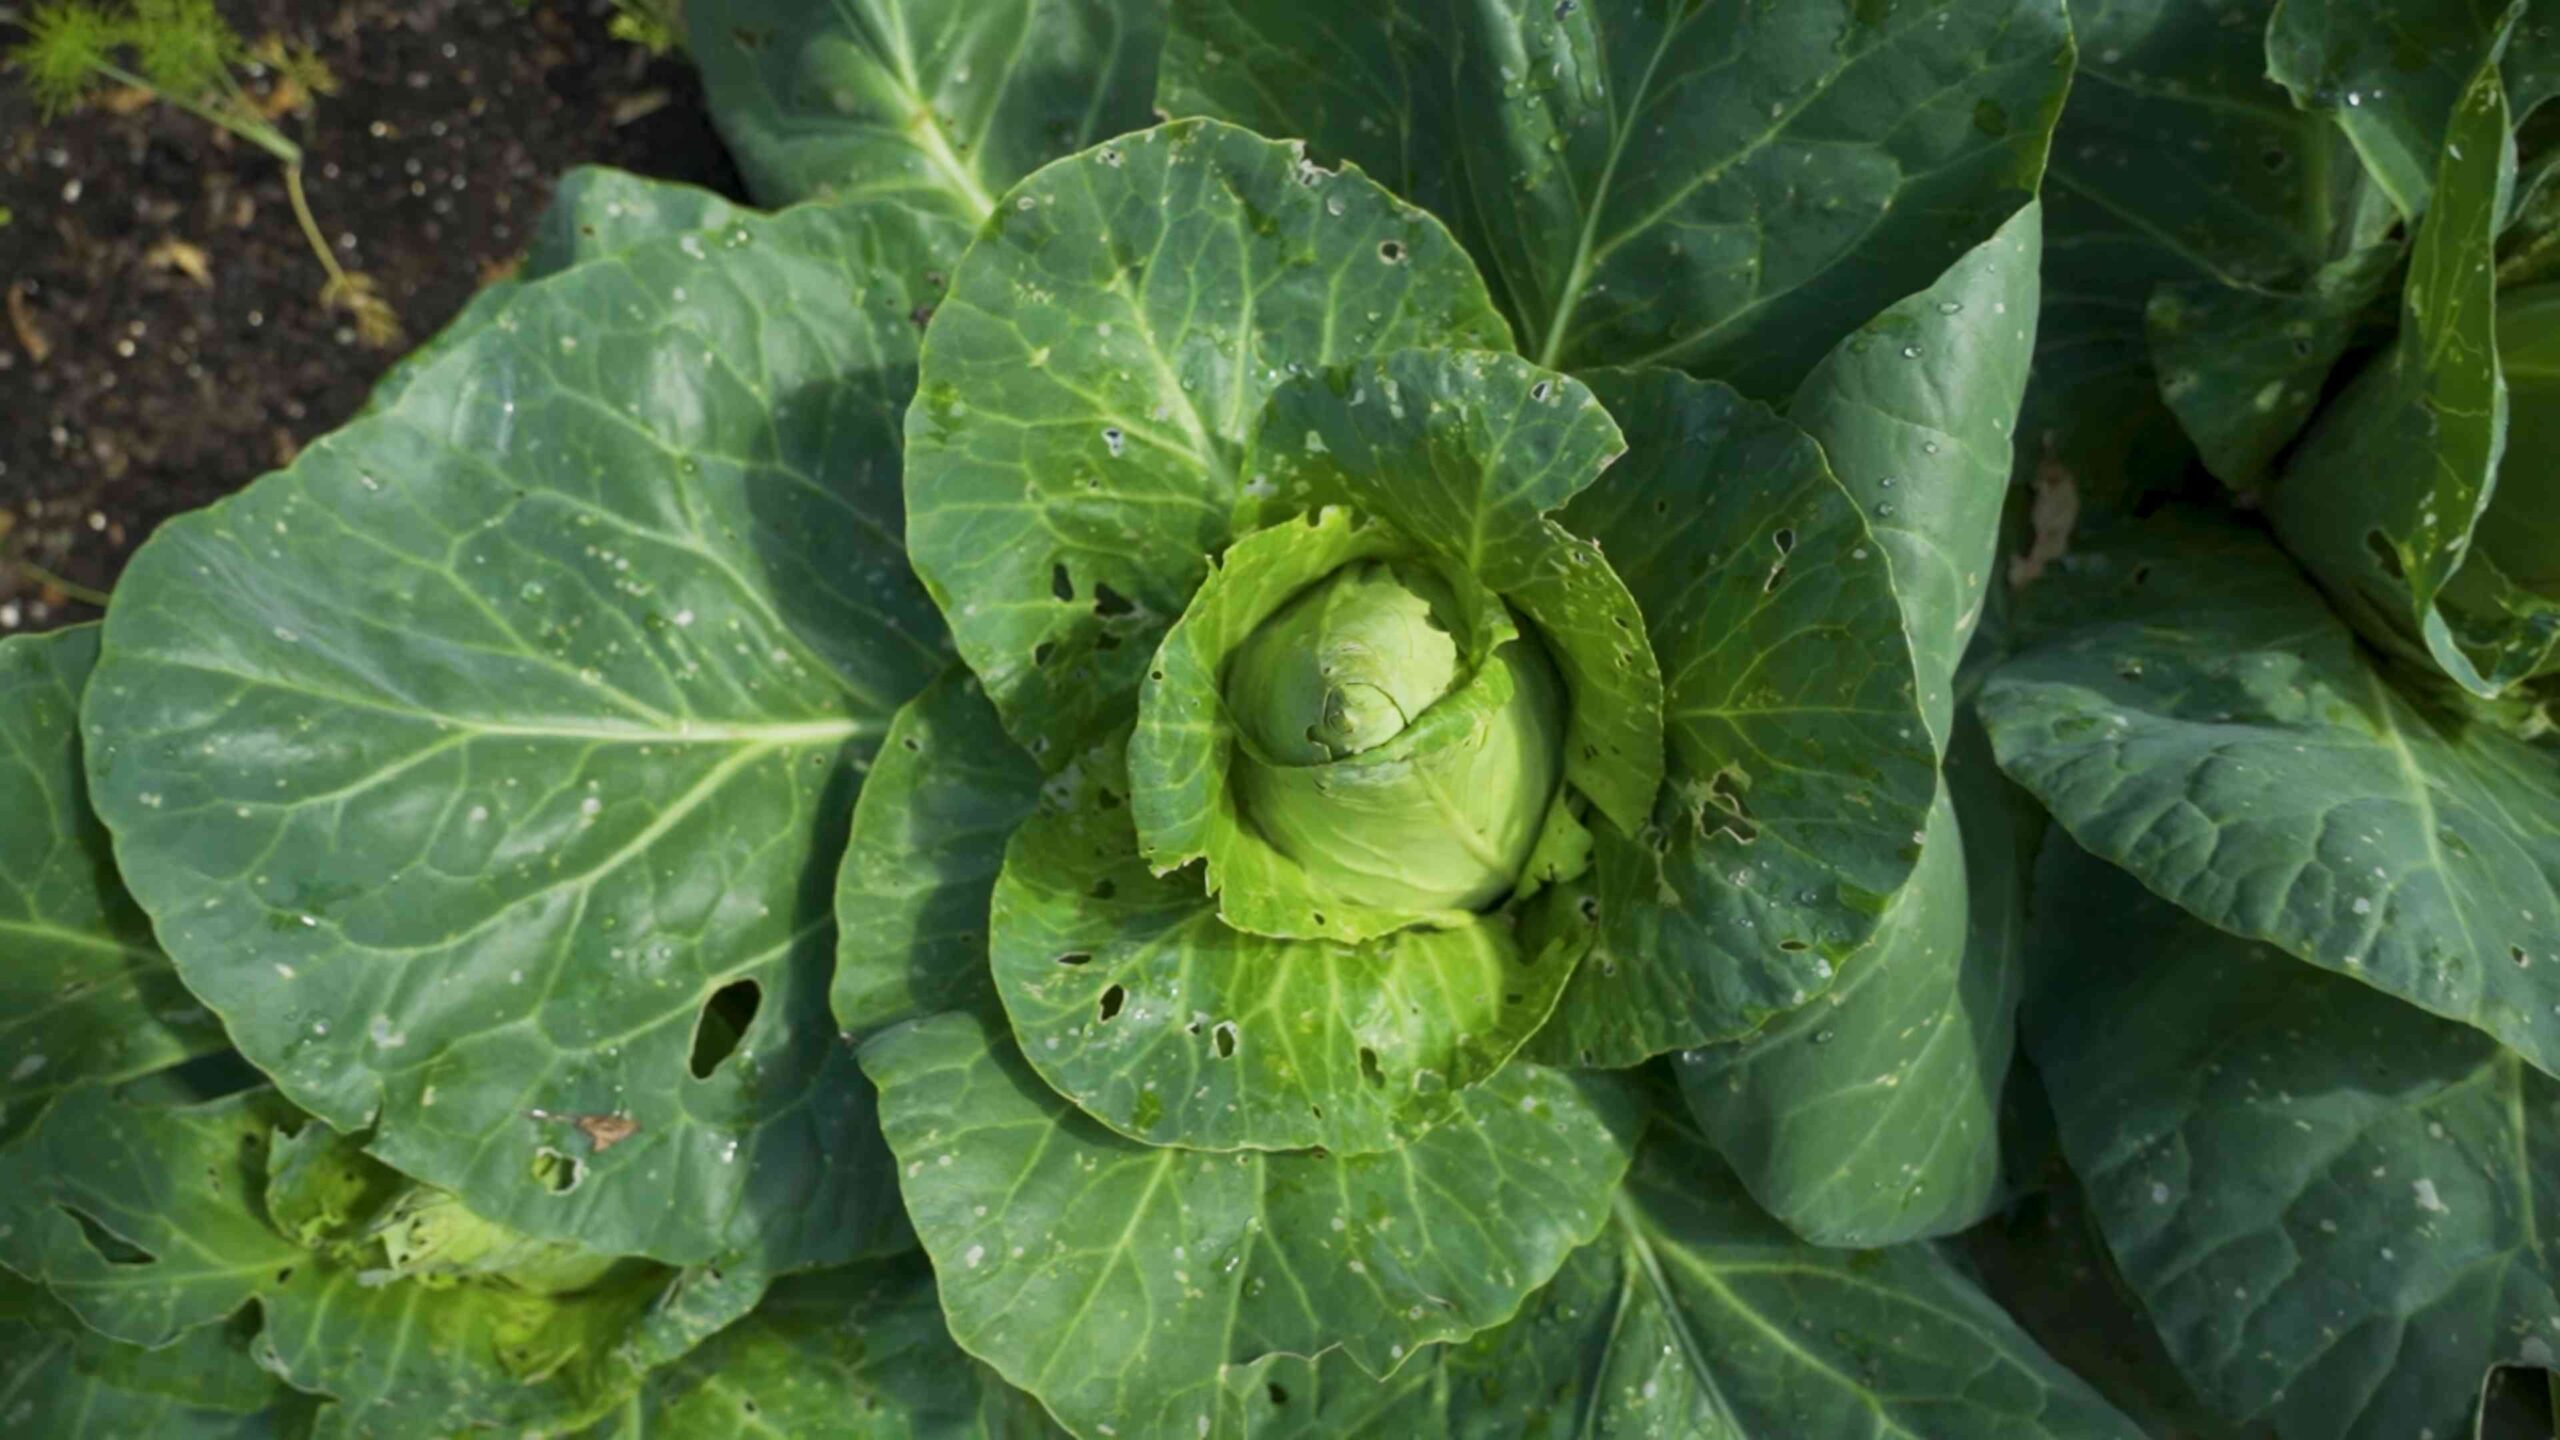
Pointed cabbage, also known as sweetheart cabbage or hispi cabbage, is a variety of cabbage characterized by its conical or pointed shape. Unlike round cabbages, pointed cabbage has a looser head and a sweeter, more delicate flavor. The leaves are also more tender, making it ideal for salads, slaws, and quick cooking methods. Many gardeners find it easier to grow than round cabbage, and it matures more quickly. The sweeter flavor is a big draw for those who find regular cabbage too strong.
How much space do I need to grow pointed cabbage?
Pointed cabbage plants typically require about 12-18 inches of space between each other. This allows them enough room to develop their heads without overcrowding. If you’re planting in rows, space the rows about 24-36 inches apart. Consider the mature size of the specific variety you’re growing, as some may require slightly more space. You can also grow them in large containers, ensuring each plant has its own pot that is at least 12 inches in diameter.
What kind of soil is best for growing pointed cabbage?
Pointed cabbage thrives in well-drained, fertile soil that is rich in organic matter. The ideal soil pH is between 6.0 and 7.0. Before planting, amend your soil with compost or well-rotted manure to improve its structure and fertility. If your soil is heavy clay, consider adding sand or perlite to improve drainage. A soil test can help you determine if your soil is lacking any essential nutrients.
How often should I water my pointed cabbage plants?
Pointed cabbage requires consistent moisture, especially during hot weather. Water deeply whenever the top inch of soil feels dry to the touch. Avoid overhead watering, as this can promote fungal diseases. Instead, water at the base of the plants. Mulching around the plants can help retain moisture and suppress weeds. Aim for about 1-1.5 inches of water per week, either through rainfall or irrigation.
What are some common pests and diseases that affect pointed cabbage, and how can I prevent them?
Common pests of pointed cabbage include cabbage moths, cabbage loopers, aphids, and slugs. To prevent pest infestations, consider using row covers to protect your plants. Handpick any pests you see, and use organic pest control methods such as insecticidal soap or neem oil. Diseases that can affect pointed cabbage include clubroot, black rot, and downy mildew. To prevent diseases, ensure good air circulation around your plants, avoid overhead watering, and practice crop rotation. Choose disease-resistant varieties whenever possible.
How long does it take for pointed cabbage to mature?
Pointed cabbage typically matures in 60-80 days from transplanting. The exact time will depend on the variety and growing conditions. You’ll know your pointed cabbage is ready to harvest when the head is firm and compact. Check the seed packet or plant tag for specific maturity dates.
Can I grow pointed cabbage in containers?
Yes, pointed cabbage can be successfully grown in containers. Choose a large container that is at least 12 inches in diameter and has drainage holes. Use a high-quality potting mix that is well-draining and rich in organic matter. Water regularly and fertilize every few weeks with a balanced fertilizer. Place the container in a sunny location that receives at least 6 hours of sunlight per day.
What are some good companion plants for pointed cabbage?
Good companion plants for pointed cabbage include marigolds, dill, thyme, rosemary, and nasturtiums. Marigolds repel cabbage moths, while dill attracts beneficial insects that prey on aphids. Thyme and rosemary deter cabbage white butterflies. Nasturtiums attract aphids away from your cabbage plants. Interplanting with these herbs and flowers can help protect your pointed cabbage from pests and diseases.
How do I harvest pointed cabbage?
To harvest pointed cabbage, use a sharp knife to cut the head from the stem at the base of the plant. Leave a few outer leaves intact to protect the cut surface. Harvest when the head is firm and compact. You can store harvested pointed cabbage in the refrigerator for up to a week.
Can I grow pointed cabbage in the fall or winter?
Yes, pointed cabbage is a cool-season crop that can be grown in the fall or winter in many regions. Start seeds indoors in late summer or early fall and transplant them outdoors a few weeks before the first frost. Protect your plants from frost with row covers or blankets. Pointed cabbage can tolerate light frosts, but prolonged freezing temperatures can damage the heads.


Leave a Comment