

Quick cleaning tips are a lifesaver, aren’t they? I know I’m always on the lookout for ways to make my cleaning routine faster and more efficient. Let’s be honest, nobody wants to spend their entire weekend scrubbing! From tackling stubborn stains to making your home sparkle in minutes, these DIY cleaning hacks are about to become your new best friends.
Cleaning, in its essence, is as old as civilization itself. Ancient cultures valued cleanliness not just for hygiene but also for spiritual purity. While they might not have had our modern cleaning products, they certainly had their own ingenious methods using natural ingredients like vinegar, baking soda, and essential oils – many of which we still use today! It’s amazing how these time-tested solutions continue to be effective.
In today’s fast-paced world, time is precious. That’s why mastering quick cleaning tips is essential. Imagine spending less time cleaning and more time doing the things you love – whether it’s relaxing with a good book, spending time with family, or pursuing your hobbies. These DIY tricks will not only save you time and energy but also help you maintain a clean and healthy home environment without breaking the bank. So, let’s dive in and discover some amazing cleaning hacks that will transform your cleaning routine!
DIY Speed Cleaning Hacks: Conquer Your Home in Under an Hour!
Okay, let’s be honest, nobody *really* enjoys cleaning. But sometimes, life gets hectic, and your house starts looking like a tornado went through it. Don’t panic! I’m going to share my favorite speed cleaning hacks that will help you whip your home into shape in under an hour. These aren’t about deep cleaning; they’re about making your space presentable and feeling less stressed.
The Pre-Game: Gathering Your Supplies
Before you even think about picking up a duster, you need to get your cleaning arsenal ready. Trust me, this will save you tons of time running back and forth later.
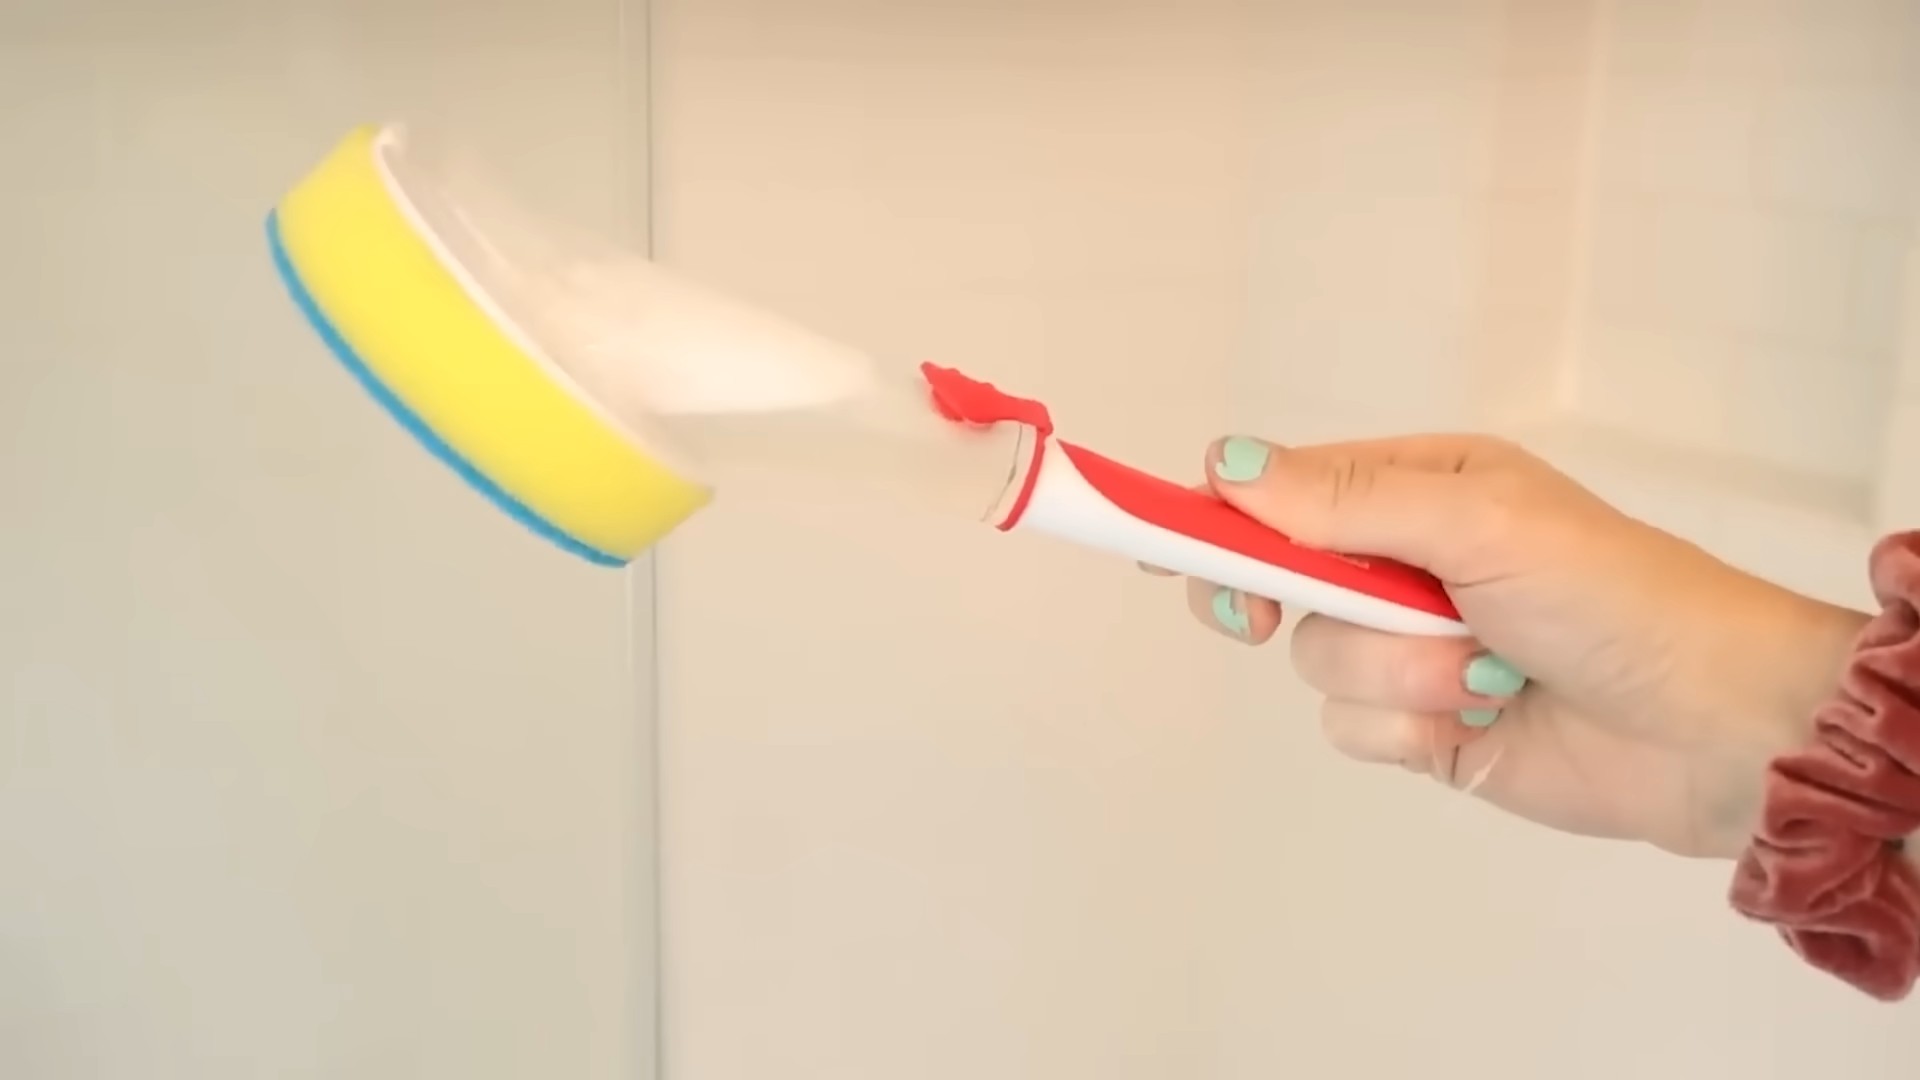
* Your trusty cleaning caddy: This is your best friend. Load it up with everything you’ll need.
* Microfiber cloths: These are amazing for dusting, wiping surfaces, and even cleaning mirrors.
* All-purpose cleaner: Choose your favorite scent!
* Glass cleaner: For sparkling windows and mirrors.
* Toilet bowl cleaner: Because, well, you know.
* Disinfectant wipes: Perfect for quick wipe-downs in the kitchen and bathroom.
* A vacuum cleaner or broom: Depending on your flooring.
* A trash bag: For collecting all the clutter.
* Rubber gloves: Protect those hands!
* Timer: This is crucial for staying on track.
Phase 1: The Power Hour Blitz (30 Minutes)
This is where we tackle the biggest problem areas and get the most visible results. Set your timer for 30 minutes and let’s go!
1. Declutter Like a Pro: Grab your trash bag and walk through each room, quickly picking up any obvious trash, stray papers, or items that don’t belong. Don’t overthink it! Just toss it or put it in a designated “to-sort” pile. I usually start in the living room, then move to the kitchen, bedrooms, and finally the bathrooms.
2. Surface Sweep: Now, grab your all-purpose cleaner and microfiber cloth. Quickly wipe down all the major surfaces: countertops, tables, desks, and any other flat surfaces that are collecting dust or grime. Don’t spend too much time scrubbing; just aim for a quick clean.
3. Bathroom Break (Quick Clean Edition): Head to the bathroom and give the toilet a quick scrub with toilet bowl cleaner. Spray some all-purpose cleaner on the sink and countertop and wipe it down. Use a glass cleaner on the mirror for a streak-free shine. Finally, use a disinfectant wipe to clean the toilet seat and handle.
4. Kitchen Chaos Control: In the kitchen, focus on the sink and countertops. Clear away any dirty dishes (load them into the dishwasher or quickly wash them if you don’t have one). Wipe down the stovetop and microwave (inside and out) with your all-purpose cleaner.
5. Floor Focus: Quickly vacuum or sweep the floors in the high-traffic areas. Don’t worry about getting into every nook and cranny; just focus on removing the visible dirt and debris.
Phase 2: The Detail Dive (20 Minutes)
Now that we’ve tackled the big stuff, let’s focus on the details that make a difference. Set your timer for another 20 minutes.
1. Dusting Dash: Grab your microfiber cloth and quickly dust any shelves, picture frames, or other decorative items. Pay special attention to areas that tend to collect dust, like window sills and baseboards.
2. Mirror Magic: Use your glass cleaner to give all the mirrors in your home a quick shine. This will instantly brighten up the space.
3. Spot Check: Walk through each room and look for any obvious spots or stains that you missed during the initial sweep. Use your all-purpose cleaner or a stain remover to tackle them.
4. Make the Beds: A made bed instantly makes a room look cleaner and more organized. Take a few minutes to straighten the sheets and fluff the pillows.
5. Final Floor Flick: Do a quick spot clean of the floors, focusing on any areas that you missed during the initial vacuuming or sweeping.
Phase 3: The Finishing Touches (10 Minutes)
Almost there! These final touches will make your home feel fresh and inviting. Set your timer for the last 10 minutes.
1. Air Freshener Frenzy: Spritz some air freshener in each room to eliminate any lingering odors.
2. Tidy Up Textiles: Straighten any throw pillows or blankets on the sofa or chairs. Fold any laundry that’s lying around.
3. Light it Up: Turn on all the lights to make your home feel bright and welcoming.
4. Quick Kitchen Reset: Wipe down the kitchen sink one last time and make sure all dishes are put away.
5. Take a Breather: You did it! Take a deep breath and enjoy your (relatively) clean home.
Bonus Tips for Speed Cleaning Success
* Music Motivation: Put on some upbeat music to keep you energized and motivated.
* Open the Windows: Fresh air can make a huge difference in how clean your home feels.
* Don’t Get Distracted: Resist the urge to check your phone or get sidetracked by other tasks.
* Enlist Help: If you have family members, ask them to pitch in! Even a little bit of help can make a big difference.
* Maintain the Momentum: Once you’ve done a speed clean, try to maintain it by doing a little bit of cleaning each day. This will prevent your home from getting too messy in the first place.
Specific Room Hacks
* Living Room: Focus on decluttering the coffee table and arranging the throw pillows. A quick vacuum of the rug can also make a big difference.
* Kitchen: The sink and countertops are key. Make sure they’re clean and clear of clutter.
* Bathroom: A clean toilet and mirror are essential. Don’t forget to wipe down the sink and countertop.
* Bedroom: Making the bed is the most important thing. A quick dusting of the furniture can also help.
Dealing with Common Cleaning Challenges
* Pet Hair: Use a lint roller or a rubber glove to remove pet hair from furniture and carpets.
* Grease Splatters: Use a degreasing cleaner or a mixture of baking soda and water to remove grease splatters from the stovetop and backsplash.
* Hard Water Stains: Use vinegar to remove hard water stains from faucets and showerheads.
* Smelly Garbage Disposal: Run some lemon or lime peels through the garbage disposal to freshen it up.
The Importance of a Cleaning Schedule
While these speed cleaning hacks are great for a quick refresh, it’s also important to have a regular cleaning schedule. This will help you stay on top of things and prevent your home from getting too messy in the first place. I like to break down my cleaning tasks into daily, weekly, and monthly chores.
* Daily: Make the bed, wipe down the kitchen counters, and do a quick sweep of the floors.
* Weekly: Clean the bathrooms, vacuum or mop the floors, and dust the furniture.
* Monthly: Deep clean the kitchen, clean the windows, and wash the curtains.
Why Speed Cleaning Works
Speed cleaning isn’t about perfection; it’s about making your home feel more comfortable and inviting in a short amount of time. It’s a great way to reduce stress and improve your overall well-being. Plus, it’s a lot more manageable than spending an entire day cleaning!
Remember, even a little bit of cleaning is better than nothing. So, don’t be afraid to start small and work your way up. You’ll be surprised at how much you can accomplish in just an hour!

Conclusion
So, there you have it! This simple yet incredibly effective DIY cleaning trick is a game-changer for anyone looking to maintain a sparkling home without breaking the bank or relying on harsh chemicals. It’s more than just a cleaning hack; it’s a sustainable and budget-friendly approach to keeping your living space fresh and inviting. The beauty of this method lies in its versatility and the readily available ingredients – chances are, you already have everything you need in your pantry!
Why is this a must-try? Because it simplifies your cleaning routine, saves you money, and is gentler on the environment. Store-bought cleaners often contain harsh chemicals that can irritate your skin, damage surfaces, and contribute to indoor air pollution. This DIY alternative offers a safer, more natural way to achieve the same, if not better, results. Plus, the satisfaction of creating your own cleaning solution is an added bonus!
But don’t just take our word for it. The real magic happens when you adapt this technique to suit your specific needs and preferences.
Here are a few suggestions and variations to get you started:
* For a stronger disinfectant: Add a few drops of tea tree oil or eucalyptus oil to your solution. These essential oils have natural antibacterial and antiviral properties.
* For extra cleaning power: If you’re tackling particularly stubborn grime, try adding a tablespoon of washing soda (sodium carbonate) to your mixture. Washing soda is a powerful degreaser and can help lift dirt and stains.
* For a pleasant scent: Experiment with different essential oil combinations to create a custom fragrance that you love. Lavender, lemon, and orange are all popular choices for cleaning solutions.
* For delicate surfaces: When cleaning delicate surfaces like wood furniture or natural stone, dilute the solution further with water and test it in an inconspicuous area first.
Remember, the key to success with any DIY cleaning trick is to experiment and find what works best for you. Don’t be afraid to adjust the ratios of ingredients to suit your specific needs and preferences.
We are confident that once you try this DIY cleaning trick, you’ll be amazed by the results. It’s a simple, effective, and affordable way to keep your home clean and healthy. So, ditch the expensive store-bought cleaners and give this a try. You won’t regret it!
Now, we want to hear from you! Have you tried this DIY cleaning trick? What variations did you use? What were your results? Share your experiences, tips, and tricks in the comments below. Let’s create a community of clean-living enthusiasts and help each other discover new and innovative ways to keep our homes sparkling! Your feedback is invaluable and will help others discover the power of this simple yet effective cleaning solution. Let’s revolutionize the way we clean, one DIY trick at a time!
Frequently Asked Questions (FAQs)
What exactly makes this DIY cleaning trick so effective?
The effectiveness of this DIY cleaning trick stems from the synergistic action of its ingredients. Vinegar, for example, is a natural disinfectant and deodorizer, thanks to its acetic acid content. It effectively cuts through grease, grime, and hard water stains. Baking soda, on the other hand, is a mild abrasive that helps to scrub away dirt and debris without scratching surfaces. When combined, these two ingredients create a powerful cleaning solution that is both effective and gentle. The addition of dish soap further enhances the cleaning power by helping to emulsify grease and lift dirt.
Is this DIY cleaning trick safe for all surfaces?
While this DIY cleaning trick is generally safe for most surfaces, it’s always a good idea to test it in an inconspicuous area first, especially on delicate materials like wood furniture, natural stone, or painted surfaces. Avoid using vinegar on marble, granite, or other porous stone surfaces, as it can etch and damage them. Also, be cautious when using it on waxed or oiled wood finishes, as it may strip the finish. When in doubt, dilute the solution further with water or use a different cleaning method altogether.
Can I use different types of vinegar for this DIY cleaning trick?
Yes, you can use different types of vinegar for this DIY cleaning trick, but white vinegar is generally the most effective and readily available option. White vinegar has a higher acidity level than other types of vinegar, making it a more potent cleaner. However, you can also use apple cider vinegar or cleaning vinegar, although they may not be as effective. Avoid using balsamic vinegar or other flavored vinegars, as they may stain surfaces.
How long does the DIY cleaning solution last?
The DIY cleaning solution can last for several weeks when stored in an airtight container in a cool, dark place. However, it’s best to use it within a few weeks to ensure its effectiveness. Over time, the ingredients may start to separate or lose their potency. If you notice any changes in the appearance or smell of the solution, it’s best to discard it and make a fresh batch.
Can I add essential oils to this DIY cleaning trick?
Yes, you can definitely add essential oils to this DIY cleaning trick to enhance its cleaning power and add a pleasant scent. Essential oils like tea tree oil, eucalyptus oil, lavender oil, and lemon oil have natural antibacterial, antiviral, and antifungal properties, making them excellent additions to a cleaning solution. Simply add a few drops of your favorite essential oils to the mixture and shake well before using.
What are some other uses for this DIY cleaning trick?
This DIY cleaning trick is incredibly versatile and can be used for a variety of cleaning tasks around the house. Here are a few other uses:
* Cleaning kitchen counters and sinks: Spray the solution on kitchen counters and sinks and wipe clean with a damp cloth.
* Cleaning bathroom tiles and grout: Spray the solution on bathroom tiles and grout and let it sit for a few minutes before scrubbing with a brush.
* Cleaning windows and mirrors: Spray the solution on windows and mirrors and wipe clean with a microfiber cloth.
* Cleaning floors: Add the solution to a bucket of water and use it to mop your floors.
* Deodorizing garbage disposals: Pour the solution down your garbage disposal and let it sit for a few minutes before running the disposal.
Is this DIY cleaning trick safe for pets and children?
While this DIY cleaning trick is generally safer than store-bought cleaners, it’s still important to take precautions when using it around pets and children. Keep the solution out of reach of children and pets, and avoid spraying it directly on them. If your pet or child accidentally ingests the solution, contact a veterinarian or poison control center immediately.
Can I use this DIY cleaning trick to clean my oven?
Yes, you can use this DIY cleaning trick to clean your oven, but it may require a bit more effort than using a commercial oven cleaner. To clean your oven with this solution, first, remove any loose debris from the oven. Then, make a paste of baking soda and water and spread it all over the inside of the oven, avoiding the heating elements. Let the paste sit overnight. The next day, spray the paste with the vinegar solution and let it fizz for a few minutes. Finally, scrub the oven clean with a sponge or brush and wipe away any remaining residue.
What if I don’t have all the ingredients for this DIY cleaning trick?
If you don’t have all the ingredients for this DIY cleaning trick, you can still make a basic cleaning solution using just vinegar and water. Simply mix equal parts vinegar and water in a spray bottle and use it to clean various surfaces around the house. While this solution may not be as effective as the full recipe, it’s still a great option for light cleaning tasks. You can also substitute lemon juice for vinegar in a pinch.


Leave a Comment