

Quick Cleaning Hacks: Who doesn’t dream of a sparkling clean home without spending their entire weekend scrubbing? I know I do! We’re all juggling busy lives, and the thought of dedicating hours to cleaning can feel overwhelming. But what if I told you there are simple, effective, and, dare I say, fun ways to tackle those chores in a fraction of the time?
The desire for efficient cleaning isn’t new. Throughout history, people have sought out clever shortcuts to maintain their homes. From ancient Roman bathhouses meticulously cleaned by slaves to the Victorian era’s obsession with household order, the quest for a clean and organized living space has always been a part of human culture. Today, we’re armed with modern tools and a wealth of information, allowing us to take those historical cleaning principles and supercharge them with quick cleaning hacks that fit our fast-paced lifestyles.
That’s why I’ve put together this collection of DIY cleaning tricks. These aren’t your grandma’s all-day cleaning routines! We’re talking about smart strategies, clever product uses, and time-saving techniques that will leave your home looking and feeling fresh without sacrificing your precious free time. Get ready to discover how to reclaim your weekends and enjoy a cleaner, happier home with these easy-to-implement solutions. Let’s dive in!
Quick Cleaning Hacks to Reclaim Your Weekend!
Okay, let’s be honest, nobody *loves* cleaning. But a clean home is a happy home, right? And who wants to spend their entire weekend scrubbing? Not me! That’s why I’ve compiled some of my favorite quick cleaning hacks to help you get your place sparkling without sacrificing your precious free time. These are tried and true methods that I use regularly, and I’m excited to share them with you!
Hack 1: The Microwave Miracle
Is your microwave looking like a Jackson Pollock painting gone wrong? Don’t worry, you don’t need harsh chemicals or hours of scrubbing. This hack is a game-changer.
What you’ll need:
* 1 cup of water
* 1 tablespoon of white vinegar or lemon juice
* Microwave-safe bowl
* Sponge or cloth
Step-by-step instructions:
1. Mix it up: Pour the water and vinegar (or lemon juice) into the microwave-safe bowl. I prefer lemon juice because it leaves a nice, fresh scent.
2. Microwave magic: Place the bowl in the microwave and heat on high for 5-7 minutes. You want the water to boil and create steam.
3. Steam clean: Leave the microwave door closed for another 2-3 minutes to allow the steam to loosen all the grime. This is the crucial step!
4. Wipe away: Carefully remove the bowl (it will be hot!). Then, use a sponge or cloth to easily wipe away all the loosened food splatters. You’ll be amazed at how easily it comes off!
5. Final touch: For any stubborn spots, you might need a little extra elbow grease, but most of the work is already done.
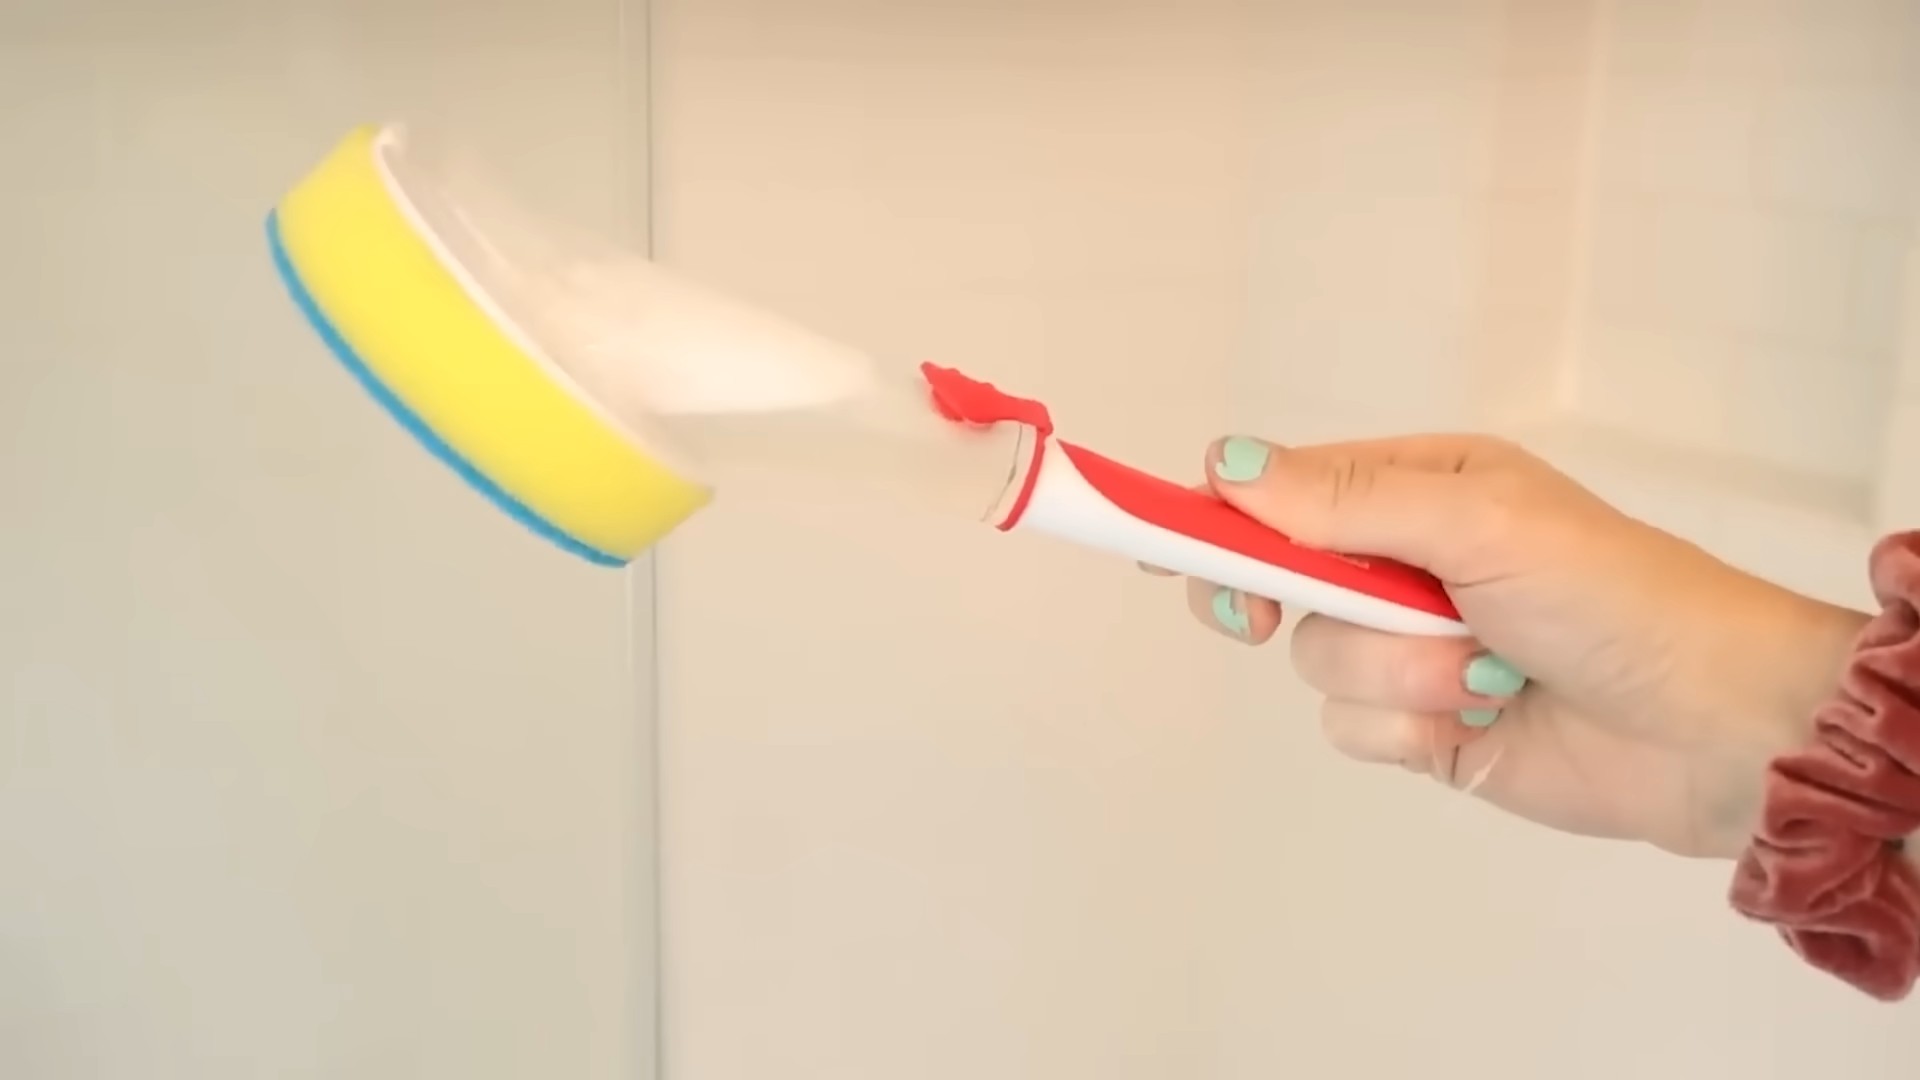
Hack 2: Sparkling Shower Head
A clogged shower head can seriously impact your shower experience. Hard water deposits can build up and reduce water pressure. This hack will have your shower head flowing freely again in no time.
What you’ll need:
* White vinegar
* Plastic bag (sandwich or gallon size, depending on your shower head)
* Rubber band or twist tie
* Old toothbrush (optional)
Step-by-step instructions:
1. Vinegar bath: Fill the plastic bag with enough white vinegar to completely submerge the shower head.
2. Secure the bag: Carefully attach the bag to the shower head using a rubber band or twist tie. Make sure it’s secure so the vinegar doesn’t leak.
3. Soak overnight: Let the shower head soak in the vinegar overnight (or for at least a few hours). This allows the vinegar to dissolve the mineral deposits.
4. Remove and rinse: Remove the bag and discard the vinegar. Rinse the shower head thoroughly with water.
5. Scrub if needed: If there are still some stubborn deposits, use an old toothbrush to gently scrub them away.
6. Shine on: Turn on the shower and let the water run for a few minutes to flush out any remaining vinegar and debris. Enjoy your revitalized shower!
Hack 3: Speedy Sink Cleaning
Your kitchen sink is a breeding ground for bacteria, so it’s important to clean it regularly. This quick hack will keep your sink sparkling and smelling fresh.
What you’ll need:
* Baking soda
* White vinegar
* Lemon halves (optional)
* Sponge or cloth
Step-by-step instructions:
1. Baking soda scrub: Sprinkle a generous amount of baking soda all over the sink. Baking soda is a natural abrasive that will help to scrub away grime.
2. Vinegar fizz: Pour white vinegar over the baking soda. It will fizz and bubble, which helps to loosen dirt and debris.
3. Scrub-a-dub-dub: Use a sponge or cloth to scrub the sink thoroughly, paying attention to the corners and around the drain.
4. Rinse and repeat (if needed): Rinse the sink with water. If there are any stubborn stains, repeat the process.
5. Lemon fresh: For an extra boost of freshness, rub lemon halves over the sink surface. The lemon juice will help to disinfect and deodorize.
6. Final rinse: Rinse the sink one last time and dry with a clean cloth.
Hack 4: Dust-Busting Furniture Polish
Dusting can feel like a never-ending chore. This DIY furniture polish will not only clean your furniture but also help to repel dust, keeping your surfaces cleaner for longer.
What you’ll need:
* 1/4 cup olive oil
* 1/2 cup white vinegar or lemon juice
* Spray bottle
* Soft cloth
Step-by-step instructions:
1. Mix it up: Combine the olive oil and vinegar (or lemon juice) in a spray bottle.
2. Shake well: Shake the bottle vigorously to mix the ingredients. The oil and vinegar will separate, so you need to shake it before each use.
3. Spray lightly: Lightly spray the furniture polish onto a soft cloth. Avoid spraying directly onto the furniture, as this can cause buildup.
4. Wipe and shine: Wipe the furniture with the damp cloth, following the grain of the wood. Use a clean, dry cloth to buff the surface to a shine.
5. Enjoy the results: Admire your clean and shiny furniture! The olive oil will help to moisturize the wood, while the vinegar (or lemon juice) will help to remove dirt and grime.
Hack 5: Garbage Disposal Refresh
A smelly garbage disposal can stink up your entire kitchen. This simple hack will freshen it up and keep it running smoothly.
What you’ll need:
* Ice cubes
* Lemon or lime wedges
* Coarse salt
* Water
Step-by-step instructions:
1. Ice and salt: Fill the garbage disposal with ice cubes and a generous amount of coarse salt.
2. Grind it up: Turn on the cold water and run the garbage disposal until all the ice is ground up. The ice helps to scrub the blades, while the salt helps to dislodge any stuck-on food particles.
3. Citrus boost: Add lemon or lime wedges to the disposal and grind them up as well. The citrus will help to deodorize and freshen the disposal.
4. Flush it out: Run cold water for another minute or two to flush out any remaining debris.
5. Repeat as needed: Repeat this process every few weeks to keep your garbage disposal clean and fresh.
Hack 6: Window Cleaning Wonder
Streaky windows are the bane of my existence! This homemade window cleaner is effective, eco-friendly, and super cheap to make.
What you’ll need:
* 1/4 cup white vinegar
* 2 cups water
* Spray bottle
* Microfiber cloth or newspaper
Step-by-step instructions:
1. Mix the solution: Combine the vinegar and water in a spray bottle.
2. Spray and wipe: Spray the window cleaner onto the window surface.
3. Wipe clean: Use a microfiber cloth or crumpled newspaper to wipe the window clean. Newspaper is surprisingly effective at cleaning windows without leaving streaks.
4. Buff to a shine: Use a clean, dry cloth to buff the window to a shine.
5. Enjoy the view: Admire your sparkling clean windows!
Hack 7: Oven Cleaning Simplified
Cleaning the oven is often the most dreaded chore. This hack uses the power of steam to loosen baked-on food and grease, making it much easier to clean.
What you’ll need:
* Baking soda
* Water
* Spray bottle
* Sponge or scraper
Step-by-step instructions:
1. Baking soda paste: Mix baking soda with enough water to form a thick paste.
2. Coat the oven: Spread the baking soda paste all over the inside of the oven, avoiding the heating elements.
3. Let it sit: Let the paste sit for at least 12 hours, or even overnight. This allows the baking soda to penetrate and loosen the baked-on grime.
4. Steam clean: Place a baking sheet filled with water on the bottom rack of the oven. Preheat the oven to 250 degrees Fahrenheit and let it run for 30 minutes. The steam will help to further loosen the grime.
5. Wipe away: Turn off the oven and let it cool slightly. Then, use a sponge or scraper to wipe away the baking soda paste and loosened grime.
6. Rinse and repeat: Rinse the oven with water and repeat the process if necessary.
Hack 8: Quick Floor Refresh

Conclusion
So, there you have it! This quick cleaning hack isn’t just about saving time; it’s about reclaiming your space and enjoying a cleaner, healthier home without breaking the bank or spending hours scrubbing. We’ve shown you how to achieve sparkling results with minimal effort, using ingredients you likely already have in your pantry.
Why is this DIY cleaning trick a must-try? Because it’s effective, economical, and environmentally friendly. Commercial cleaning products often contain harsh chemicals that can be harmful to your health and the planet. This method allows you to control exactly what goes into your cleaning solutions, ensuring a safer and more sustainable approach. Plus, let’s be honest, who doesn’t love the satisfaction of creating something effective from scratch?
But the beauty of this quick cleaning hack lies in its versatility. Feel free to experiment with variations to suit your specific needs and preferences. For instance, if you’re dealing with particularly stubborn grime, try adding a tablespoon of baking soda to your cleaning solution for extra scrubbing power. For a refreshing scent, infuse your mixture with a few drops of your favorite essential oil, such as lemon, lavender, or tea tree oil. Just be sure to test the solution on an inconspicuous area first, especially when cleaning delicate surfaces.
Another variation you might consider is adjusting the ratio of ingredients depending on the type of surface you’re cleaning. For example, for glass surfaces, you might want to use a higher concentration of vinegar to prevent streaks. For more porous surfaces, like wood, you might want to dilute the solution further to avoid damage.
Remember, the key is to find what works best for you and your home. Don’t be afraid to tweak the recipe and experiment with different combinations until you achieve the desired results.
We are confident that once you try this quick cleaning hack, you’ll be amazed by its effectiveness and simplicity. It’s a game-changer for anyone looking to streamline their cleaning routine and create a more pleasant living environment.
Now, it’s your turn! We encourage you to give this DIY cleaning trick a try and see the results for yourself. We’re eager to hear about your experiences and any variations you discover along the way. Share your tips, tricks, and before-and-after photos in the comments below. Let’s build a community of clean-home enthusiasts and inspire each other to create healthier, happier living spaces.
Don’t just take our word for it – experience the magic of this quick cleaning hack firsthand. You’ll be surprised at how easy and rewarding it is to create your own effective cleaning solutions. So, grab your ingredients, get cleaning, and share your success stories with us! We can’t wait to hear from you.
Frequently Asked Questions (FAQ)
Q: What types of surfaces can I use this quick cleaning hack on?
A: This DIY cleaning solution is generally safe for a wide range of surfaces, including countertops, sinks, tiles, glass, and stainless steel. However, it’s always a good idea to test the solution on an inconspicuous area first, especially when cleaning delicate surfaces like wood, marble, or granite. Avoid using it on surfaces that are known to be sensitive to acidic solutions, such as certain types of natural stone.
Q: Can I use this cleaning solution on wood floors?
A: While the solution can be used on wood floors, it’s crucial to dilute it significantly and avoid excessive moisture. Wood is porous and can be damaged by too much water or acidic solutions. We recommend using a very diluted solution and wiping the floor with a damp (not wet) mop. Always test the solution on a hidden area first to ensure it doesn’t damage the finish. Consider using a specialized wood floor cleaner for optimal results.
Q: How long does the cleaning solution last?
A: This DIY cleaning solution is best used fresh. Since it doesn’t contain any preservatives, it may lose its effectiveness over time. We recommend making a new batch each time you clean to ensure optimal results. If you do have leftover solution, store it in a sealed container in a cool, dark place and use it within a week.
Q: Can I add essential oils to the cleaning solution?
A: Yes, adding essential oils can enhance the cleaning power and scent of the solution. Lemon, tea tree, lavender, and eucalyptus oils are popular choices for their antibacterial and antifungal properties. Add a few drops of your favorite essential oil to the solution and shake well before using. Be mindful of the potential for allergic reactions and avoid using essential oils that you are sensitive to. Also, be aware that some essential oils can be harmful to pets, so research before using them if you have furry friends.
Q: Is this cleaning solution safe for pets and children?
A: While this DIY cleaning solution is generally safer than commercial cleaning products, it’s still important to exercise caution when using it around pets and children. Keep the solution out of reach of children and pets, and avoid spraying it directly on them. If your pet or child ingests the solution, contact a medical professional or veterinarian immediately. When cleaning surfaces that pets or children come into contact with, rinse them thoroughly with water after cleaning.
Q: What if I don’t have vinegar? Can I use something else?
A: While vinegar is a key ingredient in this quick cleaning hack due to its acidity and cleaning properties, you can try substituting it with lemon juice. Lemon juice also has acidic properties and can help to disinfect and deodorize surfaces. However, vinegar is generally more effective and less expensive than lemon juice.
Q: How do I get rid of the vinegar smell?
A: The vinegar smell usually dissipates quickly after cleaning. To minimize the odor, you can add a few drops of your favorite essential oil to the solution. You can also open windows and ventilate the area while cleaning. The smell should disappear completely within a few hours.
Q: Can I use this solution to clean my toilet?
A: Yes, this solution can be used to clean your toilet bowl. Pour the solution into the toilet bowl, let it sit for a few minutes, and then scrub with a toilet brush. Flush the toilet to rinse. For stubborn stains, you can add baking soda to the solution for extra scrubbing power.
Q: What if the solution doesn’t seem to be working?
A: If the solution isn’t working as well as you expected, try increasing the concentration of vinegar or adding baking soda for extra scrubbing power. You may also need to let the solution sit on the surface for a longer period of time before wiping it clean. For particularly stubborn stains, you may need to use a more specialized cleaning product.
Q: Can I use this solution to clean my microwave?
A: Yes, this is a great way to clean your microwave. Place a microwave-safe bowl filled with the cleaning solution inside the microwave and heat it on high for a few minutes until the solution boils and the microwave is filled with steam. Let it sit for a few minutes to loosen any grime, then wipe the inside of the microwave clean with a cloth.


Leave a Comment