

Cleaning Hacks Save Time, and let’s be honest, who doesn’t want more of that precious commodity? I know I do! We’re all juggling busy lives, and spending hours scrubbing and tidying isn’t exactly anyone’s idea of a good time. But what if I told you there were simple, clever tricks that could cut your cleaning time in half, leaving you with more moments to enjoy the things you actually love?
For centuries, people have been devising ingenious ways to keep their homes sparkling. From ancient Roman bathhouses to Victorian-era cleaning rituals, the pursuit of a clean and organized space has always been a part of human culture. While our tools and technologies have evolved, the underlying desire for efficiency and effectiveness remains the same.
That’s where these DIY cleaning hacks come in. Forget spending a fortune on expensive cleaning products filled with harsh chemicals. I’m going to share some of my favorite, tried-and-true methods using everyday items you probably already have in your pantry. These aren’t just random tips; they’re game-changers that will revolutionize your cleaning routine. So, get ready to discover how cleaning hacks save time and transform your home into a sparkling sanctuary with minimal effort!
DIY Cleaning Hacks to Reclaim Your Weekend!
Okay, friends, let’s be honest. Cleaning isn’t exactly anyone’s favorite pastime. But a clean home is a happy home, right? So, I’ve compiled some of my absolute favorite DIY cleaning hacks that will save you time, money, and maybe even a little bit of sanity. Get ready to ditch those harsh chemicals and embrace some seriously effective, natural cleaning power!
Cleaning Your Microwave Like a Pro (Without Scrubbing!)
This is a game-changer. I used to dread cleaning the microwave, but now it’s a breeze. This hack uses the power of steam and lemon to loosen all that baked-on gunk.
What you’ll need:
* 1 cup of water
* 1 tablespoon of white vinegar
* 1/2 lemon, sliced
* Microwave-safe bowl
Step-by-step instructions:
1. Mix it up: In your microwave-safe bowl, combine the water, vinegar, and lemon slices. The lemon not only adds cleaning power but also leaves a fresh, citrusy scent.
2. Microwave magic: Place the bowl in the microwave and heat on high for 3-5 minutes, or until the water is boiling and the microwave is filled with steam.
3. Let it sit: This is the crucial part! Don’t open the microwave right away. Let the steam work its magic for another 5-10 minutes. This will loosen all the grime.
4. Wipe it clean: Carefully remove the bowl (it will be hot!). Use a clean cloth or sponge to easily wipe away all the loosened food particles. You’ll be amazed at how easily everything comes off.
5. Final touches: For any stubborn spots, you can use the lemon slice to scrub gently. Rinse the bowl and you’re done!
Unclogging Drains the Natural Way
Forget those harsh chemical drain cleaners! They’re bad for the environment and can even damage your pipes. This natural method is just as effective and much safer.
What you’ll need:
* 1 cup of baking soda
* 2 cups of boiling water
* 1 cup of white vinegar
Step-by-step instructions:
1. Baking soda first: Pour the baking soda down the drain. Try to get as much of it down the drain as possible.
2. Vinegar power: Next, pour the vinegar down the drain. You’ll hear a fizzing sound – that’s the chemical reaction between the baking soda and vinegar, which helps to break down the clog.
3. Let it bubble: Let the mixture sit for at least 30 minutes, or even better, overnight. This gives it plenty of time to work its magic.
4. Flush it out: After the waiting period, pour the boiling water down the drain. This will help to flush away the loosened clog.
5. Repeat if necessary: If the drain is still clogged, repeat the process. For really stubborn clogs, you might need to do it a couple of times.
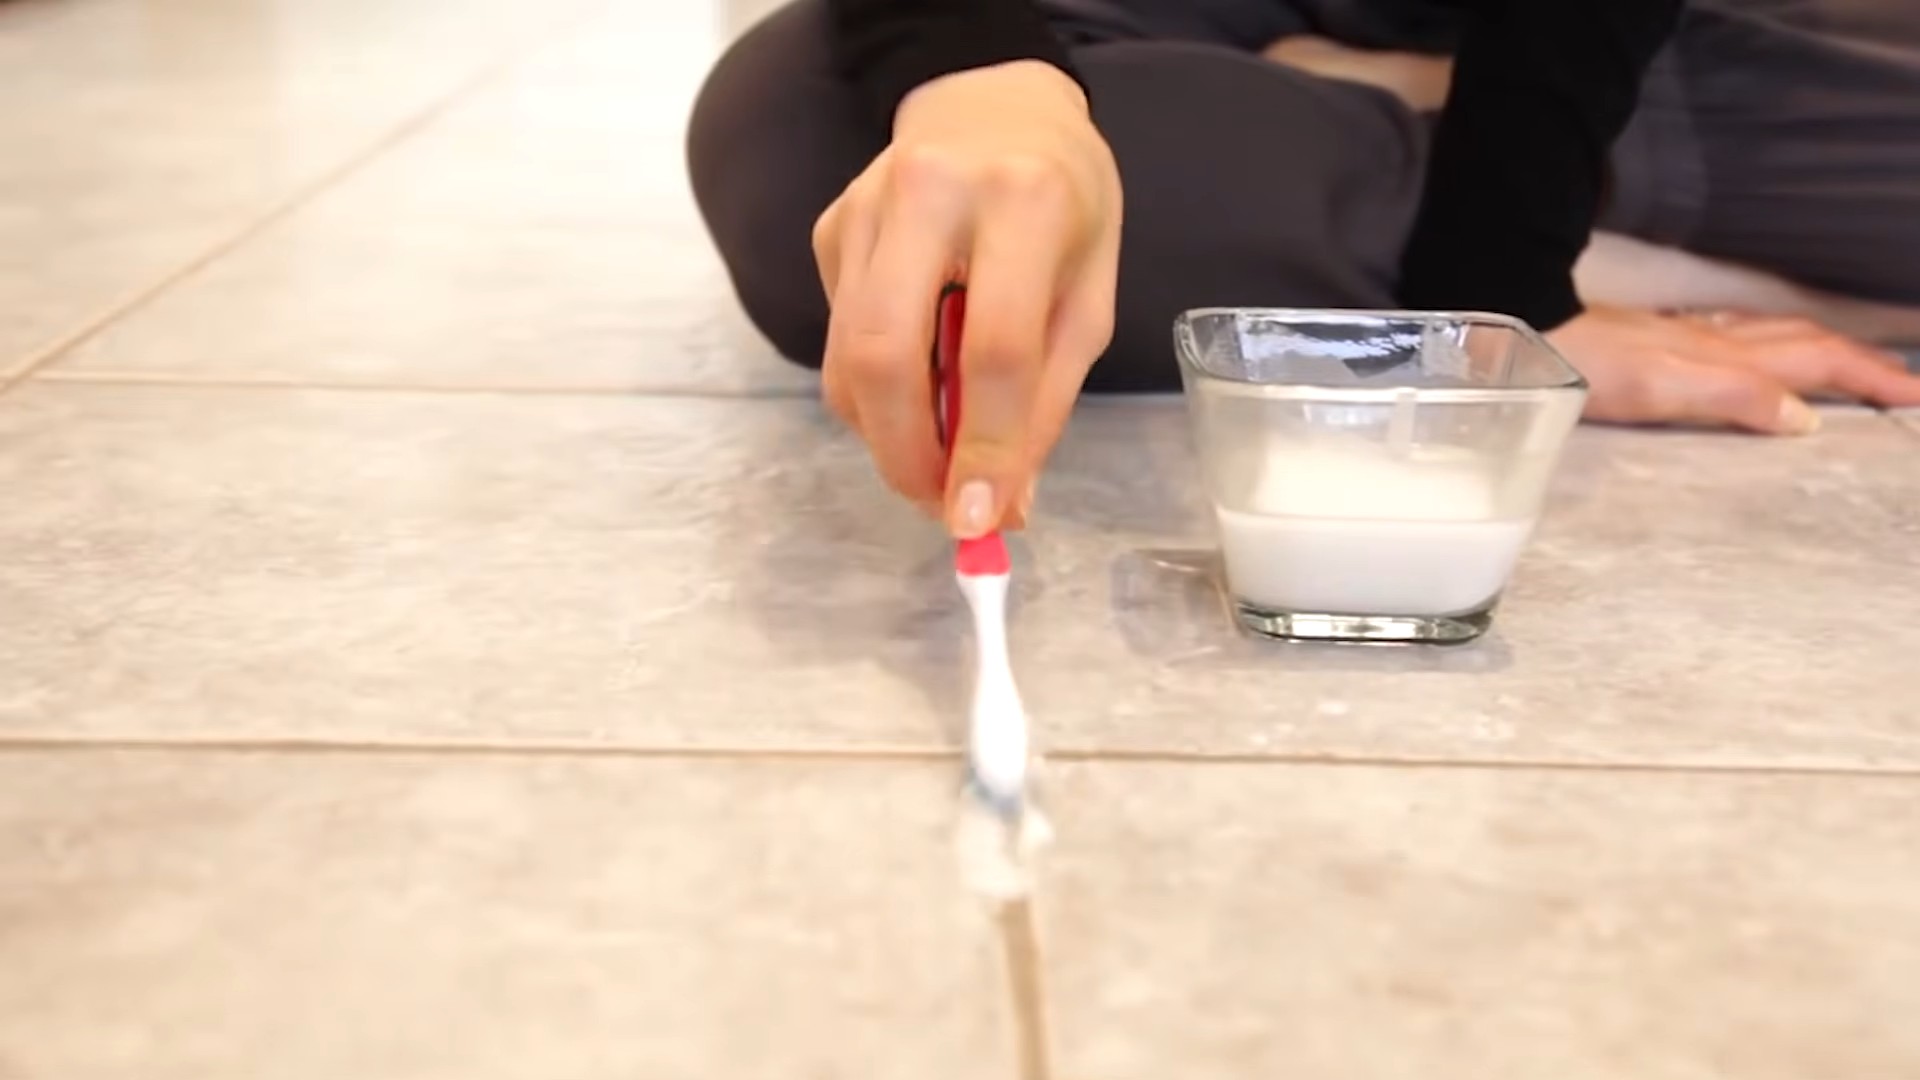
Cleaning Your Grout Back to White
Dirty grout can make your whole bathroom look dingy. This simple paste will bring your grout back to its former glory.
What you’ll need:
* 1/2 cup of baking soda
* 1/4 cup of hydrogen peroxide
* Old toothbrush or grout brush
Step-by-step instructions:
1. Make the paste: In a small bowl, mix the baking soda and hydrogen peroxide until you form a thick paste.
2. Apply the paste: Apply the paste to the grout lines, making sure to cover them completely.
3. Let it sit: Let the paste sit for 5-10 minutes. This allows the hydrogen peroxide to bleach the grout and the baking soda to scrub away the dirt.
4. Scrub-a-dub-dub: Use an old toothbrush or grout brush to scrub the grout lines. You’ll see the dirt and grime start to lift away.
5. Rinse and repeat: Rinse the area with water and repeat the process if necessary. For really stubborn stains, you can let the paste sit for a longer period of time.
Freshening Up Your Mattress
We spend a third of our lives sleeping, so it’s important to keep our mattresses clean and fresh. This simple method will eliminate odors and dust mites.
What you’ll need:
* Baking soda
* Essential oil (optional, but lavender or eucalyptus are great choices)
* Vacuum cleaner with upholstery attachment
* Sieve or strainer
Step-by-step instructions:
1. Strip the bed: Remove all bedding, including sheets, blankets, and pillows. Wash them according to their care instructions.
2. Sprinkle baking soda: In a bowl, mix baking soda with a few drops of your favorite essential oil (optional). The essential oil will add a pleasant scent. Use a sieve or strainer to evenly sprinkle the baking soda mixture over the entire surface of the mattress.
3. Let it sit: This is key! Let the baking soda sit on the mattress for at least 30 minutes, or even better, for a few hours. The baking soda will absorb odors and moisture.
4. Vacuum thoroughly: Use the upholstery attachment of your vacuum cleaner to thoroughly vacuum the entire surface of the mattress. Make sure to get into all the nooks and crannies.
5. Flip and repeat: Flip the mattress over and repeat the process on the other side.
6. Air it out: After vacuuming both sides, let the mattress air out for a few hours before making the bed.
Cleaning Burnt Pots and Pans
We’ve all been there – a moment of distraction and suddenly your pot is a burnt mess. Don’t despair! This simple trick can save your cookware.
What you’ll need:
* 1 cup of water
* 2 tablespoons of baking soda
* 1/2 cup of white vinegar
* Scrubbing sponge or pad
Step-by-step instructions:
1. Add water and vinegar: Pour the water and vinegar into the burnt pot or pan.
2. Boil the mixture: Bring the mixture to a boil on the stovetop.
3. Add baking soda: Remove the pot from the heat and add the baking soda. The mixture will fizz.
4. Let it sit: Let the mixture sit for 30 minutes to an hour, or even longer for really stubborn burns.
5. Scrub away: Use a scrubbing sponge or pad to scrub away the burnt food. You should find that it comes off much easier than before.
6. Repeat if necessary: If there are still some stubborn spots, repeat the process.
Making Your Own All-Purpose Cleaner
Why buy expensive all-purpose cleaners when you can make your own for pennies? This recipe is effective, safe, and smells amazing.
What you’ll need:
* 1/2 cup of white vinegar
* 1/4 cup of rubbing alcohol (70% isopropyl alcohol)
* 1 teaspoon of dish soap
* 2 cups of water
* 10-20 drops of essential oil (lemon, lavender, or tea tree are great choices)
* Spray bottle
Step-by-step instructions:
1. Combine ingredients: In a spray bottle, combine the vinegar, rubbing alcohol, dish soap, water, and essential oil.
2. Shake well: Shake the bottle well to mix all the ingredients.
3. Spray and wipe: Spray the cleaner onto surfaces and wipe clean with a cloth or sponge.
4. Enjoy the clean: Enjoy your sparkling clean home!
Important Note: Always test any cleaning solution in an inconspicuous area first to make sure it doesn’t damage the surface.
Cleaning Your Showerhead for Better Water Pressure
A clogged showerhead can significantly reduce water pressure. This simple soak will dissolve mineral buildup and restore your shower to its full potential.
What you’ll need:
* White vinegar
* Plastic bag
* Rubber band or twist tie
Step-by-step instructions:
1. Fill the bag: Fill the plastic bag with white vinegar.
2. Submerge the showerhead: Place the bag over the showerhead, ensuring that the showerhead is completely submerged in the vinegar.
3. Secure the bag: Use a rubber band or twist tie to secure the bag to the showerhead.
4. Soak overnight: Let the showerhead soak in the vinegar overnight.
5. Remove and rinse: Remove the bag and rinse the showerhead thoroughly with water.
6. Wipe clean: Wipe the showerhead clean with a cloth.
7. Run the water
Conclusion
So, there you have it! These cleaning hacks aren’t just about saving a few bucks; they’re about reclaiming your time and creating a healthier, happier home. We’ve explored simple, effective methods that utilize everyday items to tackle common cleaning challenges. From banishing stubborn stains to revitalizing tired surfaces, these DIY solutions offer a powerful alternative to harsh chemicals and expensive cleaning products.
Why is this a must-try? Because it’s empowering! You’re taking control of your cleaning routine, understanding the ingredients you’re using, and minimizing your environmental impact. Plus, the satisfaction of creating a sparkling clean space with your own two hands is incredibly rewarding.
But don’t stop there! Feel free to experiment and adapt these cleaning hacks to suit your specific needs and preferences. For instance, if you’re dealing with particularly tough grease, try adding a tablespoon of baking soda to your dish soap solution. Or, if you prefer a more fragrant cleaner, infuse your vinegar with citrus peels for a refreshing scent. You can even create your own custom cleaning sprays by combining different essential oils with water and vinegar. The possibilities are endless!
Remember, the key to success with these cleaning hacks is consistency. Incorporate them into your regular cleaning routine, and you’ll be amazed at how much time and effort you save in the long run.
We’re confident that these cleaning hacks will revolutionize your approach to housework. They’re simple, effective, and environmentally friendly – a winning combination for any homeowner. Now, it’s your turn to put them to the test!
We encourage you to try these DIY cleaning hacks and share your experiences with us. Let us know which ones worked best for you, any variations you tried, and any other tips or tricks you’ve discovered along the way. Your feedback is invaluable, and it helps us create even better content for our community.
So, grab your supplies, roll up your sleeves, and get ready to transform your home with these amazing cleaning hacks. You’ll be amazed at the results! Happy cleaning!
Frequently Asked Questions (FAQs)
Q: Are these cleaning hacks safe for all surfaces?
A: While most of these cleaning hacks are generally safe for a variety of surfaces, it’s always a good idea to test them in an inconspicuous area first, especially on delicate or sensitive materials like wood, marble, or painted surfaces. For example, vinegar, while a powerful cleaner, can be acidic and may damage certain types of stone. Similarly, abrasive cleaners like baking soda should be used with caution on easily scratched surfaces. Always err on the side of caution and test before applying liberally. If you’re unsure about a particular surface, consult the manufacturer’s instructions or a professional cleaner.
Q: Can I use essential oils in all of these cleaning hacks?
A: Essential oils can be a wonderful addition to your cleaning routine, adding a pleasant scent and potentially boosting the cleaning power of your DIY solutions. However, it’s important to use them safely and responsibly. Not all essential oils are created equal, so choose high-quality, pure oils from reputable sources. Also, some essential oils can be irritating to the skin or harmful if ingested, so always handle them with care and keep them out of reach of children and pets. When using essential oils in your cleaning hacks, start with a small amount (a few drops) and adjust as needed. Some popular choices for cleaning include lemon, tea tree, lavender, and eucalyptus.
Q: How often should I use these cleaning hacks?
A: The frequency with which you use these cleaning hacks will depend on your individual needs and preferences. For general cleaning tasks, such as wiping down countertops or cleaning floors, you can incorporate these solutions into your regular cleaning routine, perhaps once or twice a week. For more specific cleaning challenges, such as removing stubborn stains or cleaning appliances, you can use these hacks as needed. The key is to be consistent and proactive in your cleaning efforts.
Q: What if I don’t have all the ingredients listed in the recipes?
A: One of the great things about these cleaning hacks is that they often utilize common household items that you probably already have on hand. However, if you’re missing an ingredient, don’t despair! There are often substitutions you can make. For example, if you don’t have white vinegar, you can try using apple cider vinegar or lemon juice instead. If you don’t have baking soda, you can try using washing soda. The internet is also a great resource for finding alternative ingredients and substitutions. Just be sure to do your research and choose a substitution that is appropriate for the task at hand.
Q: Are these cleaning hacks environmentally friendly?
A: Yes, one of the biggest advantages of these cleaning hacks is that they are generally much more environmentally friendly than conventional cleaning products. By using natural ingredients like vinegar, baking soda, and lemon juice, you can reduce your exposure to harsh chemicals and minimize your impact on the environment. Many conventional cleaning products contain harmful chemicals that can pollute waterways and contribute to air pollution. By switching to DIY cleaning solutions, you can help protect the planet and create a healthier home for yourself and your family.
Q: How do I store these DIY cleaning solutions?
A: Proper storage is essential for maintaining the effectiveness and safety of your DIY cleaning solutions. Store them in clean, airtight containers, preferably made of glass or plastic. Label each container clearly with the name of the solution and the date it was made. Keep your cleaning solutions out of reach of children and pets, and store them in a cool, dark place away from direct sunlight and heat. Some solutions, such as those containing essential oils, may degrade over time, so it’s best to use them within a few months of making them.
Q: Can these cleaning hacks help with mold and mildew?
A: Yes, some of these cleaning hacks can be effective in combating mold and mildew, particularly in damp areas like bathrooms and kitchens. Vinegar, for example, is a natural disinfectant that can kill mold and mildew spores. To use vinegar for mold removal, simply spray it directly onto the affected area, let it sit for a few minutes, and then scrub with a brush or sponge. You can also use a mixture of baking soda and water to create a paste that can be applied to moldy surfaces. For severe mold infestations, it’s always best to consult a professional mold remediation specialist.
Q: What are some other creative uses for these cleaning hacks?
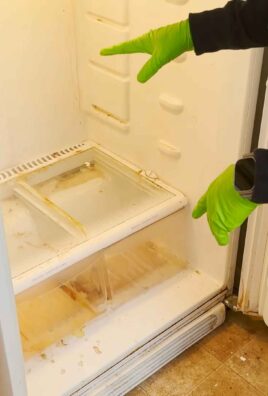
A: The possibilities are endless! Beyond the specific applications mentioned in the article, these cleaning hacks can be adapted for a variety of other cleaning tasks. For example, you can use a mixture of vinegar and water to clean your windows and mirrors, leaving them streak-free and sparkling. You can use baking soda to deodorize your refrigerator or freshen up your carpets. You can even use lemon juice to remove stains from your clothing. The key is to experiment and find what works best for you. Don’t be afraid to get creative and try new combinations of ingredients. You might just discover your own unique cleaning hack!


Leave a Comment