

Growing Leaf Mustard might sound intimidating, but trust me, it’s one of the easiest and most rewarding things you can cultivate in your own backyard! Forget those bland, pre-packaged greens from the grocery store. Imagine stepping outside and snipping fresh, peppery mustard leaves for your salad, stir-fry, or even a zesty pesto. Sounds delicious, right?
Leaf mustard has a rich history, particularly in Asian cuisines where it’s been a staple for centuries. From Japan to India, different varieties have been prized for their unique flavors and nutritional benefits. It’s not just about taste, though. Growing your own food connects you to a tradition of self-sufficiency and sustainable living.
But why should *you* bother with this DIY project? Well, in today’s world, we’re all looking for ways to eat healthier, save money, and reduce our environmental impact. Growing Leaf Mustard at home ticks all those boxes! Plus, it’s incredibly satisfying to nurture something from seed to table. This article will give you simple, effective tricks and hacks to ensure a bountiful harvest, even if you’re a complete beginner. So, let’s get our hands dirty and discover the joy of homegrown mustard greens!
Growing Leaf Mustard Greens: A Beginner’s Guide to a Spicy Harvest
Okay, so you want to grow your own leaf mustard greens? Awesome! I’m telling you, there’s nothing quite like the peppery kick of fresh mustard greens straight from your garden. Plus, they’re super easy to grow, even if you’re a complete newbie. I’ve been growing them for years, and I’m excited to share my tips and tricks with you. Let’s get started!
Choosing Your Mustard Green Variety
First things first, let’s talk about varieties. There are tons of different types of leaf mustard greens out there, each with its own unique flavor and texture. Here are a few of my favorites:
* Southern Giant Curled: This is a classic variety, known for its large, frilly leaves and mild flavor. It’s a great choice if you’re new to mustard greens.
* Florida Broadleaf: This one has smooth, broad leaves and a slightly stronger flavor than Southern Giant Curled. It’s also very heat-tolerant, which is a bonus if you live in a warmer climate.
* Red Giant: If you want to add a pop of color to your garden, Red Giant is the way to go. Its leaves are a beautiful deep red, and the flavor is nice and spicy.
* Osaka Purple: Similar to Red Giant, but with even more intense purple coloration. It’s also incredibly flavorful.
* Mizuna: Technically a Japanese mustard green, Mizuna has a mild, slightly peppery flavor and feathery leaves. It’s great in salads or stir-fries.
Once you’ve picked your variety (or varieties!), it’s time to move on to planting.
Planting Your Mustard Greens
Mustard greens are cool-season crops, which means they grow best in the spring or fall. I usually plant mine in early spring, about 4-6 weeks before the last expected frost, or in late summer for a fall harvest.
Here’s what you’ll need:
* Mustard green seeds
* Well-draining soil (I like to amend mine with compost)
* A sunny spot in your garden (at least 6 hours of sunlight per day)
* A garden rake
* Watering can or hose
Now, let’s get planting!
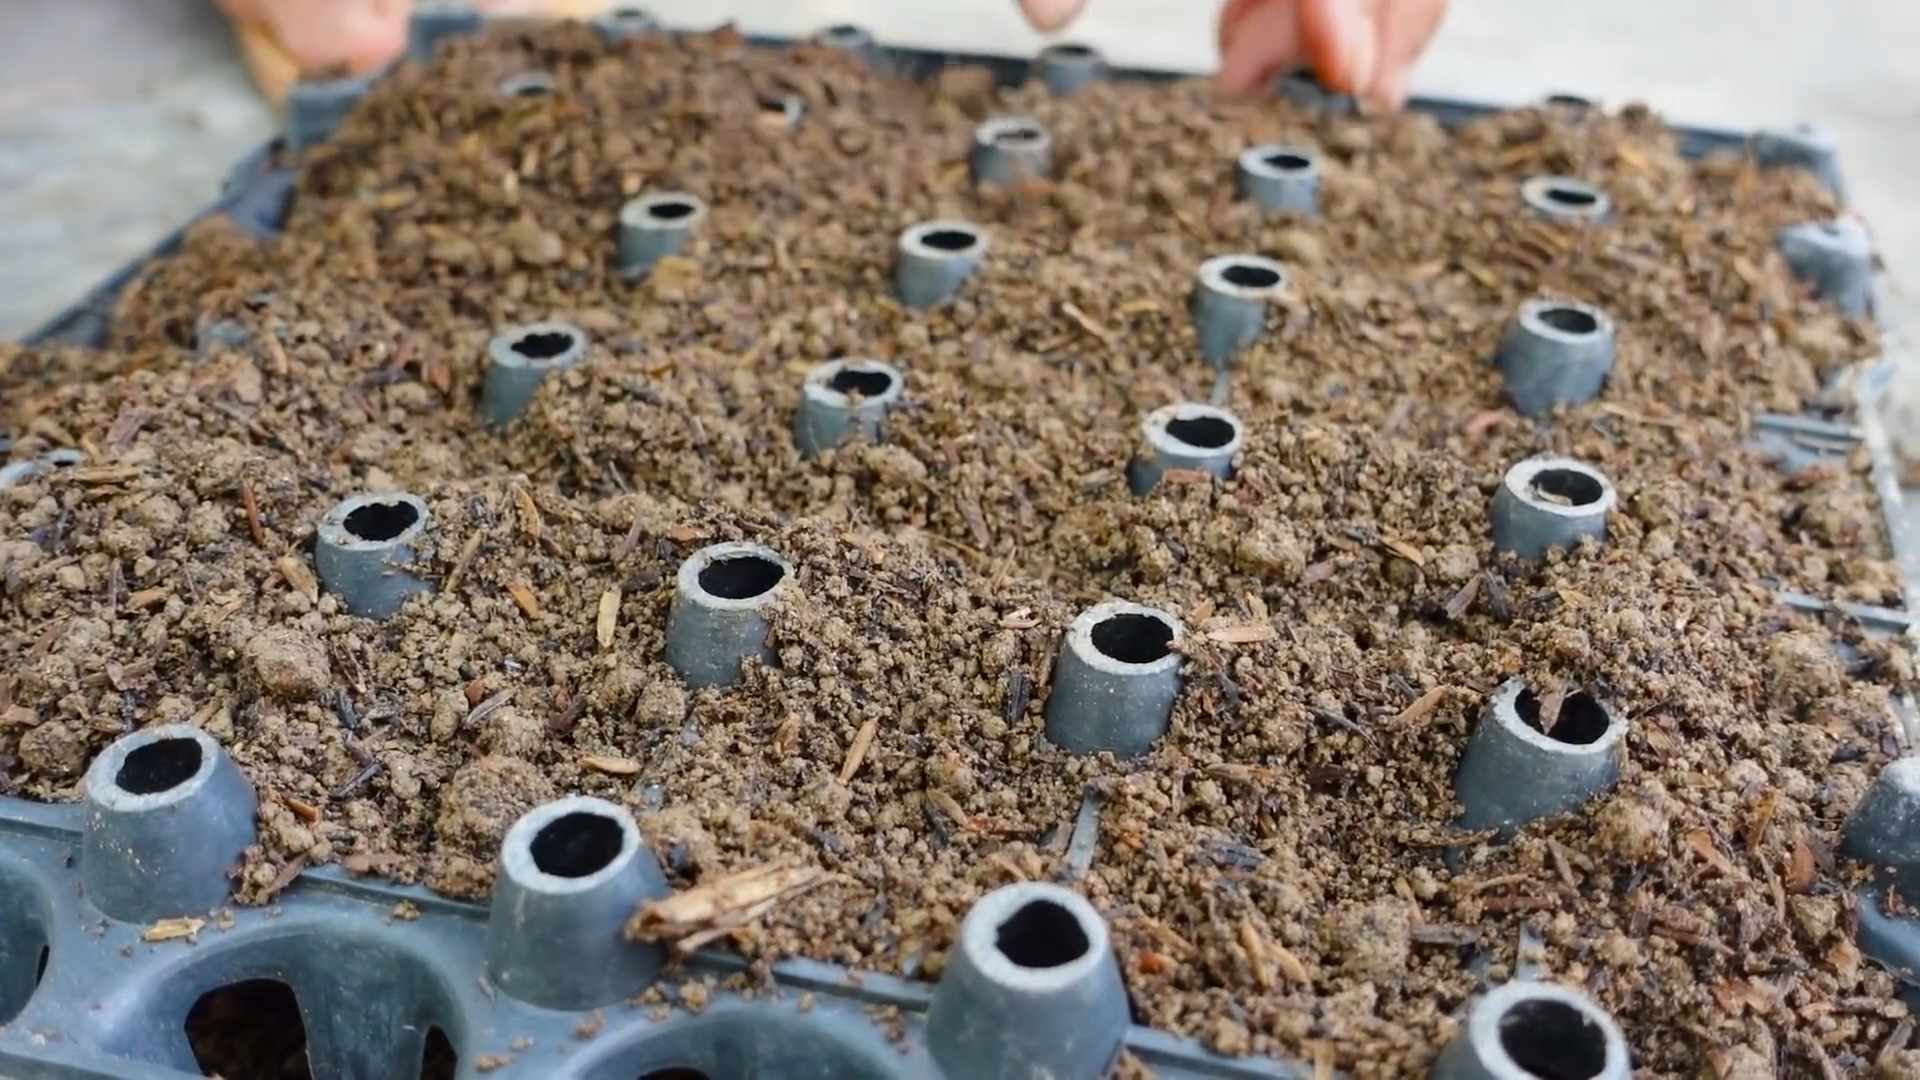
1. Prepare the soil: Start by clearing the area where you want to plant your mustard greens. Remove any weeds, rocks, or debris. Then, use a garden rake to loosen the soil and break up any clumps. I like to add a generous amount of compost to my soil at this stage to improve drainage and fertility.
2. Sow the seeds: Mustard green seeds are tiny, so you don’t need to plant them very deep. I usually sow them about ¼ inch deep and ½ inch apart. You can either sow them in rows or broadcast them over the entire area. If you’re sowing in rows, space the rows about 12 inches apart.
3. Cover the seeds: Gently cover the seeds with a thin layer of soil.
4. Water thoroughly: Water the area thoroughly with a watering can or hose. Be careful not to wash away the seeds.
5. Keep the soil moist: Keep the soil consistently moist until the seeds germinate. This usually takes about 5-7 days.
Caring for Your Mustard Greens
Once your mustard greens have sprouted, it’s important to give them the proper care to ensure a healthy and abundant harvest.
* Thinning: When the seedlings are about 2 inches tall, thin them out so that they are about 4-6 inches apart. This will give them enough room to grow and prevent overcrowding. I know it feels brutal to pull out the little guys, but trust me, it’s necessary! You can always transplant the thinned seedlings to another area of your garden.
* Watering: Mustard greens need consistent moisture to thrive. Water them regularly, especially during dry spells. I usually water mine deeply once or twice a week, depending on the weather.
* Fertilizing: Mustard greens are heavy feeders, so they benefit from regular fertilization. I like to use a balanced organic fertilizer, such as fish emulsion or compost tea. Apply the fertilizer according to the package directions.
* Weeding: Keep the area around your mustard greens free of weeds. Weeds compete with the mustard greens for nutrients and water, so it’s important to remove them regularly. I usually hand-pull weeds, but you can also use a hoe.
* Pest Control: Mustard greens are relatively pest-resistant, but they can be susceptible to aphids, flea beetles, and cabbage worms. I usually control pests with organic methods, such as insecticidal soap or neem oil. You can also cover your mustard greens with row covers to prevent pests from getting to them.
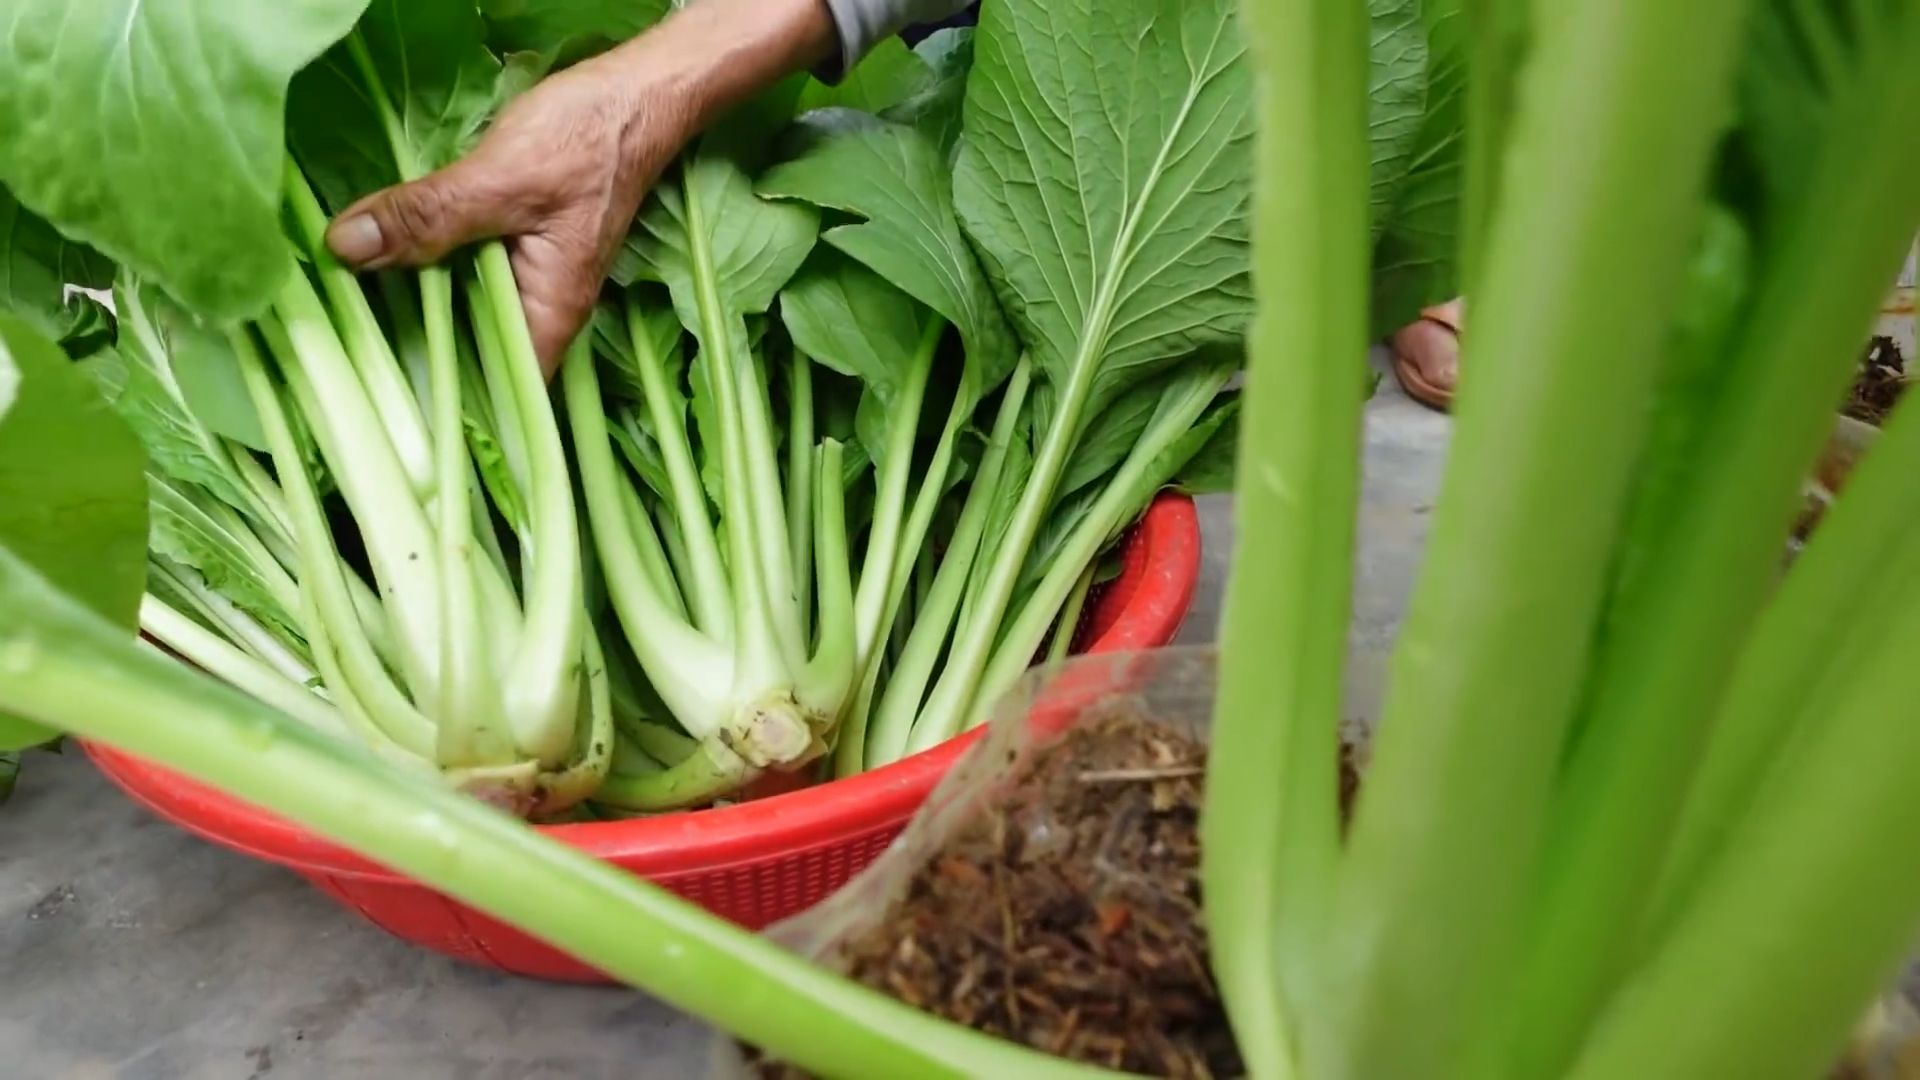
Harvesting Your Mustard Greens
The best part about growing mustard greens is, of course, the harvest! You can start harvesting your mustard greens when the leaves are about 6-8 inches long. I usually harvest mine by cutting off the outer leaves, leaving the inner leaves to continue growing. This is called “cut-and-come-again” harvesting, and it allows you to harvest your mustard greens multiple times throughout the growing season.
Here’s how to harvest your mustard greens:
1. Choose the leaves: Select the outer leaves that are about 6-8 inches long.
2. Cut the leaves: Use a sharp knife or scissors to cut the leaves off at the base of the plant.
3. Wash the leaves: Wash the leaves thoroughly with water to remove any dirt or debris.
4. Store the leaves: Store the leaves in a plastic bag in the refrigerator. They will keep for about a week.
Using Your Mustard Greens
Now that you’ve harvested your mustard greens, it’s time to enjoy them! Mustard greens can be eaten raw or cooked. I love to add them to salads, stir-fries, soups, and stews. They’re also delicious sautéed with garlic and olive oil.
Here are a few of my favorite ways to use mustard greens:
* Mustard Green Salad: Combine mustard greens with other salad greens, such as lettuce and spinach. Add some chopped vegetables, such as tomatoes, cucumbers, and carrots. Dress with your favorite vinaigrette.
* Sautéed Mustard Greens: Sauté mustard greens with garlic and olive oil. Season with salt and pepper.
* Mustard Green Soup: Add mustard greens to your favorite soup recipe. They add a delicious peppery flavor.
* Mustard Green Stir-Fry: Stir-fry mustard greens with other vegetables, such as broccoli, carrots, and peppers. Add some soy sauce and ginger for flavor.
* Mustard Green Smoothie: Yes, you can even add mustard greens to your smoothies! They add a nutritional boost and a slightly spicy flavor.
Troubleshooting Common Problems
Even with the best care, you might encounter some problems when growing mustard greens. Here are a few common problems and how to fix them:
* Yellowing Leaves: Yellowing leaves can be a sign of nutrient deficiency. Try fertilizing your mustard greens with a balanced organic fertilizer.
* Holes in Leaves: Holes in leaves are usually caused by pests, such as flea beetles or cabbage worms. Control pests with organic methods, such as insecticidal soap or neem oil. You can also cover your mustard greens with row covers to prevent pests from getting to them.
* Bolting: Bolting is when the mustard greens start to flower. This usually happens when the weather gets too hot. To prevent bolting, plant your mustard greens in the spring or fall, when the weather is cooler. You can also try planting them in a shady spot. If your mustard greens do bolt, you can still eat the leaves, but they will be more bitter.
* Slow Growth: Slow growth can be caused by a number of factors, such as poor soil, lack of sunlight, or insufficient watering. Make sure your mustard greens are planted in well-draining soil, get at least 6 hours of sunlight per day, and are watered regularly.
Extending Your Harvest
Want to keep those mustard greens coming for as long as possible? Here are a few tips for extending your harvest:
* Succession Planting: Plant a new batch of mustard green seeds every 2-3 weeks. This will ensure a continuous supply of fresh greens throughout the growing season.
* Cut-and-Come-Again Harvesting: As mentioned earlier, harvest your mustard greens by cutting off the outer leaves, leaving the inner leaves to continue growing. This will allow you to harvest your mustard greens multiple times.
* Cold Frames or Row Covers: Use cold frames or row covers to protect your mustard greens from frost and extend the growing season.
* Overwintering: In mild climates, you can overwinter your mustard greens by covering them with a thick layer of mulch. This will protect them from the cold and allow them to start growing again in the spring.
Saving
Conclusion
So, there you have it! Growing leaf mustard at home is not just a fun project; it’s a gateway to incredibly fresh, flavorful greens that will elevate your culinary creations. Forget those wilted, pre-packaged greens from the supermarket. With this simple DIY trick, you can have a constant supply of peppery, vibrant leaf mustard right at your fingertips.
Why is this a must-try? Because it’s easy, cost-effective, and delivers a superior product. You control the growing conditions, ensuring your leaf mustard is free from harmful pesticides and bursting with natural goodness. Plus, there’s something incredibly satisfying about harvesting your own food, even if it’s just a small patch of greens.
But the benefits don’t stop there. Growing your own leaf mustard opens up a world of culinary possibilities. Imagine adding a handful of freshly harvested leaves to your salads for a zesty kick, stir-frying them with garlic and ginger for a quick and healthy side dish, or even blending them into a vibrant pesto. The possibilities are truly endless.
Looking for variations? Consider experimenting with different varieties of leaf mustard. Some are milder, while others pack a serious punch. Try ‘Red Giant’ for its beautiful color and robust flavor, or ‘Green Wave’ for its frilly leaves and slightly milder taste. You can also adjust the growing conditions to influence the flavor. For example, providing more shade can result in a milder, less peppery taste.
Another fun variation is to try growing your leaf mustard in containers. This is a great option if you have limited space or want to keep your greens close at hand. Simply choose a pot that’s at least 6 inches deep and fill it with well-draining potting mix. You can even grow leaf mustard indoors on a sunny windowsill, providing you with fresh greens year-round.
Don’t be afraid to experiment with companion planting as well. Leaf mustard pairs well with other cool-season crops like radishes, spinach, and lettuce. Planting them together can help to deter pests and improve the overall health of your garden.
We wholeheartedly encourage you to give this DIY trick a try. It’s a simple, rewarding project that will transform the way you think about fresh greens. And once you’ve experienced the joy of harvesting your own leaf mustard, you’ll never want to go back to store-bought again.
Ready to get started? Gather your supplies, follow the simple steps outlined in this article, and prepare to be amazed by the abundance of fresh, flavorful leaf mustard you can grow right at home.
But most importantly, don’t forget to share your experience with us! We’d love to hear about your successes, your challenges, and your favorite ways to use your homegrown leaf mustard. Share your photos, your recipes, and your tips in the comments below. Let’s create a community of leaf mustard enthusiasts and inspire others to embrace the joy of growing their own food. So, get your hands dirty and start growing your own delicious leaf mustard today!
Frequently Asked Questions (FAQ)
What are the best conditions for growing leaf mustard?
Leaf mustard thrives in cool weather, ideally between 60°F and 70°F (15°C and 21°C). It prefers full sun, but can tolerate partial shade, especially in hotter climates. The soil should be well-draining and rich in organic matter. Amend your soil with compost or aged manure before planting to provide essential nutrients. Consistent moisture is crucial, so water regularly, especially during dry spells. Avoid overwatering, as this can lead to root rot.
How long does it take for leaf mustard to grow?
One of the great things about leaf mustard is its quick growth rate. You can typically start harvesting leaves within 30-40 days of planting. For baby greens, you can even start harvesting as early as 21 days. The exact time will depend on the variety of leaf mustard you’re growing and the growing conditions.
Can I grow leaf mustard indoors?
Yes, you can absolutely grow leaf mustard indoors! Choose a sunny windowsill that receives at least 6 hours of direct sunlight per day. If you don’t have a sunny windowsill, you can supplement with grow lights. Use a well-draining potting mix and water regularly, keeping the soil consistently moist but not waterlogged. Consider using a container that’s at least 6 inches deep to allow for adequate root growth.
What are some common pests and diseases that affect leaf mustard?
Leaf mustard can be susceptible to a few common pests and diseases, including aphids, flea beetles, and downy mildew. Aphids can be controlled with insecticidal soap or by introducing beneficial insects like ladybugs. Flea beetles can be deterred by using row covers or by applying diatomaceous earth. Downy mildew is a fungal disease that can be prevented by ensuring good air circulation and avoiding overhead watering. If you notice any signs of disease, remove the affected leaves immediately to prevent the spread.
How do I harvest leaf mustard?
Harvesting leaf mustard is easy! Simply cut the outer leaves with a sharp knife or scissors, leaving the inner leaves to continue growing. This cut-and-come-again method allows you to harvest multiple times from the same plant. Harvest leaves when they are young and tender for the best flavor. Avoid harvesting during the hottest part of the day, as this can cause the leaves to wilt.
Does leaf mustard need fertilizer?
While leaf mustard doesn’t require heavy fertilization, providing a boost of nutrients can help to promote healthy growth and abundant yields. You can use a balanced organic fertilizer or side-dress with compost or aged manure. Avoid over-fertilizing, as this can lead to excessive leaf growth at the expense of flavor.
How do I store harvested leaf mustard?
To store harvested leaf mustard, rinse the leaves thoroughly and pat them dry with a clean towel. Store them in a plastic bag or container in the refrigerator. Leaf mustard is best used within a few days of harvesting, as it can wilt and lose its flavor over time.
Can I eat leaf mustard flowers?
Yes, you can eat leaf mustard flowers! They have a similar peppery flavor to the leaves and can be used as a garnish or added to salads. Harvest the flowers when they are young and fresh for the best flavor.
Is leaf mustard good for you?
Absolutely! Leaf mustard is a nutritional powerhouse, packed with vitamins, minerals, and antioxidants. It’s a good source of vitamins A, C, and K, as well as calcium, iron, and potassium. Leaf mustard is also low in calories and high in fiber, making it a healthy addition to any diet.
What are some creative ways to use leaf mustard in cooking?
Beyond salads and stir-fries, there are many creative ways to incorporate leaf mustard into your cooking. Try adding it to soups, stews, or omelets. Blend it into pesto or chimichurri sauce. Use it as a topping for tacos or sandwiches. You can even pickle leaf mustard for a tangy condiment. The possibilities are endless!

Leave a Comment