

Remove Salt Water Stains – those pesky reminders of a fun day at the beach or an unexpected splash from a rogue wave! We’ve all been there, haven’t we? You come home, feeling refreshed and relaxed, only to discover those telltale white marks on your favorite shoes, bags, or even your car. But don’t despair! Before you resign yourself to throwing away your beloved items, let me tell you, there’s a simple, effective, and budget-friendly way to tackle these stains yourself.
Throughout history, people living near coastal areas have battled the corrosive effects of salt water. From ancient mariners struggling to protect their ships to modern-day beachgoers trying to preserve their belongings, the fight against salt water stains is a timeless one. Luckily, you don’t need to be a seasoned sailor to win this battle.
Why is it so important to learn how to remove salt water stains? Well, beyond the aesthetic annoyance, salt can actually damage materials over time. It can corrode metal, weaken fabrics, and leave a lasting, unpleasant odor. This DIY guide will equip you with the knowledge and simple techniques to protect your valuables and keep them looking their best. I’m going to share some easy-to-follow steps and common household items that will help you say goodbye to those stubborn salt stains for good. Let’s get started!
DIY Guide: Banishing Salt Water Stains from Your Beloved Items
Okay, so you’ve been enjoying the beach, the boat, or maybe even just a particularly salty winter, and now your favorite things are sporting those dreaded white, crusty salt water stains. Don’t panic! I’ve been there, and I’m here to tell you that you can absolutely tackle these stains yourself with a few simple household items. This guide will walk you through the process, step-by-step, for various materials.
Understanding Salt Water Stains
Before we dive in, it’s helpful to understand what we’re dealing with. Salt water stains are essentially mineral deposits left behind after the water evaporates. The longer they sit, the more stubborn they become. The key is to act quickly and use the right cleaning method for the specific material.
Section 1: Removing Salt Water Stains from Clothing
This is probably the most common scenario. Salt water spray on your clothes is practically inevitable during a beach trip. Here’s how to get rid of those unsightly stains:
1. Act Fast: The sooner you treat the stain, the easier it will be to remove. If possible, rinse the affected area with fresh water as soon as you notice the stain. This helps prevent the salt from setting into the fibers.
2. Pre-Soak (If Necessary): For stubborn or older stains, pre-soaking is your best friend. Fill a basin or sink with cool water and add a mild laundry detergent. Let the garment soak for at least 30 minutes, or even overnight for really tough stains.
3. Gentle Washing: After pre-soaking, wash the garment as usual, following the care instructions on the label. Use a mild detergent and avoid using hot water, as this can set the stain.
4. Vinegar Power: If the stain persists after washing, try adding a cup of white vinegar to the wash cycle. Vinegar is a natural stain remover and can help break down the salt deposits.
5. Air Dry: Never put a garment with a salt water stain in the dryer! The heat can permanently set the stain. Instead, hang the garment to air dry. Check the area after it’s dry. If the stain is still visible, repeat steps 2-4.
6. For Delicate Fabrics: If you’re dealing with delicate fabrics like silk or wool, hand-washing is the safest option. Use a gentle detergent specifically designed for delicate fabrics and avoid harsh scrubbing.
Section 2: Cleaning Salt Water Stains from Shoes
Shoes, especially leather and canvas ones, are prime targets for salt water stains. Here’s how to restore them to their former glory:
1. Remove Excess Salt: Use a soft brush (like an old toothbrush) to gently brush away any loose salt crystals from the surface of the shoes.
2. Prepare a Cleaning Solution: Mix a solution of equal parts white vinegar and water. This is your magic potion for dissolving salt deposits.
3. Apply the Solution: Dip a clean cloth into the vinegar solution and gently wipe the affected areas of the shoes. Avoid soaking the shoes, as this can damage them.
4. Leather Specifics: For leather shoes, after wiping with the vinegar solution, apply a leather conditioner to rehydrate the leather and prevent it from drying out and cracking. Follow the instructions on the leather conditioner.
5. Canvas Considerations: For canvas shoes, you can use a slightly stiffer brush to scrub the stained areas. Be careful not to damage the canvas.
6. Rinse (If Necessary): If you used a lot of the cleaning solution, you might want to lightly rinse the shoes with clean water. Again, avoid soaking them.
7. Air Dry: Stuff the shoes with newspaper or paper towels to help them maintain their shape while they dry. Never put shoes in the dryer! Let them air dry in a well-ventilated area, away from direct sunlight or heat.
8. Repeat if Needed: If the stain is still visible after drying, repeat the process. Sometimes it takes a few tries to completely remove stubborn salt water stains.
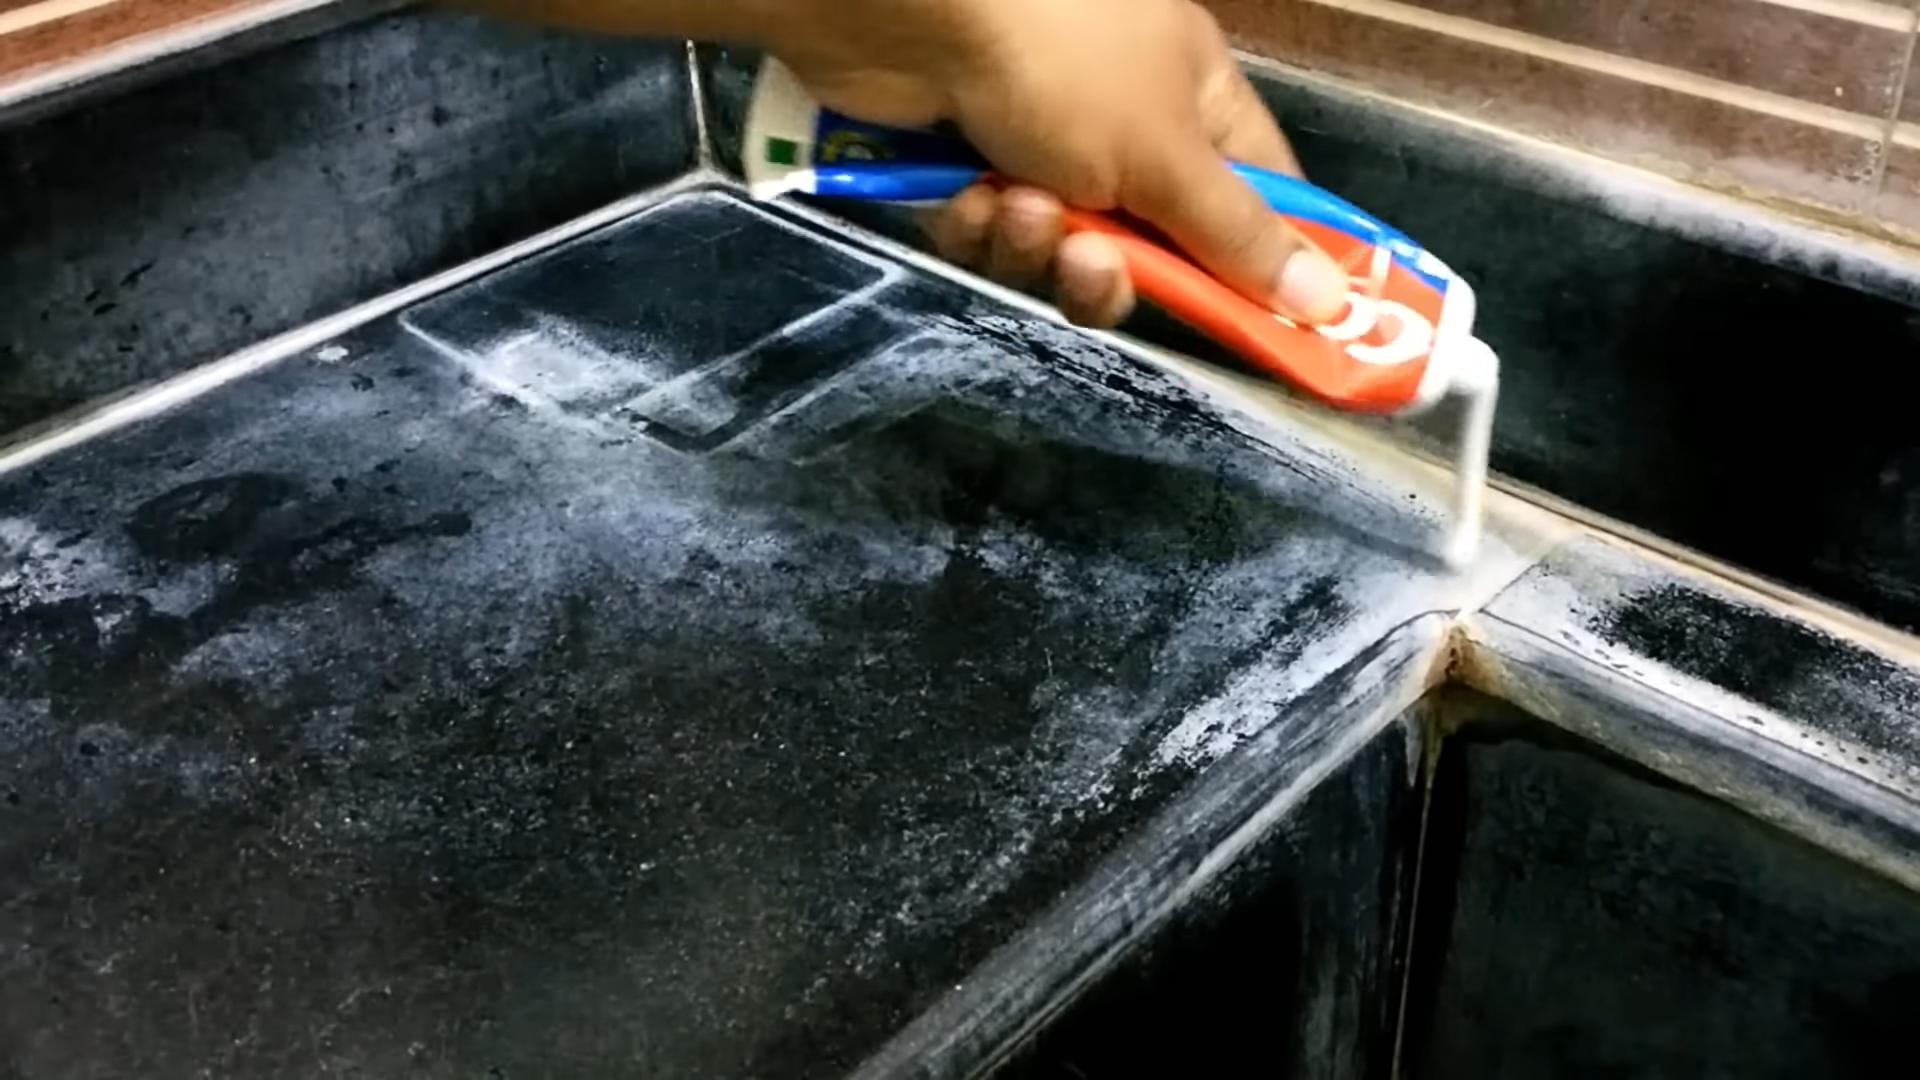
Section 3: Removing Salt Water Stains from Car Interiors
Salt water can easily get tracked into your car, leaving unsightly stains on the carpets and upholstery. Here’s how to tackle those stains:
1. Vacuum Thoroughly: Start by vacuuming the affected area to remove any loose dirt and debris. This will help the cleaning solution penetrate the stain more effectively.
2. Prepare a Cleaning Solution: Mix a solution of warm water and a mild dish soap. You can also add a small amount of white vinegar for extra cleaning power.
3. Test in an Inconspicuous Area: Before applying the cleaning solution to the entire stain, test it in a small, hidden area to make sure it doesn’t damage or discolor the fabric.
4. Apply the Solution: Dip a clean cloth or sponge into the cleaning solution and gently blot the stained area. Avoid rubbing, as this can spread the stain.
5. Blot, Don’t Rub: Continue blotting the stain until it starts to lift. Use a clean part of the cloth each time to avoid re-depositing the salt.
6. Rinse with Clean Water: Once you’ve removed as much of the stain as possible, rinse the area with clean water to remove any soap residue. Use a clean cloth to blot up the excess water.
7. Dry Thoroughly: Allow the area to air dry completely. You can use a fan to speed up the drying process. Make sure the car windows are open to allow for proper ventilation.
8. For Stubborn Stains: If the stain persists, you can try using a commercial carpet cleaner specifically designed for salt water stains. Follow the instructions on the product label.
9. Leather Seats: For leather car seats, use a leather cleaner and conditioner specifically designed for automotive use. Follow the product instructions carefully.
Section 4: Cleaning Salt Water Stains from Outdoor Gear
From backpacks to tents to boat covers, outdoor gear often bears the brunt of salt water exposure. Here’s how to keep your gear in top shape:
1. Rinse Immediately: After exposure to salt water, rinse your gear with fresh water as soon as possible. This will help prevent the salt from setting into the fabric.
2. Prepare a Cleaning Solution: Mix a solution of warm water and a mild detergent specifically designed for outdoor gear. Avoid using harsh detergents or bleach, as these can damage the fabric.
3. Scrub Gently: Use a soft brush or sponge to gently scrub the affected areas of the gear. Pay particular attention to seams and zippers, where salt can accumulate.
4. Rinse Thoroughly: Rinse the gear thoroughly with fresh water to remove all traces of detergent.
5. Air Dry: Hang the gear to air dry in a well-ventilated area, away from direct sunlight. Make sure the gear is completely dry before storing it to prevent mildew growth.
6. Waterproofing: After cleaning, you may need to re-waterproof your gear, especially if it’s made of waterproof or water-resistant fabric. Use a waterproofing spray or sealant specifically designed for outdoor gear.
Section 5: Preventing Future Salt Water Stains
Prevention is always better than cure! Here are a few tips to help you minimize salt water stains in the future:
* Rinse Immediately: As mentioned before, rinsing items with fresh water after exposure to salt water is the best way to prevent stains from setting.
* Protective Sprays: Consider using protective sprays on your shoes, clothing, and outdoor gear to create a barrier against salt water.
* Regular Cleaning: Regularly clean your items, even if they don’t appear to be stained. This will help prevent salt from building up over time.
* Proper Storage: Store your items in a dry, well-ventilated area to prevent mildew growth and further damage.
I hope this guide helps you conquer those pesky salt water stains! Remember to always test cleaning solutions in an inconspicuous area first and to be patient. With a little effort, you can keep your favorite items looking their best, even after a day at the beach. Good luck!
Conclusion
So, there you have it! Removing salt water stains doesn’t have to be a battle against the elements. With these simple, readily available ingredients and straightforward steps, you can confidently tackle those unsightly marks and restore your belongings to their former glory. This DIY trick is a must-try because it’s not only incredibly effective but also significantly cheaper and gentler than many commercial stain removers. You’re avoiding harsh chemicals that can damage delicate fabrics or surfaces while saving money – a win-win!
But the beauty of this method lies in its adaptability. Feel free to experiment with slight variations to suit your specific needs. For instance, if you’re dealing with particularly stubborn stains on leather, consider adding a few drops of leather conditioner to your cleaning solution. This will help to replenish the natural oils and prevent the leather from drying out. For delicate fabrics like silk or linen, you might want to test the solution on an inconspicuous area first to ensure colorfastness. You could also try using distilled water instead of tap water to avoid any mineral deposits that could potentially leave new marks.
Another variation involves the drying process. While air drying is generally recommended, you can speed things up by using a hairdryer on a low, cool setting. Just be sure to keep the hairdryer moving and avoid concentrating the heat on one spot for too long. For items that can be ironed, a light ironing on a low setting after drying can help to further smooth out the fibers and remove any remaining traces of the stain.
Don’t let salt water stains ruin your favorite items! This DIY solution offers a safe, effective, and affordable way to combat these common blemishes. We encourage you to give this method a try and see the amazing results for yourself. And most importantly, we want to hear about your experience! Share your before-and-after photos, tips, and any variations you tried in the comments below. Your feedback will not only help others but also contribute to a growing community of DIY enthusiasts who are passionate about finding simple solutions to everyday problems. Let’s conquer those salt water stains together!
Frequently Asked Questions (FAQs)
What types of salt water stains does this DIY trick work on?
This DIY method is effective for removing salt water stains from a wide range of surfaces and materials. It works well on clothing (cotton, linen, synthetic fabrics), shoes (canvas, leather, suede), bags, hats, car interiors, and even some outdoor furniture. However, it’s always recommended to test the solution on an inconspicuous area first, especially when dealing with delicate materials or dyed fabrics. The effectiveness may vary depending on the severity and age of the stain, as well as the type of material affected. For very old or heavily ingrained stains, you may need to repeat the process several times.
Can I use this method on delicate fabrics like silk or wool?
Yes, you can use this method on delicate fabrics like silk or wool, but with extra caution. It’s crucial to test the solution on a hidden area first to ensure it doesn’t cause any discoloration or damage. When working with delicate fabrics, use a very diluted solution (less vinegar or lemon juice) and avoid rubbing the fabric too vigorously. Instead, gently blot the stain with a soft cloth. Air drying is highly recommended for delicate fabrics, and avoid using heat from a hairdryer or iron. If you’re unsure, it’s always best to consult a professional cleaner.
How much vinegar or lemon juice should I use in the solution?
The general guideline is to use a 1:1 ratio of white vinegar or lemon juice to water. However, you can adjust the ratio depending on the severity of the stain and the type of material. For delicate fabrics or light stains, start with a weaker solution (e.g., 1/2 cup vinegar/lemon juice to 1 cup water). For tougher stains, you can increase the concentration slightly, but avoid using undiluted vinegar or lemon juice, as it can be too harsh and damage some materials.
What if the stain doesn’t come out after the first try?
Don’t be discouraged if the stain doesn’t disappear completely after the first attempt. Salt water stains can be stubborn, especially if they’ve been there for a while. Repeat the process several times, allowing the solution to soak into the stain for a longer period each time. You can also try gently scrubbing the stain with a soft brush or cloth. If the stain persists, consider using a stronger solution or consulting a professional cleaner.
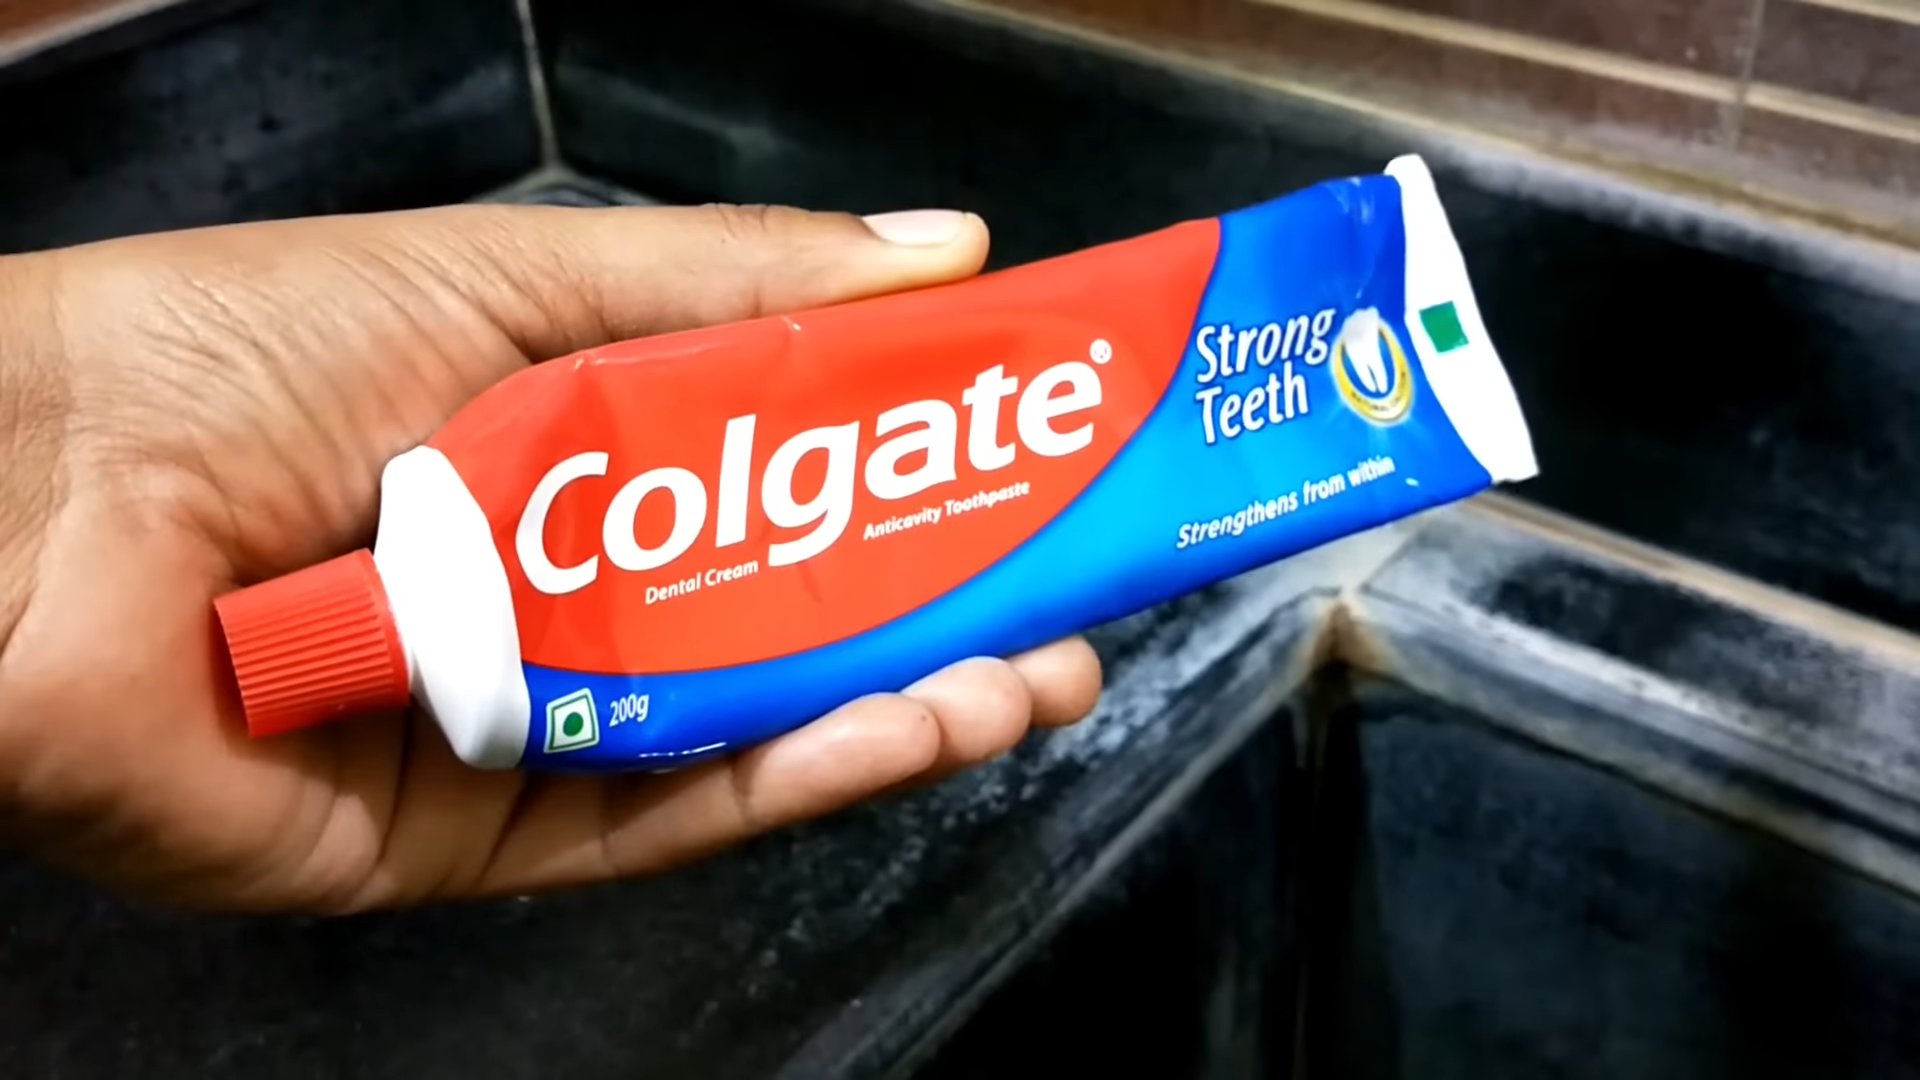
Can I use baking soda instead of vinegar or lemon juice?
While baking soda is a great cleaning agent, it’s not as effective as vinegar or lemon juice for removing salt water stains. Vinegar and lemon juice are acidic, which helps to break down the salt crystals and lift them from the fabric or surface. Baking soda is alkaline and may not be as effective in this particular case. However, you can use baking soda as a pre-treatment for heavily soiled items. Sprinkle baking soda on the stain, let it sit for a few hours, and then vacuum it off before applying the vinegar or lemon juice solution.
Will this method work on salt stains on leather shoes or bags?
Yes, this method can be effective for removing salt stains from leather shoes or bags. However, it’s crucial to use a gentle approach and avoid over-wetting the leather. Use a very diluted solution and apply it sparingly with a soft cloth. After cleaning, it’s essential to condition the leather to prevent it from drying out and cracking. Use a high-quality leather conditioner and follow the manufacturer’s instructions. You can also try using a specialized leather cleaner and conditioner designed for removing salt stains.
How can I prevent salt water stains in the future?
Prevention is always better than cure! To minimize the risk of salt water stains, take these precautions:
* Avoid wearing your favorite shoes or clothes when you know you’ll be exposed to salt water.
* If you do get splashed with salt water, rinse the affected area with fresh water as soon as possible.
* Apply a protective coating to your shoes or bags, such as a water-repellent spray or leather protector.
* Store your belongings in a dry place to prevent moisture from accumulating and causing salt stains.
* Regularly clean and maintain your items to prevent stains from setting in.
Is it safe to use this method on colored fabrics?
Yes, it’s generally safe to use this method on colored fabrics, but it’s always a good idea to test the solution on an inconspicuous area first to ensure colorfastness. Some dyes may be more sensitive to vinegar or lemon juice than others. If you notice any color bleeding or fading, discontinue use immediately. You can also try using a color-safe detergent in the cleaning solution to help protect the fabric’s color.
What if I don’t have vinegar or lemon juice? Are there any alternatives?
While vinegar and lemon juice are the most effective and readily available options, you can try using a mild dish soap solution as an alternative. Mix a few drops of dish soap with warm water and apply it to the stain with a soft cloth. Gently blot the stain and then rinse with clean water. Be sure to remove all traces of soap to prevent residue buildup. However, dish soap may not be as effective as vinegar or lemon juice for breaking down salt crystals.
How long should I let the solution sit on the stain before blotting it?
The amount of time you let the solution sit on the stain depends on the severity of the stain and the type of material. For light stains, a few minutes may be sufficient. For tougher stains, you can let the solution sit for up to 30 minutes. Just be sure to check the fabric periodically to ensure it’s not being damaged. For delicate fabrics, it’s best to err on the side of caution and limit the soaking time.


Leave a Comment