

Growing Parsley at Home can feel like a culinary superpower! Imagine stepping into your garden, snipping fresh, vibrant parsley, and adding that burst of flavor to your dishes. No more sad, wilted bunches from the grocery store – just pure, homegrown goodness. But let’s be honest, sometimes getting those delicate parsley seedlings to thrive can feel a bit…challenging. That’s where these DIY tricks and hacks come in!
Parsley has a rich history, dating back to ancient Greece and Rome, where it was used not only for culinary purposes but also for medicinal and decorative ones. It was even believed to symbolize victory and celebration! Today, while we might not be crowning athletes with parsley wreaths, we certainly appreciate its fresh, clean taste in everything from soups and salads to sauces and garnishes.
Why do you need these DIY tricks? Because growing parsley at home shouldn’t be a struggle! I’ve compiled a collection of simple, effective methods to help you overcome common parsley-growing hurdles. Whether you’re dealing with slow germination, yellowing leaves, or simply want to maximize your harvest, these tips will empower you to cultivate a thriving parsley patch, no matter your gardening experience. Let’s unlock the secrets to a bountiful parsley harvest together!
Growing Parsley at Home: A Beginner’s Guide
Hey there, fellow garden enthusiasts! I’m so excited to share my experience with growing parsley at home. It’s surprisingly easy, rewarding, and having fresh parsley on hand elevates any dish. Plus, it’s way cheaper than constantly buying those sad, wilted bunches from the grocery store. Let’s dive in!
Choosing Your Parsley Variety
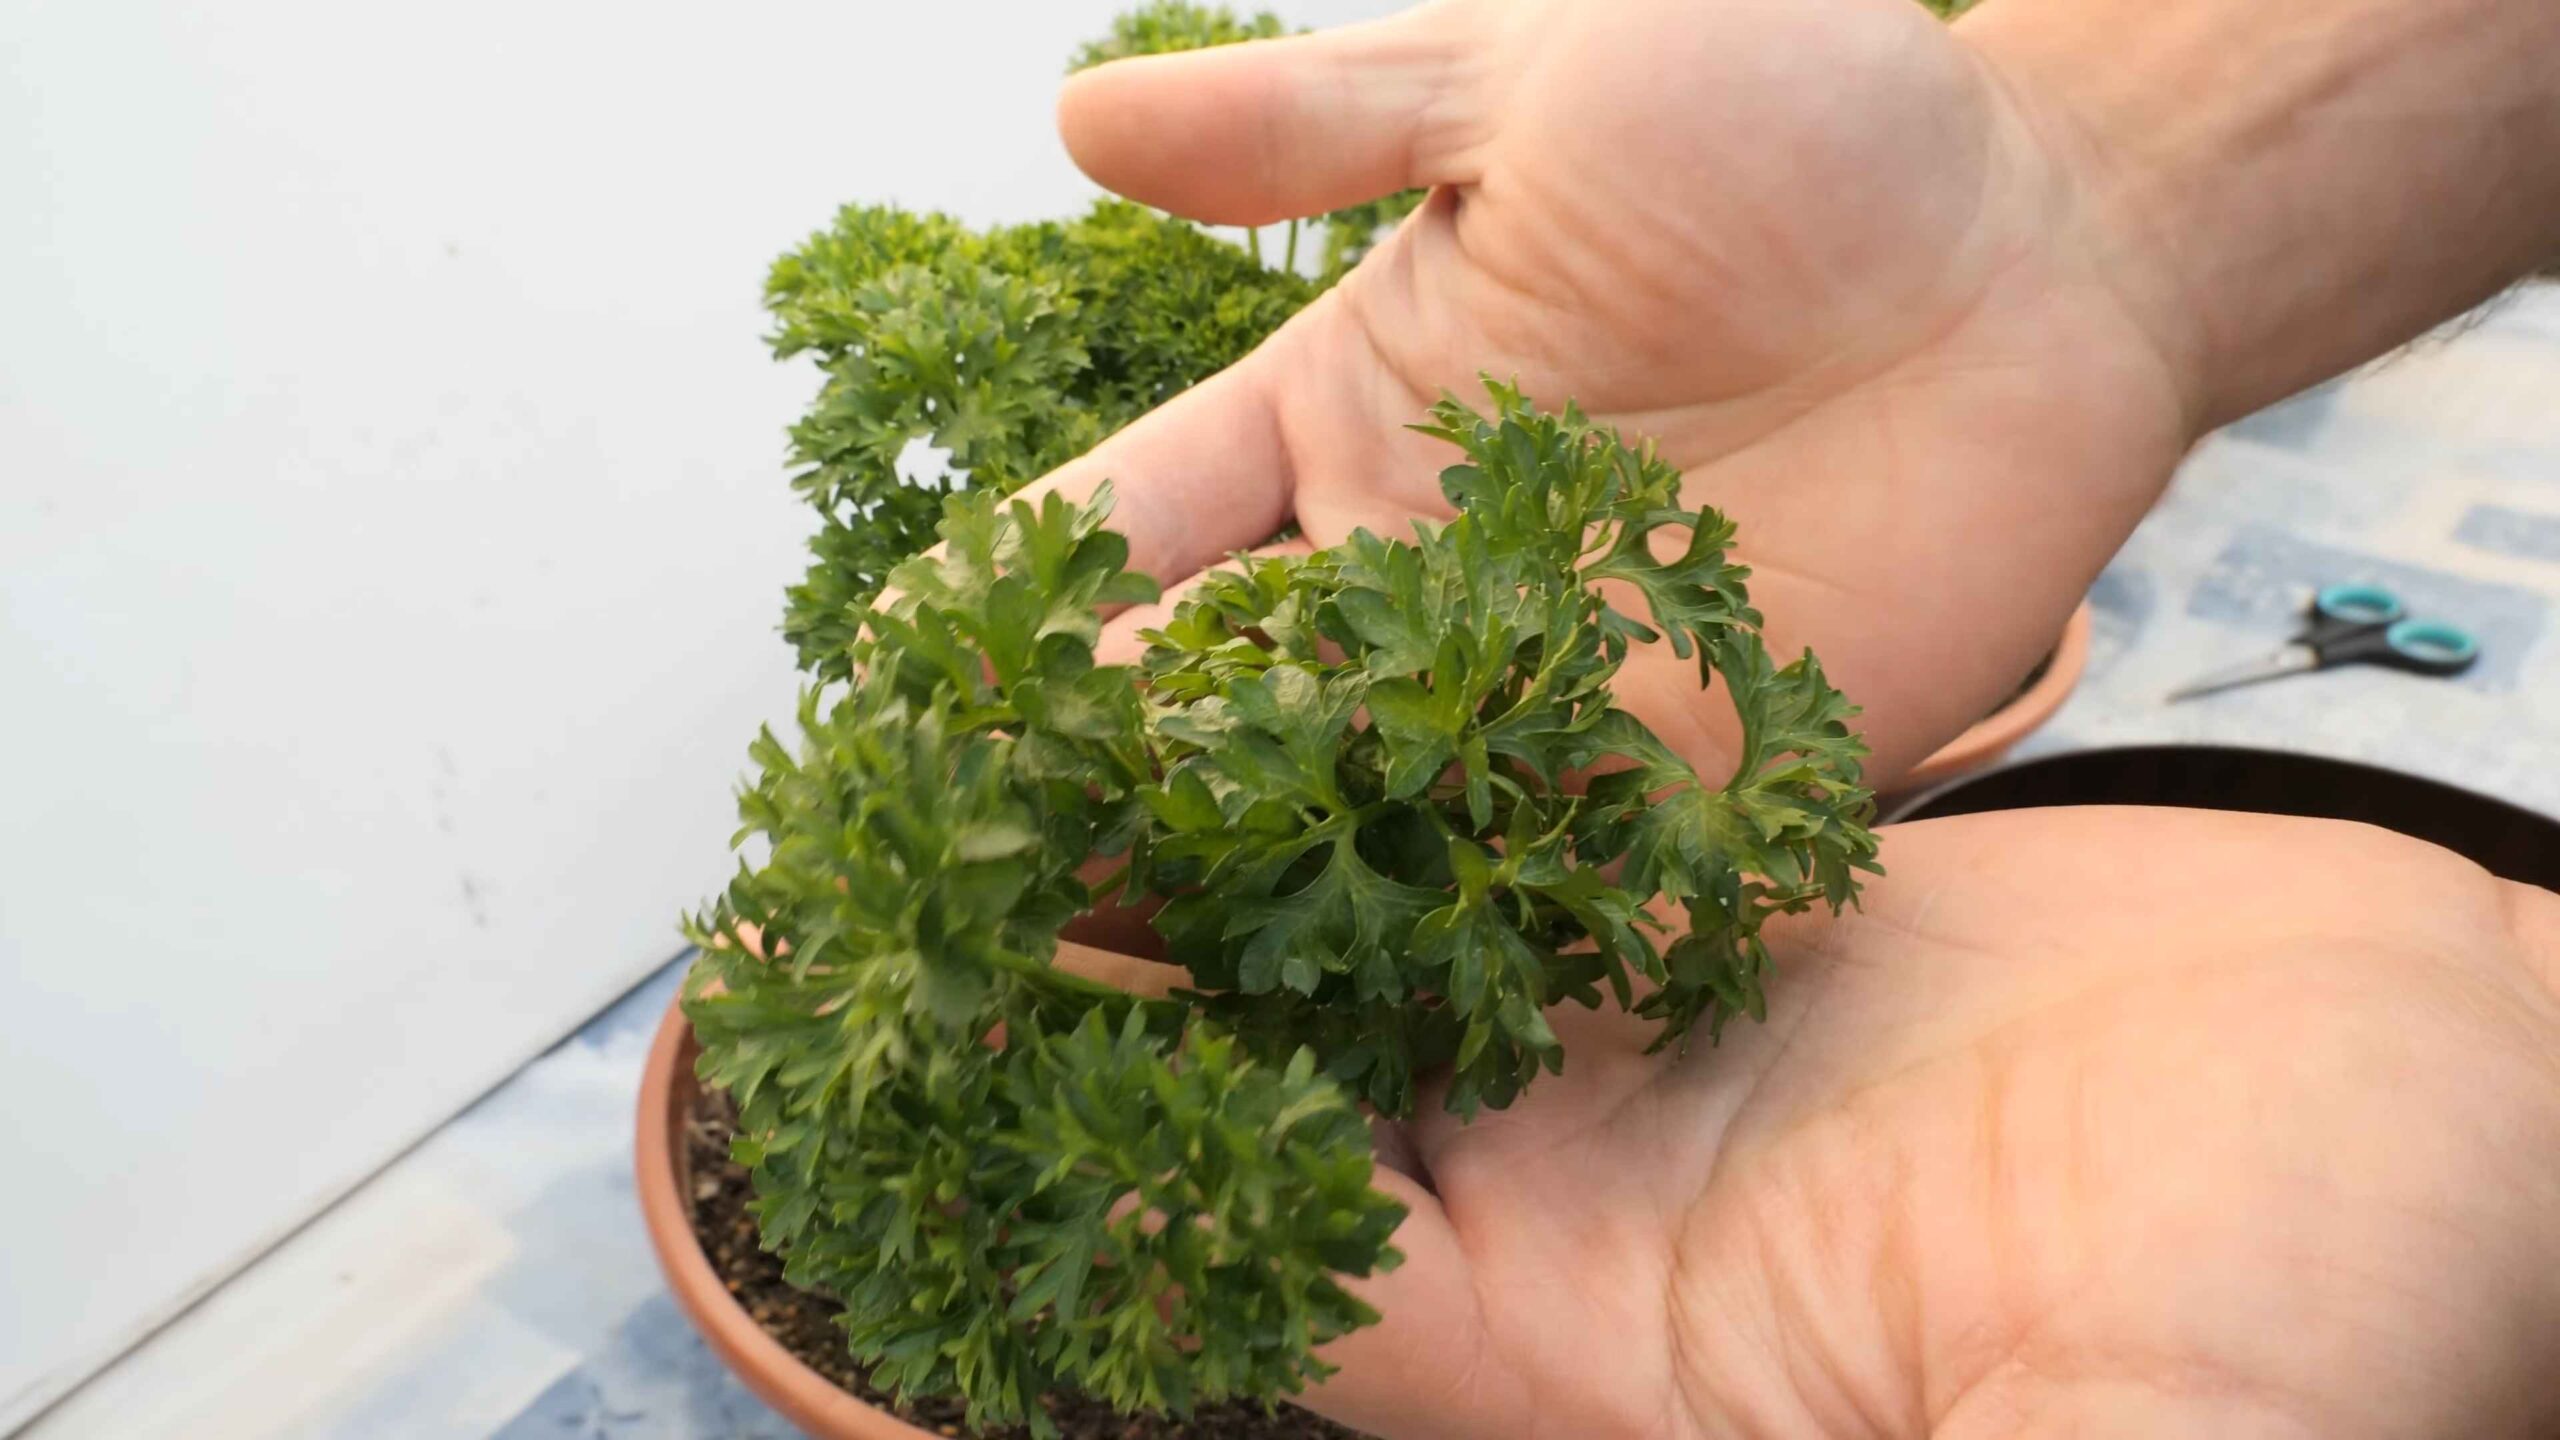
Before we get our hands dirty, let’s talk parsley types. There are two main varieties: curly and flat-leaf (also known as Italian parsley).
* Curly Parsley: This is the classic, frilly parsley you often see as a garnish. It has a slightly milder flavor than flat-leaf.
* Flat-Leaf Parsley: My personal favorite! It boasts a more robust, peppery flavor that really shines in cooking.
Honestly, you can’t go wrong with either. Choose the one that appeals to your taste buds and aesthetic preferences. I usually grow both!
Getting Started: Seeds vs. Seedlings
You have two options for starting your parsley journey: seeds or seedlings.
* Seeds: Starting from seed is more economical, but parsley seeds are notoriously slow to germinate. Be patient!
* Seedlings: Buying seedlings gives you a head start. You’ll have parsley ready to harvest much sooner.
I’ve done both, and honestly, if you’re a beginner, I recommend starting with seedlings. It’s less frustrating and you’ll see results faster, which is always encouraging.
Step-by-Step Guide: Planting Parsley
Okay, let’s get down to business! Here’s how to plant parsley, whether you’re starting from seed or using seedlings.
1. Choosing the Right Location
Parsley thrives in a sunny spot that receives at least 6 hours of sunlight per day. However, in hotter climates, it appreciates some afternoon shade.
* Sunlight: Aim for 6+ hours of direct sunlight.
* Soil: Well-draining soil is crucial. Parsley doesn’t like soggy roots.
* Container or Garden Bed: You can grow parsley in containers or directly in your garden bed.
2. Preparing the Soil
Parsley prefers rich, well-draining soil with a slightly acidic to neutral pH (around 6.0 to 7.0).
* For Garden Beds: Amend your soil with compost or well-rotted manure to improve drainage and fertility. I usually dig in a generous amount of compost a week or two before planting.
* For Containers: Use a high-quality potting mix. Don’t use garden soil in containers, as it can compact and hinder drainage.
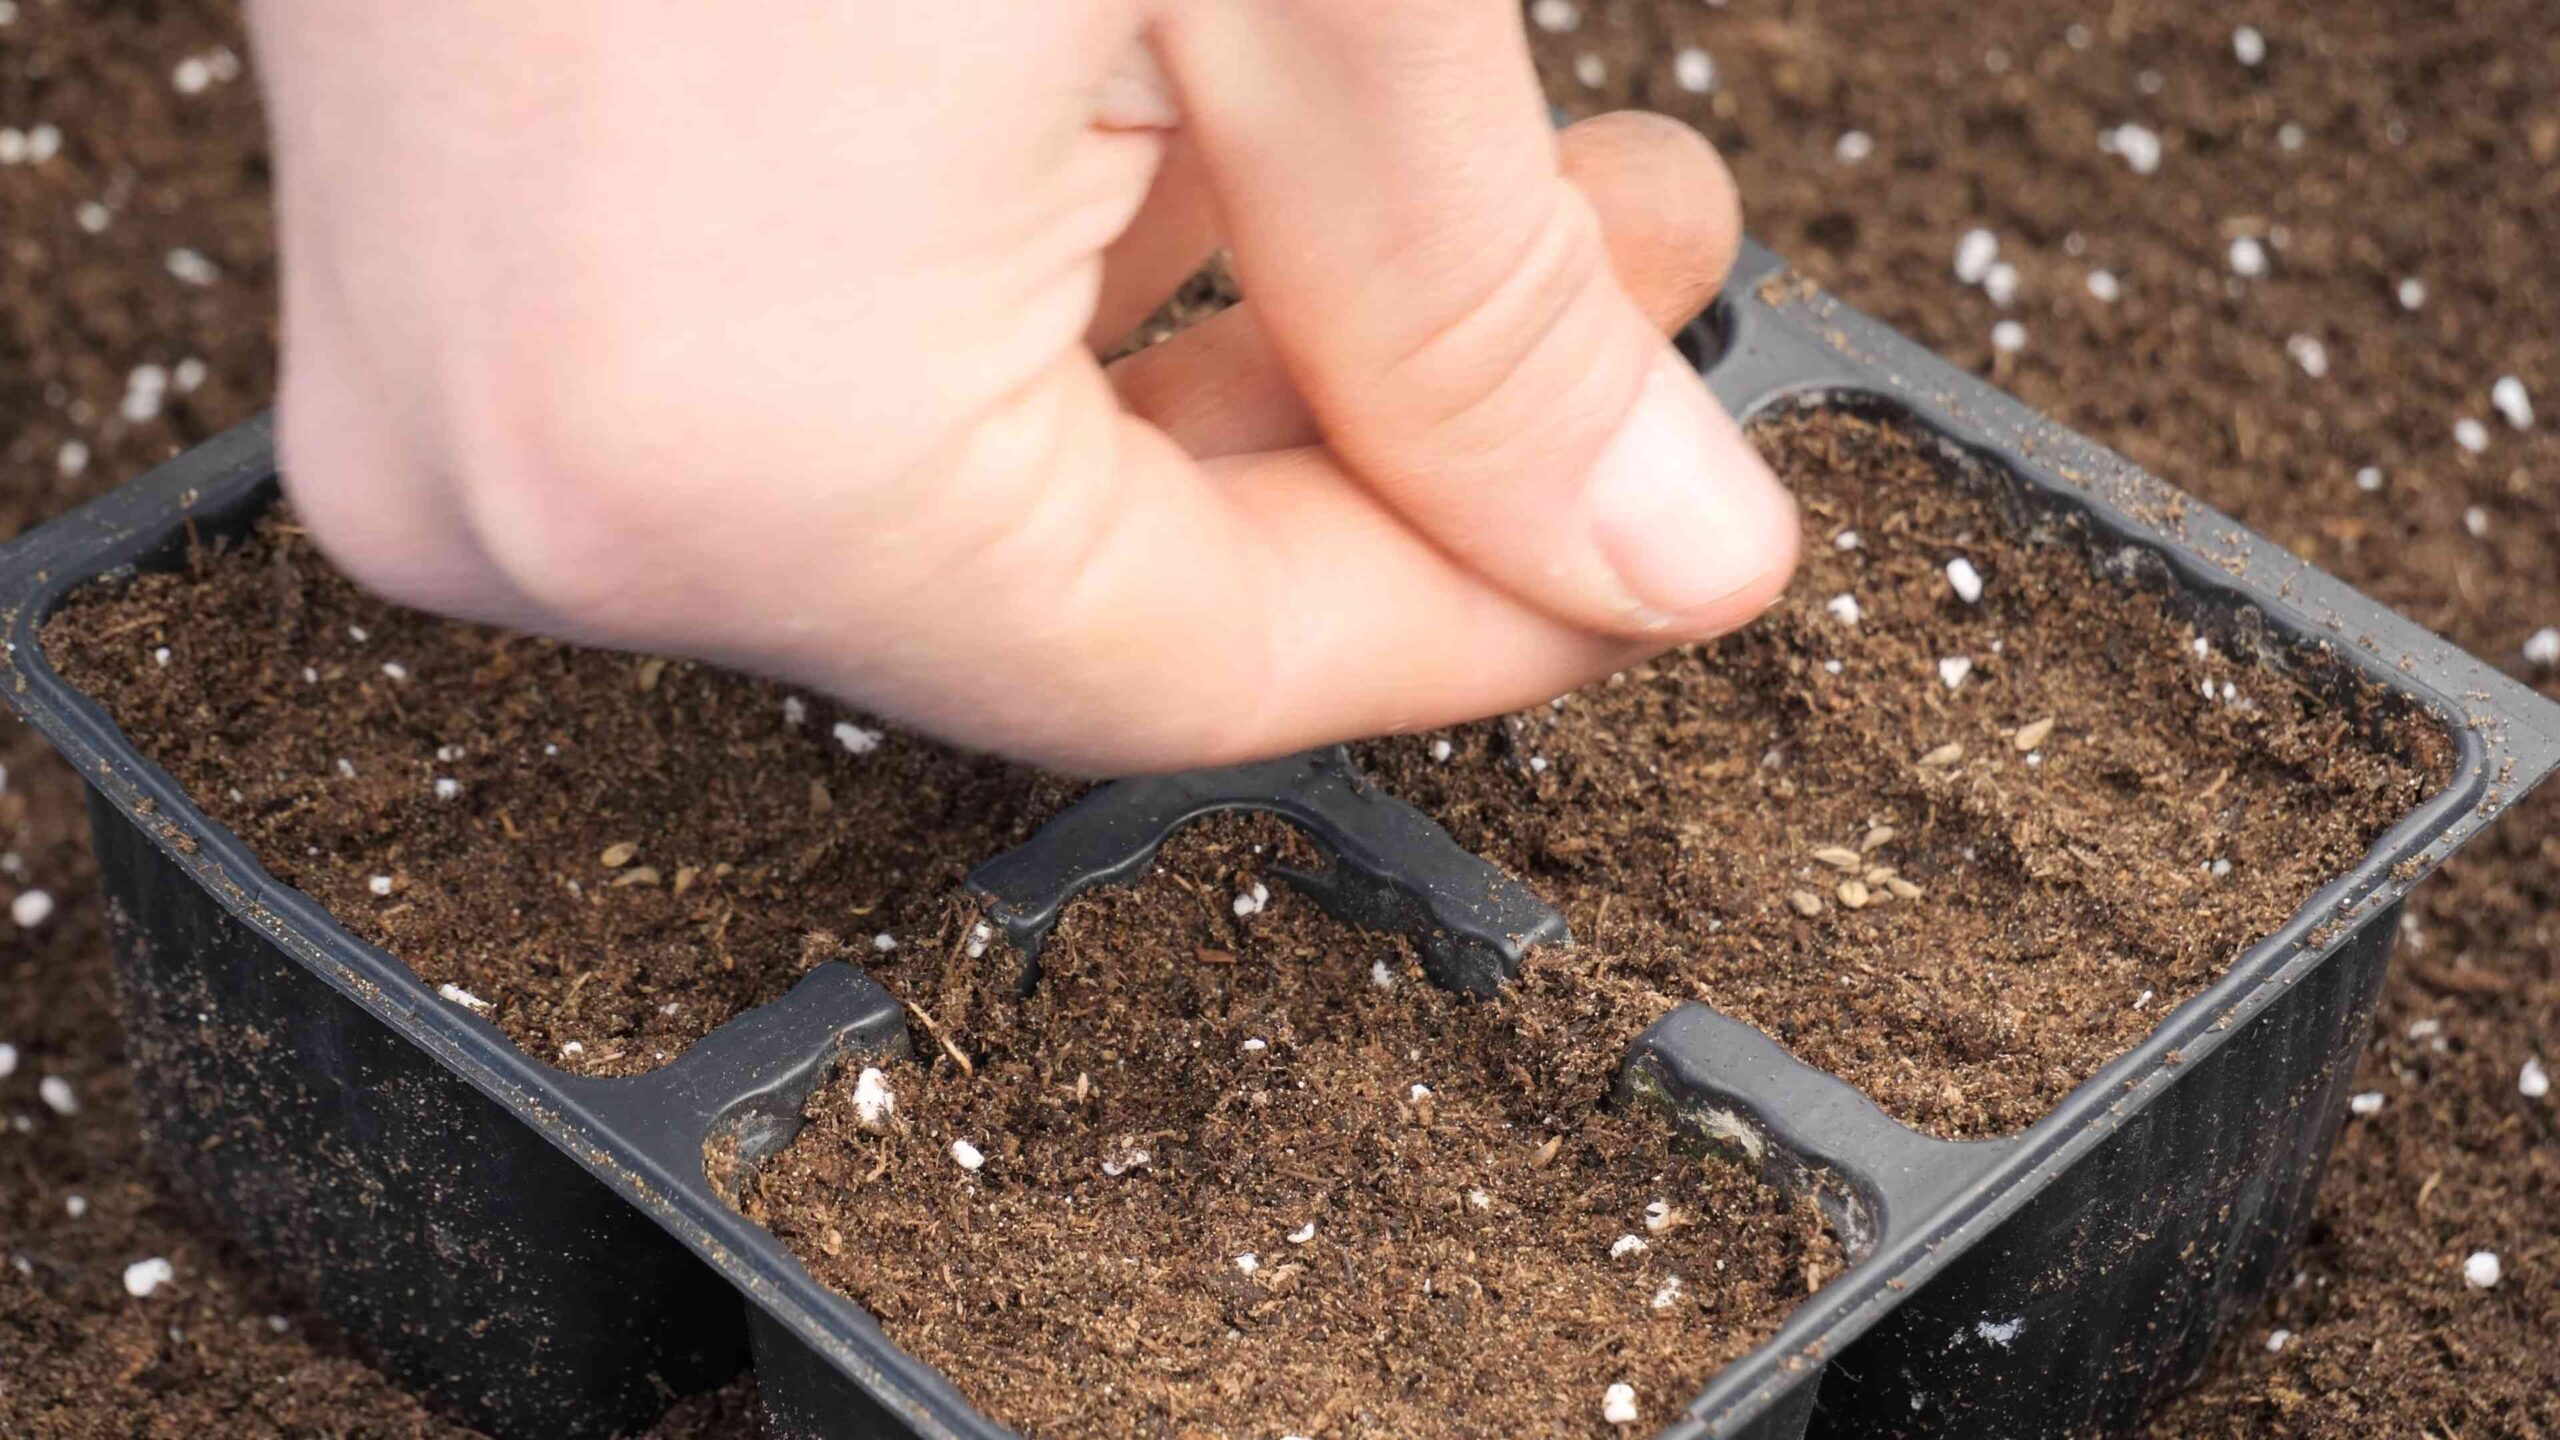
3. Planting Seeds (If Starting from Seed)
This requires a little patience, but it’s definitely doable!
1. Soak the Seeds: Soak the parsley seeds in warm water for 24 hours before planting. This helps to soften the seed coat and speed up germination.
2. Sow the Seeds: Sow the seeds about 1/4 inch deep and 1 inch apart.
3. Water Gently: Water the soil gently to avoid disturbing the seeds.
4. Keep Moist: Keep the soil consistently moist but not waterlogged.
5. Be Patient: Germination can take anywhere from 2 to 4 weeks, so don’t give up!
4. Planting Seedlings
This is the easier route, in my opinion!
1. Dig a Hole: Dig a hole that’s slightly larger than the root ball of the seedling.
2. Gently Remove Seedling: Gently remove the seedling from its container, being careful not to damage the roots.
3. Loosen the Roots: Gently loosen the roots with your fingers.
4. Place Seedling in Hole: Place the seedling in the hole, ensuring that the top of the root ball is level with the surrounding soil.
5. Fill and Water: Fill the hole with soil and gently pat it down. Water thoroughly.
5. Spacing
Whether you’re planting seeds or seedlings, proper spacing is important for healthy growth.
* In Garden Beds: Space plants 6-8 inches apart.
* In Containers: Use a container that’s at least 6 inches in diameter for a single plant.
Caring for Your Parsley Plants
Now that your parsley is planted, it’s time to nurture it!
1. Watering
Parsley needs consistent moisture, especially during hot weather.
* Water Regularly: Water deeply whenever the top inch of soil feels dry.
* Avoid Overwatering: Don’t let the soil become waterlogged, as this can lead to root rot.
* Water in the Morning: Water in the morning to allow the foliage to dry before nightfall, which helps prevent fungal diseases.
2. Fertilizing
Parsley isn’t a heavy feeder, but a little fertilizer can help boost growth.
* Use a Balanced Fertilizer: Use a balanced, water-soluble fertilizer every 4-6 weeks. I like to use a fertilizer with an N-P-K ratio of 10-10-10.
* Follow Package Instructions: Always follow the instructions on the fertilizer package.
* Organic Options: You can also use organic fertilizers like compost tea or fish emulsion.
3. Pruning and Harvesting
Regular pruning and harvesting encourage bushier growth and prevent the plant from bolting (going to seed).
* Pinch Off Flowers: Pinch off any flower stalks that appear. Bolting makes the leaves bitter.
* Harvest Regularly: Harvest the outer leaves first, leaving the inner leaves to continue growing.
* Cut at the Base: Cut the stems at the base of the plant.
* Don’t Take Too Much: Avoid removing more than one-third of the plant at a time.
4. Pest and Disease Control
Parsley is generally pest-resistant, but it can occasionally be affected by aphids, spider mites, or fungal diseases.
* Inspect Regularly: Inspect your plants regularly for signs of pests or diseases.
* Treat Infestations: If you find pests, treat them with insecticidal soap or neem oil.
* Prevent Fungal Diseases: To prevent fungal diseases, ensure good air circulation and avoid overwatering. You can also use a fungicide if necessary.
Troubleshooting Common Problems
Even with the best care, you might encounter some challenges. Here are a few common problems and how to address them:
* Yellowing Leaves: This can be caused by overwatering, underwatering, nutrient deficiencies, or pests. Check the soil moisture, fertilize if necessary, and inspect for pests.
* Slow Growth: This can be due to insufficient sunlight, poor soil, or lack of fertilizer. Ensure your parsley is getting enough sunlight, amend the soil with compost, and fertilize regularly.
* Bolting: Bolting is when the plant sends up a flower stalk, which makes the leaves bitter. Pinch off any flower stalks as soon as they appear. Hot weather can also trigger bolting, so provide some afternoon shade in hot climates.
Harvesting and Storing Parsley
Harvesting parsley is the best part! You get to enjoy the fruits (or rather, leaves) of your labor.
* When to Harvest: You can start harvesting parsley as soon as the plants are large enough to spare a few leaves.
* How to Harvest: Cut the outer stems at the base of the plant.
* Storing Fresh Parsley: To store fresh parsley, wrap it in a damp paper towel and place it in a plastic bag in the refrigerator. It should last for about a week.
* Freezing Parsley: You can also freeze parsley for longer storage. Chop the parsley and freeze it in ice cube trays filled with water or olive oil. Once frozen, transfer the cubes to a freezer bag.
* Drying Parsley: Drying parsley is another option, but it loses some of its flavor. To dry parsley, hang it upside down in a cool, dry place or use a dehydrator.
Enjoying Your Homegrown Parsley
Now that you have a bountiful supply of fresh parsley, it’s time to get creative in the kitchen!
* Garnish: Use parsley as a garnish for soups, salads, and main dishes.
* Flavoring: Add parsley to sauces, stews, and omelets.
* Pesto: Make parsley pesto for pasta or sandwiches.
* Salads: Use parsley as a base for salads, like tabbouleh.
Growing parsley at home is a simple and rewarding experience. With a little care and attention, you’ll have a constant supply of fresh, flavorful parsley to enhance your culinary creations. Happy gardening!
Conclusion
So, there you have it! Growing parsley at home isn’t just a fun project; it’s a game-changer for your culinary adventures. Forget those sad, wilted bunches from the grocery store. Imagine stepping out to your own little herb garden and snipping fresh, vibrant parsley whenever you need it. The difference in flavor is truly remarkable. It’s brighter, more aromatic, and adds a depth of flavor to your dishes that you simply can’t achieve with dried or store-bought alternatives.
This DIY trick is a must-try because it empowers you to control the quality and freshness of your ingredients. You know exactly where your parsley is coming from and how it’s been cared for. Plus, it’s incredibly rewarding to nurture a plant from seed (or seedling) to harvest. There’s a certain satisfaction in knowing you grew that flavorful garnish yourself.
But the benefits don’t stop there. Growing your own parsley is also a cost-effective solution. A single packet of parsley seeds is far cheaper than buying bunches of parsley regularly. And once your plant is established, it will continue to produce for months, even years, depending on the variety and your climate.
Looking for variations? Consider growing different types of parsley! Flat-leaf parsley (also known as Italian parsley) is a workhorse in the kitchen, perfect for sauces, soups, and salads. Curly parsley adds a decorative touch and a slightly milder flavor. You can even experiment with growing parsley in containers of different sizes and materials to see what works best for your space. Try a terracotta pot for better drainage or a self-watering container for easier maintenance.
Another fun variation is companion planting. Parsley is known to be a good companion plant for tomatoes, peppers, and roses, as it can help repel certain pests. So, consider incorporating parsley into your existing garden beds.
Don’t be intimidated if you’ve never grown herbs before. Parsley is relatively easy to care for, especially if you follow the tips and tricks outlined in this article. Just remember to provide it with plenty of sunlight, well-draining soil, and regular watering.
We wholeheartedly encourage you to give this DIY trick a try. Start small, perhaps with a single pot of parsley, and see how it goes. We’re confident that you’ll be amazed by the results. Not only will you have a constant supply of fresh, flavorful parsley at your fingertips, but you’ll also discover the joy and satisfaction of growing your own food.
And most importantly, we want to hear about your experience! Share your photos, tips, and stories in the comments below. Let us know what worked for you, what challenges you faced, and any creative variations you tried. Together, we can create a community of parsley-growing enthusiasts and inspire others to embrace the joys of homegrown herbs. So, get your hands dirty, plant some seeds, and let the parsley magic begin!
Frequently Asked Questions (FAQ)
What is the best time of year to plant parsley?
The best time to plant parsley depends on your climate. In regions with mild winters, you can plant parsley in early spring or late summer/early fall. In colder climates, it’s best to start parsley indoors 6-8 weeks before the last expected frost and transplant it outdoors once the weather warms up. Parsley prefers cooler temperatures, so avoid planting it during the hottest months of summer. If you’re starting from seed, keep in mind that parsley seeds can be slow to germinate, so be patient. Soaking the seeds in water overnight before planting can help speed up the germination process.
How much sunlight does parsley need?
Parsley thrives in full sun, which means it needs at least 6 hours of direct sunlight per day. However, in hotter climates, it can benefit from some afternoon shade to prevent the leaves from scorching. If you’re growing parsley indoors, place it near a sunny window or use a grow light to provide adequate light. Insufficient sunlight can result in leggy growth and reduced flavor. Rotate your parsley plant regularly to ensure that all sides receive equal exposure to sunlight.
What kind of soil is best for growing parsley?
Parsley prefers well-draining soil that is rich in organic matter. A good potting mix for parsley should be a blend of peat moss, perlite, and vermiculite. You can also amend your garden soil with compost or well-rotted manure to improve its fertility and drainage. Parsley prefers a slightly acidic to neutral soil pH, ideally between 6.0 and 7.0. Avoid heavy clay soils, as they can retain too much moisture and lead to root rot.
How often should I water my parsley plant?
Parsley needs consistent moisture to thrive, but it doesn’t like to be waterlogged. Water your parsley plant when the top inch of soil feels dry to the touch. Water deeply, ensuring that the water reaches the roots. Avoid overhead watering, as this can promote fungal diseases. During hot, dry weather, you may need to water your parsley plant more frequently. Check the soil moisture regularly and adjust your watering schedule accordingly.
How do I harvest parsley?
You can start harvesting parsley once the plant has at least 6-8 leaves. To harvest, simply snip off the outer stems near the base of the plant. Avoid cutting off more than one-third of the plant at a time, as this can stress the plant and reduce its productivity. Regular harvesting encourages the plant to produce more leaves. You can use fresh parsley immediately or store it in the refrigerator for a few days. To store parsley, wrap it in a damp paper towel and place it in a plastic bag.
Can I grow parsley indoors?
Yes, you can definitely grow parsley indoors! Choose a pot that is at least 6 inches in diameter and has drainage holes. Use a good quality potting mix and place the pot near a sunny window or under a grow light. Water regularly and fertilize every few weeks with a balanced liquid fertilizer. Indoor parsley may not grow as vigorously as outdoor parsley, but it can still provide you with a steady supply of fresh herbs.
How do I prevent parsley from bolting?
Bolting is when a plant prematurely flowers and goes to seed. Parsley is more likely to bolt in hot weather. To prevent bolting, try to keep your parsley plant cool and well-watered. Provide afternoon shade during the hottest months of summer. You can also pinch off any flower buds that appear to encourage the plant to focus its energy on producing leaves.
What are some common pests and diseases that affect parsley?
Parsley is generally resistant to pests and diseases, but it can be susceptible to aphids, spider mites, and fungal diseases like powdery mildew. To prevent pest infestations, inspect your parsley plant regularly and remove any pests you find. You can also spray the plant with insecticidal soap or neem oil. To prevent fungal diseases, avoid overhead watering and ensure good air circulation around the plant. If you notice any signs of disease, remove the affected leaves immediately.
Can I freeze parsley?
Yes, freezing parsley is a great way to preserve it for later use. To freeze parsley, wash and dry the leaves thoroughly. Then, chop the parsley and place it in ice cube trays. Fill the trays with water or olive oil and freeze. Once the cubes are frozen, transfer them to a freezer bag or container. You can also freeze parsley by spreading the chopped leaves on a baking sheet and freezing them until solid. Then, transfer the frozen leaves to a freezer bag or container. Frozen parsley will retain its flavor for several months.
Is parsley a perennial or an annual?
Parsley is technically a biennial, which means it has a two-year life cycle. In the first year, it produces leaves, and in the second year, it flowers and goes to seed. However, parsley is often grown as an annual, as the leaves tend to become bitter after the plant flowers. In warmer climates, parsley may survive for more than two years. To keep your parsley plant producing flavorful leaves, pinch off any flower buds that appear.


Leave a Comment