

Growing Mint Indoors Lazy? Sounds like a contradiction, right? But trust me, it’s totally achievable! I know what you’re thinking: “Mint is a garden plant, it needs space and sunshine!” And while that’s true for sprawling mint patches outdoors, I’m here to tell you that you can enjoy fresh, fragrant mint leaves right from your windowsill, even if you’re, shall we say, *horticulturally challenged* (like I sometimes am!).
Mint has a rich history, dating back to ancient Egypt where it was used for medicinal purposes and in religious ceremonies. The Romans spread its cultivation throughout Europe, valuing it for its refreshing scent and digestive properties. Today, mint is a global favorite, adding zest to everything from teas and cocktails to savory dishes and desserts.
But let’s be honest, who has the time (or the green thumb!) to dedicate hours to meticulous gardening? That’s where these lazy-person-approved tricks come in. Imagine having fresh mint on hand whenever you need it, without the fuss of constant watering, weeding, or worrying about pests. Growing Mint Indoors Lazy style means enjoying all the benefits of this amazing herb with minimal effort. I’m going to share some simple, effective DIY hacks that will have you sipping minty mojitos and garnishing your dishes with homegrown goodness in no time. Get ready to unleash your inner (lazy) gardener!
Growing Mint Indoors: A Lazy Gardener’s Guide
Okay, let’s be honest, I love fresh mint. Mojitos, teas, salads – it elevates everything! But I’m also, shall we say, *not* the most diligent gardener. So, I’ve perfected a super easy, almost foolproof method for growing mint indoors. This guide is for all my fellow lazy gardeners out there who want fresh herbs without the fuss.
Choosing Your Mint and Container
Before we dive in, let’s talk about the basics. Not all mint is created equal, and your container choice matters more than you think!
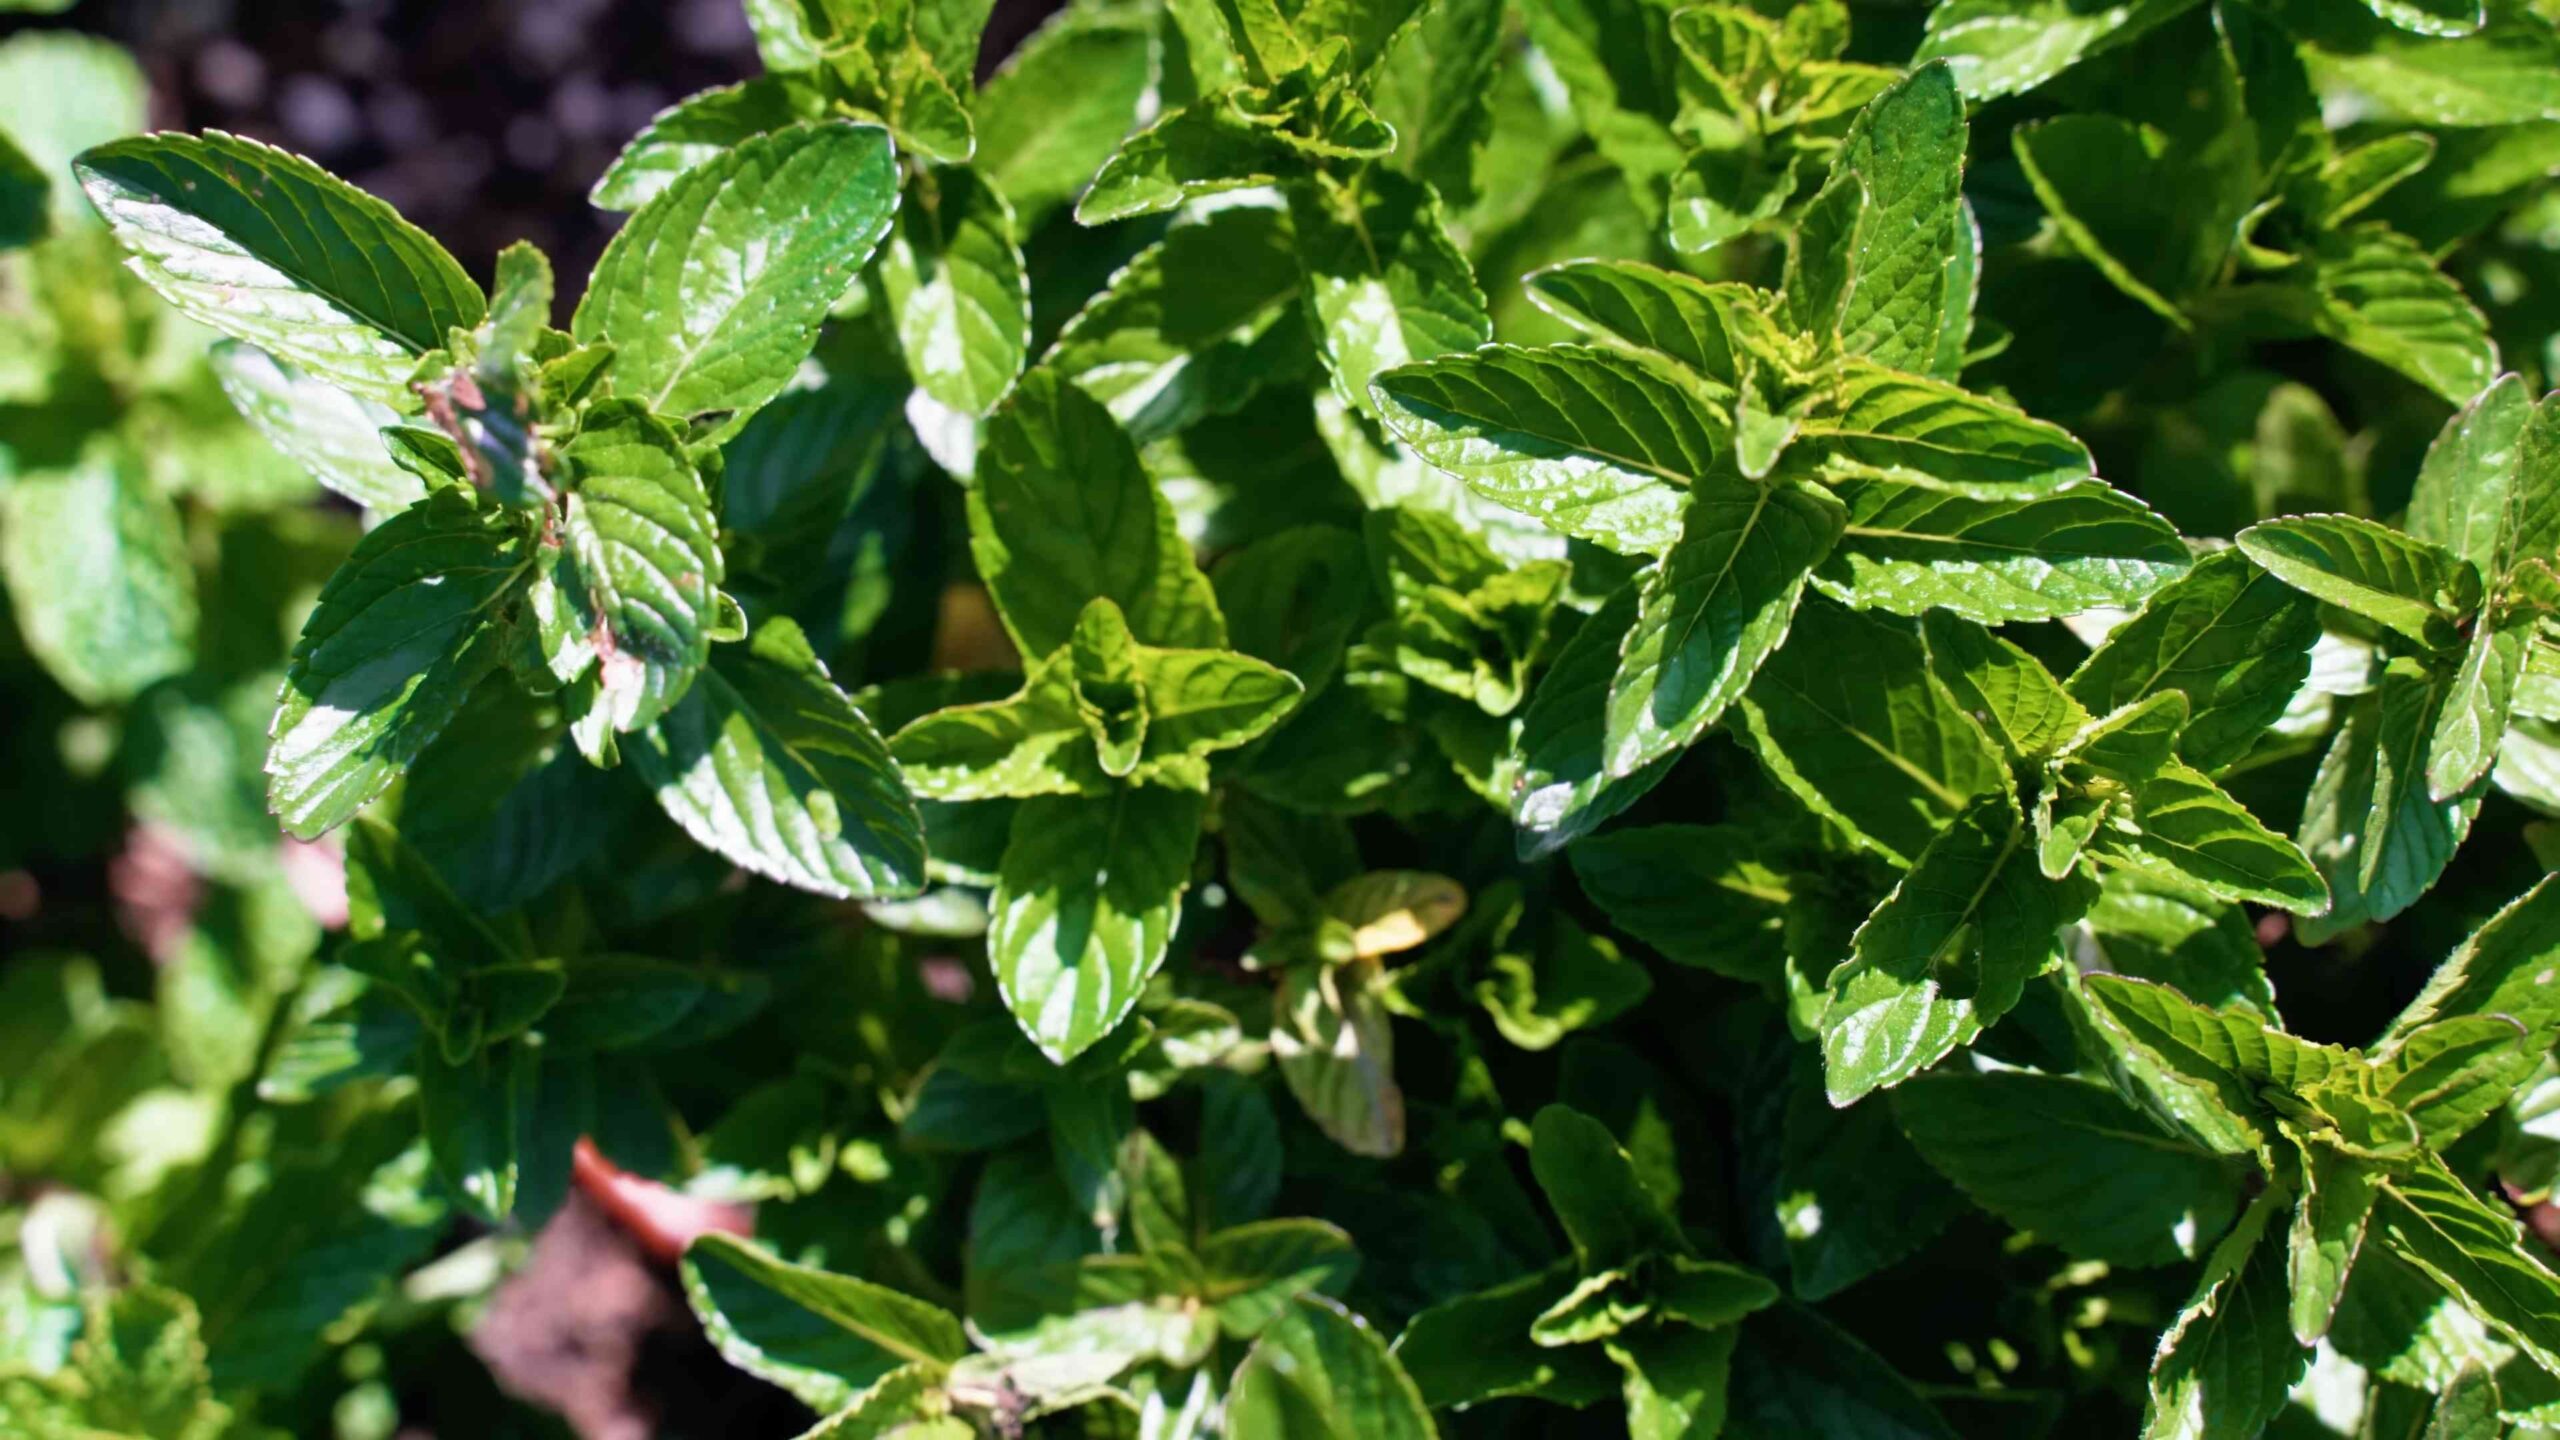
* Mint Variety: Spearmint and peppermint are the most common and easiest to grow indoors. Avoid more exotic varieties initially, as they can be a bit more finicky. I personally prefer spearmint for its sweeter, less intense flavor.
* Container Size: Aim for a pot that’s at least 6 inches in diameter and 6 inches deep. Mint spreads like crazy, so giving it room to grow is essential. A larger pot (8-10 inches) is even better!
* Drainage: This is non-negotiable. Your pot *must* have drainage holes. Mint hates sitting in soggy soil, which leads to root rot (and a very unhappy plant).
* Material: Plastic, terracotta, ceramic – it’s all good! Just make sure it’s clean. I often reuse old yogurt containers or plastic nursery pots.
Gathering Your Supplies
Here’s what you’ll need to get started. Don’t worry, most of it is stuff you probably already have!
* Mint Cuttings or a Small Plant: You can either start from cuttings (taken from a friend’s plant or purchased online) or buy a small mint plant from a nursery or grocery store. I’ve had success with both methods.
* Potting Mix: Use a good quality potting mix, not garden soil. Potting mix is lighter and provides better drainage.
* Watering Can or Spray Bottle: For watering, obviously!
* Scissors or Pruning Shears: For taking cuttings and trimming your plant.
* Optional: Rooting Hormone: If you’re starting from cuttings, rooting hormone can help speed up the process, but it’s not strictly necessary.
* Optional: Grow Light: If you don’t have a sunny spot, a grow light can be a lifesaver.
Starting from Cuttings: The Budget-Friendly Option
This is my preferred method because it’s basically free! Plus, it’s super satisfying to watch those little roots grow.
1. Take Your Cuttings: Using clean scissors or pruning shears, cut several stems from a healthy mint plant. Each cutting should be about 4-6 inches long. Make sure to cut just below a leaf node (the point where a leaf grows out of the stem).
2. Remove Lower Leaves: Gently remove the leaves from the bottom 1-2 inches of each cutting. This is important because those submerged leaves will rot.
3. Rooting in Water (My Favorite Method): Place the cuttings in a glass or jar filled with water. Make sure the water covers the nodes where you removed the leaves.
4. Find a Sunny Spot: Place the jar in a bright, indirect light location. Avoid direct sunlight, which can scorch the cuttings.
5. Change the Water Regularly: Change the water every 1-2 days to keep it fresh and prevent algae growth.
6. Wait for Roots: Within a week or two, you should start to see roots emerging from the nodes. Let the roots grow to about an inch long before planting.
7. Plant Your Cuttings: Once the roots are long enough, gently plant the cuttings in your prepared pot filled with potting mix. Space them about 2-3 inches apart.
8. Water Thoroughly: Water the newly planted cuttings thoroughly until water drains out of the bottom of the pot.
9. Keep the Soil Moist: Keep the soil consistently moist, but not soggy, for the first few weeks while the cuttings establish themselves.
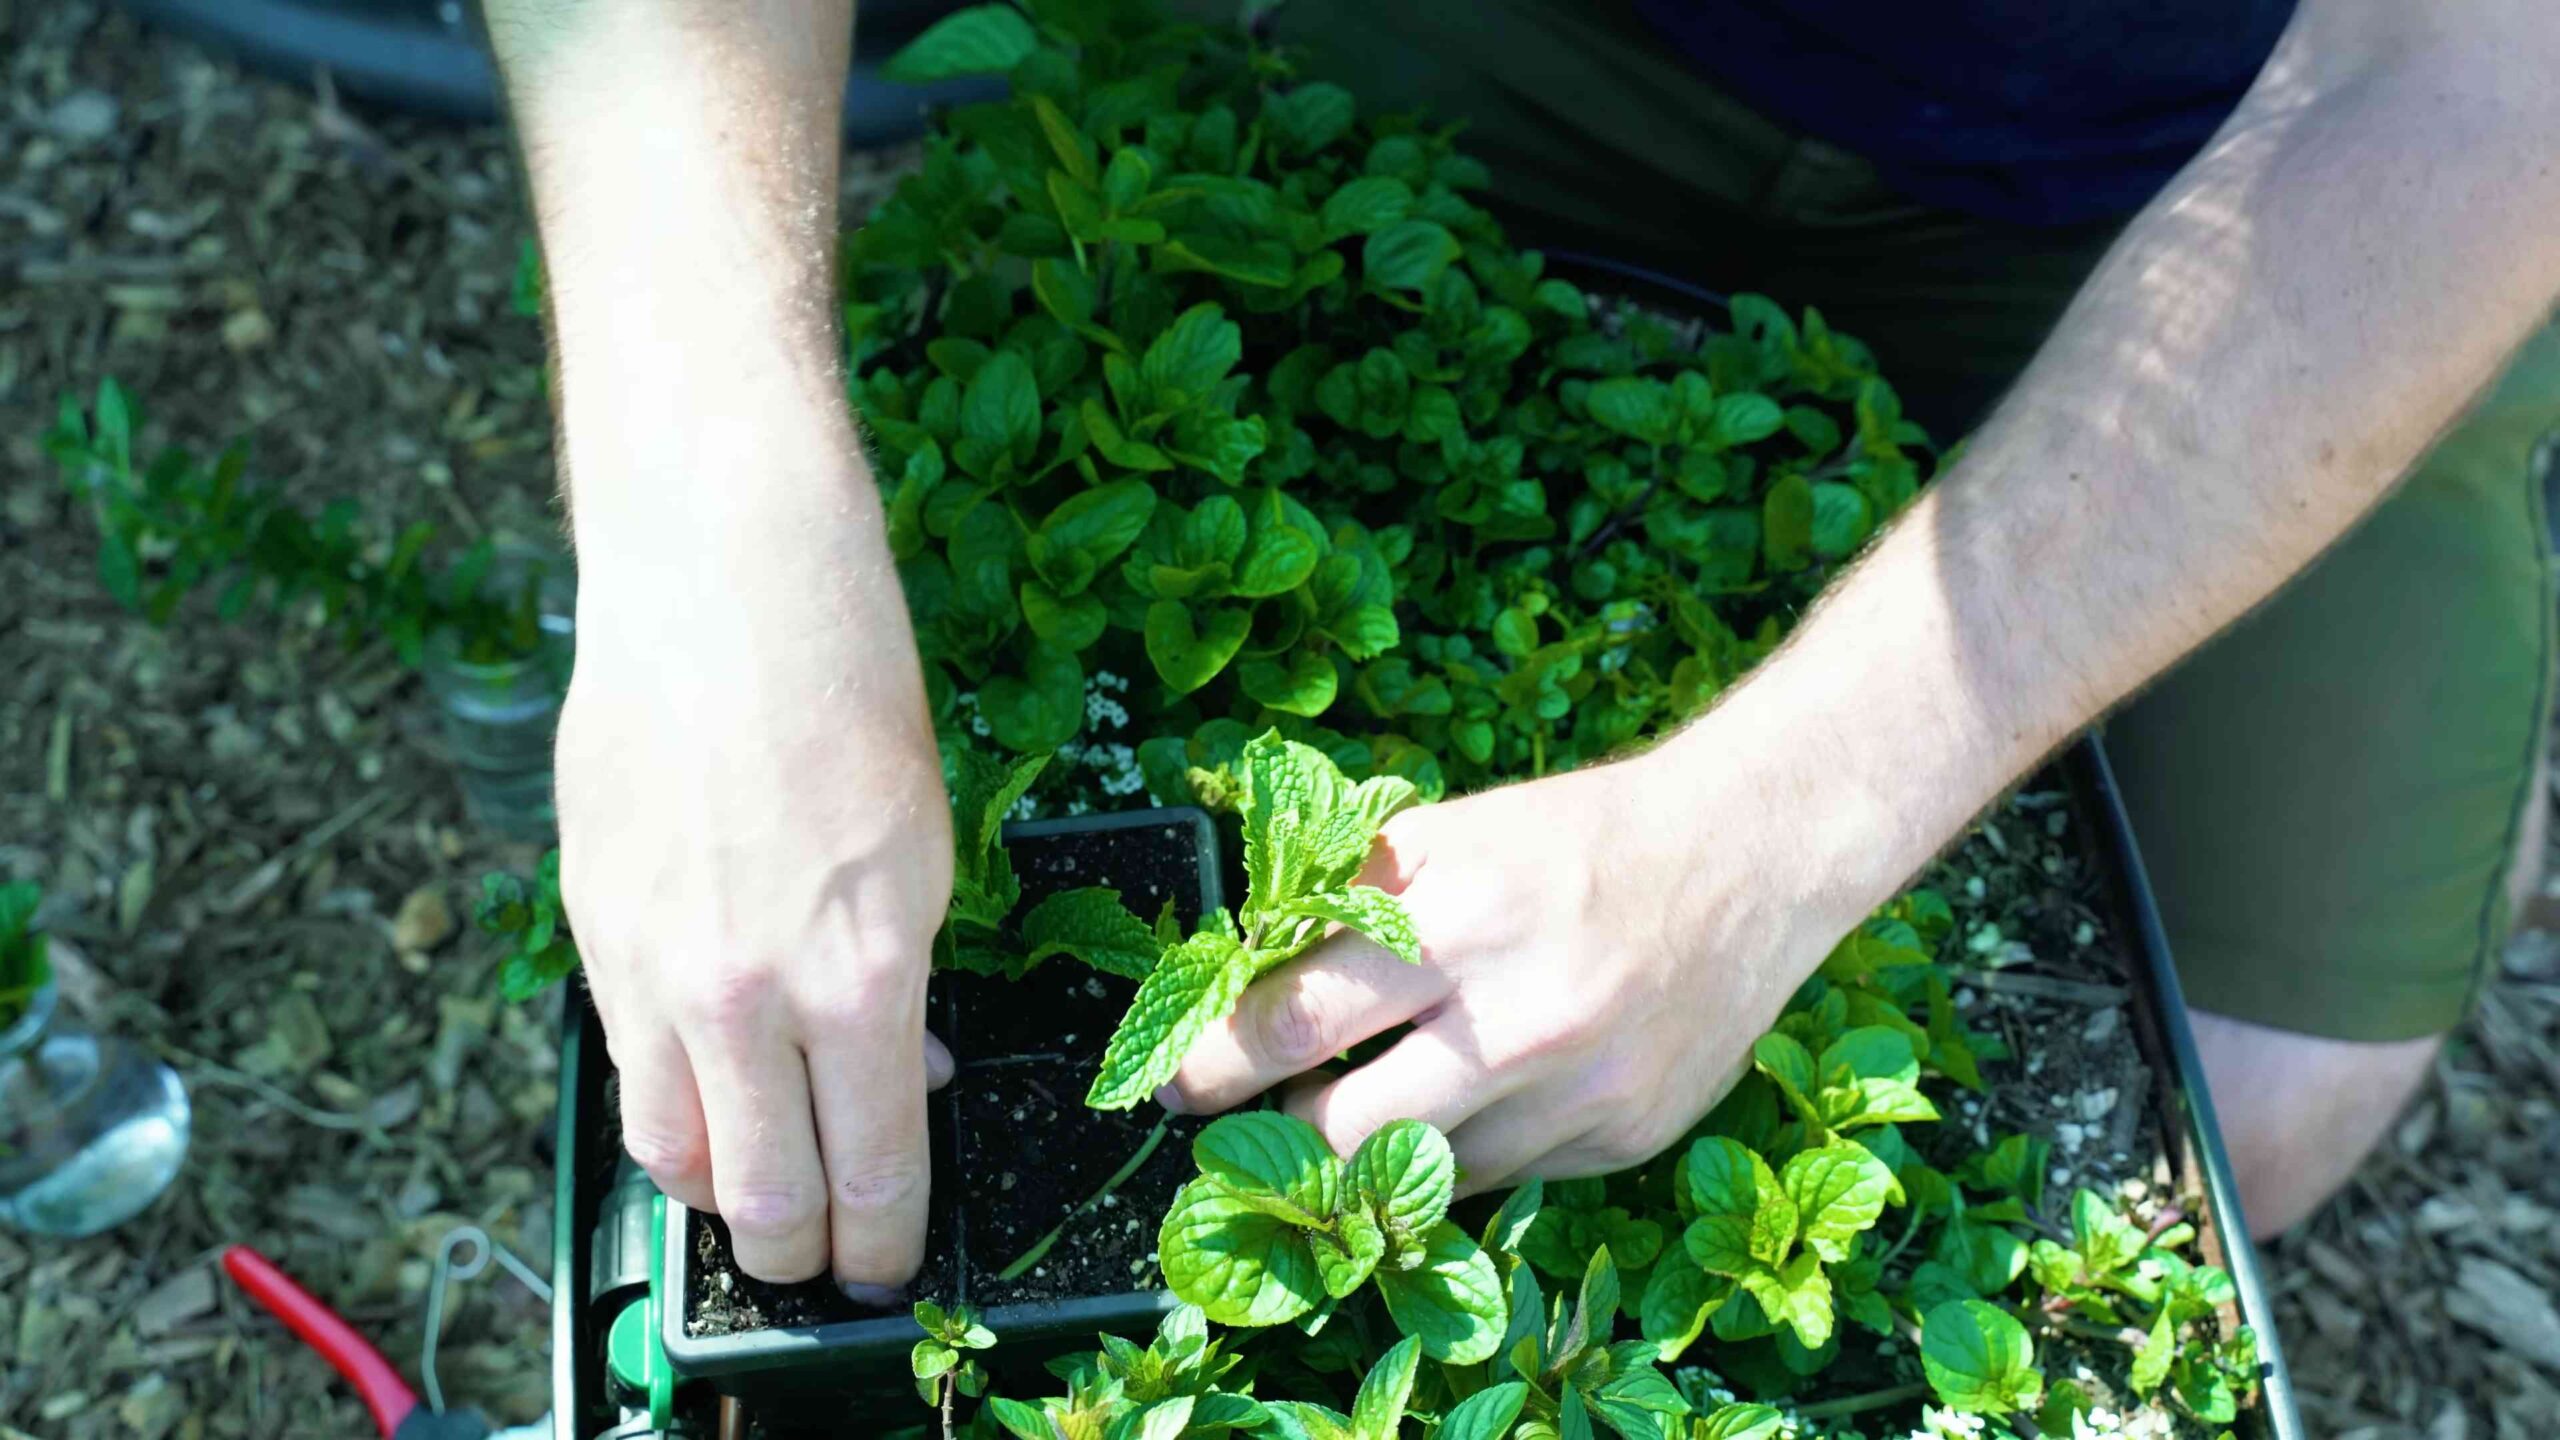
Planting a Mint Plant: The Quick and Easy Route
If you’re short on time or just want instant gratification, buying a small mint plant is the way to go.
1. Prepare Your Pot: Fill your chosen pot with potting mix, leaving about an inch of space at the top.
2. Remove the Plant from its Container: Gently squeeze the sides of the nursery pot to loosen the plant. Carefully remove the plant, trying to keep the root ball intact.
3. Loosen the Roots: Gently loosen the roots with your fingers. If the roots are tightly bound, you can carefully tease them apart.
4. Plant the Mint: Place the mint plant in the center of your prepared pot. Make sure the top of the root ball is level with the soil surface.
5. Fill with Potting Mix: Fill in the remaining space around the plant with potting mix.
6. Water Thoroughly: Water the plant thoroughly until water drains out of the bottom of the pot.
Caring for Your Indoor Mint: The Lazy Gardener’s Approach
This is where the “lazy” part comes in. Mint is pretty forgiving, but here are a few key things to keep in mind:
* Light: Mint loves bright, indirect light. A sunny windowsill is ideal, but avoid direct sunlight, especially during the hottest part of the day. If you don’t have a sunny spot, a grow light will work wonders. I use a simple LED grow light that clips onto my shelf.
* Watering: Keep the soil consistently moist, but not soggy. Water when the top inch of soil feels dry to the touch. Overwatering is a common mistake, so err on the side of underwatering. I usually water mine every 2-3 days, but it depends on the temperature and humidity.
* Humidity: Mint prefers slightly humid conditions. If your home is dry, you can increase humidity by misting the plant regularly or placing it on a tray filled with pebbles and water.
* Fertilizing: Mint isn’t a heavy feeder, but a little fertilizer can help it grow. I use a diluted liquid fertilizer every few weeks during the growing season (spring and summer).
* Pruning: This is crucial for keeping your mint plant healthy and productive. Regularly pinch off the top leaves to encourage bushier growth. Don’t be afraid to prune it back hard – mint is resilient!
* Pest Control: Keep an eye out for pests like aphids and spider mites. If you spot any, you can usually get rid of them by spraying the plant with a mixture of water and dish soap.
Harvesting Your Mint: The Best Part!
Now for the reward! Harvesting your mint is easy.
1. Harvest Regularly: The more you harvest, the more your mint will grow.
2. Pinch or Cut: Pinch off individual leaves or cut entire stems.
3. Use Fresh or Dry: Use your fresh mint immediately or dry it for later use. To dry mint, simply hang the stems upside down in a cool, dry place until the leaves are brittle.
Troubleshooting: Common Mint Problems and Solutions
Even with the best care, you might encounter a few problems. Here’s how to deal with them:
* Yellowing Leaves: This can be caused by overwatering, underwatering, or lack of nutrients. Check the soil moisture and adjust your watering accordingly. If the soil is dry, water thoroughly. If the soil is soggy, let it dry out before watering again. You can also try fertilizing the plant.
* Leggy Growth: This is usually a sign of insufficient light. Move your plant to a brighter location or use a grow light.
* Root Rot: This is caused by overwatering and poor drainage. Make sure your pot has drainage holes and avoid letting the plant sit in soggy soil. If you suspect root rot, you can try repotting the plant in fresh potting mix.
* Pests: As mentioned earlier, aphids and spider mites are common pests. Spray the plant with a mixture of water and dish soap or use an insecticidal soap.
Repotting: Giving Your Mint Room to Grow
Eventually, your mint plant will outgrow its pot. When this happens, it’s time to repot it into a larger container.
1. Choose a Larger Pot: Select a pot that’s 1-2 inches larger in diameter than the current pot.
2. Prepare the New Pot: Fill the new pot with potting mix, leaving about an inch of space at the top.
3. Remove the Plant from its Old Pot: Gently squeeze the sides of the old pot to loosen the plant. Carefully remove the plant, trying to keep the root ball intact.
4. Loosen the Roots: Gently loosen the roots with your fingers. If the roots
Conclusion
So, there you have it! Growing mint indoors lazily is not just a pipe dream; it’s an achievable reality. We’ve debunked the myth that you need a green thumb and endless hours to enjoy the fresh, vibrant flavor of homegrown mint. This method, prioritizing simplicity and minimal effort, allows even the busiest individuals to cultivate their own little patch of green goodness right on their windowsill.
Why is this DIY trick a must-try? Because it offers a multitude of benefits with minimal investment. Imagine stepping into your kitchen and snipping fresh mint leaves for your morning tea, a refreshing mojito, or a flavorful addition to your favorite dishes. No more last-minute grocery store runs or settling for wilted, lackluster herbs. You’ll have a constant supply of aromatic mint, bursting with flavor and ready to elevate your culinary creations. Beyond the culinary advantages, growing mint indoors adds a touch of natural beauty to your home, purifies the air, and provides a calming, therapeutic effect. The simple act of tending to your mint plant can be a mindful and rewarding experience, offering a welcome respite from the stresses of daily life.
But the beauty of this lazy approach lies in its adaptability. Feel free to experiment with different varieties of mint, such as peppermint, spearmint, or chocolate mint, to discover your personal favorite. You can also explore different containers, from repurposed jars to stylish planters, to match your home decor. Consider adding a self-watering system for even less maintenance, or using grow lights to supplement natural sunlight during the darker months. If you find your mint thriving, you can even propagate it to create more plants and share the joy with friends and family.
Don’t be afraid to get creative and personalize your mint-growing experience. The key is to find a method that works best for you and your lifestyle. Remember, the goal is to enjoy the benefits of fresh mint without feeling overwhelmed or burdened by complicated gardening techniques.
We wholeheartedly encourage you to try this lazy approach to growing mint indoors. It’s a simple, rewarding, and sustainable way to enhance your culinary experiences and bring a touch of nature into your home. Once you’ve given it a try, we’d love to hear about your experience! Share your tips, tricks, and photos in the comments below. Let’s create a community of lazy mint growers and inspire others to embrace the joy of homegrown herbs. What are you waiting for? Start growing your own mint today and discover the delicious possibilities!
Frequently Asked Questions (FAQ)
1. What kind of container should I use for growing mint indoors?
The best container for growing mint indoors is one that provides adequate drainage and is large enough to accommodate the plant’s root system. A pot that is at least 6 inches in diameter and 6 inches deep is generally recommended. You can use plastic, ceramic, or terracotta pots, but make sure they have drainage holes to prevent waterlogging. Repurposed containers like jars or cans can also work, but be sure to drill drainage holes in the bottom.
2. What type of soil is best for growing mint indoors?
Mint thrives in well-draining soil that is rich in organic matter. A good potting mix specifically formulated for herbs or vegetables is ideal. You can also create your own potting mix by combining equal parts of potting soil, perlite, and compost. Avoid using garden soil, as it can be too heavy and may contain pests or diseases.
3. How much sunlight does indoor mint need?
Mint needs at least 4-6 hours of sunlight per day to thrive. Place your mint plant near a sunny window that receives direct sunlight. If you don’t have a sunny window, you can supplement with grow lights. Position the grow lights about 6-12 inches above the plant and keep them on for 12-14 hours per day.
4. How often should I water my indoor mint plant?
Water your mint plant when the top inch of soil feels dry to the touch. Water thoroughly until excess water drains out of the drainage holes. Avoid overwatering, as this can lead to root rot. During the warmer months, you may need to water more frequently. In the winter, when the plant is not actively growing, you can reduce watering.
5. How do I fertilize my indoor mint plant?
Mint is a relatively light feeder, so you don’t need to fertilize it frequently. Fertilize your mint plant every 2-3 weeks during the growing season (spring and summer) with a balanced liquid fertilizer diluted to half strength. Avoid fertilizing during the winter months.
6. How do I harvest mint leaves?
You can start harvesting mint leaves once the plant is about 6 inches tall. Simply snip off the leaves or stems as needed. Regular harvesting encourages the plant to grow bushier. Avoid removing more than one-third of the plant at a time.
7. How do I prevent my mint from spreading too much?
Mint is known for its invasive nature, so it’s important to contain it when growing it indoors. The container itself will naturally limit its spread. If you notice runners (stems that grow horizontally along the surface of the soil), trim them back to prevent them from rooting and creating new plants.
8. What are some common pests and diseases that affect indoor mint?
Common pests that can affect indoor mint include aphids, spider mites, and whiteflies. These pests can be controlled with insecticidal soap or neem oil. Overwatering can lead to root rot, so make sure your plant has adequate drainage. Powdery mildew can also be a problem, especially in humid environments. Improve air circulation and avoid overhead watering to prevent powdery mildew.
9. Can I grow mint from cuttings?
Yes, you can easily propagate mint from cuttings. Simply take a 4-6 inch cutting from a healthy stem, remove the lower leaves, and place the cutting in a glass of water. Roots should develop within a week or two. Once the roots are about an inch long, you can transplant the cutting into a pot filled with potting mix.
10. My mint plant is looking leggy and sparse. What can I do?
Leggy and sparse growth can be caused by insufficient sunlight. Move your mint plant to a sunnier location or supplement with grow lights. You can also prune the plant back to encourage bushier growth. Pinch off the tips of the stems to promote branching.
11. Is it safe to eat mint that has been treated with pesticides?
It is generally not recommended to eat mint that has been treated with pesticides, especially if the pesticides are not specifically labeled for use on edible plants. If you need to use pesticides, choose organic options and follow the instructions carefully. Always wash the mint leaves thoroughly before eating.
12. Can I grow mint indoors year-round?
Yes, you can grow mint indoors year-round, provided you provide it with adequate sunlight, water, and nutrients. During the winter months, the plant may not grow as vigorously, but it should still produce enough leaves for your needs.
13. How do I overwinter my mint plant indoors?
If you have been growing mint outdoors in a container, you can bring it indoors for the winter. Before bringing it inside, prune the plant back to a few inches above the soil line. Place the plant in a cool, sunny location and water sparingly. Avoid fertilizing during the winter months.
14. What are some creative ways to use my homegrown mint?
The possibilities are endless! Use fresh mint to flavor teas, cocktails, and desserts. Add it to salads, soups, and sauces. Make mint jelly or mint syrup. Infuse it in water or oil. You can even use it to make homemade beauty products, such as mint-infused scrubs or toners.
15. How can I make my indoor mint plant more fragrant?
To enhance the fragrance of your indoor mint plant, gently rub the leaves between your fingers. This releases the essential oils and intensifies the aroma. You can also place the plant in a location where it will receive a gentle breeze, which will help to disperse the fragrance throughout the room.


Leave a Comment