

Salt and vinegar stain removal – sounds like a science experiment gone wrong, right? Actually, it’s your secret weapon for tackling those stubborn, everyday stains that seem impossible to get rid of! I know, I know, you’ve probably tried every commercial cleaner under the sun, and you’re starting to think that stain is just a permanent part of your life now. But before you resign yourself to a life of stained clothes and carpets, let me tell you about the magic of salt and vinegar.
This isn’t some newfangled cleaning fad; the power of vinegar, in particular, has been known for centuries! Ancient civilizations used it for everything from preserving food to disinfecting wounds. And salt? Well, it’s been a natural cleaning agent for just as long. Combining these two humble ingredients creates a potent, eco-friendly cleaning solution that’s surprisingly effective.
Why do you need this salt and vinegar stain removal trick in your arsenal? Because life happens! Spills, splatters, and unexpected messes are inevitable. Instead of reaching for harsh chemicals that can damage your fabrics and harm the environment, you can whip up a safe, affordable, and incredibly effective stain remover using ingredients you probably already have in your pantry. I’m going to show you exactly how to banish those pesky stains for good, saving you time, money, and a whole lot of frustration. Get ready to say goodbye to stains and hello to a cleaner, brighter home!
DIY Stain Removal: Banish Salt and Vinegar Stains Like a Pro!
Okay, so you’ve had a little mishap. Maybe you were enjoying some delicious fish and chips, or perhaps you were experimenting with a new salad dressing recipe. Whatever the reason, you’re now staring at a salt and vinegar stain, and you’re probably thinking, “Ugh, how am I going to get this out?” Don’t worry, I’ve been there! Salt and vinegar stains can seem intimidating, but with a few simple household items and a little elbow grease, you can tackle them head-on. I’m going to walk you through the best methods I’ve found for removing these pesky stains from various surfaces. Let’s get started!
Understanding the Enemy: Salt and Vinegar Stains
Before we dive into the cleaning process, it’s helpful to understand what we’re dealing with. Salt and vinegar stains are a combination of two common household ingredients, each with its own staining properties. Vinegar, being acidic, can sometimes affect dyes or finishes, while salt can leave behind a residue. The key is to act quickly and use the right techniques to neutralize and remove both components.
General Supplies You’ll Need
No matter what surface you’re cleaning, you’ll likely need these basics:
* Clean white cloths or paper towels (avoid colored cloths, as the dye could transfer)
* Warm water
* Mild dish soap (something gentle, like Dawn)
* Baking soda (a natural deodorizer and mild abrasive)
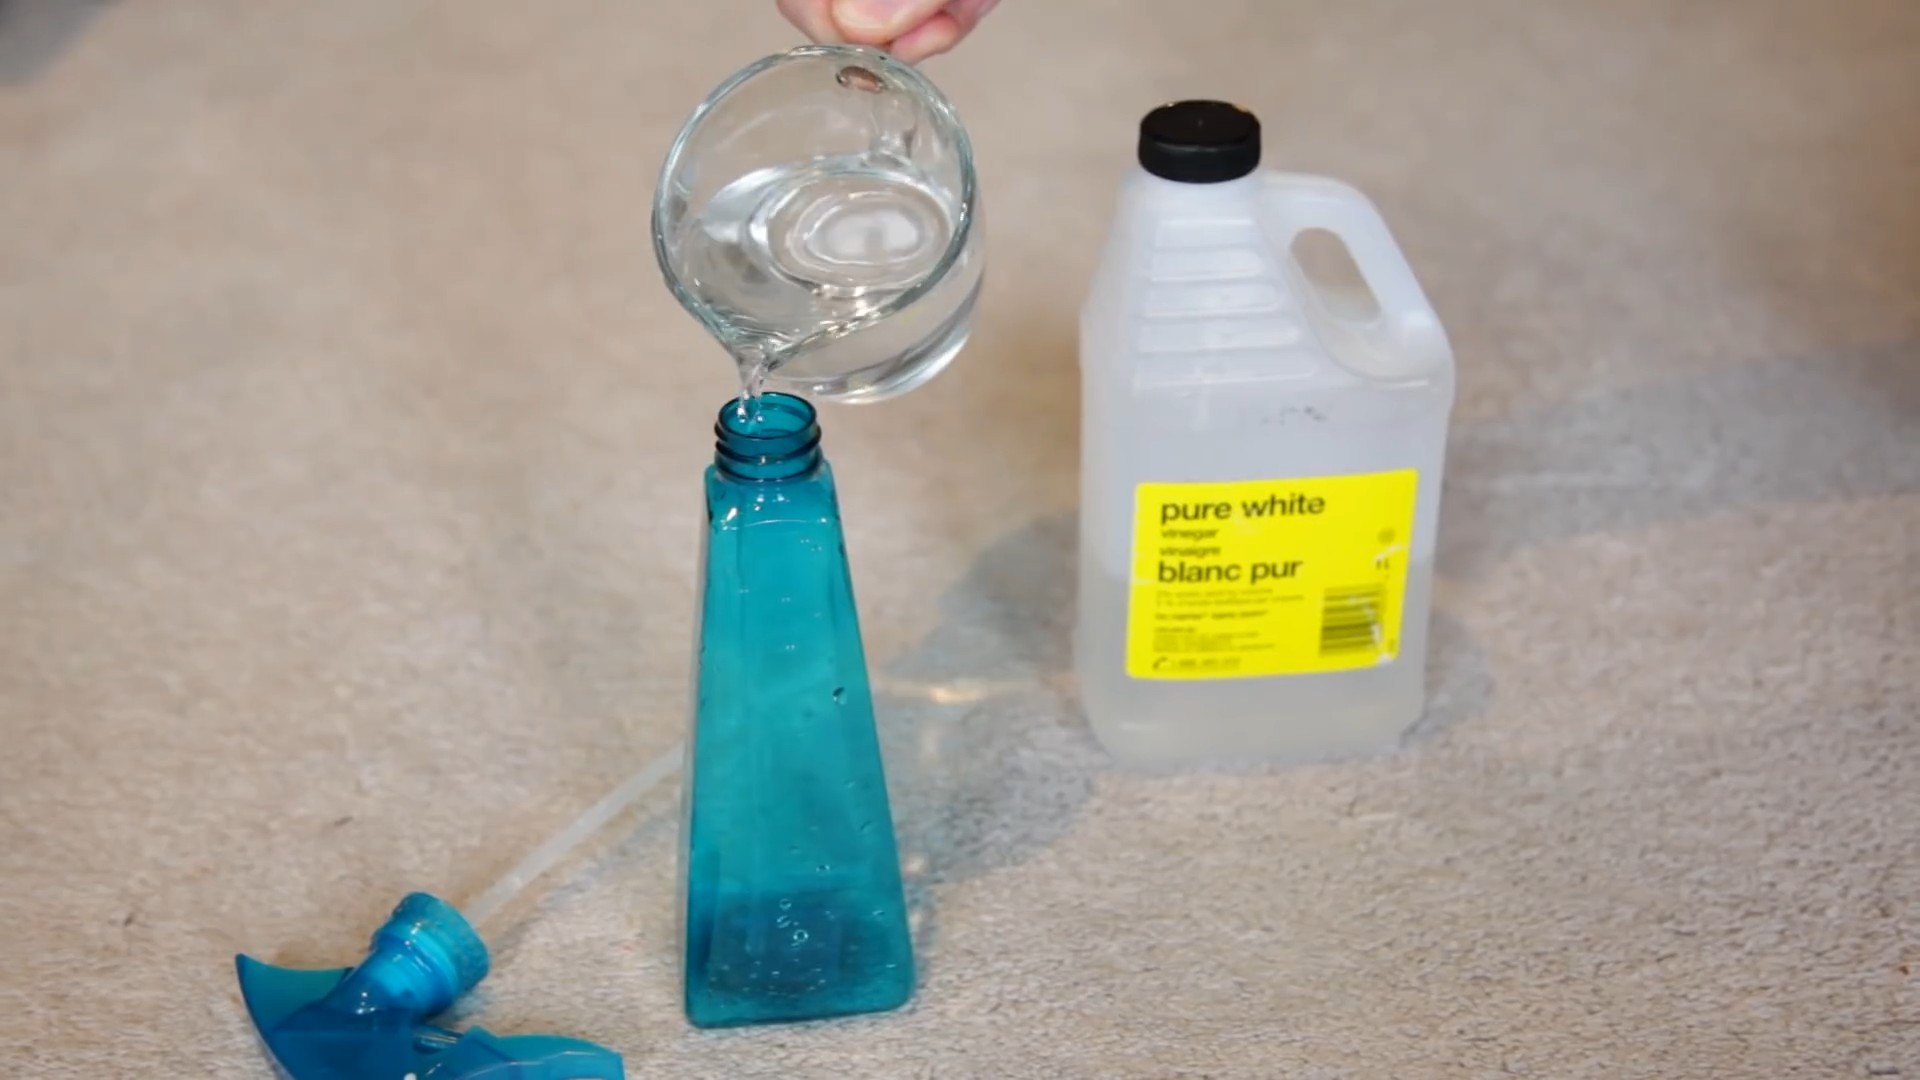
* White vinegar (yes, more vinegar! But this time, we’re using it to clean, not stain!)
* Spray bottle (optional, but handy for applying solutions)
* Soft-bristled brush (an old toothbrush works great)
* Vacuum cleaner (for carpets and upholstery)
Tackling Salt and Vinegar Stains on Clothing
Clothing is probably the most common victim of salt and vinegar spills. Here’s how I handle them:
1. Act Fast! The sooner you treat the stain, the better. Blot up as much of the excess liquid as possible with a clean cloth or paper towel. Don’t rub, as this can spread the stain.
2. Rinse the Area: Hold the stained area under cool running water. This helps to dilute the stain and prevent it from setting.
3. Pre-Treat with Dish Soap: Apply a small amount of mild dish soap directly to the stain. Gently rub the fabric together to work the soap into the fibers.
4. Soak in Cold Water: Fill a basin or sink with cold water and add a tablespoon of white vinegar. Submerge the garment in the solution and let it soak for at least 30 minutes. For stubborn stains, you can soak it overnight.
5. Launder as Usual: After soaking, wash the garment in your washing machine according to the care label instructions. Use a good quality laundry detergent.
6. Air Dry: Do not put the garment in the dryer until you’re sure the stain is completely gone. Heat can set the stain, making it much harder to remove. Air dry the garment on a clothesline or drying rack. If the stain persists, repeat steps 3-6 before drying.
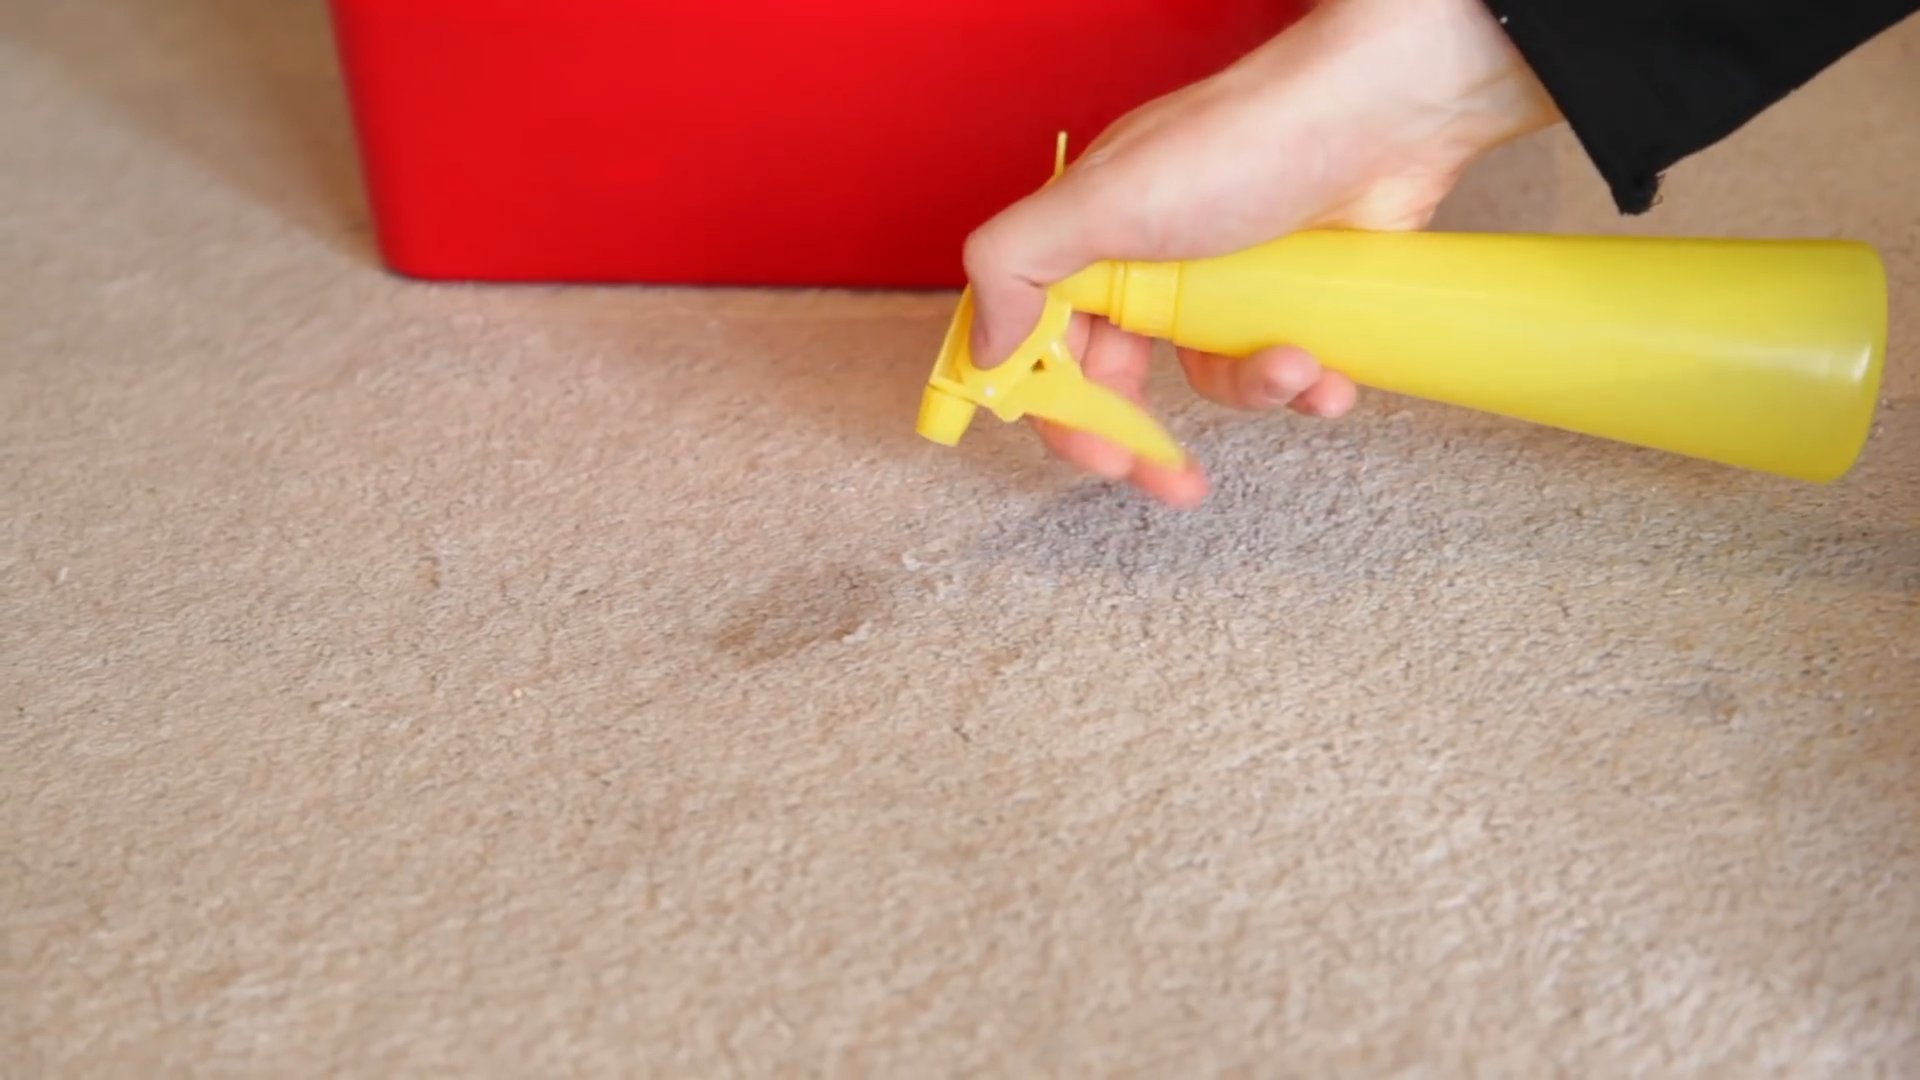
Removing Salt and Vinegar Stains from Carpets and Rugs
Carpet stains can be tricky, but don’t despair! Here’s my go-to method:
1. Blot, Blot, Blot! As with clothing, the first step is to blot up as much of the excess liquid as possible with a clean cloth or paper towel. Apply pressure to absorb the liquid, but avoid rubbing.
2. Prepare a Cleaning Solution: Mix one teaspoon of mild dish soap with one cup of warm water.
3. Test in an Inconspicuous Area: Before applying the solution to the stain, test it in a hidden area of the carpet to make sure it doesn’t cause any discoloration.
4. Apply the Solution: Dip a clean cloth into the cleaning solution and gently blot the stain. Work from the outside of the stain towards the center to prevent it from spreading.
5. Rinse with Clean Water: Once you’ve blotted the stain with the cleaning solution, rinse the area with a clean, damp cloth. This will remove any soap residue.
6. Dry the Area: Blot the area with a clean, dry cloth to absorb as much moisture as possible. You can also use a fan to speed up the drying process.
7. Sprinkle with Baking Soda: Once the area is dry, sprinkle it with baking soda. This will help to absorb any remaining odors and moisture.
8. Vacuum Thoroughly: After a few hours (or overnight), vacuum the area thoroughly to remove the baking soda.
Dealing with Salt and Vinegar Stains on Upholstery
Upholstery requires a gentler approach than carpets, but the principles are the same:
1. Blot Immediately: As always, start by blotting up as much of the excess liquid as possible with a clean cloth or paper towel.
2. Prepare a Mild Cleaning Solution: Mix one teaspoon of mild dish soap with two cups of cool water.
3. Test in a Hidden Area: Test the solution on an inconspicuous area of the upholstery to ensure it doesn’t damage the fabric.
4. Apply the Solution: Dip a clean cloth into the cleaning solution and gently blot the stain. Avoid rubbing, as this can damage the upholstery fibers.
5. Rinse with Clean Water: Use a clean, damp cloth to rinse the area and remove any soap residue.
6. Dry the Area: Blot the area with a clean, dry cloth to absorb as much moisture as possible. You can also use a fan to speed up the drying process.
7. Allow to Air Dry Completely: Let the upholstery air dry completely before using it. Avoid using heat, as this can set the stain.
Removing Salt and Vinegar Stains from Hard Surfaces (Wood, Tile, Countertops)
Hard surfaces are generally easier to clean, but it’s still important to use the right techniques to avoid damaging the finish:
1. Wipe Up the Spill: Immediately wipe up the spill with a clean cloth or paper towel.
2. Clean with a Mild Solution: For most hard surfaces, a simple solution of warm water and a few drops of mild dish soap will do the trick.
3. Wipe Clean: Wipe the surface with the soapy solution, then rinse with a clean, damp cloth.
4. Dry Thoroughly: Dry the surface with a clean, dry cloth.
5. For Stubborn Stains on Wood: If the stain persists on wood, you can try using a paste of baking soda and water. Apply the paste to the stain, let it sit for a few minutes, and then gently wipe it away with a damp cloth. Be sure to test the paste in an inconspicuous area first to make sure it doesn’t damage the finish.
6. For Tile and Countertops: For tile and countertops, you can use a slightly stronger cleaning solution, such as a mixture of white vinegar and water (equal parts). Apply the solution to the stain, let it sit for a few minutes, and then wipe it away with a damp cloth.
A Word of Caution: Materials to Be Careful With
While these methods are generally safe, there are a few materials that require extra caution:
* Silk: Silk is a delicate fabric that can be easily damaged by harsh cleaning solutions. If you spill salt and vinegar on silk, it’s best to take it to a professional cleaner.
* Leather: Leather can also be damaged by harsh cleaning solutions. If you spill salt and vinegar on leather, blot up the spill immediately and then use a leather cleaner and conditioner to restore the leather’s moisture and shine.
* Delicate Wood Finishes: Antique furniture or pieces with delicate finishes should be treated with extreme care. Always test any cleaning solution in an inconspicuous area first, and consider consulting a professional furniture restorer if you’re unsure.
Preventing Future Stains
Okay, so you’ve successfully removed the stain. Now, let’s talk about prevention! Here are a few tips to help you avoid future salt and vinegar mishaps:
* Be Careful When Handling Salt and Vinegar: Pay attention when you’re using salt and vinegar, especially around fabrics and carpets.
* Use Placemats and Coasters: Protect your furniture by using placemats and coasters.
* Clean Up Spills Immediately: The sooner you clean up a spill, the easier it will be to remove the stain.
* Consider Stain-Resistant Treatments: For carpets and upholstery, consider applying a stain-resistant treatment to help protect them from future spills.
Final Thoughts
Removing salt and vinegar stains can be a bit of a process, but with the right techniques and a little patience, you can restore your belongings to their former glory. Remember to act quickly, use gentle cleaning solutions, and always test in an inconspicuous area first
Conclusion
So, there you have it! This simple yet incredibly effective salt and vinegar stain removal trick is a game-changer for anyone battling stubborn stains. Forget harsh chemicals and expensive stain removers that promise the world but often fall short. This DIY solution is not only budget-friendly and readily accessible, using ingredients you likely already have in your pantry, but it’s also a gentler alternative for your fabrics and the environment.
Why is this a must-try? Because it works! The acidity of the vinegar helps to break down the stain, while the salt acts as a mild abrasive, lifting the discoloration away from the fibers. It’s a powerful combination that tackles a wide range of stains, from everyday spills to more challenging marks.
But the beauty of this method lies in its adaptability. Feel free to experiment with variations to suit your specific needs. For instance, for particularly stubborn stains, you can create a paste of salt and vinegar and let it sit on the affected area for a longer period before scrubbing. You can also add a few drops of lemon juice to the mixture for an extra boost of stain-fighting power and a pleasant citrus scent. If you’re dealing with a delicate fabric, dilute the vinegar with water to prevent any potential damage. Always test the solution on an inconspicuous area first to ensure colorfastness.
Consider using different types of salt too. While regular table salt works perfectly well, coarse sea salt can provide a more abrasive scrubbing action for tougher stains. Just be mindful of the fabric you’re working with and avoid using overly abrasive salts on delicate materials.
This salt and vinegar stain removal method isn’t just about removing stains; it’s about empowering you to take control of your cleaning routine and embrace a more sustainable and cost-effective approach. It’s about knowing that you have a reliable solution at your fingertips, ready to tackle any unexpected spills or mishaps.
We wholeheartedly encourage you to give this DIY trick a try. You’ll be amazed at the results! And once you’ve experienced the magic of salt and vinegar stain removal, we’d love to hear about your experience. Share your before-and-after photos, your tips and tricks, and any variations you’ve discovered in the comments below. Let’s build a community of stain-fighting experts and help each other keep our homes looking their best, naturally! Your insights could be invaluable to others who are struggling with similar stain problems. Don’t hesitate to share your successes and even your challenges – we’re all learning together. Let us know what kind of stains you tackled, what fabrics you used the solution on, and any adjustments you made to the method. Your feedback will help us refine this guide and make it even more helpful for everyone. So go ahead, unleash the power of salt and vinegar, and say goodbye to stubborn stains for good!
Frequently Asked Questions (FAQs)
1. What types of stains does the salt and vinegar stain removal method work best on?
This method is surprisingly versatile and effective on a wide range of stains. It works particularly well on:
* Food stains (coffee, tea, juice, sauces, berries)
* Drink stains (wine, soda)
* Mildew stains
* Sweat stains
* Dirt and mud stains
* Some types of ink stains (test first!)
However, it’s important to note that the effectiveness can vary depending on the age and severity of the stain, as well as the type of fabric. For older, set-in stains, you may need to repeat the process or try a stronger solution. For oil-based stains, you might need to pre-treat with a degreasing agent before using the salt and vinegar method.
2. Is this method safe for all types of fabrics?
While generally safe, it’s crucial to exercise caution and test the solution on an inconspicuous area of the fabric before applying it to the entire stain. This is especially important for delicate fabrics like silk, wool, and linen. The acidity of the vinegar can potentially damage or discolor these materials.
If you’re unsure about the fabric’s compatibility, dilute the vinegar with water (e.g., a 1:1 ratio) to reduce its strength. You can also use white vinegar, which is less likely to cause discoloration than other types of vinegar. Always rinse the treated area thoroughly with water after applying the solution to remove any residual vinegar.
3. How long should I leave the salt and vinegar solution on the stain?
The ideal dwell time depends on the severity of the stain. For fresh, minor stains, a few minutes may be sufficient. For more stubborn or set-in stains, you can leave the solution on for up to 30 minutes or even an hour. However, it’s essential to monitor the fabric closely and avoid leaving the solution on for too long, as this could potentially damage the fibers.
After the dwell time, gently scrub the area with a soft brush or cloth and rinse thoroughly with water. If the stain persists, repeat the process or try a different stain removal method.
4. Can I use this method on colored fabrics? Will it cause fading?
Vinegar can sometimes cause fading on colored fabrics, especially if the colors are not colorfast. That’s why it’s so important to test the solution on an inconspicuous area first. If you notice any color bleeding or fading, dilute the vinegar with water or use a different stain removal method altogether.
You can also try adding a small amount of salt to the solution, as salt can help to set the colors and prevent fading. However, always proceed with caution and monitor the fabric closely.
5. What kind of vinegar should I use?
White vinegar is generally the best choice for stain removal, as it’s clear and less likely to cause discoloration than other types of vinegar, such as apple cider vinegar or balsamic vinegar. However, if you don’t have white vinegar on hand, you can use apple cider vinegar as a substitute, but be sure to dilute it with water to reduce its acidity. Avoid using colored vinegars, as they can potentially stain the fabric.
6. What if the stain is still visible after using the salt and vinegar method?
If the stain persists after using the salt and vinegar method, don’t despair! You can try repeating the process or try a different stain removal technique. For particularly stubborn stains, you might need to pre-treat the area with a stain remover specifically designed for that type of stain. You can also try soaking the fabric in a solution of water and laundry detergent before washing it.
In some cases, professional stain removal may be necessary. If you’ve tried everything and the stain is still visible, it’s best to take the item to a dry cleaner or stain removal specialist.
7. Can I use this method on upholstery or carpets?
Yes, you can use the salt and vinegar method on upholstery and carpets, but it’s crucial to be extra careful to avoid over-wetting the fabric. Over-wetting can lead to mold and mildew growth, as well as damage to the underlying padding.
When cleaning upholstery or carpets, apply the salt and vinegar solution sparingly and blot the area with a clean cloth to absorb any excess moisture. You can also use a wet/dry vacuum to extract the solution from the fabric. Be sure to allow the area to dry completely before using it again.
8. Does the salt and vinegar stain removal method work on old or set-in stains?
While the salt and vinegar method is most effective on fresh stains, it can also work on old or set-in stains, but it may require more effort and patience. For older stains, you may need to repeat the process several times or let the solution sit on the stain for a longer period. You can also try using a stronger concentration of vinegar or adding a few drops of lemon juice to the mixture for an extra boost of stain-fighting power.
However, it’s important to manage your expectations, as some old or set-in stains may be impossible to remove completely.
9. Is there anything else I can add to the salt and vinegar solution to make it more effective?
Yes, there are a few other ingredients you can add to the salt and vinegar solution to enhance its stain-fighting power. Lemon juice, as mentioned earlier, is a great addition for its natural bleaching properties and pleasant scent. Baking soda can also be added to create a paste that’s effective on certain types of stains. Hydrogen peroxide can be used for whitening and stain removal, but it should be used with caution, as it can potentially damage or discolor some fabrics. Always test any new additions on an inconspicuous area first.
10. How do I prevent stains from happening in the first place?
Prevention is always better than cure! Here are a few tips to help you prevent stains from happening in the first place:
* Act quickly: The sooner you treat a stain, the easier it will be to remove.
* Blot, don’t rub: Rubbing a stain can spread it and make it more difficult to remove.
* Use placemats and coasters: These can help to protect your furniture from spills and stains.
* Wear an apron: This can help to protect your clothes from food stains while cooking.
* Clean up spills immediately: Don’t let spills sit and soak into the fabric.
* Consider stain-resistant fabrics: When purchasing new furniture or clothing, look for fabrics that are treated with stain-resistant finishes.


Leave a Comment