

Baking Soda Rust Removal: Are you tired of seeing unsightly rust spots marring your favorite garden tools, outdoor furniture, or even your beloved vintage finds? I know I am! Before you resign yourself to replacing them or spending a fortune on harsh chemicals, let me let you in on a little secret – a common household ingredient holds the key to restoring your rusty treasures.
For generations, baking soda has been a staple in homes, not just for baking, but for a myriad of cleaning and deodorizing purposes. Its mild abrasive properties make it a surprisingly effective and gentle rust remover. Think of your grandmother’s cleaning tips – chances are, baking soda was a star player! This isn’t just some newfangled trend; it’s a time-tested solution that’s both eco-friendly and budget-friendly.
Why is mastering baking soda rust removal so important? Because rust doesn’t just look bad; it weakens metal, leading to eventual failure and costly replacements. By learning this simple DIY trick, you can extend the life of your valuable possessions, save money, and avoid contributing to unnecessary waste. Plus, it’s incredibly satisfying to watch that stubborn rust disappear with just a little elbow grease and the magic of baking soda. Let’s dive in and discover how to banish rust for good!
DIY Baking Soda Rust Removal: A Comprehensive Guide
Hey there, fellow DIY enthusiasts! Rust, that pesky orange menace, can ruin the look of your favorite tools, garden furniture, and even your car. But don’t despair! Before you toss those rusty items, let me show you a simple, effective, and budget-friendly way to remove rust using the magic of baking soda. Yes, that same baking soda you use for baking and cleaning can also be a powerful rust remover. I’ve personally used this method countless times, and I’m excited to share my secrets with you.
What You’ll Need
Before we dive in, let’s gather our supplies. This is a pretty straightforward project, so you probably already have most of these items lying around:
* Baking Soda: The star of the show! Make sure you have enough to create a thick paste.
* Water: To mix with the baking soda.
* Mixing Bowl or Container: For preparing the baking soda paste.
* Spoon or Stirring Stick: To mix the paste.
* Wire Brush or Scrub Pad: For scrubbing away the rust. A wire brush is best for heavily rusted items, while a scrub pad is gentler for more delicate surfaces.
* Gloves: To protect your hands. Rust can be a bit messy.
* Safety Glasses: To protect your eyes from flying rust particles.
* Clean Rags or Towels: For wiping away the paste and drying the item.
* Optional: White Vinegar or Lemon Juice: For extra stubborn rust.
* Optional: Rust Inhibitor or Protective Coating: To prevent future rust.
Preparing the Baking Soda Paste
Okay, let’s get started with the most important part: creating the rust-busting paste!
1. Mix Baking Soda and Water: In your mixing bowl, gradually add water to the baking soda, stirring continuously. You want to achieve a thick, spreadable paste. The consistency should be similar to toothpaste. If you add too much water, just add more baking soda until you get the right consistency. I usually start with about a quarter cup of baking soda and add water a tablespoon at a time.
2. Adjust Consistency (If Needed): If the paste is too thick, it will be difficult to apply. If it’s too thin, it won’t cling to the rusted surface. Adjust the amount of water or baking soda until you reach the perfect consistency.
3. Optional: Add Vinegar or Lemon Juice (For Stubborn Rust): If you’re dealing with particularly stubborn rust, you can add a tablespoon or two of white vinegar or lemon juice to the paste. The acidity will help to break down the rust. Be careful when using vinegar or lemon juice on certain metals, as they can cause discoloration. Always test in an inconspicuous area first.
Applying the Baking Soda Paste
Now that we have our magical paste, let’s apply it to the rusted item.
1. Prepare the Rusted Item: Before applying the paste, remove any loose rust or debris with a wire brush or scrub pad. This will help the baking soda paste to penetrate the rust more effectively. You can also wash the item with soap and water to remove any dirt or grease. Make sure the item is dry before applying the paste.
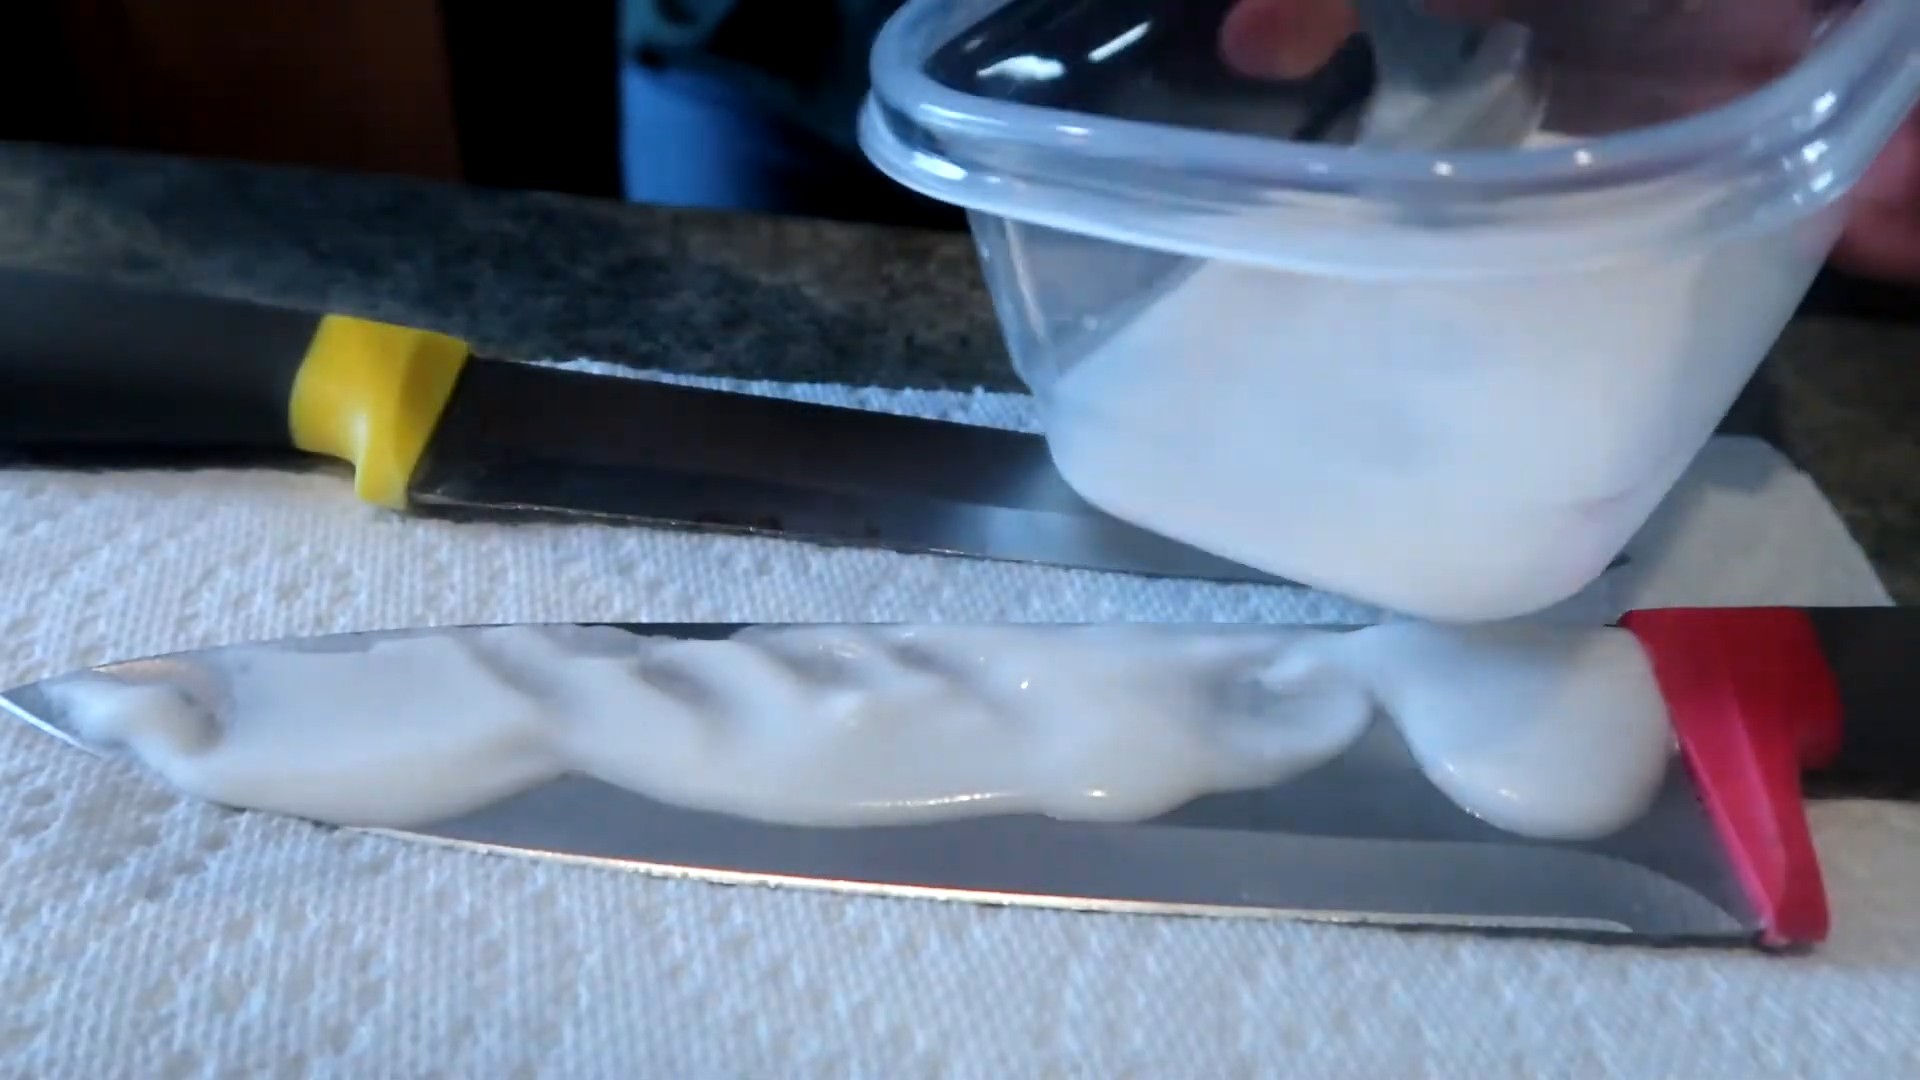
2. Apply the Paste Generously: Using your fingers or a spoon, apply a thick layer of the baking soda paste to the rusted areas. Make sure to cover all the rust completely. Don’t be shy – the more paste you apply, the better the results will be.
3. Let the Paste Sit: This is where patience comes in. Allow the baking soda paste to sit on the rusted surface for at least 30 minutes. For heavily rusted items, you can let it sit for several hours or even overnight. The longer the paste sits, the more time it has to break down the rust. I usually leave it overnight for really tough rust.
Scrubbing Away the Rust
After letting the paste sit, it’s time to get scrubbing!
1. Scrub with a Wire Brush or Scrub Pad: Using a wire brush or scrub pad, scrub the rusted areas vigorously. Apply firm pressure and work in circular motions. You should see the rust starting to loosen and flake off.
2. Rinse and Repeat (If Necessary): As you scrub, rinse the area with water to remove the loosened rust and baking soda paste. If the rust is particularly stubborn, you may need to repeat the application and scrubbing process. Don’t give up! Keep scrubbing until you’ve removed as much rust as possible.
3. Use a Toothbrush for Tight Spots: For hard-to-reach areas or intricate details, use an old toothbrush to scrub away the rust. The smaller bristles can get into those tight spots and remove the rust more effectively.
Final Touches and Protection
Once you’ve removed the rust, it’s time to give your item a final clean and protect it from future rust.
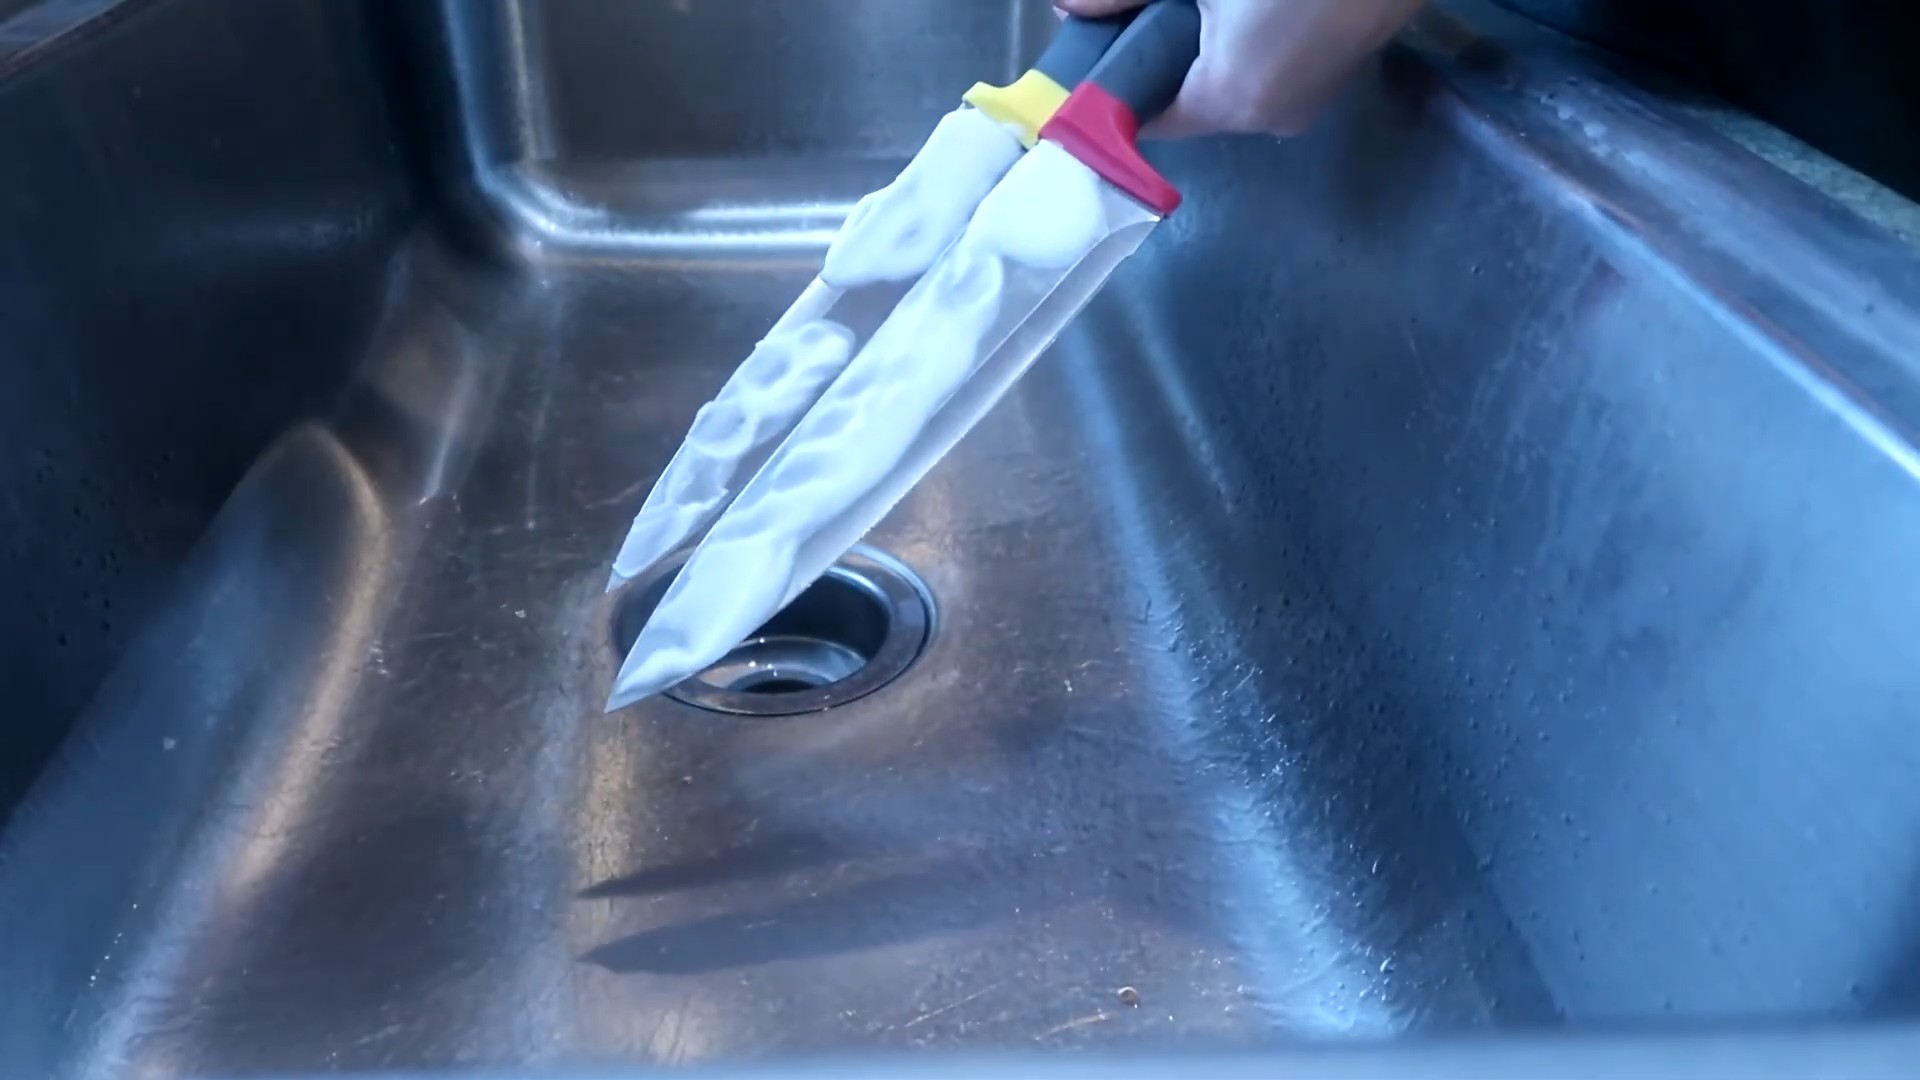
1. Rinse Thoroughly: Rinse the item thoroughly with water to remove any remaining baking soda paste and rust particles.
2. Dry Completely: Use a clean rag or towel to dry the item completely. Moisture is the enemy of metal, so make sure it’s completely dry to prevent new rust from forming. You can even use a hairdryer to speed up the drying process.
3. Apply a Rust Inhibitor or Protective Coating (Optional): To prevent future rust, you can apply a rust inhibitor or protective coating to the item. There are many different types of rust inhibitors available, such as sprays, paints, and oils. Choose one that is appropriate for the type of metal and the intended use of the item. I personally like using a clear coat spray for tools to keep them looking good.
Dealing with Different Types of Metal
It’s important to consider the type of metal you’re working with, as some metals are more sensitive to certain cleaning agents than others.
* Cast Iron: Baking soda is generally safe for cast iron, but avoid using harsh abrasives that can scratch the surface. After removing the rust, season the cast iron with oil to protect it from future rust.
* Steel: Baking soda is effective for removing rust from steel. You can also use vinegar or lemon juice for extra cleaning power, but be sure to rinse thoroughly and dry the steel completely to prevent flash rust.
* Chrome: Baking soda can be used to remove light rust from chrome, but avoid using harsh abrasives that can scratch the finish. Use a soft cloth or sponge to apply the paste and scrub gently.
* Aluminum: Baking soda is generally safe for aluminum, but avoid using vinegar or lemon juice, as they can corrode the metal.
Tips and Tricks for Success
Here are a few extra tips and tricks that I’ve learned over the years:
* Test in an Inconspicuous Area: Before applying the baking soda paste to the entire item, test it in an inconspicuous area to make sure it doesn’t damage or discolor the metal.
* Use Warm Water: Warm water can help to dissolve the baking soda and make the paste more effective.
* Soak Small Items: For small, heavily rusted items, you can soak them in a baking soda solution overnight before scrubbing.
* Use a Dremel Tool with a Wire Brush Attachment: For large or heavily rusted areas, you can use a Dremel tool with a wire brush attachment to speed up the scrubbing process. Be careful not to apply too much pressure, as this can damage the metal.
* Prevent Future Rust: The best way to deal with rust is to prevent it from forming in the first place. Keep your metal items clean and dry, and apply a rust inhibitor or protective coating as needed.
Safety Precautions
Before you start, let’s talk about safety. Rust removal can be a bit messy, so it’s important to take a few precautions:
* Wear Gloves: Protect your hands from the rust and cleaning agents by wearing gloves.
* Wear Safety Glasses: Protect your eyes from flying rust particles by wearing safety glasses.
* Work in a Well-Ventilated Area: If you’re using any chemicals, such as vinegar or rust inhibitors, work in a well-ventilated area to avoid inhaling the fumes.
* Dispose of Waste Properly: Dispose of any used cleaning materials and rust particles properly.
And there you have it! A comprehensive guide to removing rust with baking soda. I hope you found this helpful. Remember, patience is key, and with a little elbow grease, you can restore your rusty items to their former glory. Happy rust-busting!
#ERROR!


Leave a Comment