

Bathroom cleaning importance – it’s a topic that might not top your list of fun conversations, but trust me, it’s a game-changer for your home and well-being! Let’s face it, our bathrooms are sanctuaries of sorts, places where we start and end our days. But they’re also breeding grounds for germs and grime if we don’t stay on top of things.
Think about it: From ancient Roman bathhouses to Japanese onsen, cultures throughout history have recognized the importance of hygiene and cleanliness. While we might not be scrubbing down communal baths, maintaining a sparkling bathroom is a modern-day equivalent, reflecting our commitment to health and a comfortable living space.
Now, you might be thinking, “Cleaning the bathroom? Ugh, another chore!” But what if I told you there are simple, effective DIY tricks that can make the process faster, easier, and even a little bit enjoyable? That’s right! This article is packed with hacks to help you conquer that porcelain throne and transform your bathroom into a gleaming oasis. We’ll explore everything from natural cleaning solutions to clever organizational tips, ensuring that the bathroom cleaning importance is not just understood, but easily achieved. So, ditch the dread and get ready to discover how to make your bathroom sparkle with minimal effort!
DIY Bathroom Cleaning Power-Up: Conquer Grime and Shine!
Okay, let’s face it: cleaning the bathroom isn’t anyone’s favorite chore. But a sparkling clean bathroom is a happy bathroom, and a happy bathroom contributes to a happy home! I’m going to walk you through a DIY cleaning routine that’s not only effective but also uses ingredients you probably already have in your pantry. We’re talking serious cleaning power without breaking the bank or resorting to harsh chemicals.
Why Bother with DIY Bathroom Cleaning?
Before we dive in, let’s quickly touch on why DIY cleaning is awesome:
* It’s Budget-Friendly: Store-bought cleaners can be expensive. DIY solutions often use inexpensive ingredients like vinegar, baking soda, and lemon juice.
* It’s Eco-Friendly: You control what goes down the drain. No harsh chemicals polluting our waterways!
* It’s Customizable: You can adjust the recipes to suit your specific needs and preferences. Sensitive to certain scents? No problem!
* It’s Empowering: There’s something incredibly satisfying about creating your own cleaning solutions and seeing them work wonders.
Gather Your Arsenal: The Supplies You’ll Need
To wage war on bathroom grime, you’ll need the following supplies. Don’t worry, most of these are probably already lurking in your kitchen cabinets!
* White Vinegar: This is your all-purpose cleaning superhero. It cuts through grease, disinfects, and deodorizes.
* Baking Soda: A gentle abrasive that’s perfect for scrubbing away stubborn stains.
* Dish Soap: A degreasing powerhouse that helps lift dirt and grime. I prefer using a natural, plant-based dish soap.
* Lemon Juice: Adds a fresh scent and helps dissolve hard water stains.
* Hydrogen Peroxide: A natural disinfectant and bleaching agent. Use with caution on colored surfaces.
* Essential Oils (Optional): For added fragrance and potential antibacterial benefits. Lavender, tea tree, and eucalyptus are great choices.
* Spray Bottles: To store and dispense your DIY cleaning solutions.
* Microfiber Cloths: These are your best friends for streak-free cleaning.
* Scrub Brush: For tackling tough stains and grout.
* Toilet Brush: A must-have for obvious reasons.
* Squeegee: To keep your shower doors and walls sparkling.
* Gloves: To protect your hands from harsh chemicals (even if they’re DIY!).
* Old Toothbrush: For getting into those hard-to-reach crevices.
* Sponge: For general cleaning and wiping.
* Funnel: Makes pouring liquids into spray bottles much easier.
The Battle Plan: Step-by-Step Bathroom Cleaning Guide
Alright, let’s get down to business! I’ve broken down the cleaning process into manageable steps. Remember to work from top to bottom to avoid re-cleaning areas you’ve already tackled.
1. Prepping the Battlefield: Clearing the Clutter
Before you start spraying and scrubbing, take a few minutes to declutter the bathroom.
1. Remove everything from the counters, shelves, and shower. This includes toiletries, decorative items, and anything else that’s in the way.
2. Empty the trash can.
3. Open a window or turn on the exhaust fan to ventilate the bathroom. This is especially important when using vinegar or other strong-smelling cleaners.
4. Give the toilet bowl a quick flush.
2. Shower Power: Cleaning the Shower and Tub
The shower and tub are often the dirtiest areas in the bathroom, so let’s tackle them first.
1. DIY Shower Cleaner Spray: In a spray bottle, mix equal parts white vinegar and water. For extra cleaning power, add a few drops of dish soap. You can also add a few drops of your favorite essential oil for a pleasant scent.
2. Spray the shower walls, tub, and shower door with the vinegar solution. Let it sit for at least 15-20 minutes to allow the vinegar to loosen the grime and soap scum. For really tough stains, you can let it sit for longer, even overnight.
3. Scrub the surfaces with a scrub brush or sponge. Pay special attention to areas with mildew or hard water stains. An old toothbrush is great for cleaning grout lines.
4. Rinse thoroughly with hot water.
5. For stubborn mildew stains: Make a paste of baking soda and water. Apply the paste to the mildewed areas and let it sit for 30 minutes. Scrub with a brush and rinse.
6. For hard water stains: Cut a lemon in half and rub it directly onto the stains. The citric acid in the lemon will help dissolve the mineral deposits. Let it sit for a few minutes, then scrub and rinse.
7. Squeegee the shower walls and door after each use to prevent water spots and mildew growth. This simple step will save you a lot of cleaning time in the long run!
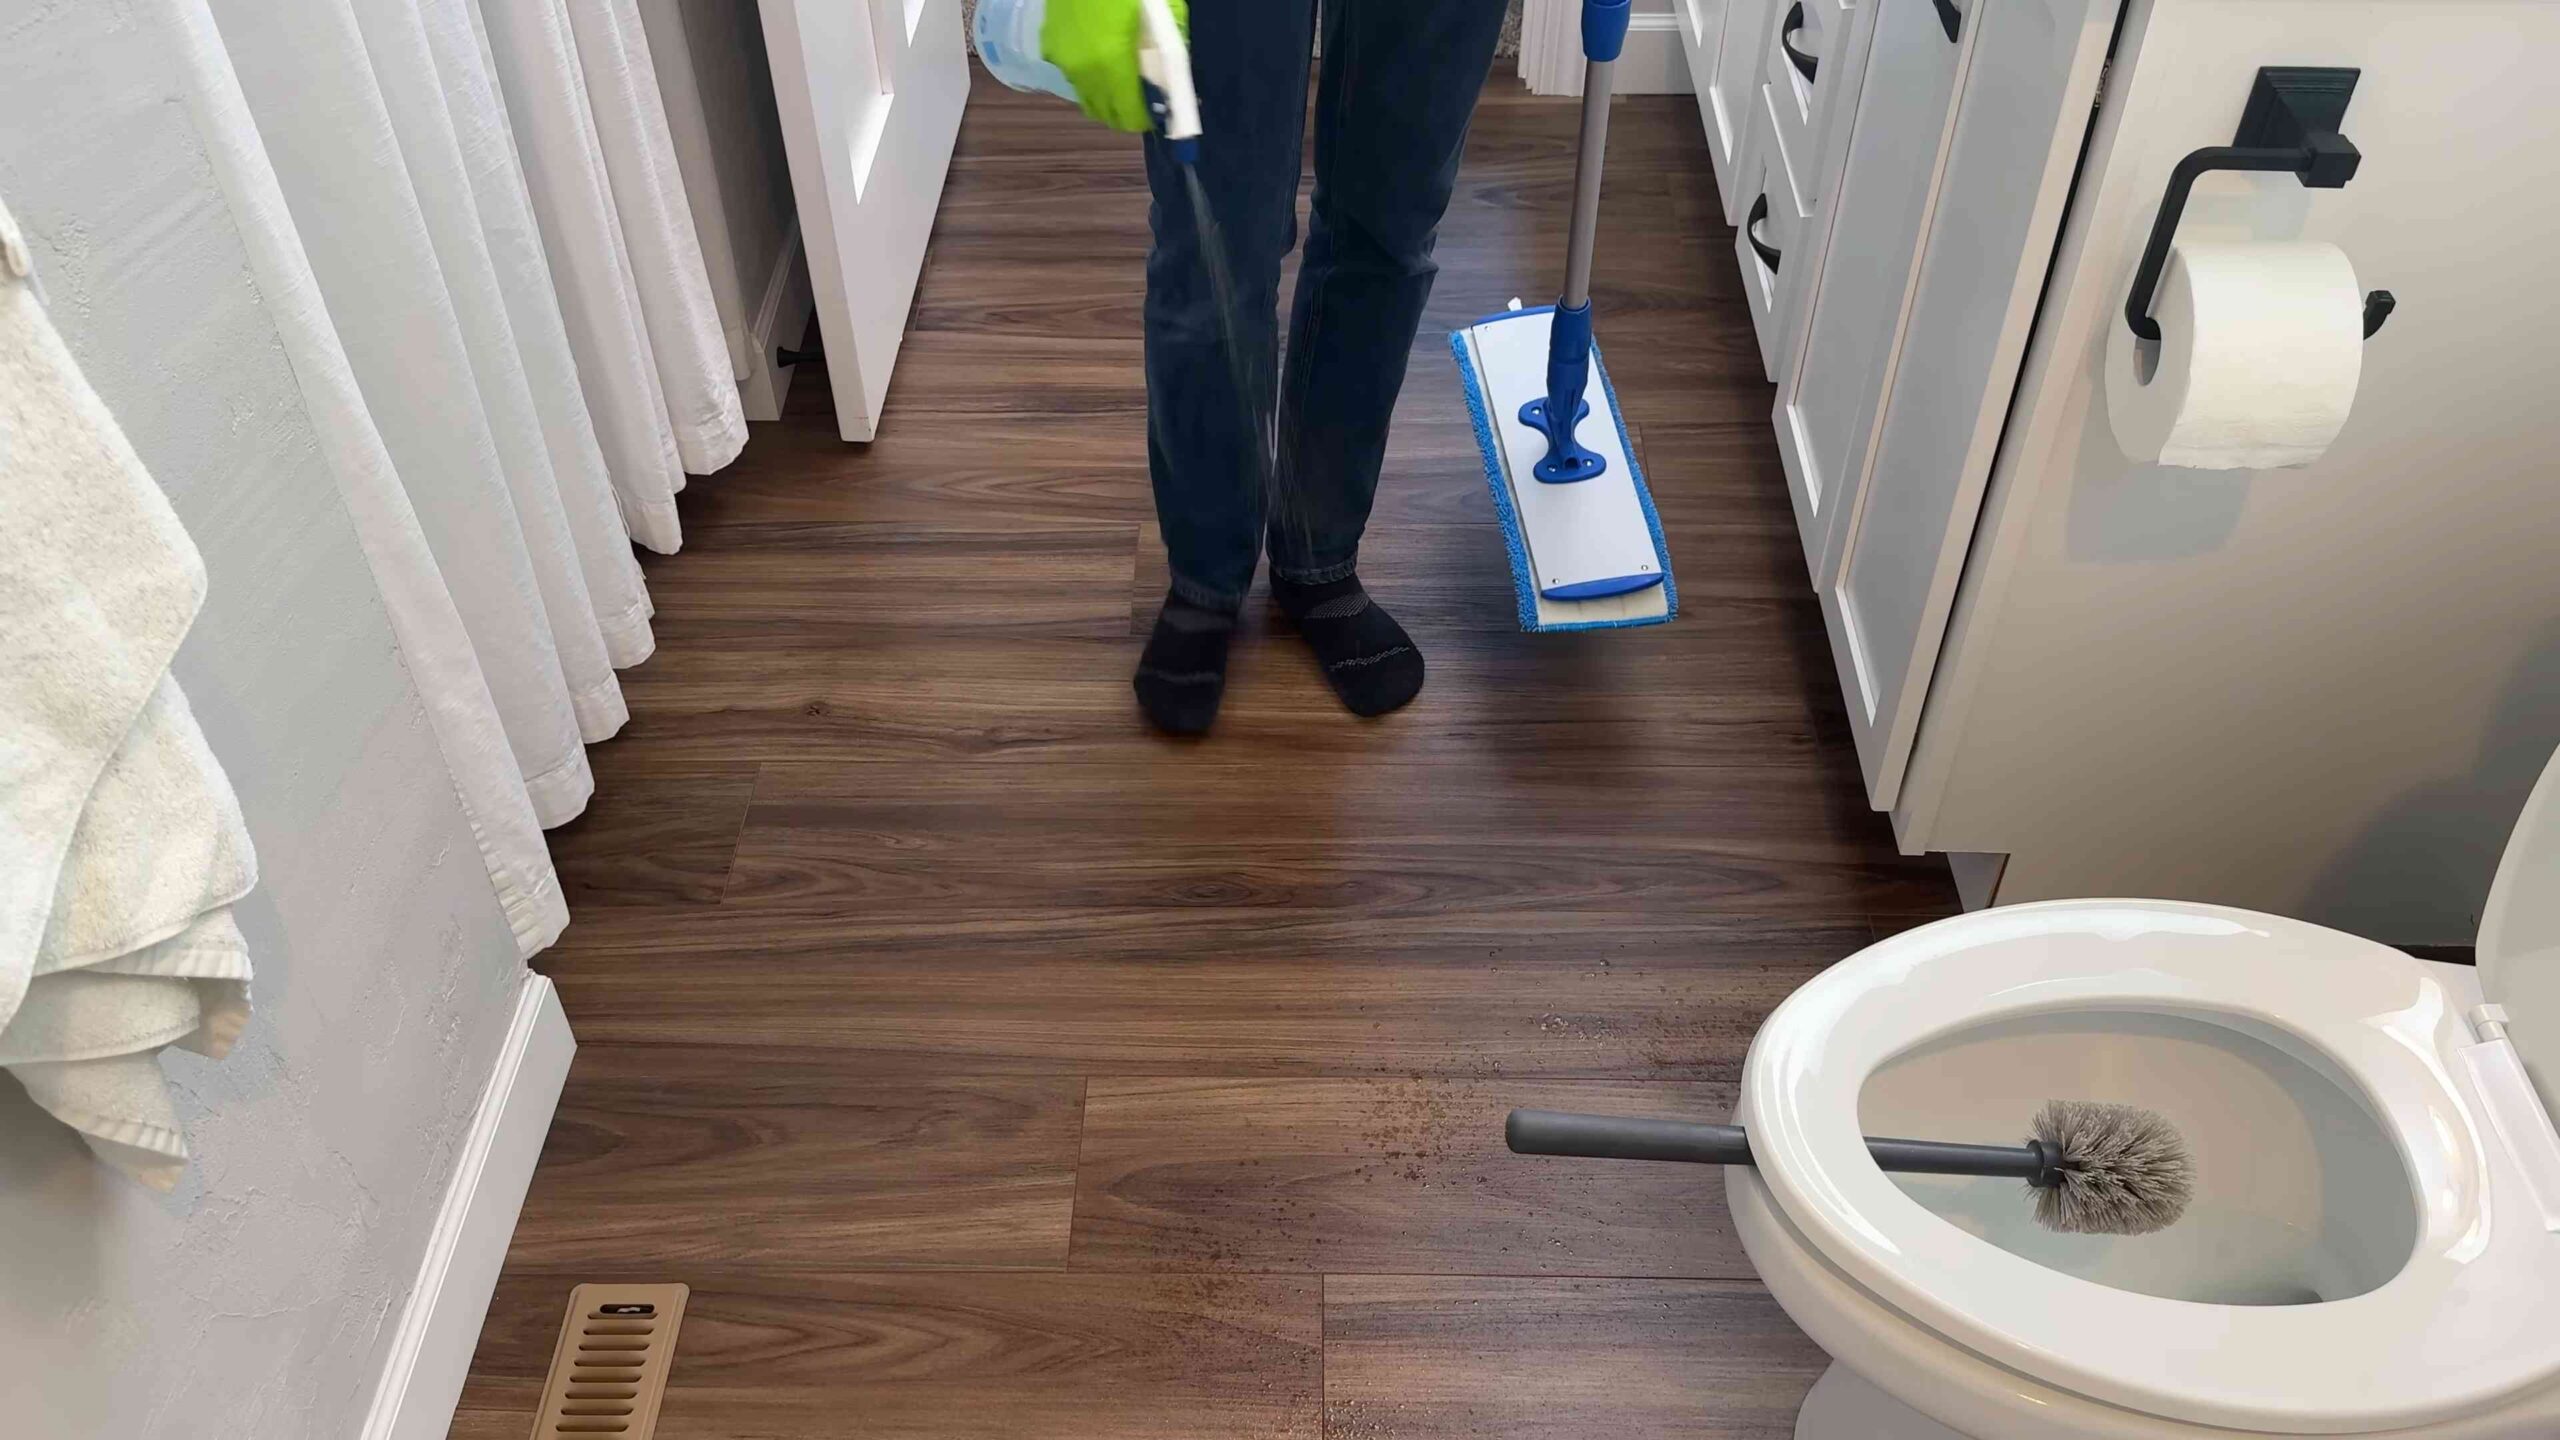
3. Toilet Time: Cleaning the Toilet Bowl and Exterior
No one likes cleaning the toilet, but it’s a necessary evil. Here’s how to make it as painless as possible.
1. Flush the toilet.
2. Pour 1 cup of white vinegar into the toilet bowl. Let it sit for at least 30 minutes, or even overnight for a deep clean.
3. Sprinkle baking soda around the inside of the bowl.
4. Pour another cup of white vinegar over the baking soda. This will create a fizzing action that helps to loosen stains and grime.
5. Scrub the bowl thoroughly with a toilet brush. Pay special attention to the rim and the area under the water line.
6. Flush the toilet again.
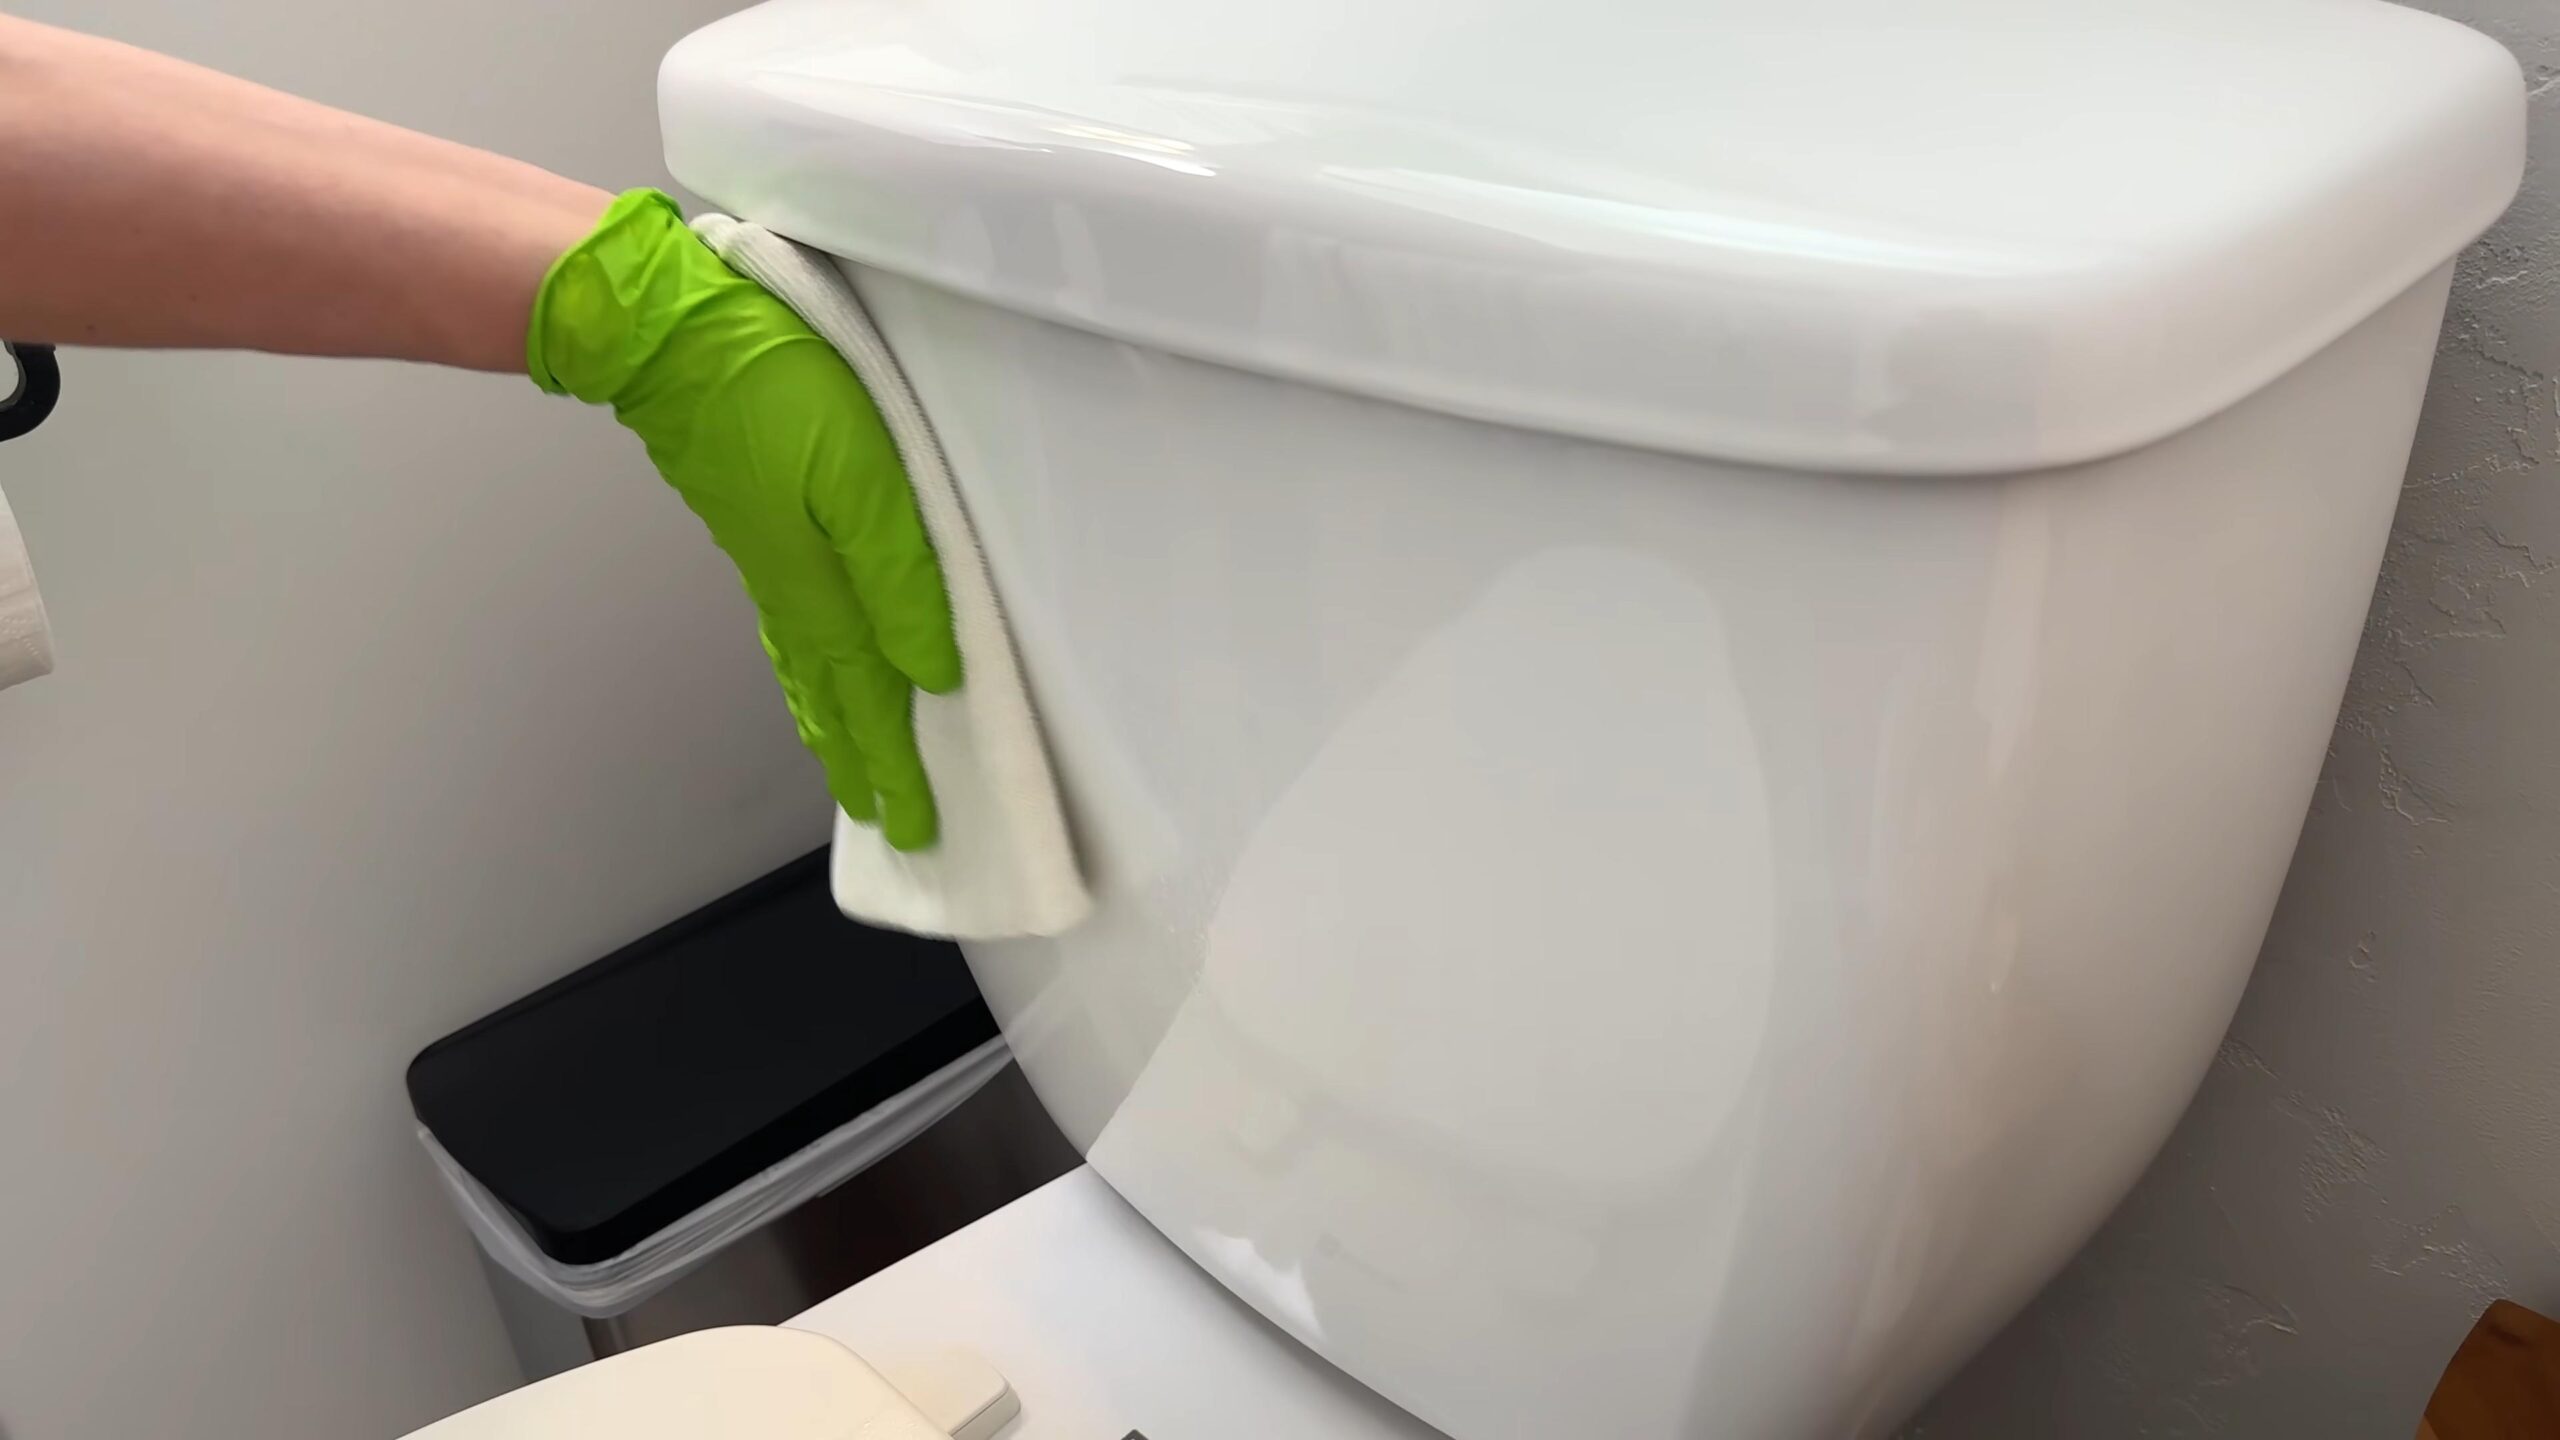
7. For the exterior of the toilet: Spray a mixture of vinegar and water onto a microfiber cloth and wipe down the seat, lid, tank, and base.
8. For stubborn stains on the toilet exterior: Make a paste of baking soda and water and apply it to the stains. Let it sit for a few minutes, then scrub and wipe clean.
4. Sink and Countertop Sparkle: Cleaning the Sink and Countertops
Now let’s move on to the sink and countertops.
1. Sprinkle baking soda onto the sink and countertops.
2. Dampen a sponge or microfiber cloth and scrub the surfaces. The baking soda will act as a gentle abrasive to remove dirt and grime.
3. Rinse thoroughly with water.
4. For extra shine: Spray the sink and countertops with a mixture of vinegar and water and wipe dry with a clean microfiber cloth.
5. Clean the faucet and handles with a vinegar solution. Use an old toothbrush to get into the crevices around the base of the faucet.
6. For hard water stains around the faucet: Soak a paper towel in vinegar and wrap it around the faucet. Let it sit for 30 minutes, then remove the paper towel and scrub the area with a brush.
7. Clean the mirror with a glass cleaner or a mixture of vinegar and water. Spray the cleaner onto a microfiber cloth and wipe the mirror from top to bottom.
5. Floor Focus: Cleaning the Bathroom Floor
Finally, let’s tackle the floor.
1. Sweep or vacuum the floor to remove loose dirt and debris.
2. Mop the floor with a mixture of warm water and a few drops of dish soap. You can also add a cup of white vinegar to the water for extra cleaning power.
3. For tile floors: Use a scrub brush to clean the grout lines. A paste of baking soda and water can also be used to remove stubborn stains from grout.
4. Rinse the floor with clean water.
5. Dry the floor with a clean towel or let it air dry.
6. Finishing Touches: The Final Polish
Almost there! These finishing touches will make your bathroom truly sparkle.
1. Replace the trash can liner.
2. Refill soap dispensers.
3. Replace towels.
4. Put everything back in its place.
5. Light a candle or use an essential oil diffuser to create a fresh and inviting atmosphere.
DIY Cleaning Recipes: Your Secret Weapons
Here are a few of my favorite DIY cleaning recipes that you can use in your bathroom:
* All-Purpose Cleaner: Mix equal parts white vinegar and water in a spray bottle. Add a few drops of your favorite essential oil for fragrance.
* Shower Cleaner: Mix 1/2 cup baking soda, 1/4 cup liquid dish soap, and 1/4 cup white vinegar. Apply to shower walls and tub, let sit for 5-1
Conclusion
So, there you have it! This simple yet incredibly effective DIY bathroom cleaning trick is a game-changer for anyone looking to maintain a sparkling clean and fresh-smelling bathroom without resorting to harsh chemicals or spending a fortune on commercial cleaners. We’ve walked you through the process, highlighting the ease and affordability of using readily available ingredients to tackle common bathroom grime.
Why is this a must-try? Because it’s not just about cleaning; it’s about creating a healthier and more pleasant environment in one of the most frequently used spaces in your home. Think about it: your bathroom is where you start and end your day. A clean and inviting bathroom can significantly impact your mood and overall well-being. This DIY method allows you to achieve that pristine condition while being mindful of your health and the environment.
Beyond the basic recipe, feel free to experiment with variations to suit your specific needs and preferences. For instance, if you’re dealing with particularly stubborn hard water stains, consider adding a bit more vinegar to the solution. If you prefer a stronger scent, a few extra drops of your favorite essential oil can do the trick. Lavender, tea tree, and eucalyptus are all excellent choices for their antibacterial properties and refreshing aromas. You can also infuse your vinegar with citrus peels for a natural, uplifting fragrance. Simply add citrus peels to a jar of vinegar and let it sit for a few weeks before straining and using the infused vinegar in your cleaning solution.
Another variation involves using baking soda as a scouring agent for tough stains on sinks and tubs. Simply sprinkle baking soda onto the surface, spray with your DIY cleaning solution, and scrub gently. The combination of baking soda and the cleaning solution will create a powerful cleaning action that effectively removes grime and stains.
This DIY bathroom cleaning solution is also incredibly versatile. You can use it on various surfaces, including tiles, grout, shower doors, sinks, toilets, and even mirrors. Just be sure to test it on an inconspicuous area first, especially on delicate surfaces like natural stone, to ensure it doesn’t cause any damage.
We understand that switching to a DIY cleaning routine might seem daunting at first, but we assure you that the results are well worth the effort. Not only will you save money and reduce your exposure to harmful chemicals, but you’ll also gain a sense of satisfaction knowing that you’re creating a cleaner and healthier home for yourself and your family.
So, what are you waiting for? Gather your ingredients, follow the simple steps, and experience the transformative power of this DIY bathroom cleaning trick. We’re confident that you’ll be amazed by the results.
We encourage you to try this DIY bathroom cleaning method and share your experience with us! Let us know what variations you tried, what scents you used, and how well it worked for you. Your feedback will not only help us improve the recipe but also inspire others to embrace a more natural and sustainable approach to cleaning. Share your before-and-after photos on social media using #DIYBathroomClean and tag us so we can see your sparkling results! We can’t wait to hear from you!
FAQ
What exactly makes this DIY bathroom cleaner better than store-bought options?
The primary advantage lies in its composition. Store-bought cleaners often contain harsh chemicals like bleach, ammonia, and phthalates, which can be harmful to your health and the environment. These chemicals can irritate your skin, eyes, and respiratory system. Furthermore, they contribute to indoor air pollution and can contaminate waterways when flushed down the drain. Our DIY cleaner, on the other hand, uses natural, non-toxic ingredients like vinegar, baking soda, and essential oils. These ingredients are biodegradable, safe for your family and pets, and just as effective at cleaning and disinfecting. You control exactly what goes into your cleaner, avoiding potential allergens and irritants.
Is vinegar safe to use on all bathroom surfaces?
While vinegar is a fantastic cleaning agent, it’s not suitable for all surfaces. Avoid using vinegar on natural stone surfaces like marble, granite, and travertine, as the acidity can etch and damage them. It’s also best to avoid using vinegar on waxed surfaces, as it can strip the wax. For these surfaces, opt for a pH-neutral cleaner or a solution of mild soap and water. Always test the cleaner in an inconspicuous area first to ensure it doesn’t cause any discoloration or damage.
How often should I use this DIY bathroom cleaner?
The frequency of cleaning depends on how often your bathroom is used and how quickly it gets dirty. For general maintenance, cleaning your bathroom once a week is usually sufficient. However, if you have a busy household or notice buildup of soap scum or mildew, you may need to clean it more frequently. You can also use the DIY cleaner for spot cleaning as needed to address spills or stains. Regular cleaning will prevent grime from building up and make your bathroom easier to maintain in the long run.
Can I use different essential oils in this recipe?
Absolutely! Essential oils not only add a pleasant scent to your cleaner but also offer antibacterial and antifungal properties. Lavender, tea tree, eucalyptus, lemon, and peppermint are all excellent choices for bathroom cleaning. Lavender has a calming scent and antibacterial properties, tea tree is a powerful disinfectant, eucalyptus helps to clear congestion, lemon is a natural degreaser, and peppermint provides a refreshing aroma. Experiment with different combinations to find your favorite scent. Just be sure to use pure essential oils and avoid synthetic fragrances, which can be irritating.
How long will this DIY bathroom cleaner last?
This DIY bathroom cleaner has a relatively long shelf life due to the preservative properties of vinegar. When stored in a cool, dark place, it can last for several months. However, it’s best to use it within a few months to ensure the essential oils retain their potency. If you notice any changes in color, odor, or consistency, it’s best to discard the cleaner and make a fresh batch.
What if I don’t like the smell of vinegar?
The smell of vinegar can be off-putting to some people, but it dissipates quickly after cleaning. To minimize the vinegar smell, you can use infused vinegar (as mentioned above) or add a generous amount of essential oils to the cleaning solution. You can also open a window or turn on the bathroom fan to ventilate the room while cleaning. Another option is to rinse the surfaces with water after cleaning to remove any lingering vinegar smell.
Is this DIY cleaner safe for septic systems?
Yes, this DIY cleaner is generally safe for septic systems. The ingredients used, such as vinegar and baking soda, are biodegradable and don’t contain harsh chemicals that can harm the beneficial bacteria in your septic tank. However, it’s always a good idea to use cleaning products sparingly, even those that are septic-safe, to avoid overloading the system.
Can I use this cleaner on mold and mildew?
Yes, this DIY cleaner can be effective at removing mold and mildew, especially in its early stages. Vinegar is a natural antifungal agent that can kill mold spores and prevent them from growing back. For stubborn mold and mildew stains, you can spray the affected area with undiluted vinegar, let it sit for 30 minutes, and then scrub with a brush. You can also add a few drops of tea tree essential oil to the vinegar for extra antifungal power. Be sure to ventilate the area well while cleaning mold and mildew.
What’s the best way to store this DIY bathroom cleaner?
The best way to store this DIY bathroom cleaner is in a clean, airtight spray bottle. Glass spray bottles are a great option as they are durable and won’t react with the ingredients. Be sure to label the bottle clearly so you don’t accidentally mistake it for something else. Store the bottle in a cool, dark place away from direct sunlight and heat. This will help to preserve the potency of the ingredients and prevent the essential oils from degrading.
What if I have hard water stains in my bathroom?
Hard water stains can be a challenge to remove, but this DIY cleaner can help. For hard water stains, increase the amount of vinegar in the cleaning solution. You can also soak a cloth in vinegar and place it over the stain for several hours or overnight. Then, scrub the stain with a brush or sponge. For particularly stubborn hard water stains, you can use a paste of baking soda and water to scrub the area. Rinse thoroughly with water after cleaning.


Leave a Comment