

Bathroom Smelling Fresh Tricks: Let’s face it, nobody wants their bathroom to be anything less than a fresh-smelling oasis! We’ve all been there – a lingering odor that just won’t quit, no matter how much you clean. But fear not, my friends! This isn’t just about masking smells; it’s about creating a consistently pleasant and inviting atmosphere in one of the most used rooms in your home.
For centuries, cultures around the world have understood the importance of a clean and fragrant space. From ancient Egyptians using incense and essential oils to the Victorian era’s potpourri bowls, the desire to banish unpleasant odors is deeply ingrained in our history. But you don’t need to be an ancient pharaoh or a Victorian lady to achieve a fresh-smelling bathroom.
Why is this so important? Because a fresh bathroom isn’t just about aesthetics; it’s about hygiene and well-being. Nobody wants to feel embarrassed when guests use the restroom, and more importantly, a clean-smelling bathroom contributes to a healthier and more relaxing home environment. That’s why I’m sharing my favorite DIY tricks and hacks to keep your bathroom smelling amazing, naturally and affordably. Get ready to say goodbye to embarrassing odors and hello to a bathroom that smells as clean as it looks! These bathroom smelling fresh tricks are easy to implement and will make a world of difference.
DIY Bathroom Oasis: Long-Lasting Freshness Hacks
Okay, let’s face it, bathrooms can sometimes be…challenging in the fragrance department. But fear not! I’m going to share my favorite DIY tricks for keeping your bathroom smelling amazing, naturally, and for way longer than those store-bought air fresheners. Plus, these are budget-friendly and use ingredients you probably already have!
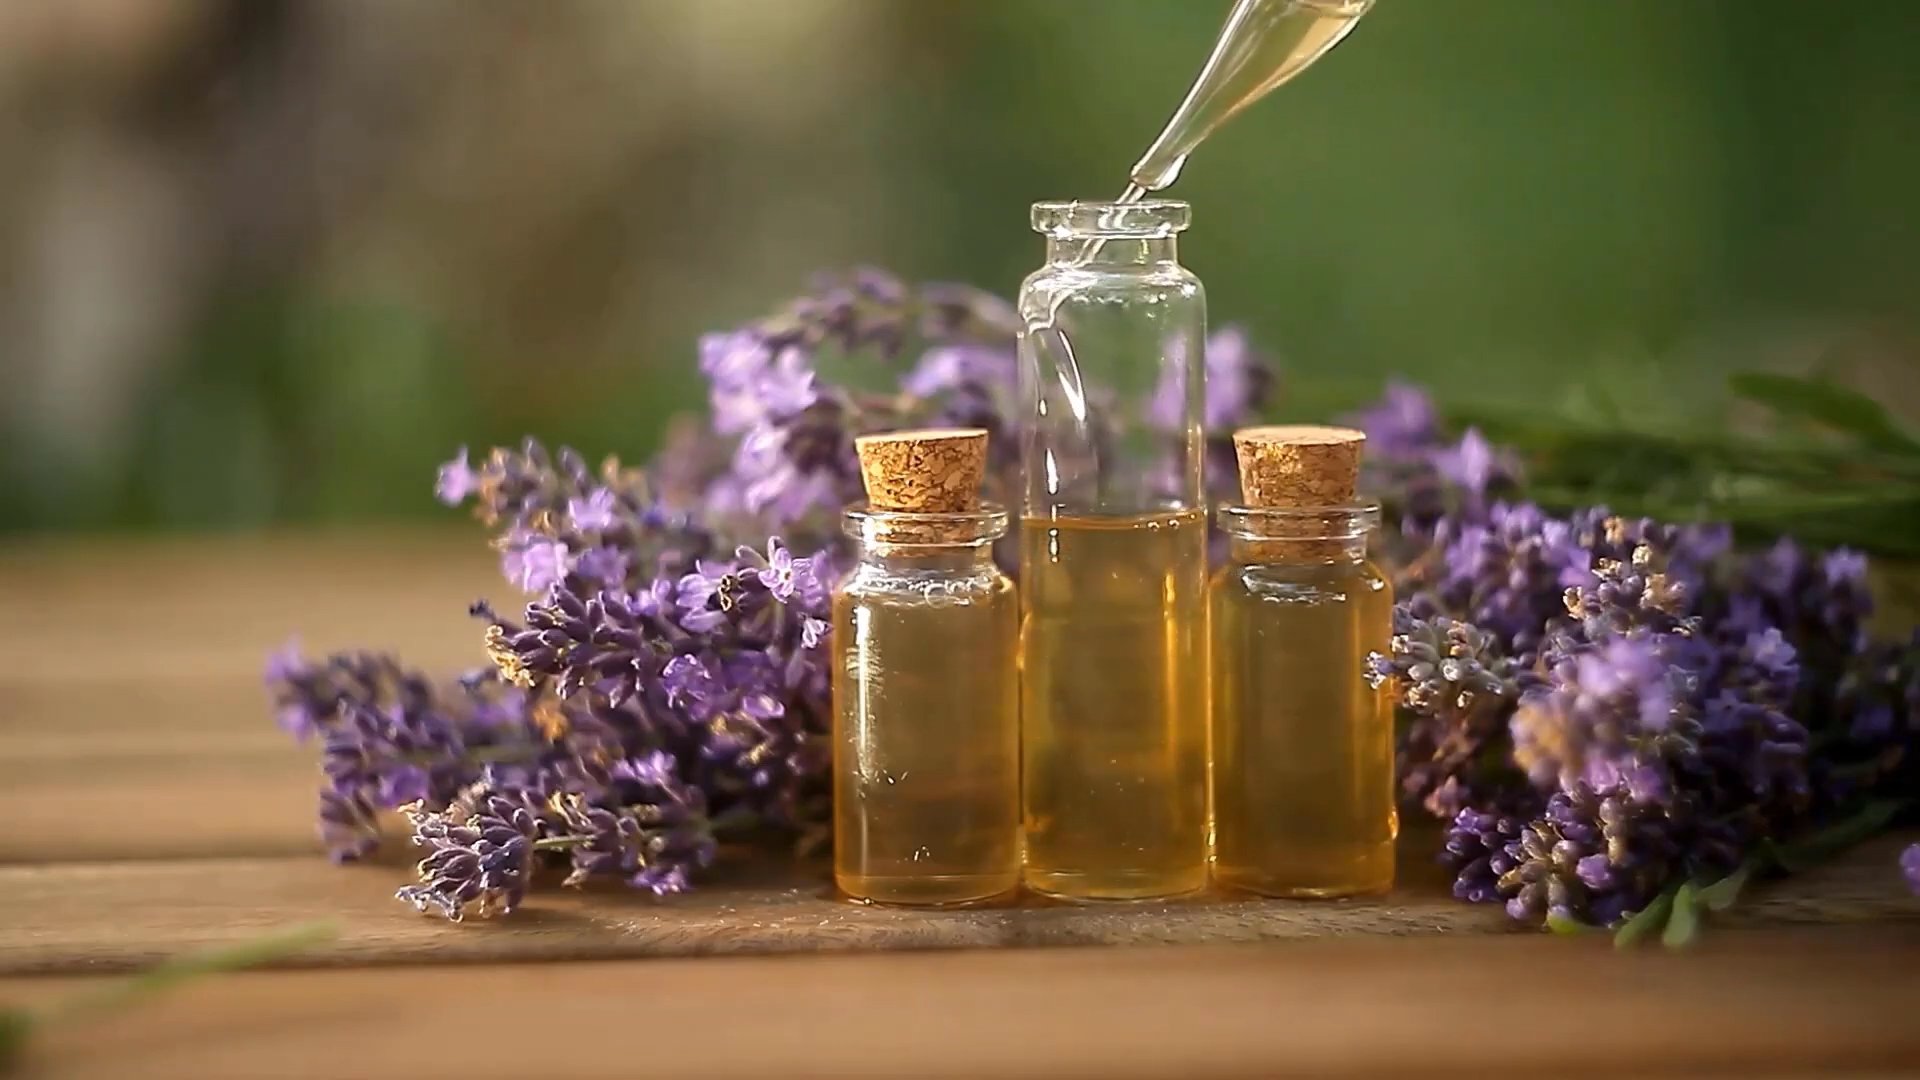
Harnessing the Power of Essential Oils
Essential oils are my go-to for natural fragrance. They’re potent, versatile, and you can customize the scent to your liking. Here are a few ways to use them in your bathroom:
* Diffuser Power: An essential oil diffuser is a classic for a reason. It disperses the scent throughout the room, creating a consistent and pleasant aroma.
* Toilet Paper Roll Trick: This is a super simple and effective hack.
* DIY Reed Diffuser: A stylish and long-lasting option.
* Scented Cotton Balls: A quick and easy way to freshen up small spaces.
* Shower Steamers: Turn your shower into an aromatherapy spa.
Toilet Paper Roll Air Freshener
This is ridiculously easy, and I swear, it makes a noticeable difference.
1. Gather your supplies: You’ll need your favorite essential oil (lavender, eucalyptus, tea tree, and citrus scents work great in bathrooms), and of course, a roll of toilet paper.
2. Apply the oil: Simply add a few drops (5-10, depending on the strength of the oil) of essential oil *inside* the cardboard tube of the toilet paper roll.
3. Reapply as needed: The cardboard will absorb the oil and slowly release the scent. Reapply every few days or when you notice the scent fading.
DIY Reed Diffuser
This looks chic and keeps your bathroom smelling divine for weeks!
1. Gather your supplies: You’ll need a small glass bottle or jar (an old spice jar works perfectly), diffuser reeds (you can find these online or at craft stores), a carrier oil (like fractionated coconut oil, sweet almond oil, or safflower oil – these are odorless and help the essential oils disperse), your favorite essential oils, and optionally, a small funnel.
2. Prepare the oil mixture: In a separate container, mix about ¼ cup of carrier oil with 15-20 drops of your chosen essential oils. Experiment with different blends! I love a combination of lavender and lemon for a clean and calming scent.
3. Fill the bottle: Using the funnel, carefully pour the oil mixture into your glass bottle.
4. Insert the reeds: Place the diffuser reeds into the bottle, making sure they are submerged in the oil.
5. Flip the reeds: After a few hours, flip the reeds so the saturated ends are facing up. This will help to kickstart the diffusion process.
6. Maintain the diffuser: Flip the reeds every week or so to refresh the scent. You may also need to add more oil mixture as it evaporates over time.
Scented Cotton Balls
Perfect for small bathrooms or tucked away in drawers.
1. Gather your supplies: You’ll need cotton balls and your favorite essential oil.
2. Saturate the cotton balls: Place a handful of cotton balls in a small dish or container. Add a few drops of essential oil to each cotton ball, allowing them to absorb the oil.
3. Place strategically: Place the scented cotton balls in discreet locations around your bathroom, such as inside drawers, behind the toilet, or in a decorative bowl.
4. Refresh as needed: Replace the cotton balls every few weeks or when the scent fades.
Shower Steamers
These are like bath bombs for your shower! The steam activates the essential oils, creating an invigorating aromatherapy experience.
1. Gather your supplies: You’ll need 1 cup of baking soda, ½ cup of citric acid (this is what makes them fizz – you can find it online or at health food stores), ¼ cup of cornstarch, a few tablespoons of water, 15-20 drops of your favorite essential oils (eucalyptus and peppermint are great for decongestion), and optionally, dried herbs or flower petals for decoration. You’ll also need a silicone mold (muffin tins or ice cube trays work well).
2. Combine dry ingredients: In a large bowl, whisk together the baking soda, citric acid, and cornstarch.
3. Add essential oils: Add the essential oils to the dry ingredients and mix well.
4. Slowly add water: Slowly add water, one tablespoon at a time, while mixing continuously. Be careful not to add too much water at once, as this will activate the citric acid and cause the mixture to fizz prematurely. You want the mixture to be damp enough to hold its shape when squeezed.
5. Pack into molds: Press the mixture firmly into your silicone molds. If desired, sprinkle dried herbs or flower petals on top for decoration.
6. Let them dry: Allow the shower steamers to dry completely for at least 24 hours, or preferably longer.
7. Store and use: Once dry, carefully remove the shower steamers from the molds and store them in an airtight container. To use, simply place a shower steamer on the floor of your shower, away from the direct stream of water. As the water hits the steamer, it will fizz and release the essential oils into the air.
DIY Scented Cleaning Solutions
Why not make your cleaning routine a fragrance boost too?
* Vinegar and Essential Oil Cleaner: A natural and effective all-purpose cleaner.
* Baking Soda and Essential Oil Scrub: Perfect for tackling stubborn stains and odors.
Vinegar and Essential Oil Cleaner
This is my go-to for cleaning mirrors, countertops, and even the toilet!
1. Gather your supplies: You’ll need a spray bottle, white vinegar, water, and your favorite essential oils (lemon, tea tree, and lavender are great choices).
2. Mix the solution: In the spray bottle, combine equal parts white vinegar and water.
3. Add essential oils: Add 10-15 drops of essential oil to the mixture.
4. Shake well: Shake the bottle well to combine the ingredients.
5. Use and enjoy: Spray the solution onto surfaces and wipe clean with a cloth. The vinegar smell will dissipate quickly, leaving behind the pleasant scent of the essential oils.
Baking Soda and Essential Oil Scrub
This is amazing for cleaning sinks, tubs, and tile grout.
1. Gather your supplies: You’ll need baking soda, water, and your favorite essential oils (lemon, tea tree, and peppermint are great for cleaning).
2. Make a paste: In a small bowl, mix baking soda with enough water to form a thick paste.
3. Add essential oils: Add 5-10 drops of essential oil to the paste and mix well.
4. Apply and scrub: Apply the paste to the surface you want to clean and scrub with a sponge or brush.
5. Rinse thoroughly: Rinse the surface thoroughly with water.
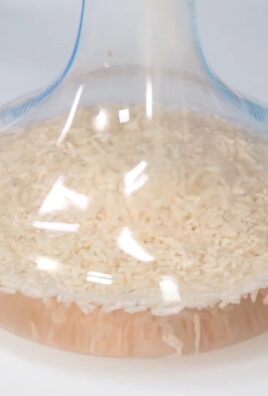
Natural Odor Absorbers
Sometimes, you need to tackle the source of the odor, not just mask it.
* Baking Soda Bowl: A simple and effective way to absorb odors.
* Activated Charcoal: A powerful odor absorber.
* Houseplants: Not only do they look great, but some plants also help purify the air.
Baking Soda Bowl
This is the easiest trick in the book, and it really works!
1. Find a bowl: Grab a small, open bowl.
2. Fill with baking soda: Fill the bowl with baking soda.
3. Place strategically: Place the bowl in your bathroom, preferably in a discreet location.
4. Replace regularly: Replace the baking soda every month or so, or when you notice it’s no longer absorbing odors.
Activated Charcoal
Activated charcoal is a super absorbent material that can trap odors.
1. Get activated charcoal: You can find activated charcoal in powder or bag form online or at health food stores.
2. Place in a container: If using powder, place it in an open container, like a small bowl or jar. If using a bag, simply place the bag in your bathroom.
3. Replace regularly: Replace the activated charcoal every few months, or when you notice it’s no longer absorbing odors. You can “recharge” activated charcoal by placing it in direct sunlight for a few hours.
Houseplants
Certain houseplants are known for their air-purifying qualities.
1. Choose the right plants: Some great options for bathrooms include snake plants (they thrive in low light and humid conditions), spider plants, peace lilies, and Boston ferns.
2. Provide
Conclusion
So, there you have it! Transforming your bathroom into a fragrant oasis doesn’t require expensive air fresheners or harsh chemicals. This simple, yet incredibly effective, DIY bathroom smelling fresh trick is a game-changer for anyone seeking a naturally clean and inviting space. We’ve shown you how to harness the power of readily available ingredients to banish unpleasant odors and infuse your bathroom with a subtle, refreshing scent.
Why is this a must-try? Because it’s cost-effective, eco-friendly, and completely customizable. You’re in control of the fragrance, ensuring it perfectly matches your personal preferences and creates the ambiance you desire. Forget those overpowering, artificial scents that often mask odors rather than eliminate them. This method tackles the root of the problem, absorbing unwanted smells and leaving behind a gentle, clean aroma.
Beyond the basic recipe, the possibilities are endless! Experiment with different essential oil blends to create unique and personalized fragrances. Love the calming scent of lavender? Add a few drops to your solution. Prefer a zesty, invigorating aroma? Opt for citrus oils like lemon or grapefruit. You can even incorporate dried herbs or spices for a more complex and layered fragrance. Consider adding a touch of vanilla extract for a warm and comforting scent, especially during the colder months.
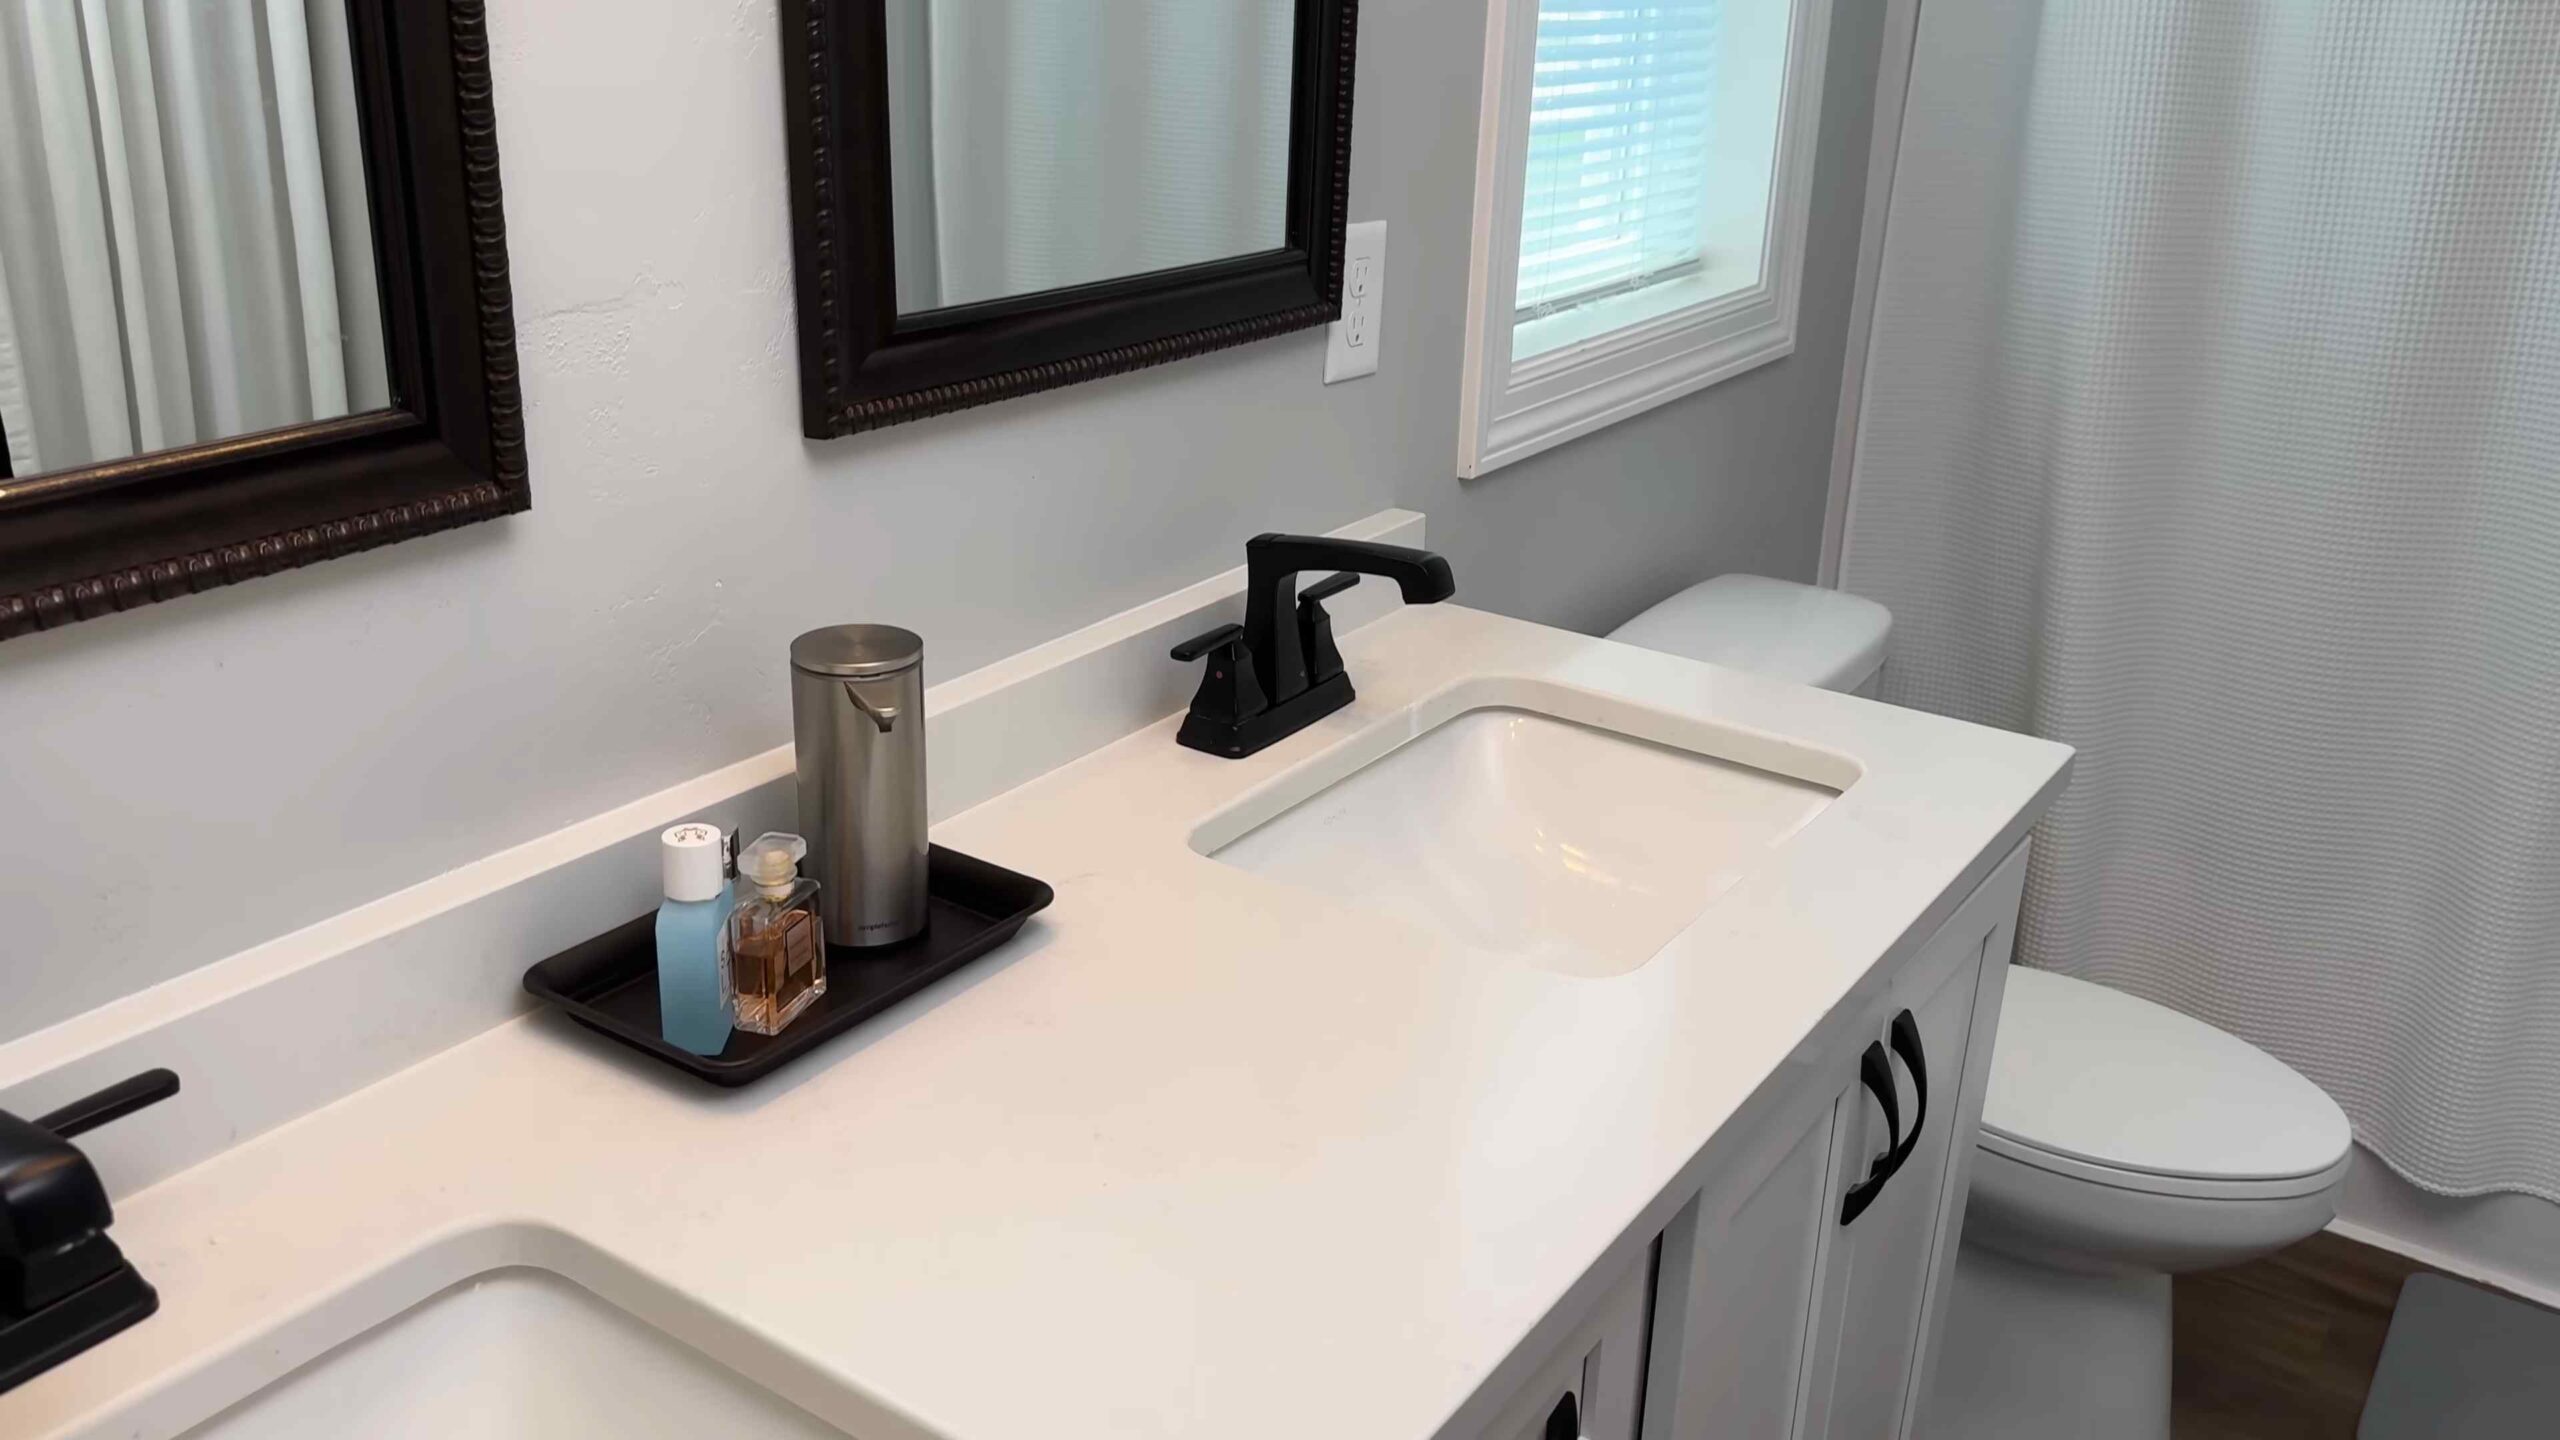
For a more visually appealing presentation, use decorative jars or containers to hold your DIY air freshener. Tie a ribbon around the jar or add a small label with the fragrance name. This not only enhances the aesthetic appeal of your bathroom but also makes it a thoughtful and personalized gift.
Don’t just take our word for it – try it yourself! We’re confident that you’ll be amazed by the results. This DIY bathroom smelling fresh trick is a simple and effective way to create a more pleasant and inviting atmosphere in your home.
We encourage you to experiment with different variations and find the perfect scent combination for your bathroom. Once you’ve discovered your signature fragrance, share your experience with us! We’d love to hear about your favorite essential oil blends and any other tips or tricks you’ve discovered along the way. Leave a comment below and let us know how this DIY method has transformed your bathroom. Let’s create a community of fresh-smelling bathrooms, one DIY project at a time!
Frequently Asked Questions (FAQ)
What exactly makes this DIY bathroom air freshener so effective?
The effectiveness of this DIY air freshener lies in the combination of its ingredients. Baking soda is a natural odor absorber, neutralizing unpleasant smells rather than just masking them. Essential oils provide a pleasant and long-lasting fragrance, while the water acts as a carrier, allowing the scent to diffuse throughout the room. The porous nature of baking soda allows it to trap odor molecules, effectively removing them from the air. Unlike commercial air fresheners that often contain harsh chemicals and artificial fragrances, this DIY solution is made with natural ingredients, making it a safer and healthier option for your home.
How long does this DIY air freshener typically last?
The lifespan of your DIY air freshener will depend on several factors, including the size of your bathroom, the humidity level, and the concentration of essential oils used. Generally, you can expect it to last for approximately 2-4 weeks. You’ll know it’s time to replace the mixture when the scent starts to fade or if you notice any lingering odors. To prolong the lifespan of your air freshener, avoid placing it in direct sunlight or near sources of heat, as this can cause the essential oils to evaporate more quickly. Stirring the mixture occasionally can also help to redistribute the scent and keep it fresh.
Can I use any type of essential oil for this DIY project?
While you can technically use any type of essential oil, it’s important to choose scents that you enjoy and that are appropriate for a bathroom environment. Some popular choices include lavender, eucalyptus, tea tree, lemon, grapefruit, and peppermint. Lavender is known for its calming and relaxing properties, making it a great choice for creating a spa-like atmosphere. Eucalyptus and tea tree have antibacterial and antiviral properties, which can help to freshen the air and kill germs. Citrus oils like lemon and grapefruit provide a zesty and invigorating scent, while peppermint can help to clear sinuses and boost energy. Experiment with different blends to find your perfect combination. Always ensure you are using pure, high-quality essential oils for the best results.
Is this DIY air freshener safe for pets and children?
While the ingredients in this DIY air freshener are generally considered safe, it’s important to exercise caution when using essential oils around pets and children. Some essential oils can be toxic to animals, so it’s crucial to research the safety of each oil before using it. Keep the air freshener out of reach of children and pets to prevent accidental ingestion. If you have any concerns, consult with a veterinarian or pediatrician before using essential oils in your home. You can also opt for milder essential oils like lavender or chamomile, which are generally considered safe for most pets and children.
What if I don’t have essential oils? Can I use something else?
If you don’t have essential oils, you can still create a DIY air freshener using other natural ingredients. One option is to use dried herbs or spices, such as lavender buds, rosemary sprigs, or cinnamon sticks. Simply add a handful of your chosen herbs or spices to the baking soda mixture. You can also use citrus peels, such as lemon or orange peels, to add a fresh and zesty scent. Another option is to use a small amount of vanilla extract or other natural extracts. Keep in mind that these alternatives may not provide as strong or long-lasting of a scent as essential oils, but they can still help to freshen the air and eliminate odors.
My bathroom is quite large. Will this small jar be enough?
For larger bathrooms, you may need to increase the size of your DIY air freshener or create multiple jars to ensure adequate scent diffusion. Consider using a larger container or placing several smaller jars strategically around the room. You can also increase the concentration of essential oils to create a stronger scent. Another option is to use a diffuser in addition to the DIY air freshener to help distribute the scent more evenly throughout the room. Experiment with different placements and concentrations to find what works best for your specific bathroom size and layout.
How do I dispose of the baking soda mixture once it’s no longer effective?
Once the baking soda mixture has lost its scent and is no longer effective, you can safely dispose of it in several ways. You can simply flush it down the toilet, as baking soda is biodegradable and won’t harm your plumbing. You can also add it to your compost bin, as it can help to balance the pH level of your compost. Alternatively, you can sprinkle it in your garden to help deter pests and weeds. Baking soda is a versatile and eco-friendly ingredient, so there are many ways to repurpose it even after it’s been used as an air freshener.
Can I add color to the baking soda mixture?
While adding color to the baking soda mixture won’t affect its effectiveness, it can enhance the aesthetic appeal of your DIY air freshener. You can use natural food coloring to tint the baking soda to your desired shade. Be sure to use a small amount of food coloring at a time, as a little goes a long way. You can also use natural dyes, such as beet juice or turmeric powder, to create a more subtle and earthy color. Keep in mind that some dyes may fade over time, so it’s best to use a color that you don’t mind changing slightly.
What if I have a sensitivity to certain essential oils?
If you have a known sensitivity to certain essential oils, it’s crucial to avoid using them in your DIY air freshener. Always read the labels carefully and research the potential allergens in each oil before using it. You can also perform a patch test by applying a small amount of diluted essential oil to your skin to see if you have any reaction. If you experience any irritation, discontinue use immediately. There are many essential oils that are generally considered safe for sensitive individuals, such as lavender, chamomile, and frankincense. You can also opt for fragrance-free alternatives, such as baking soda alone, or use natural extracts like vanilla or almond.
Leave a Comment