

Clean Humidifier Easy Method: Are you tired of that musty smell wafting from your humidifier? Or perhaps you’re concerned about the invisible gunk lurking inside, potentially impacting your family’s health? I totally get it! Maintaining a clean humidifier can feel like a chore, but trust me, it’s essential for optimal air quality and overall well-being.
Humidifiers have been around for centuries, with early forms used in ancient civilizations to preserve delicate artifacts and even aid in respiratory health. While the technology has advanced, the core purpose remains the same: to add moisture to the air. However, this moisture-rich environment can also become a breeding ground for mold, bacteria, and mineral buildup if not properly maintained. That’s why mastering a clean humidifier easy method is so important.
Let’s face it, nobody wants to breathe in contaminated air. A dirty humidifier can actually worsen allergies, trigger asthma, and even lead to respiratory infections. But don’t worry, you don’t need harsh chemicals or complicated procedures to keep your humidifier sparkling clean. I’m going to share some simple, effective, and budget-friendly DIY tricks that will make cleaning your humidifier a breeze. Get ready to say goodbye to that funky smell and hello to fresh, healthy air!
DIY Deep Clean: Breathe Easy with a Sparkling Humidifier
Hey everyone! I know, I know, cleaning a humidifier isn’t exactly the most glamorous DIY project. But trust me, a clean humidifier is essential for healthy air, especially during those dry winter months. A dirty humidifier can become a breeding ground for mold, bacteria, and mineral buildup, which can then be dispersed into the air you breathe. Yuck!
So, let’s tackle this task together. I’m going to walk you through a super effective method for deep cleaning your humidifier, leaving it fresh and ready to keep your air clean and moisturized. This method is safe, uses common household ingredients, and is way more effective than just rinsing it out with water.
What You’ll Need:
Before we dive in, let’s gather our supplies. You probably already have most of these on hand:
* White Vinegar: This is our star player! Vinegar is a natural disinfectant and descaler.
* Hydrogen Peroxide: Another great disinfectant, perfect for tackling mold and mildew.
* Mild Dish Soap: For general cleaning and removing grime.
* Clean Water: Tap water is fine, but distilled water is even better for rinsing.
* Soft Cloth or Sponge: Avoid abrasive scrubbers that can damage the humidifier.
* Small Brush (like an old toothbrush): For scrubbing hard-to-reach areas.
* Cotton Swabs: For cleaning small crevices.
* Gloves (optional): To protect your hands from prolonged exposure to vinegar and hydrogen peroxide.
* Sink or Tub: A large sink or bathtub is ideal for soaking the humidifier parts.
* Timer: To keep track of soaking times.
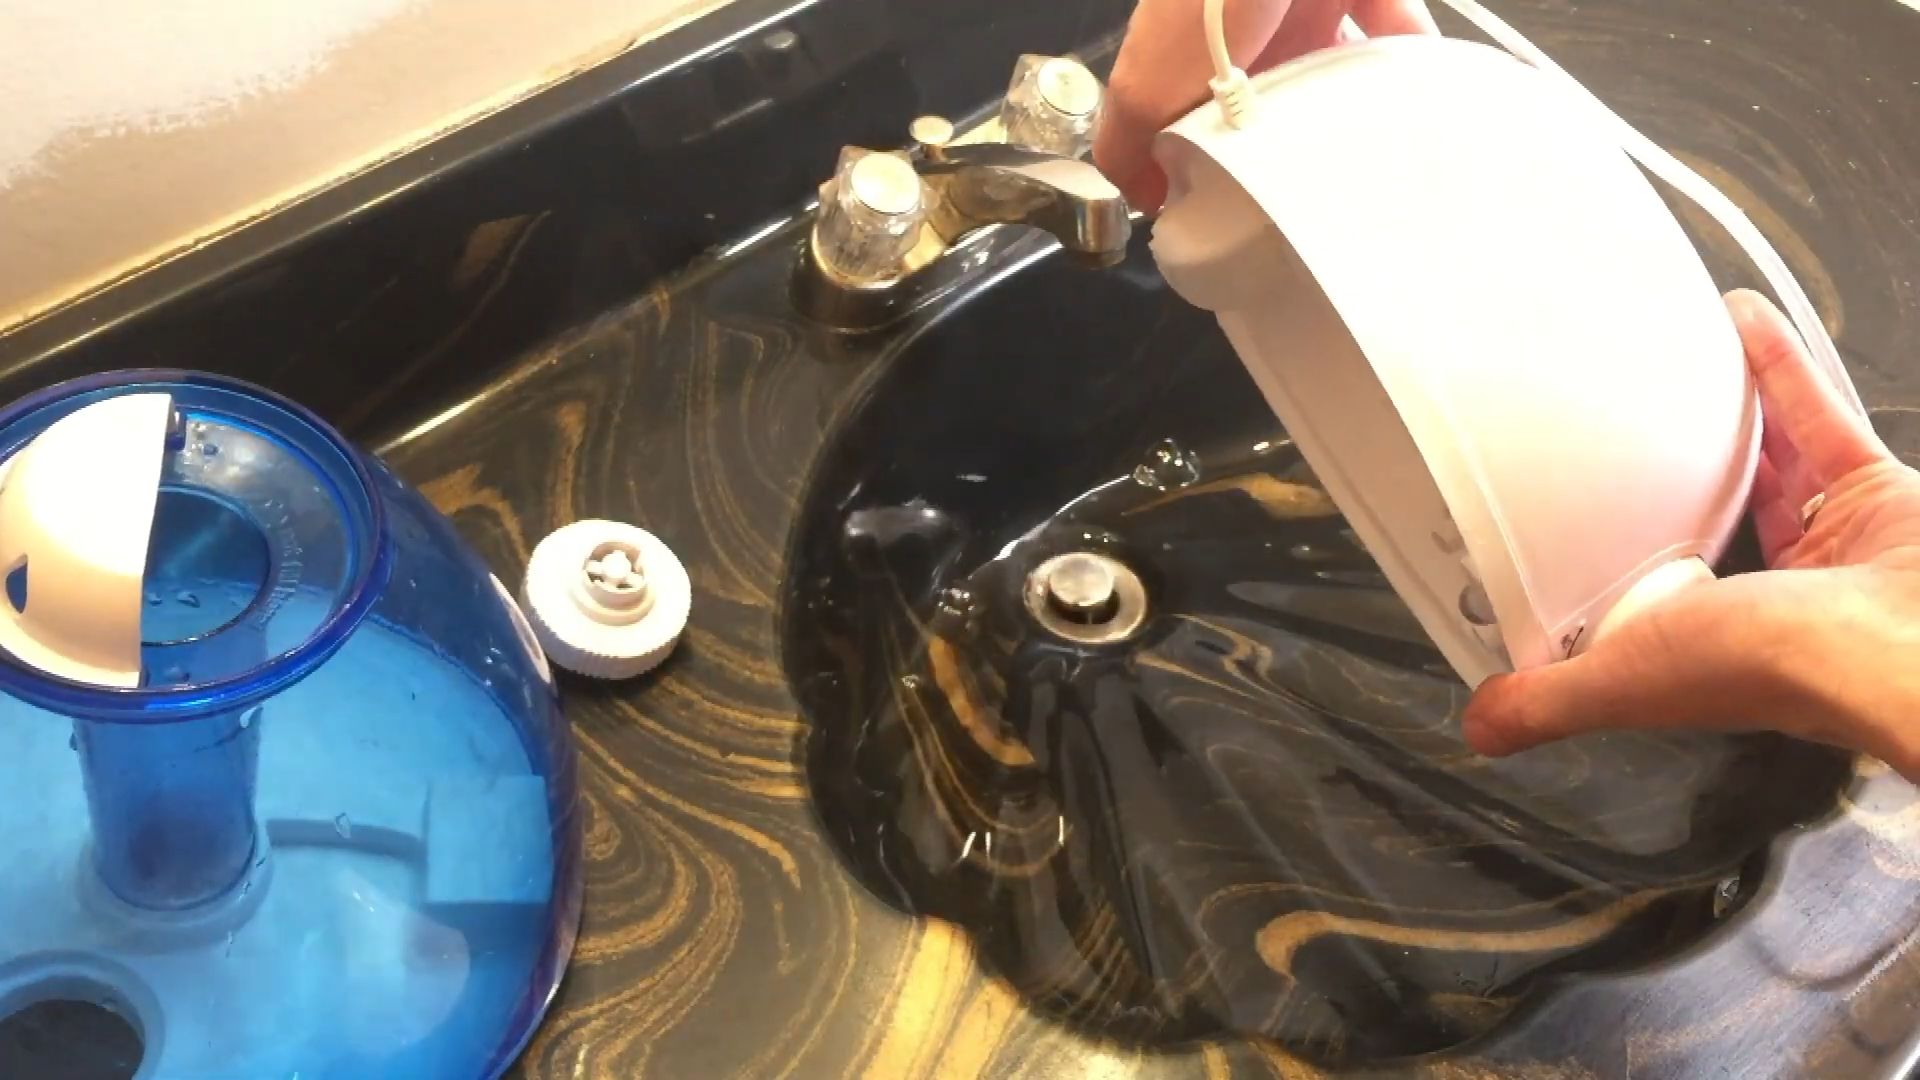
Disassembling Your Humidifier
Okay, let’s get started! The first step is to disassemble your humidifier. This will allow us to clean each part thoroughly.
1. Unplug the Humidifier: This is super important for safety! Make sure the humidifier is completely unplugged from the power outlet before you start taking it apart.
2. Empty the Water Tank: Remove the water tank from the base and empty any remaining water.
3. Disassemble the Components: Carefully take apart all the removable components of your humidifier. This usually includes the water tank, the base, the water tray, and any filters or wicks. Refer to your humidifier’s manual if you’re unsure how to disassemble it properly. Each humidifier model is slightly different, so it’s always best to consult the manual.
4. Inspect for Buildup: Take a close look at each component and identify areas with mineral buildup, mold, or mildew. These are the areas we’ll need to focus on during the cleaning process.
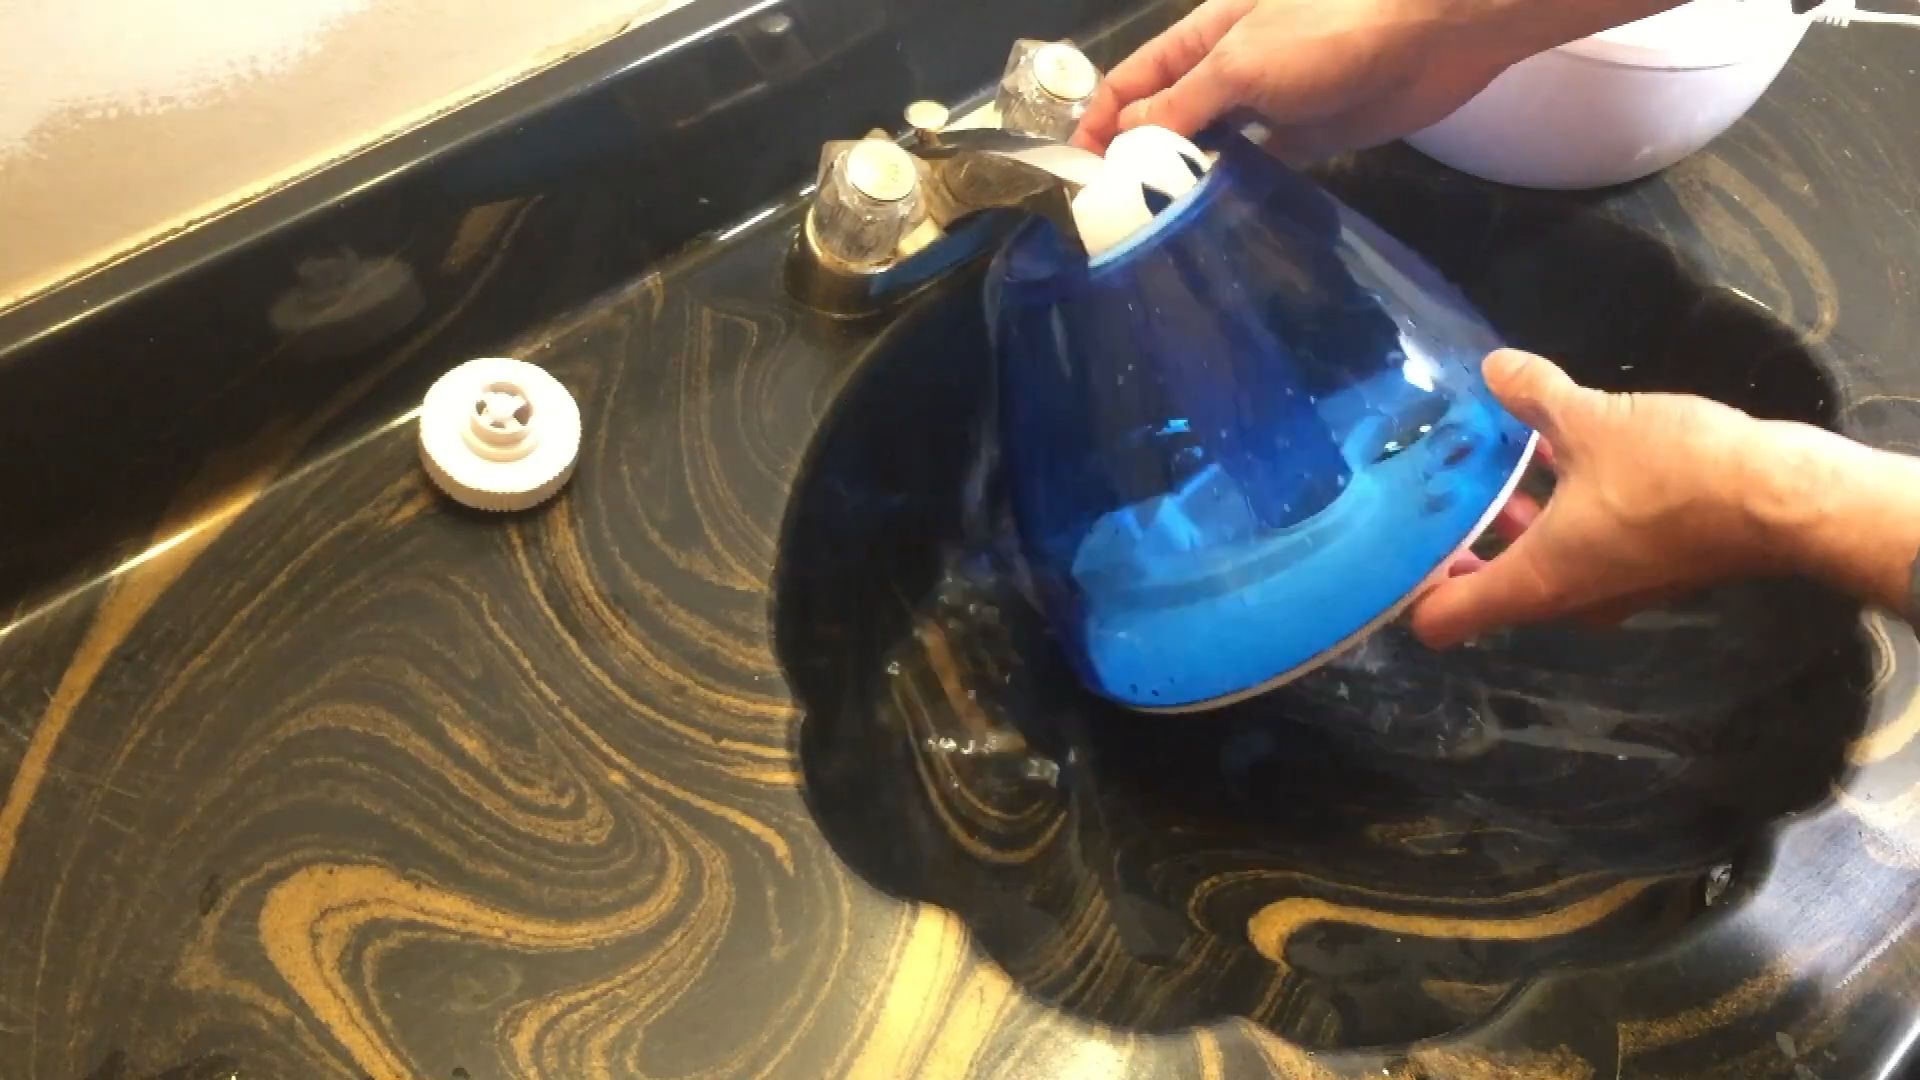
Cleaning the Water Tank
The water tank is often the dirtiest part of the humidifier, so let’s give it some extra attention.
1. Vinegar Soak: Fill the water tank with equal parts white vinegar and water. Make sure the solution covers all the areas with mineral buildup.
2. Soak Time: Let the vinegar solution soak in the tank for at least 30 minutes, or even longer (up to a few hours) for heavy buildup. The longer it soaks, the easier it will be to remove the deposits.
3. Scrubbing: After soaking, use a soft cloth or sponge to scrub the inside of the tank. For hard-to-reach areas, use a small brush or toothbrush. You should see the mineral buildup start to loosen and dissolve.
4. Rinse Thoroughly: Rinse the water tank thoroughly with clean water until all traces of vinegar are gone. You don’t want any vinegar residue left behind, as it can affect the humidifier’s performance and potentially irritate your respiratory system.
5. Hydrogen Peroxide Rinse (Optional): For extra disinfection, you can rinse the tank with hydrogen peroxide after rinsing with water. This will help kill any remaining bacteria or mold spores. Let the hydrogen peroxide sit in the tank for a few minutes, then rinse thoroughly with clean water again.
Cleaning the Humidifier Base and Other Components
Now, let’s move on to the base and other components of the humidifier.
1. Vinegar Solution: Prepare a solution of equal parts white vinegar and water in a sink or tub.
2. Soak the Components: Place the humidifier base, water tray, and any other removable components into the vinegar solution. Make sure all the parts are fully submerged.
3. Soak Time: Let the components soak in the vinegar solution for at least 30 minutes. Again, longer soaking times are beneficial for heavy buildup.
4. Scrubbing: After soaking, use a soft cloth, sponge, or brush to scrub the components. Pay close attention to areas with mineral buildup or grime. Use cotton swabs to clean small crevices and hard-to-reach areas.
5. Dish Soap Wash: Wash all the components with mild dish soap and water to remove any remaining dirt and vinegar residue.
6. Rinse Thoroughly: Rinse all the components thoroughly with clean water until all traces of soap and vinegar are gone.
7. Hydrogen Peroxide Treatment (For Mold): If you notice any signs of mold or mildew, spray the affected areas with hydrogen peroxide. Let it sit for a few minutes, then scrub gently and rinse thoroughly with clean water.
Cleaning the Filter or Wick (If Applicable)
Some humidifiers have filters or wicks that need to be cleaned or replaced regularly.
1. Check the Manual: Refer to your humidifier’s manual for specific instructions on cleaning or replacing the filter or wick.
2. Cleaning (If Applicable): If the filter or wick is washable, rinse it thoroughly with clean water. You can also soak it in a mild solution of vinegar and water for a few minutes to remove mineral buildup.
3. Replacement (If Necessary): If the filter or wick is heavily soiled or damaged, it’s best to replace it with a new one.
Drying and Reassembling
We’re almost there! The final steps are to dry and reassemble your humidifier.
1. Air Dry: Allow all the components to air dry completely before reassembling the humidifier. This is crucial to prevent mold and bacteria growth. You can place the components on a clean towel or drying rack to speed up the drying process.
2. Reassemble the Humidifier: Once all the components are completely dry, carefully reassemble the humidifier according to the manufacturer’s instructions.
3. Final Check: Before using the humidifier, double-check that all the components are properly assembled and that the water tank is securely in place.
Tips for Maintaining a Clean Humidifier
To keep your humidifier clean and prevent buildup, follow these tips:
* Use Distilled Water: Distilled water contains fewer minerals than tap water, which reduces mineral buildup in the humidifier.
* Empty and Dry Daily: Empty the water tank and dry the humidifier daily to prevent bacteria and mold growth.
* Regular Cleaning: Clean your humidifier at least once a week, or more often if you notice buildup or discoloration.
* Replace Filters Regularly: Replace the filter or wick according to the manufacturer’s recommendations.
* Store Properly: When not in use, store the humidifier in a clean, dry place.
Troubleshooting Common Issues
Here are some solutions to common problems you might encounter while cleaning your humidifier:
* Stubborn Mineral Buildup: If you’re having trouble removing mineral buildup, try soaking the affected areas in a stronger vinegar solution for a longer period of time. You can also use a descaling solution specifically designed for humidifiers.
* Mold or Mildew: If you find mold or mildew, use hydrogen peroxide or a bleach solution (diluted with water) to disinfect the affected areas. Be sure to rinse thoroughly with clean water after using bleach.
* Unpleasant Odor: If your humidifier has an unpleasant odor, try adding a few drops of essential oil (like tea tree or eucalyptus) to the water tank. These oils have antibacterial and antifungal properties.
And that’s it! You’ve successfully deep cleaned your humidifier. Now you can breathe easy knowing that you’re providing clean, healthy air for yourself and your family. Remember to clean your humidifier regularly to maintain its performance and prevent the growth of harmful bacteria and mold. Happy breathing!
Conclusion
So, there you have it! A simple, effective, and inexpensive way to keep your humidifier sparkling clean and functioning at its best. We’ve walked you through a straightforward method to clean humidifier components using readily available household items, avoiding harsh chemicals and complicated procedures. This isn’t just about aesthetics; it’s about your health and the longevity of your appliance. A clean humidifier disperses clean, healthy moisture into the air, free from mold, mildew, and mineral buildup that can aggravate allergies and respiratory issues.
Why is this DIY trick a must-try? Because it empowers you to take control of your indoor air quality without breaking the bank. Store-bought humidifier cleaning solutions can be costly and often contain ingredients you might prefer to avoid. This method offers a natural and budget-friendly alternative that’s just as effective, if not more so, in preventing the growth of harmful microorganisms. Plus, regular cleaning extends the life of your humidifier, saving you money in the long run by preventing costly repairs or replacements.
Looking for variations? Absolutely! For particularly stubborn mineral deposits, try soaking the affected parts in a solution of equal parts white vinegar and water overnight. You can also add a few drops of tea tree oil or eucalyptus oil to the water tank after cleaning for an extra boost of antimicrobial protection and a refreshing scent. If you have a humidifier with a filter, be sure to replace it regularly according to the manufacturer’s instructions, even if you’re diligent about cleaning the other components. Some people also find that using distilled water in their humidifiers helps to minimize mineral buildup in the first place. Experiment and find what works best for your specific humidifier model and water quality.
We understand that trying something new can sometimes feel daunting, but trust us, this method is incredibly easy to implement. The steps are simple, the ingredients are common, and the results are well worth the effort. Imagine breathing easier, sleeping better, and knowing that you’re providing a healthier environment for yourself and your loved ones. That’s the power of a clean humidifier!
Don’t just take our word for it, though. We encourage you to give this DIY cleaning trick a try and see the difference for yourself. We’re confident that you’ll be amazed at how easy it is to maintain a clean and healthy humidifier. And most importantly, we want to hear about your experience! Share your tips, variations, and success stories in the comments below. Let’s create a community of clean humidifier enthusiasts and help each other breathe easier! Your feedback will not only help other readers but also inspire us to continue providing valuable and practical solutions for a healthier home. So go ahead, give it a try, and let us know what you think!
Frequently Asked Questions (FAQ)
1. How often should I clean my humidifier?
The frequency of cleaning depends on how often you use your humidifier and the quality of your water. However, as a general rule, you should aim to clean your humidifier at least once a week. If you use it daily or notice mineral buildup or discoloration, you might need to clean it more frequently, perhaps every 2-3 days. Regular cleaning prevents the accumulation of mold, mildew, and bacteria, ensuring that the moisture dispersed into the air is clean and healthy. Neglecting regular cleaning can lead to the growth of harmful microorganisms that can trigger allergies, asthma, and other respiratory problems.
2. Can I use bleach to clean my humidifier?
While bleach is a powerful disinfectant, it’s generally not recommended for cleaning humidifiers. Bleach can be corrosive and may damage certain humidifier components, especially plastic parts. Furthermore, even after rinsing, trace amounts of bleach can remain and be dispersed into the air, potentially causing respiratory irritation. The white vinegar and water solution, as described in the method, is a safer and equally effective alternative for disinfecting and removing mineral buildup. If you absolutely must use bleach, dilute it heavily (no more than 1 tablespoon of bleach per gallon of water), ensure thorough rinsing, and allow the humidifier to air dry completely before using it again. However, we strongly advise sticking to the vinegar solution for a safer and more eco-friendly approach to clean humidifier components.
3. What type of water should I use in my humidifier?
Using distilled water in your humidifier is highly recommended. Tap water contains minerals that can accumulate inside the humidifier, leading to mineral buildup and potentially shortening its lifespan. Distilled water is purified and free from these minerals, reducing the frequency of cleaning and preventing the formation of white dust that can settle on surfaces in your home. While distilled water may cost slightly more than tap water, the benefits it offers in terms of humidifier maintenance and air quality make it a worthwhile investment. Avoid using softened water, as it contains salts that can also contribute to mineral buildup and potentially damage the humidifier.
4. How do I clean a humidifier filter?
The cleaning process for a humidifier filter depends on the type of filter your humidifier uses. Some filters are designed to be disposable and should be replaced regularly according to the manufacturer’s instructions. Other filters are reusable and can be cleaned. To clean a reusable filter, remove it from the humidifier and rinse it thoroughly under running water. Gently scrub the filter with a soft brush to remove any visible debris or mineral buildup. Avoid using soap or detergents, as they can leave residue that can be dispersed into the air. After rinsing, allow the filter to air dry completely before placing it back into the humidifier. Refer to your humidifier’s user manual for specific instructions on cleaning or replacing the filter.
5. My humidifier has a strong odor even after cleaning. What should I do?
If your humidifier still has a strong odor after cleaning, it could be due to lingering mold, mildew, or bacteria. Try soaking the affected parts in a stronger solution of white vinegar and water (equal parts) for a longer period, such as overnight. You can also add a few drops of tea tree oil or eucalyptus oil to the vinegar solution for their antimicrobial properties. After soaking, rinse thoroughly and allow the humidifier to air dry completely. If the odor persists, consider replacing the filter or other components that may be harboring the odor. In some cases, the odor may be caused by the type of plastic used in the humidifier. If this is the case, try using a different brand of humidifier or one made from a different material.
6. Can I put essential oils directly into my humidifier?
This depends on the type of humidifier you have. Some humidifiers, particularly those designed for aromatherapy, are specifically made to accommodate essential oils. However, putting essential oils into a humidifier that is not designed for them can damage the unit. The oils can clog the filter, corrode the plastic, and even void the warranty. If you want to use essential oils, check your humidifier’s manual to see if it is compatible. If not, consider using a separate essential oil diffuser instead. Never add essential oils to the water tank of a standard humidifier without confirming its compatibility.
7. What are the signs that my humidifier needs cleaning?
Several signs indicate that your humidifier needs cleaning. Visible mold or mildew growth inside the tank or on other components is a clear indication. A musty or unpleasant odor emanating from the humidifier is another sign. You might also notice mineral buildup or white dust accumulating on surfaces near the humidifier. If you experience increased allergy symptoms or respiratory irritation while using the humidifier, it could be due to a dirty humidifier dispersing contaminated moisture into the air. Regularly inspecting your humidifier and paying attention to these signs will help you maintain a clean and healthy environment.
8. Is it safe to use a humidifier with a baby or young child?
Yes, humidifiers can be beneficial for babies and young children, especially during the winter months when indoor air tends to be dry. Dry air can irritate nasal passages, leading to congestion, coughing, and difficulty sleeping. A humidifier can help to alleviate these symptoms by adding moisture to the air. However, it’s crucial to maintain a clean humidifier to prevent the growth of mold and bacteria, which can be harmful to infants and young children. Use distilled water, clean the humidifier regularly, and monitor the humidity level in the room to avoid over-humidification, which can promote mold growth. Consult with your pediatrician if you have any concerns about using a humidifier with your child.


Leave a Comment