

Clean Kitchen Cabinets Fast – that’s the dream, right? I know I’ve spent countless hours scrubbing away at sticky residue and stubborn grease, wishing there was a magic wand to make my kitchen cabinets sparkle. Well, while I can’t promise a magic wand, I can share some incredible DIY tricks and hacks that will have your cabinets looking brand new in no time!
For generations, a clean and organized kitchen has been the heart of the home. Think about it – from grandma’s meticulously kept pantry to the modern minimalist kitchens we see today, the desire for a pristine cooking space is timeless. But let’s be honest, life gets busy, and kitchen cabinets often bear the brunt of our culinary adventures. Splatters, spills, and fingerprints accumulate, leaving them looking dull and grimy.
That’s where these DIY solutions come in. You need these tricks because store-bought cleaners can be expensive and often contain harsh chemicals. Plus, who doesn’t love a good DIY project that saves money and uses ingredients you probably already have in your pantry? I’m going to show you how to clean kitchen cabinets fast and effectively, using simple, natural methods. Get ready to transform your kitchen and enjoy a sparkling clean space without breaking the bank or spending all day scrubbing!
DIY: Sparkling Clean Kitchen Cabinets in a Flash!
Okay, let’s face it: kitchen cabinets are magnets for grease, grime, and sticky fingerprints. And while a deep clean might seem daunting, I’m going to show you how to get your cabinets looking brand new without spending hours scrubbing. This method is effective, uses mostly stuff you probably already have, and is gentle enough for most cabinet finishes. Let’s get started!
What You’ll Need:
Before we dive in, gather your supplies. Having everything ready will make the process so much smoother.
* Two Buckets: One for your cleaning solution and one for rinsing.
* Microfiber Cloths: These are your best friends for cleaning without scratching. Get a few!
* Soft Sponge: For tackling tougher grime.
* Old Toothbrush: Perfect for getting into those tricky corners and crevices.
* Spray Bottle: For applying your cleaning solution.
* Dish Soap: A mild dish soap is gentle yet effective.
* Baking Soda: A natural abrasive that’s great for stubborn stains.
* White Vinegar: Cuts through grease like a champ!
* Warm Water: The base of our cleaning solution.
* Optional:
* Lemon Essential Oil: Adds a fresh scent and has antibacterial properties.
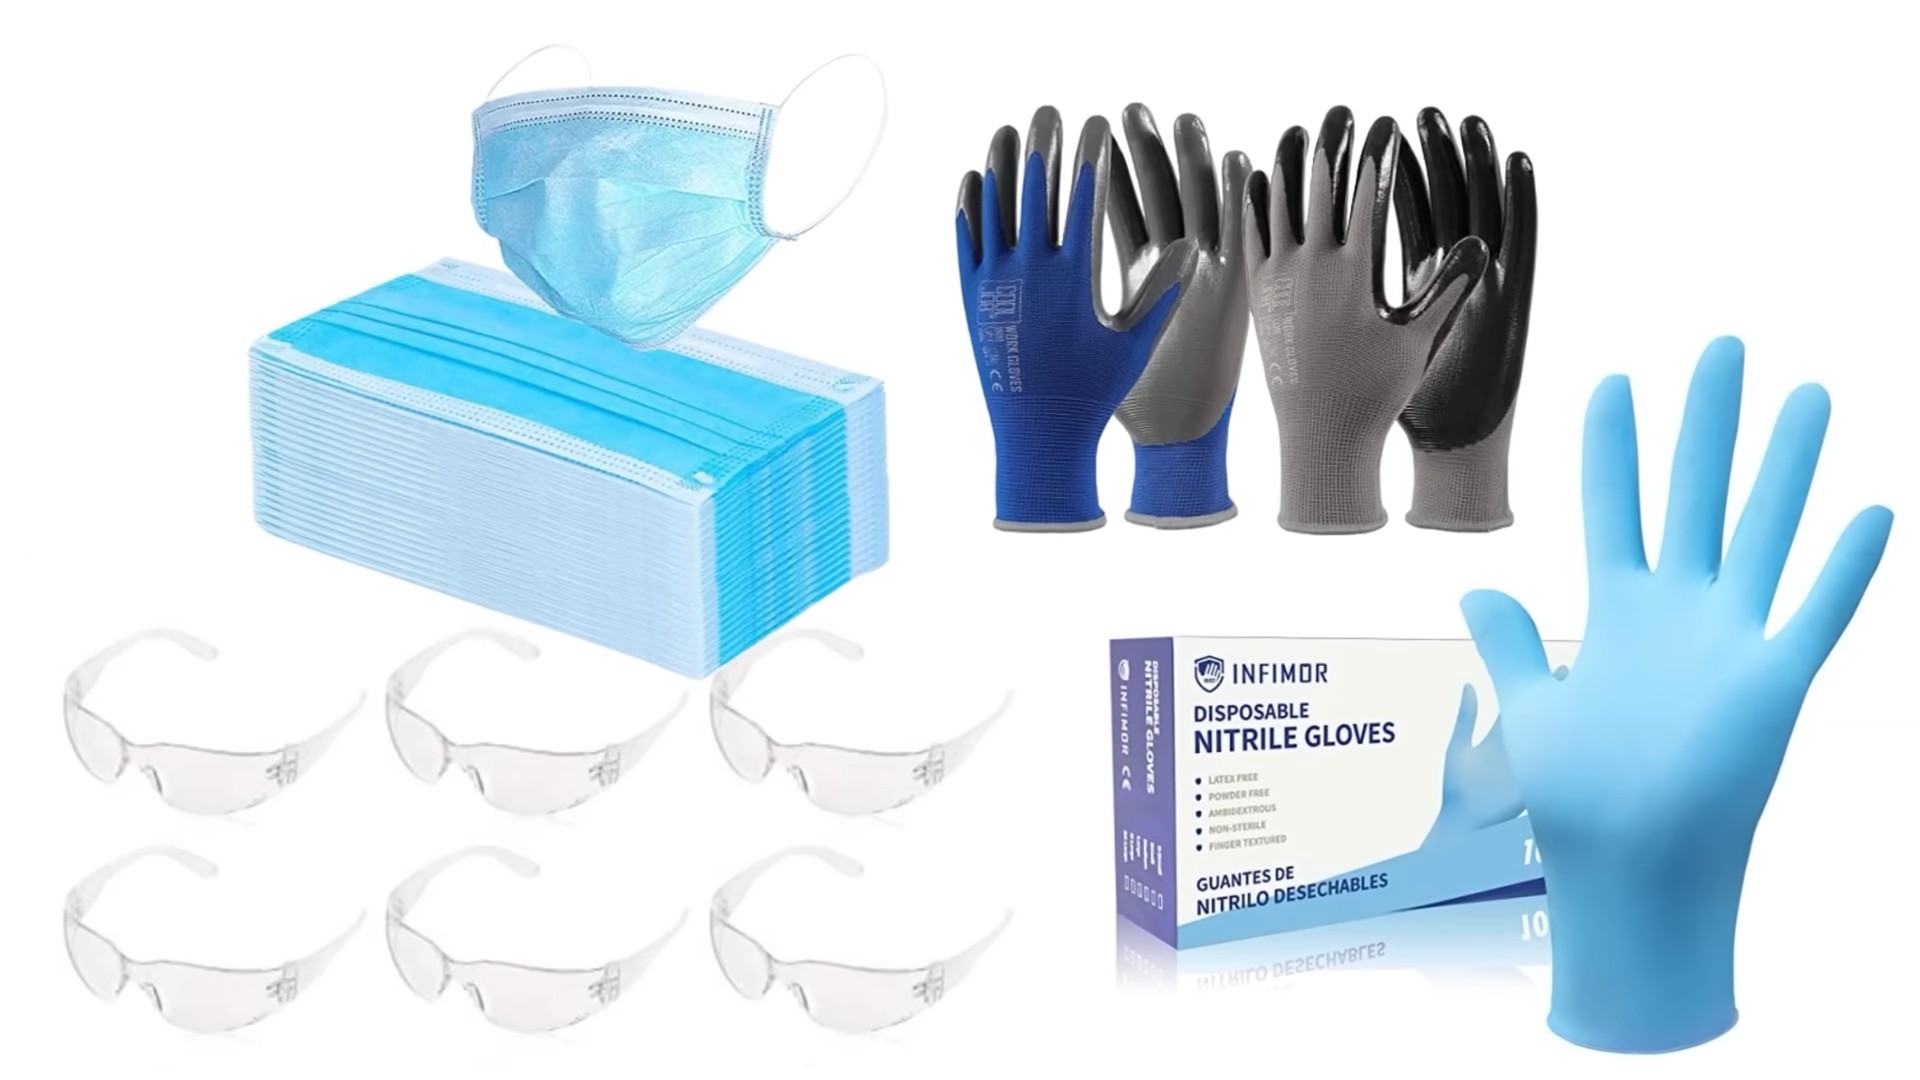
* Rubber Gloves: To protect your hands.
* Magic Eraser: For REALLY tough spots (use with caution!).
Testing Your Cleaning Solution (Important!)
Before you go wild and start scrubbing everything, it’s crucial to test your cleaning solution in an inconspicuous area. This will ensure it doesn’t damage or discolor your cabinet finish.
1. Choose a Hidden Spot: Pick a spot inside a cabinet door or on a side panel that’s not easily visible.
2. Apply a Small Amount: Dab a small amount of your cleaning solution onto the area.
3. Wait and Observe: Let it sit for a few minutes, then wipe it off with a clean, damp cloth.
4. Check for Damage: Look for any signs of discoloration, peeling, or other damage. If you see anything concerning, adjust your cleaning solution (dilute it further) or try a different method altogether.
Making Your Cleaning Solution
I’m going to give you a couple of options for your cleaning solution. Choose the one that best suits your needs and the level of grime you’re dealing with.
Option 1: Mild Cleaning Solution (For Light Grime)
This is my go-to for regular maintenance cleaning. It’s gentle and effective for removing everyday dirt and fingerprints.
1. Combine Ingredients: In your bucket, mix 1 tablespoon of mild dish soap with 2 cups of warm water.
2. Optional: Add a few drops of lemon essential oil for a fresh scent.
3. Mix Well: Stir until the soap is fully dissolved.
Option 2: Heavy-Duty Cleaning Solution (For Stubborn Grease)
This solution is a bit stronger and is perfect for tackling those greasy spots around the stove or areas that haven’t been cleaned in a while.
1. Combine Ingredients: In your bucket, mix 1 cup of warm water, 1/2 cup of white vinegar, and 1 tablespoon of dish soap.
2. Mix Well: Stir until everything is well combined.
Option 3: Baking Soda Paste (For Extra Stubborn Spots)
This isn’t a solution for the whole cabinet, but it’s a lifesaver for those really stuck-on messes.
1. Create a Paste: Mix baking soda with a small amount of water until you form a thick paste.
Cleaning Your Cabinets: Step-by-Step
Now for the main event! Follow these steps to get your cabinets sparkling clean.
1. Empty the Cabinets: Remove everything from inside your cabinets. This will prevent anything from getting wet or damaged during the cleaning process.
2. Dust the Cabinets: Use a dry microfiber cloth to dust the cabinets, both inside and out. This will remove loose dirt and debris, making the cleaning process easier.
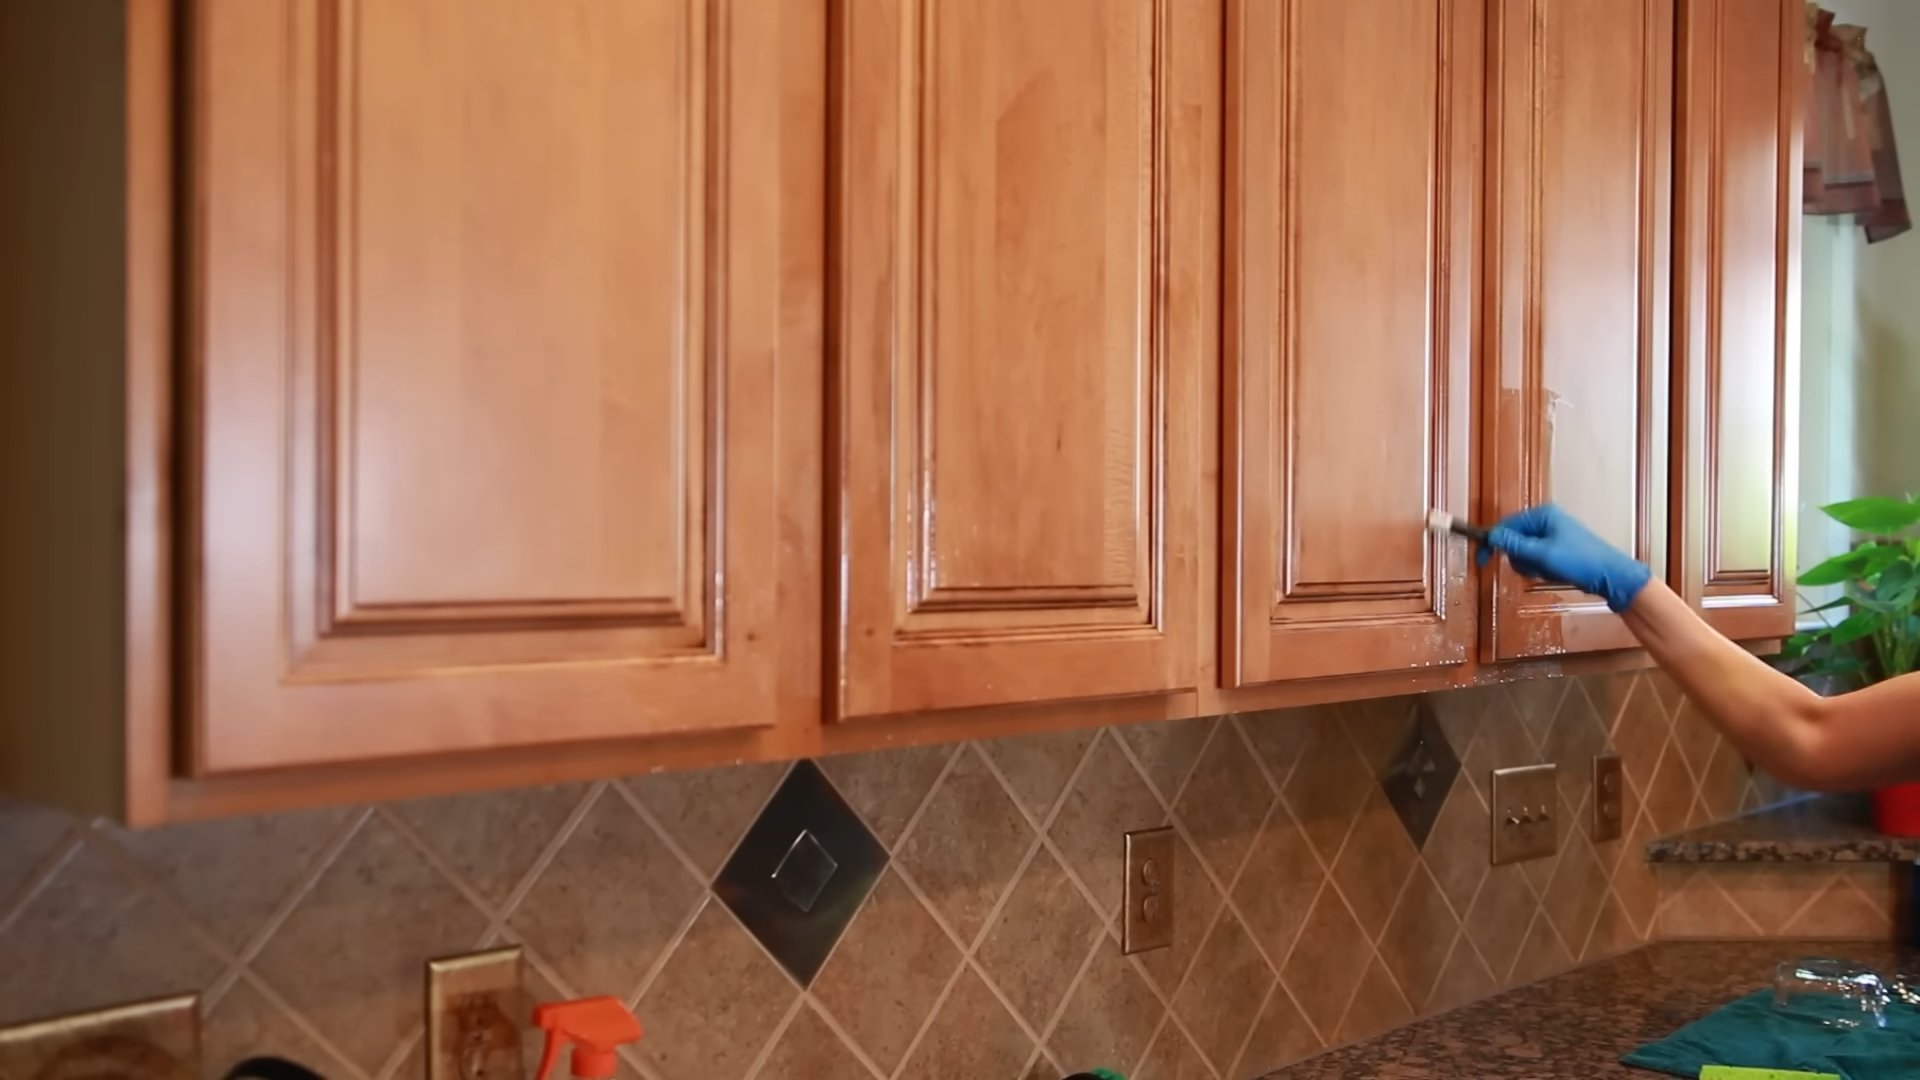
3. Apply the Cleaning Solution: Pour your chosen cleaning solution into a spray bottle. Lightly spray the cabinets, working in small sections. Don’t oversaturate the wood, especially around the edges.
4. Wipe with a Damp Cloth: Use a clean, damp microfiber cloth to wipe down the cabinets. Apply gentle pressure to remove dirt and grime. For tougher spots, use a soft sponge.
5. Scrub Stubborn Spots: If you encounter any stubborn spots, apply a small amount of baking soda paste to the area. Gently scrub with a soft sponge or old toothbrush. Be careful not to scratch the finish.
6. Rinse with Clean Water: Dip a clean microfiber cloth into your bucket of clean water and wring it out well. Wipe down the cabinets to remove any soap residue.
7. Dry Thoroughly: Use a clean, dry microfiber cloth to dry the cabinets completely. This will prevent water spots and help maintain the finish.
8. Clean Hardware: Don’t forget the hardware! Remove the knobs and pulls and soak them in warm, soapy water. Scrub them with a soft brush to remove any grime. Rinse and dry thoroughly before reattaching them.
9. Reorganize: Once the cabinets are completely dry, you can put everything back inside. This is a great opportunity to declutter and organize your kitchen!
Tackling Specific Areas
Some areas of your kitchen cabinets are more prone to grime than others. Here’s how to tackle those specific spots:
* Around the Stove: This area is usually the greasiest. Use the heavy-duty cleaning solution and don’t be afraid to let it sit for a few minutes before wiping.
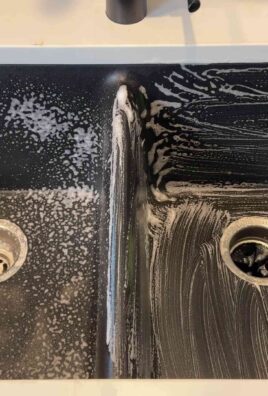
* Under the Sink: This area can get damp and mildewy. Make sure to dry it thoroughly after cleaning. You can also use a disinfectant spray to kill any mold or mildew.
* High-Touch Areas: Areas around handles and knobs get touched the most and accumulate the most fingerprints. Pay extra attention to these areas.
Tips and Tricks for Sparkling Cabinets
Here are a few extra tips to help you keep your cabinets looking their best:
* Clean Regularly: The more often you clean your cabinets, the easier it will be to keep them clean. Aim to wipe them down at least once a week.
* Use a Grease Splatter Screen: When cooking, use a grease splatter screen to prevent grease from splattering onto your cabinets.
* Ventilate Your Kitchen: Use your range hood or open a window when cooking to help remove grease and moisture from the air.
* Avoid Harsh Chemicals: Harsh chemicals can damage the finish of your cabinets. Stick to mild cleaning solutions.
* Magic Erasers: Use magic erasers sparingly and test in an inconspicuous area first. They can be abrasive and may damage some finishes.
* Touch-Up Paint: Keep a small bottle of touch-up paint on hand to repair any scratches or chips.
* Consider Cabinet Liners: Line your cabinets with shelf liners to protect them from spills and stains.
Maintaining Your Clean Cabinets
Once you’ve got your cabinets sparkling, the key is to maintain them! Here’s how:
* Weekly Wipe-Down: A quick wipe-down with a damp microfiber cloth once a week will prevent grime from building up.
* Spot Cleaning: Address spills and splatters immediately to prevent them from becoming stubborn stains.
* Regular Deep Cleaning: Plan to do a more thorough cleaning every few months to keep your cabinets in top condition.
Dealing with Different Cabinet Finishes
The cleaning method I’ve outlined is generally safe for most cabinet finishes, but it’s always a good idea to be extra cautious, especially if you have antique or custom-finished cabinets.
* Painted Cabinets: Painted cabinets are generally durable, but avoid using abrasive cleaners or scrub brushes, as they can scratch the paint.
* Wood Cabinets: Wood cabinets can be more sensitive to moisture. Be sure to dry them thoroughly after cleaning.
* Laminate Cabinets: Laminate cabinets are relatively easy to clean. You can use a slightly stronger cleaning solution if needed.
* Glass-Front Cabinets: Clean the glass with a glass cleaner after cleaning the frames.
By following these steps and tips, you can keep your kitchen cabinets looking clean and beautiful for years to come. Happy cleaning!
Conclusion
So, there you have it! A simple, effective, and budget-friendly way to breathe new life into your kitchen cabinets. We’ve walked you through a method that not only cleans but also helps protect your cabinets, leaving them sparkling and refreshed. This isn’t just about aesthetics; it’s about maintaining a clean and healthy kitchen environment, free from grease, grime, and lingering odors.
Why is this DIY trick a must-try? Because it empowers you to take control of your kitchen’s cleanliness without relying on harsh chemicals or expensive professional services. It’s a sustainable solution that utilizes ingredients you likely already have in your pantry. Think about the satisfaction of knowing you’ve achieved professional-level results with your own two hands, using a method that’s gentle on your cabinets and the environment.
But the beauty of this method lies in its adaptability. Feel free to experiment with variations to suit your specific needs and preferences. For instance, if you’re dealing with particularly stubborn grease stains, consider adding a tablespoon of baking soda to your cleaning solution for extra scrubbing power. For a refreshing scent, infuse your water with a few drops of your favorite essential oil, such as lemon, orange, or lavender. Remember to always test any new solution on an inconspicuous area of your cabinet first to ensure it doesn’t cause any discoloration or damage.
Another variation involves the type of cloth you use. Microfiber cloths are excellent for lifting dirt and grime without scratching the surface. However, for textured cabinets, a soft-bristled brush might be more effective at reaching into crevices. The key is to find what works best for your specific cabinet material and the level of cleaning required.
Don’t be afraid to adjust the ratios of ingredients to find the perfect balance for your needs. If you find the solution too strong, simply dilute it with more water. If it’s not strong enough, add a bit more vinegar or dish soap. The goal is to create a cleaning solution that effectively removes dirt and grime without damaging your cabinets.
We believe that this DIY method for cleaning kitchen cabinets is a game-changer for anyone looking to maintain a clean and beautiful kitchen. It’s cost-effective, environmentally friendly, and incredibly easy to implement.
So, what are you waiting for? Give this DIY trick a try and experience the difference for yourself. We’re confident that you’ll be amazed by the results. And most importantly, we want to hear about your experience! Share your before-and-after photos, tips, and variations in the comments below. Let’s create a community of clean kitchen enthusiasts who are passionate about maintaining a sparkling and healthy home. Your feedback will not only help others but also inspire us to continue sharing valuable cleaning tips and tricks. Let’s make cleaning kitchen cabinets a breeze, together!
FAQ
What kind of cabinets is this cleaning method suitable for?
This cleaning method is generally safe for most types of kitchen cabinets, including wood, laminate, and painted cabinets. However, it’s crucial to test the solution on an inconspicuous area first, especially if you have antique or delicate cabinets. Avoid using this method on unfinished wood, as it can absorb moisture and potentially warp. For high-gloss cabinets, use a very diluted solution and a soft microfiber cloth to prevent scratching. If you’re unsure about the material of your cabinets, consult the manufacturer’s instructions or a professional cleaner.
How often should I clean my kitchen cabinets using this method?
The frequency of cleaning depends on how often you cook and the amount of grease and grime that accumulates on your cabinets. As a general rule, aim to clean your cabinets every 1-2 weeks to prevent buildup. However, if you notice spills or splatters, clean them immediately to prevent staining. For cabinets near the stove, you may need to clean them more frequently due to grease buildup. Regular cleaning will not only keep your cabinets looking their best but also prevent the need for more intensive cleaning in the future.
Can I use other types of vinegar besides white vinegar?
While white vinegar is the most commonly recommended type for cleaning due to its acidity and lack of color, you can technically use other types of vinegar, such as apple cider vinegar. However, be aware that apple cider vinegar has a slight color that could potentially stain light-colored cabinets. It’s always best to test any vinegar on an inconspicuous area first to ensure it doesn’t cause any discoloration. White vinegar is generally the safest and most effective option for cleaning kitchen cabinets.
What if I don’t have dish soap? Can I use something else?
Dish soap is primarily used to help cut through grease and grime. If you don’t have dish soap, you can try using a small amount of liquid castile soap as a substitute. Castile soap is a gentle and effective cleaner that’s safe for most surfaces. Avoid using harsh detergents or abrasive cleaners, as they can damage the finish of your cabinets. If you’re using a substitute for dish soap, be sure to rinse the cabinets thoroughly with clean water to remove any residue.
How do I deal with stubborn grease stains on my kitchen cabinets?
For stubborn grease stains, you can create a paste of baking soda and water. Apply the paste to the stain, let it sit for a few minutes, and then gently scrub with a soft cloth or sponge. Baking soda is a mild abrasive that can help lift grease and grime without scratching the surface. You can also try using a degreasing cleaner specifically designed for kitchen cabinets. Always test any cleaning solution on an inconspicuous area first to ensure it doesn’t cause any damage.
My cabinets have a sticky residue. Will this method remove it?
Yes, this method should effectively remove sticky residue from your kitchen cabinets. The combination of vinegar and dish soap helps to dissolve and lift sticky substances. For particularly stubborn residue, you can try using a slightly stronger solution of vinegar and water. You can also try using a hairdryer to gently heat the residue, which can make it easier to remove. Be patient and persistent, and the sticky residue should eventually come off.
How do I prevent water spots from forming on my cabinets after cleaning?
To prevent water spots, be sure to dry your cabinets thoroughly with a clean, dry cloth after cleaning. Microfiber cloths are particularly effective at absorbing water and preventing streaks. You can also try using a furniture polish or wax specifically designed for kitchen cabinets to protect the surface and prevent water spots. Regular cleaning and drying will help to keep your cabinets looking their best and prevent the formation of water spots.
Is this method safe for painted cabinets?
Yes, this method is generally safe for painted cabinets, but it’s crucial to use a gentle touch and avoid harsh scrubbing. Painted cabinets can be more susceptible to damage than other types of cabinets, so it’s important to be careful. Always test the cleaning solution on an inconspicuous area first to ensure it doesn’t cause any discoloration or damage. Use a soft cloth or sponge and avoid abrasive cleaners or scrub brushes. Dry the cabinets thoroughly after cleaning to prevent water spots.
Can I use this method on my cabinet hardware (knobs, pulls, etc.)?
Yes, you can use this method to clean your cabinet hardware. However, be sure to remove the hardware from the cabinets first to avoid getting the cleaning solution on the cabinet surface. You can soak the hardware in the cleaning solution for a few minutes to loosen any dirt or grime. Use a soft brush or cloth to scrub the hardware clean. Rinse the hardware thoroughly with clean water and dry it completely before reattaching it to the cabinets.
What essential oils are best to use for adding a scent to the cleaning solution?
Several essential oils can be used to add a pleasant scent to your cleaning solution. Lemon and orange essential oils are popular choices due to their fresh, citrusy scent and degreasing properties. Lavender essential oil has a calming and relaxing scent. Tea tree essential oil has antibacterial properties. Peppermint essential oil has a refreshing and invigorating scent. When using essential oils, add only a few drops to the cleaning solution, as they can be quite potent. Always test the solution on an inconspicuous area first to ensure the essential oil doesn’t cause any discoloration or damage.


Leave a Comment