

Clean kitchen sink naturally – it’s a phrase that might conjure images of elbow grease and harsh chemicals, right? But what if I told you that achieving a sparkling, fresh-smelling sink could be simpler, cheaper, and better for the environment than you ever imagined?
For generations, resourceful homemakers have relied on natural remedies to keep their homes clean. Think back to your grandmother’s era, where vinegar and baking soda were staples, not just for cooking, but for tackling tough cleaning jobs. This isn’t just about nostalgia; it’s about tapping into a wealth of knowledge that’s both effective and sustainable. In many cultures, cleanliness is deeply intertwined with well-being and respect for the home, making these natural methods even more significant.
Let’s face it, our kitchen sinks endure a lot! From food scraps to greasy dishes, they’re a breeding ground for bacteria and unpleasant odors. Ignoring this can lead to clogged drains, lingering smells, and even attract unwanted pests. But who wants to spend a fortune on expensive, chemical-laden cleaners? That’s where these DIY tricks come in. I’m going to share some easy-to-follow methods to clean kitchen sink naturally, using ingredients you probably already have in your pantry. Get ready to ditch the harsh chemicals and embrace a cleaner, fresher, and healthier kitchen!

DIY Natural Kitchen Sink Cleaning Powerhouse
Hey there, fellow DIY enthusiasts! Are you tired of harsh chemicals and artificial fragrances in your kitchen sink cleaner? I know I was! That’s why I’m so excited to share my go-to method for a sparkling clean sink using only natural ingredients. It’s effective, eco-friendly, and surprisingly simple. Let’s ditch the store-bought stuff and create our own cleaning powerhouse!
What You’ll Need
Before we dive in, let’s gather our supplies. The beauty of this method is that you probably already have most of these items in your pantry!
* **Baking Soda:** This is our gentle abrasive and deodorizer.
* **White Vinegar:** The acid in vinegar helps to break down grime and kill bacteria.
* **Lemon (or Lemon Juice):** Adds a fresh scent and extra cleaning power. The citric acid is a natural degreaser.
* **Salt (Coarse or Table Salt):** Another gentle abrasive to scrub away stubborn stains.
* **Dish Soap (Natural):** A small amount helps to lift grease and dirt. Opt for a plant-based option for an even greener clean.
* **Boiling Water:** Helps to flush out the drain and dissolve grease.
* **Old Toothbrush or Scrub Brush:** For scrubbing those hard-to-reach areas.
* **Microfiber Cloth or Sponge:** For wiping down the sink.
* **Rubber Gloves (Optional):** To protect your hands, especially if you have sensitive skin.
* **Essential Oils (Optional):** For an extra boost of fragrance. Lemon, tea tree, or lavender are great choices.
Step-by-Step Cleaning Guide
Alright, let’s get started! I’ve broken down the process into easy-to-follow steps.
1. **Clear the Sink:** Remove any dishes, sponges, or other items from the sink. We want a clean slate to work with.
2. **Rinse the Sink:** Give the sink a quick rinse with warm water to loosen any loose debris.
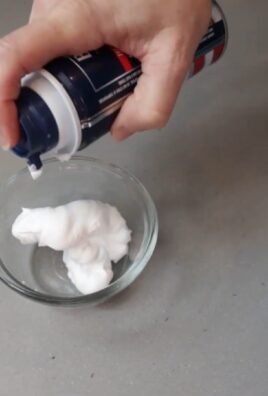
3. **Baking Soda Application:** Generously sprinkle baking soda all over the sink surface, including the sides and bottom. Don’t be shy! You want a good, even coating. I usually use about half a cup.
4. **Vinegar Power:** Now for the fun part! Slowly pour white vinegar over the baking soda. You’ll see it fizz and bubble – that’s the chemical reaction working its magic! The fizzing action helps to lift dirt and grime. Let it sit for about 5-10 minutes. This gives the vinegar time to break down any stubborn buildup.
5. **Scrub-a-Dub-Dub:** Grab your old toothbrush or scrub brush and start scrubbing! Pay extra attention to areas with stains, water spots, or around the drain. The baking soda acts as a gentle abrasive, helping to remove stuck-on food and grime. I find that a circular motion works best.
6. **Salt Scrub (Optional):** For extra scrubbing power, especially on stainless steel sinks, sprinkle a bit of salt onto your scrub brush and continue scrubbing. The salt will help to remove any remaining stains or water spots. Be careful not to scrub too hard, as you don’t want to scratch the surface.
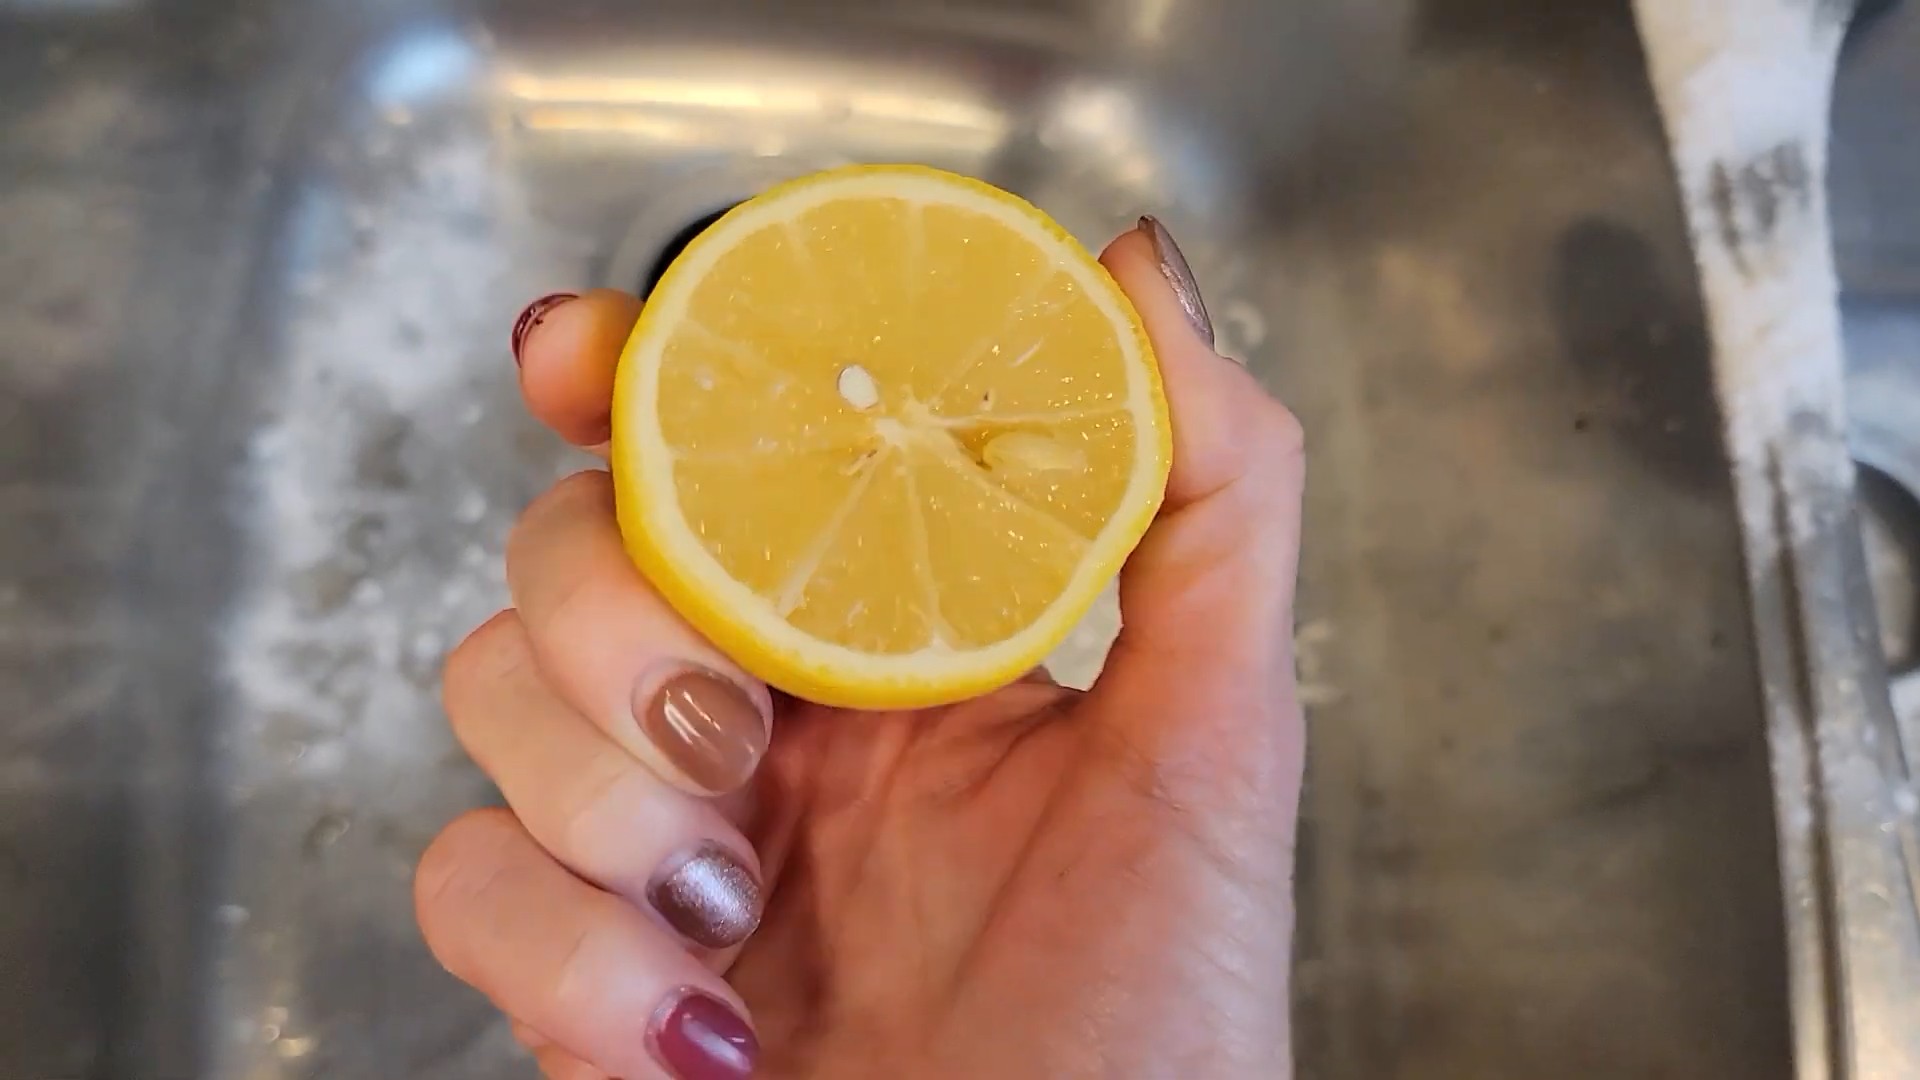
7. **Lemon Power:** Cut a lemon in half and use it to scrub the sink. The citric acid in the lemon will help to degrease and brighten the sink. Plus, it leaves a wonderful fresh scent! You can also squeeze lemon juice over the sink if you don’t have a whole lemon.
8. **Rinse Thoroughly:** Rinse the sink thoroughly with warm water to remove all traces of baking soda, vinegar, and lemon. Make sure to get into all the corners and crevices.
9. **Dish Soap Wash:** Add a small amount of natural dish soap to your sponge or microfiber cloth and wash the entire sink surface. This will help to remove any remaining grease and dirt.
10. **Final Rinse:** Give the sink one last rinse with warm water to remove all traces of dish soap.
11. **Dry and Shine:** Use a clean microfiber cloth to dry the sink completely. This will help to prevent water spots and leave your sink sparkling clean.
12. **Boiling Water Flush:** Carefully pour a kettle of boiling water down the drain. This will help to flush out any remaining grease or debris and keep your drain running smoothly. Be cautious when handling boiling water to avoid burns.
13. **Essential Oil Boost (Optional):** For an extra boost of fragrance, add a few drops of your favorite essential oil to a damp cloth and wipe down the sink. Lemon, tea tree, or lavender are all great choices.
Deep Cleaning the Drain
Sometimes, your sink drain needs a little extra TLC. Here’s how I tackle a clogged or smelly drain using natural ingredients:
1. **Baking Soda and Vinegar Volcano:** Pour about 1/2 cup of baking soda down the drain, followed by 1 cup of white vinegar. Let it fizz and bubble for about 30 minutes. This will help to break down any clogs or buildup in the drain.
2. **Boiling Water Flush:** After 30 minutes, carefully pour a kettle of boiling water down the drain to flush away the baking soda and vinegar mixture, along with any loosened debris.
3. **Repeat if Necessary:** If the drain is still clogged or smelly, repeat the baking soda and vinegar treatment.
4. **Plunger Power (If Needed):** If the baking soda and vinegar method doesn’t work, try using a plunger to dislodge any stubborn clogs. Make sure there’s enough water in the sink to cover the cup of the plunger.
Maintaining a Clean Sink
Prevention is key! Here are a few tips to keep your sink clean and fresh between deep cleanings:
* **Rinse After Each Use:** Rinse the sink with warm water after each use to prevent food particles and grease from building up.
* **Wipe Down Regularly:** Wipe down the sink with a damp cloth or sponge after each use to remove any spills or splatters.
* **Avoid Pouring Grease Down the Drain:** Pouring grease down the drain is a surefire way to clog it up. Instead, pour grease into a container and dispose of it properly.
* **Use a Drain Strainer:** A drain strainer will catch food particles and prevent them from going down the drain.
* **Weekly Baking Soda Flush:** Once a week, pour a cup of baking soda down the drain followed by hot water to keep it fresh and prevent clogs.
Troubleshooting Tips
* **Stubborn Stains:** For stubborn stains, make a paste of baking soda and water and apply it to the stain. Let it sit for a few minutes before scrubbing.
* **Hard Water Spots:** For hard water spots, try using a mixture of equal parts white vinegar and water. Spray the mixture onto the spots and let it sit for a few minutes before wiping clean.
* **Smelly Sink:** If your sink smells bad, try pouring a cup of baking soda down the drain followed by hot water. You can also add a few drops of essential oil to the baking soda for extra deodorizing power.
Why I Love This Method
I’m a huge fan of this natural sink cleaning method for so many reasons! First and foremost, it’s eco-friendly. I’m not using harsh chemicals that can harm the environment. Second, it’s cost-effective. I already have most of the ingredients on hand, so I’m saving money on expensive cleaning products. Third, it’s safe for my family and pets. I don’t have to worry about them being exposed to harmful chemicals. And finally, it works! My sink is always sparkling clean and fresh.
So there you have it! My go-to method for a naturally clean kitchen sink. Give it a try and let me know what you think! I’m confident that you’ll love the results. Happy cleaning!
Conclusion
So, there you have it! A simple, effective, and completely natural way to clean your kitchen sink naturally, banishing grime and odors without resorting to harsh chemicals. This isn’t just about cleaning; it’s about creating a healthier home environment, reducing your reliance on potentially harmful products, and saving money in the process.
Why is this DIY trick a must-try? Because it’s a win-win-win! You get a sparkling clean sink, you avoid exposing yourself and your family to harsh chemicals, and you contribute to a more sustainable lifestyle. The ingredients are likely already in your pantry, making it incredibly convenient and cost-effective. Forget those expensive, store-bought cleaners filled with ingredients you can’t even pronounce. This method is transparent, safe, and delivers impressive results.
But the beauty of this DIY approach is its adaptability. Feel free to experiment with variations to suit your specific needs and preferences. For example, if you’re dealing with particularly stubborn stains, you can create a paste of baking soda and water and let it sit on the affected area for a longer period before scrubbing. For an extra boost of freshness, add a few drops of your favorite essential oil, like lemon or tea tree, to the baking soda mixture. These oils not only smell fantastic but also possess natural antibacterial properties.
Another variation involves using white vinegar instead of lemon juice. White vinegar is a powerful disinfectant and degreaser, making it an excellent alternative for tackling tough grime. Just be sure to rinse thoroughly after using vinegar, as its strong scent can linger.
Don’t be afraid to get creative and personalize this DIY cleaning solution to your liking. The key is to find what works best for your sink and your cleaning routine.
We are confident that once you try this natural cleaning method, you’ll be amazed by the results. It’s a simple yet powerful way to maintain a clean and healthy kitchen. So, ditch the harsh chemicals and embrace the power of natural ingredients.
We encourage you to give this DIY trick a try and share your experience with us! Let us know in the comments below how it worked for you, what variations you tried, and any tips you have to share. Your feedback is invaluable and helps us all learn and improve together. We can’t wait to hear your success stories and see your sparkling clean sinks! Let’s make our kitchens cleaner and greener, one sink at a time.
Frequently Asked Questions (FAQs)
Q: Is this DIY cleaning method safe for all types of kitchen sinks?
A: Generally, yes, this method is safe for most common kitchen sink materials, including stainless steel, porcelain, and ceramic. However, it’s always a good idea to test a small, inconspicuous area first, especially if you have a more delicate or unusual sink material like copper or natural stone. Avoid using abrasive scrub brushes on easily scratched surfaces. For sensitive materials, dilute the vinegar or lemon juice with more water. If you are unsure about your sink material, consult the manufacturer’s instructions or a professional cleaner.
Q: How often should I use this DIY cleaning method?
A: The frequency depends on how often you use your sink and how quickly it gets dirty. For general maintenance, cleaning your sink with this method once or twice a week should be sufficient. If you cook frequently or notice buildup more often, you may want to clean it more regularly. You can also use a quick daily rinse with soap and water to prevent grime from accumulating.
Q: Can I use this method to clean a garbage disposal?
A: Yes, this method can help freshen and clean your garbage disposal. After cleaning the sink, pour the baking soda and vinegar mixture down the drain. Let it fizz for about 30 minutes, then flush with hot water. You can also add lemon or lime peels to the disposal and run it with cold water to help eliminate odors. Avoid putting harsh chemicals or large amounts of grease down the garbage disposal.
Q: What if I don’t have lemon juice or vinegar? Can I use something else?
A: While lemon juice and vinegar are the most effective natural acids for cleaning, you can try using other citrus juices like lime or grapefruit juice. The acidity helps to break down grime and kill bacteria. If you don’t have any citrus fruits, you can try using a mild dish soap diluted in water as a substitute, but it may not be as effective at removing stubborn stains or odors.
Q: The baking soda and vinegar mixture fizzes a lot. Is that normal?
A: Yes, the fizzing is a normal chemical reaction between the baking soda (a base) and the vinegar (an acid). This reaction helps to loosen dirt and grime, making it easier to scrub away. Be careful when pouring the vinegar onto the baking soda, as it can create a lot of foam. It’s best to do it slowly and in a well-ventilated area.
Q: How do I get rid of hard water stains in my sink?
A: Hard water stains can be tricky to remove. For hard water stains, soak a paper towel in white vinegar and place it directly on the stain for several hours or overnight. The vinegar will help dissolve the mineral deposits. Then, scrub with baking soda and rinse thoroughly. You may need to repeat this process several times for stubborn stains. You can also purchase a commercial hard water stain remover, but be sure to choose one that is safe for your sink material.
Q: My sink has a lingering odor even after cleaning. What can I do?
A: If your sink has a lingering odor, it could be coming from the drain or garbage disposal. Try pouring a cup of baking soda down the drain, followed by a cup of white vinegar. Let it fizz for 30 minutes, then flush with hot water. You can also add lemon or lime peels to the garbage disposal and run it with cold water. If the odor persists, you may need to clean the P-trap under the sink, as it can accumulate food particles and debris.
Q: Can I use this method to clean other areas of my kitchen?
A: Absolutely! The baking soda and vinegar mixture can be used to clean various surfaces in your kitchen, such as countertops, stovetops, and even the inside of your refrigerator. Just be sure to test a small, inconspicuous area first to ensure it doesn’t damage the surface. For countertops, you can dilute the vinegar with water to prevent etching.
Q: Is it safe to mix baking soda and vinegar with other cleaning products?
A: No, it’s generally not safe to mix baking soda and vinegar with other cleaning products, especially those containing bleach or ammonia. Mixing these chemicals can create harmful and potentially dangerous fumes. Always use baking soda and vinegar separately or in combination with water and other natural ingredients.
Q: Where can I find more information about natural cleaning methods?
A: There are many resources available online and in libraries about natural cleaning methods. You can search for articles, blog posts, and books on the topic. Look for reputable sources that provide accurate and safe information. You can also consult with a professional cleaner who specializes in natural cleaning methods.

Leave a Comment