

Clean Sink Naturally: Are you tired of harsh chemicals and lingering odors in your kitchen sink? I know I was! For generations, our grandmothers relied on simple, natural ingredients to keep their homes sparkling, and it’s time we rediscovered those time-tested secrets. Think about it – before the age of commercial cleaners, people used what they had on hand: vinegar, baking soda, and lemon juice. These weren’t just cheap alternatives; they were effective and environmentally friendly!
This DIY guide will walk you through easy, step-by-step methods to clean sink naturally, leaving it fresh, sanitized, and free from harmful residues. We’ll explore the power of everyday items you probably already have in your pantry. Why spend a fortune on expensive cleaners when you can achieve even better results with natural solutions? Plus, you’ll be contributing to a healthier home and a greener planet. Let’s ditch the chemicals and embrace the natural way to a sparkling clean sink!
DIY Natural Sink Cleaning Powerhouse
Hey everyone! I’m so excited to share my go-to method for keeping my sink sparkling clean and fresh, all without harsh chemicals. I’ve been using this method for years, and it’s seriously a game-changer. Not only is it effective, but it’s also super affordable and environmentally friendly. Let’s ditch those store-bought cleaners and get our sinks looking brand new with ingredients we probably already have in our pantry!
What You’ll Need: The Natural Cleaning Arsenal
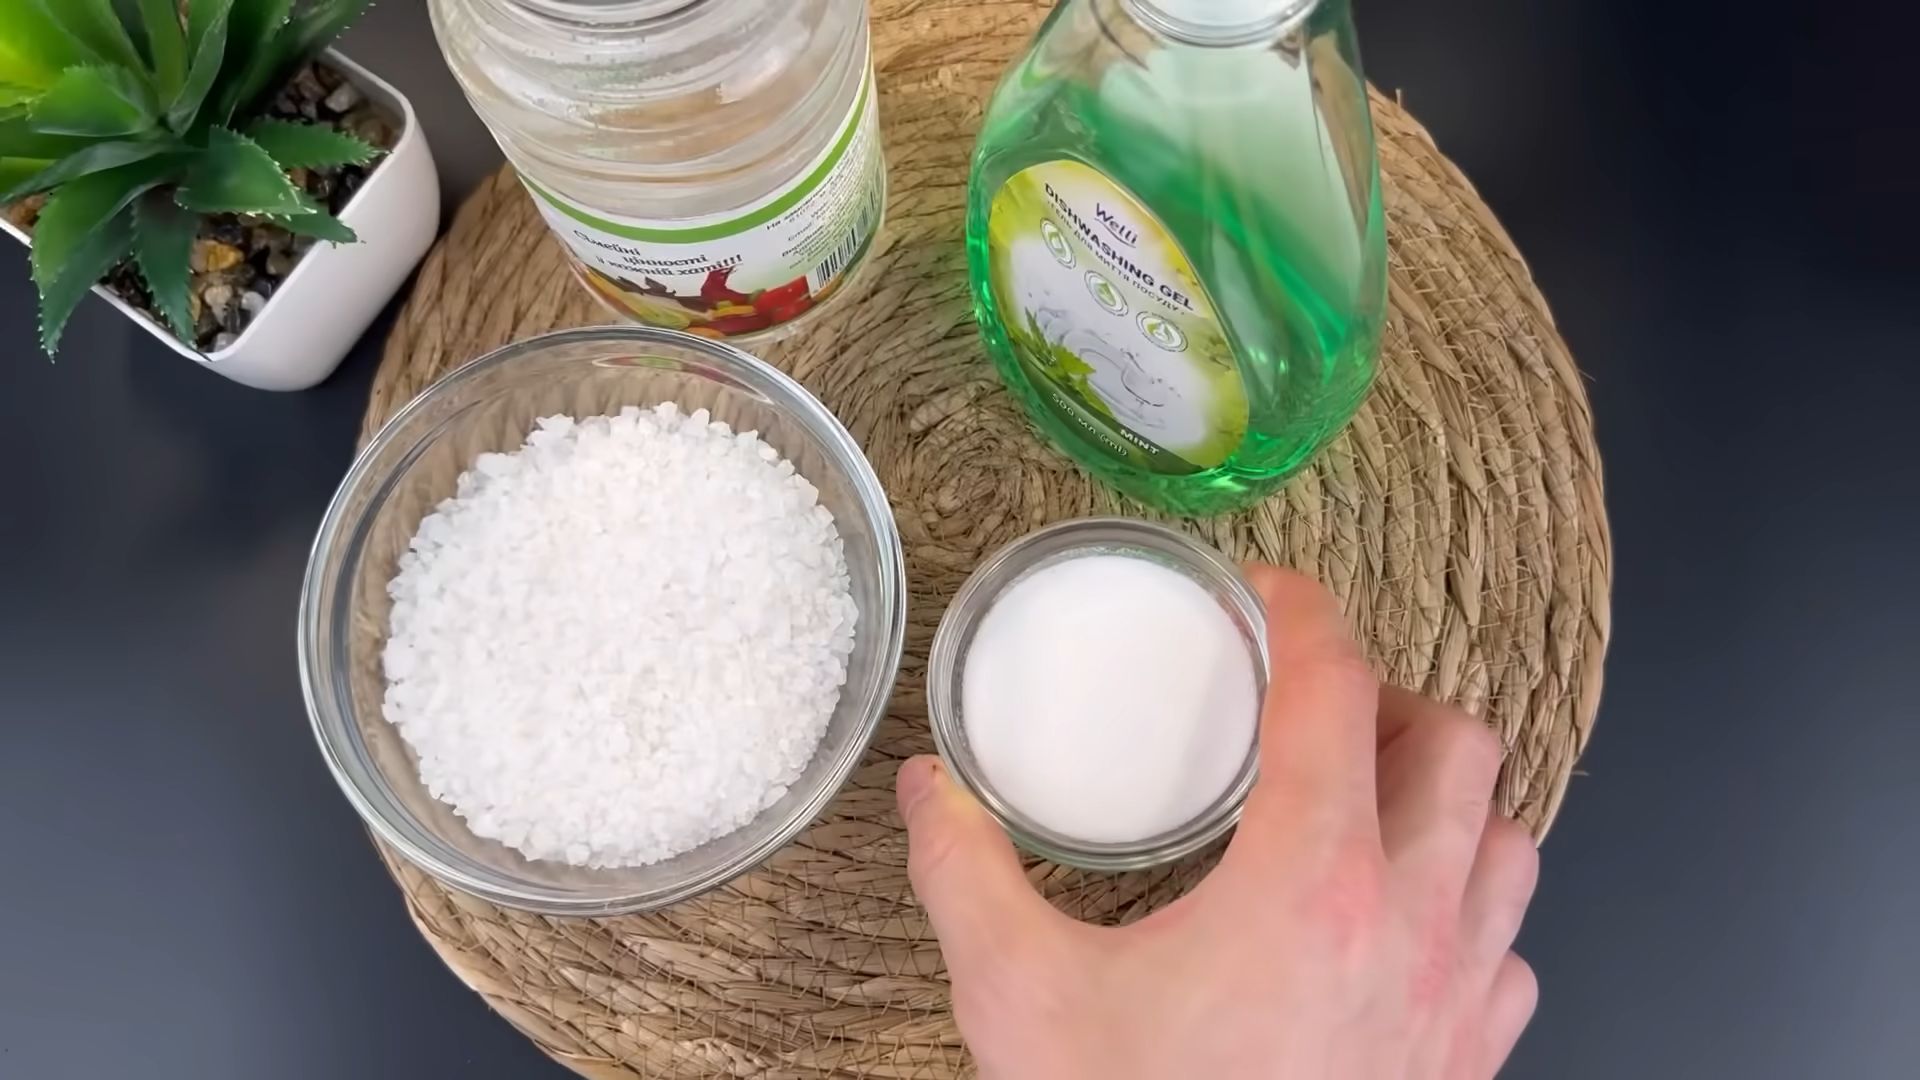
Before we dive in, let’s gather our supplies. This is a pretty simple list, which is one of the things I love most about this method.
* Baking Soda: This is our gentle abrasive cleaner. It helps scrub away grime without scratching the sink.
* White Vinegar: The acid in vinegar helps to dissolve hard water stains, soap scum, and mineral deposits.
* Lemon (Optional): Lemon juice adds extra cleaning power and a fresh, citrusy scent. Plus, it’s a natural disinfectant!
* Dish Soap: Just a little bit of your regular dish soap will help cut through grease and grime.
* Salt (Optional): For extra scrubbing power, especially on stubborn stains.
* Boiling Water: This helps to loosen dirt and debris and sanitize the drain.
* Old Toothbrush or Scrub Brush: For getting into those hard-to-reach areas.
* Microfiber Cloth or Sponge: For wiping down the sink.
* Rubber Gloves (Optional): If you have sensitive skin, gloves are always a good idea.
Step-by-Step: Cleaning Your Sink Like a Pro
Alright, let’s get started! I promise, this is easier than it sounds.
1. Rinse the Sink: First things first, give your sink a good rinse with warm water to remove any loose food particles or debris. This will help the cleaning process be more effective.
2. Baking Soda Power: Generously sprinkle baking soda all over the sink, including the basin, the faucet, and around the drain. Don’t be shy! The baking soda will act as a gentle abrasive to scrub away grime.
3. Vinegar Time: Now, slowly pour white vinegar over the baking soda. You’ll see it fizz and bubble – that’s the magic happening! The chemical reaction between the baking soda and vinegar helps to loosen dirt and break down soap scum.
4. Let it Fizz: Let the baking soda and vinegar mixture sit for about 5-10 minutes. This gives it time to work its magic and really loosen up any stubborn stains or grime. I usually use this time to do something else, like load the dishwasher or wipe down the countertops.
5. Scrub-a-Dub-Dub: Using your old toothbrush or scrub brush, scrub the entire sink, paying special attention to the areas around the faucet, drain, and any stubborn stains. The baking soda will act as a gentle abrasive to help remove dirt and grime.
6. Lemon Power (Optional): If you’re using lemon, cut it in half and rub it all over the sink, especially on any areas with hard water stains or soap scum. The lemon juice will help to dissolve these stains and leave your sink smelling fresh and clean.
7. Rinse Thoroughly: Rinse the sink thoroughly with warm water to remove all traces of baking soda, vinegar, and lemon juice. Make sure you get into all the corners and crevices.
8. Dish Soap Wash: Add a small amount of dish soap to your sponge or microfiber cloth and wash the entire sink again. This will help to remove any remaining grease or grime and leave your sink sparkling clean.
9. Final Rinse: Rinse the sink one last time with warm water to remove all traces of dish soap.
10. Dry and Shine: Use a clean microfiber cloth to dry the sink thoroughly. This will help to prevent water spots and leave your sink looking shiny and new.
Deep Cleaning the Drain: Banishing Odors and Clogs
Now that the sink itself is sparkling, let’s tackle the drain. A clean drain is essential for preventing odors and clogs.
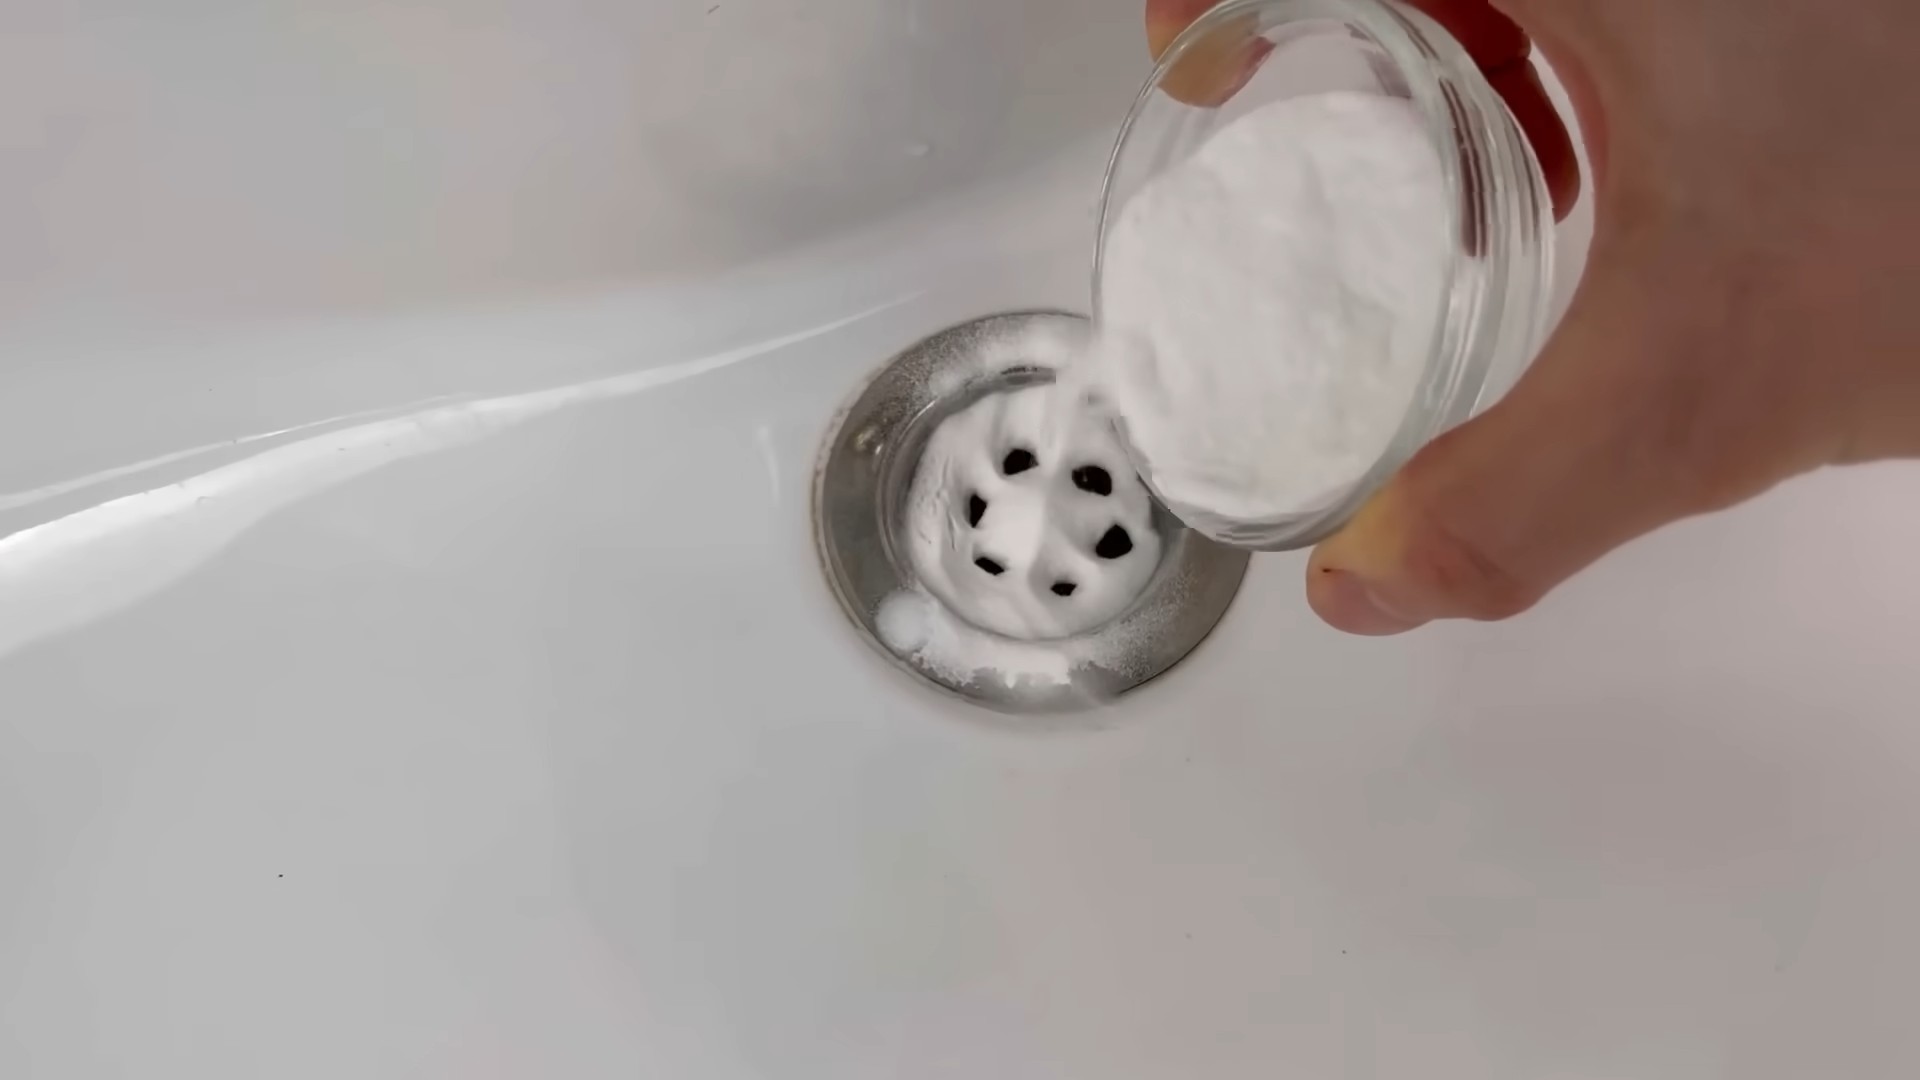
1. Baking Soda and Vinegar Flush: Pour about 1/2 cup of baking soda down the drain, followed by 1 cup of white vinegar. Again, you’ll see it fizz and bubble.
2. Let it Sit: Let the mixture sit in the drain for about 30 minutes. This will help to break down any grease, hair, or other debris that may be causing clogs or odors.
3. Boiling Water Flush: After 30 minutes, carefully pour a pot of boiling water down the drain. The boiling water will help to flush away the loosened debris and sanitize the drain.
4. Salt Power (Optional): For extra cleaning power, especially if you have a stubborn clog, you can add 1/2 cup of salt to the baking soda before pouring in the vinegar. The salt will act as an abrasive to help break down the clog.
5. Repeat if Necessary: If your drain is particularly clogged or smelly, you may need to repeat this process a few times.
Maintaining Your Sparkling Sink: Tips and Tricks
Now that your sink is clean and fresh, here are a few tips to help you keep it that way:
* Wipe Down Daily: After each use, wipe down your sink with a damp cloth to remove any food particles or spills. This will help to prevent stains and buildup.
* Rinse Regularly: Rinse your sink with warm water after each use to prevent soap scum and hard water stains from forming.
* Weekly Deep Clean: Give your sink a deep clean using the method described above at least once a week. This will help to keep it sparkling clean and prevent odors and clogs.
* Lemon Power: Keep a lemon half near your sink and rub it around the basin every few days to keep it smelling fresh and clean.
* Avoid Harsh Chemicals: Avoid using harsh chemicals or abrasive cleaners on your sink, as they can damage the finish.
* Strain Your Drain: Use a drain strainer to catch food particles and hair before they go down the drain. This will help to prevent clogs.
* Boiling Water Flush: Pour boiling water down your drain once a week to help prevent clogs and odors.
* Baking Soda Freshener: Sprinkle a little baking soda down your drain every few days to help absorb odors.
Different Sink Materials: Adjusting the Method
It’s important to note that different sink materials may require slightly different cleaning approaches. Here’s a quick guide:
* Stainless Steel: This method works great on stainless steel sinks. Just be sure to scrub in the direction of the grain to avoid scratching.
* Porcelain: Porcelain sinks can be prone to staining, so be sure to use the lemon juice or salt for extra cleaning power. Avoid using abrasive scrub brushes, as they can scratch the surface.
* Composite: Composite sinks are generally durable and easy to clean. This method should work well, but always test a small, inconspicuous area first to make sure it doesn’t damage the finish.
* Copper: Copper sinks require special care. Avoid using vinegar or lemon juice, as they can damage the patina. Instead, use a mild dish soap and warm water.
Troubleshooting: Common Sink Cleaning Issues
Sometimes, even with the best efforts, you might encounter a few challenges. Here’s how to tackle them:
* Stubborn Stains: For really stubborn stains, make a paste of baking soda and water and apply it to the stain. Let it sit for a few hours or even overnight before scrubbing and rinsing.
* Hard Water Stains: Hard water stains can be tough to remove. Try soaking a paper towel in vinegar and placing it over the stain for a few hours. Then, scrub and rinse.
* Clogged Drain: If the boiling water flush doesn’t clear the clog, you may need to use a drain snake or call a plumber.
* Lingering Odors: If your sink still smells after cleaning, try pouring a cup of baking soda down the drain and letting it sit overnight before flushing with boiling water.
I hope you found this guide helpful! Cleaning your sink naturally is not only effective but also a great way to reduce your environmental impact and save money. Give it a try, and let me know how it works for you! Happy cleaning!
Conclusion
So, there you have it! A simple, effective, and eco-friendly way to clean your sink naturally. Forget about harsh chemicals and expensive cleaners. This DIY trick harnesses the power of readily available ingredients to leave your sink sparkling clean and smelling fresh. The beauty of this method lies not only in its simplicity but also in its versatility.
Why is this a must-try? Because it’s a win-win situation. You’re saving money, reducing your exposure to potentially harmful chemicals, and contributing to a healthier environment, all while achieving a beautifully clean sink. Commercial cleaners often contain ingredients that can irritate skin, pollute waterways, and even damage your sink’s finish over time. This natural alternative avoids all those pitfalls.
Beyond the basic recipe, feel free to experiment with variations to suit your preferences and needs. For instance, if you’re dealing with stubborn stains, try adding a paste of baking soda and water directly to the affected area and letting it sit for a few minutes before scrubbing. For an extra boost of disinfecting power, a few drops of tea tree oil or eucalyptus oil can be added to the baking soda mixture. Lemon juice can be substituted for vinegar for a brighter, citrusy scent. If you have a stainless steel sink, consider using a microfiber cloth for polishing after cleaning to prevent water spots and maintain its shine. For porcelain sinks, be gentle with your scrubbing to avoid scratching the surface.
This DIY sink cleaner is particularly effective at removing soap scum, hard water stains, and general grime. It’s also a great way to deodorize your drain, leaving your kitchen or bathroom smelling fresh and clean. The combination of baking soda and vinegar creates a fizzing action that helps to loosen debris and break down buildup in your drainpipes.
We’re confident that once you try this method, you’ll be amazed by the results. It’s a simple, sustainable, and satisfying way to maintain a clean and healthy home. The best part is that you likely already have all the necessary ingredients in your pantry!
Don’t just take our word for it – give it a try! We encourage you to experiment with the recipe, find what works best for your sink and your preferences, and then share your experience with us. Let us know in the comments below how this DIY trick worked for you, what variations you tried, and any tips you have to share with other readers. Your feedback is invaluable and helps us all learn and improve together. We’re excited to hear about your sparkling clean sinks! So, ditch the chemicals and embrace the power of nature – your sink (and the planet) will thank you for it.
FAQ
What kind of sink is this method suitable for?
This DIY cleaning method is generally safe and effective for most types of sinks, including stainless steel, porcelain, ceramic, and even some composite sinks. However, it’s always a good idea to test a small, inconspicuous area first, especially if you have a more delicate or antique sink. Avoid using abrasive scrubbers on easily scratched surfaces like acrylic. For natural stone sinks like granite or marble, vinegar might be too acidic and could etch the surface over time. In those cases, stick to a baking soda paste and mild dish soap.
How often should I clean my sink using this method?
The frequency of cleaning depends on how often you use your sink and how quickly it gets dirty. For most households, cleaning your sink with this DIY method once or twice a week is sufficient to maintain its cleanliness and prevent buildup. If you notice stains or grime accumulating more quickly, you may need to clean it more frequently. Regular cleaning will also help prevent unpleasant odors from developing in your drain.
Can I use this method to clean my drain as well?
Absolutely! This DIY cleaner is excellent for cleaning and deodorizing your drain. The combination of baking soda and vinegar creates a fizzing action that helps to loosen debris and break down buildup in your drainpipes. To clean your drain, simply pour the baking soda down the drain, followed by the vinegar. Let it fizz for about 30 minutes, then flush with hot water. For a more thorough cleaning, you can let the mixture sit overnight before flushing.
What if I don’t have vinegar? Can I use something else?
While vinegar is a key ingredient in this recipe due to its acidity and cleaning properties, you can substitute it with lemon juice in a pinch. Lemon juice also has natural cleaning and disinfecting properties and will leave your sink smelling fresh. However, vinegar is generally more effective at removing stubborn stains and grime. If you don’t have either vinegar or lemon juice, you can try using a paste of baking soda and water to scrub your sink clean.
Is baking soda abrasive? Will it scratch my sink?
Baking soda is a mild abrasive, but it’s generally safe to use on most sink surfaces. However, it’s important to use a gentle touch when scrubbing, especially on delicate surfaces like porcelain or acrylic. Avoid using excessive pressure or abrasive scrubbers, as this can scratch the surface. If you’re concerned about scratching, you can mix the baking soda with water to create a paste before applying it to your sink.
My sink has a really bad odor. Will this method get rid of it?
Yes, this DIY cleaning method is effective at deodorizing your sink and drain. The baking soda helps to neutralize odors, while the vinegar helps to break down odor-causing bacteria and buildup. For particularly stubborn odors, you can add a few drops of essential oils, such as tea tree oil or eucalyptus oil, to the baking soda mixture. These essential oils have antibacterial and antifungal properties that can help to eliminate odors. You can also try pouring boiling water down the drain after cleaning to further flush out any remaining debris.
Can I use this method on a colored sink? Will it fade the color?
While this method is generally safe for most sinks, it’s always a good idea to test a small, inconspicuous area first, especially if you have a colored sink. Vinegar, in particular, can potentially fade or discolor some surfaces over time. If you’re concerned about fading, you can dilute the vinegar with water or use lemon juice instead. You can also try using a baking soda paste and mild dish soap to clean your sink.
What if I have hard water stains? Will this method remove them?
Yes, this DIY cleaning method can be effective at removing hard water stains. The vinegar helps to dissolve mineral deposits that cause hard water stains. For stubborn hard water stains, you can soak a paper towel in vinegar and place it over the affected area for a few minutes before scrubbing. You can also try using a commercial hard water stain remover, but be sure to follow the manufacturer’s instructions carefully.
Can I use this method to clean my garbage disposal?
Yes, this method can also help clean and freshen your garbage disposal. After cleaning your sink, pour the baking soda and vinegar mixture down the garbage disposal. Let it fizz for about 30 minutes, then flush with hot water while running the disposal. You can also add a few ice cubes to the disposal while running it to help dislodge any debris. Avoid pouring grease or oil down the garbage disposal, as this can clog the drain.


Leave a Comment