

Daily cleaning routine: it sounds daunting, doesn’t it? Like another chore piled onto your already overflowing to-do list. But what if I told you that a simple, consistent daily cleaning routine could actually save you time and reduce stress in the long run? Imagine coming home each day to a tidy, welcoming space, instead of being greeted by a mountain of dishes and a layer of dust. That’s the power of a well-structured daily cleaning routine!
For centuries, cultures around the world have recognized the importance of cleanliness and order. From the ancient Roman bathhouses to the meticulously maintained homes of Japan, a clean living space has been associated with physical and mental well-being. While the specific methods may vary, the underlying principle remains the same: a clean home is a happy home.
In today’s fast-paced world, it’s easy to let cleaning fall by the wayside. We’re all juggling work, family, and social commitments, leaving little time for tedious tasks. But neglecting your home can lead to a build-up of clutter and grime, which can negatively impact your mood, productivity, and even your health. That’s why establishing a manageable daily cleaning routine is so crucial. It’s not about spending hours scrubbing every day; it’s about incorporating small, consistent habits that prevent messes from accumulating and keep your home feeling fresh and inviting. In this article, I’ll share some of my favorite DIY tricks and hacks to help you create a daily cleaning routine that works for you, no matter how busy you are. Let’s get started!
Creating Your Dream Daily Cleaning Routine: A Step-by-Step Guide
Okay, let’s face it, cleaning isn’t exactly anyone’s favorite pastime. But a consistent daily cleaning routine? That’s a game-changer. It’s the secret weapon against overwhelming weekend cleaning marathons and that constant feeling of being behind. Trust me, I’ve been there! This guide will help you build a daily cleaning routine that’s manageable, effective, and tailored to *your* life.
Why a Daily Routine Matters (and How to Make it Stick!)
Before we dive into the nitty-gritty, let’s talk about why a daily routine is so powerful. It’s all about prevention. Instead of letting messes pile up, you tackle them in small, manageable chunks. This not only keeps your home looking and feeling cleaner but also reduces stress and frees up your time for things you actually enjoy.
Benefits of a Daily Cleaning Routine:
* Less Stress: A clean home equals a clear mind. Seriously!
* More Free Time: Spend your weekends relaxing, not scrubbing.
* Improved Health: Less dust and allergens mean better air quality.
* Increased Productivity: A tidy environment fosters focus.
* A Sense of Accomplishment: Starting and ending your day with a clean space is incredibly satisfying.
Making it Stick:
* Start Small: Don’t try to overhaul your entire cleaning schedule overnight. Begin with just a few key tasks.
* Be Realistic: Choose tasks that fit into your daily schedule. Don’t set yourself up for failure by aiming too high.
* Make it a Habit: Consistency is key. Try to do your daily cleaning tasks at the same time each day.
* Reward Yourself: Celebrate your progress! Treat yourself to something you enjoy after a week of sticking to your routine.
* Don’t Beat Yourself Up: Missed a day? No big deal! Just jump back in the next day.
Phase 1: Identifying Your Cleaning Priorities
Before you can create a routine, you need to figure out what areas of your home need the most attention. Think about the spaces you use most often and the messes that tend to accumulate quickly.
1. Take a Walkthrough:
Grab a notepad and pen (or your phone) and walk through your home. Pay attention to the areas that consistently feel cluttered or dirty.
2. Identify High-Traffic Zones:
These are the areas that get the most use and therefore require the most frequent cleaning. For most people, this includes:
* Kitchen (especially the sink and countertops)
* Bathrooms (sinks, toilets, and showers)
* Living Room (coffee table, floors)
* Entryway (shoes, coats, mail)
3. List Your Pain Points:
What cleaning tasks do you dread the most? Is it the dishes? The laundry? Dusting? Identifying these pain points will help you prioritize tasks and find ways to make them more manageable.
4. Consider Your Lifestyle:
Do you have pets? Kids? Do you work from home? Your lifestyle will significantly impact your cleaning needs. For example, if you have pets, you’ll need to vacuum more frequently.
Phase 2: Building Your Daily Cleaning Routine
Now that you know your priorities, it’s time to create your daily cleaning routine. Remember, this is *your* routine, so tailor it to your specific needs and preferences.
1. Choose Your Time Slots:
When will you do your daily cleaning tasks? Some people prefer to clean in the morning before work, while others prefer to clean in the evening after dinner. Experiment to find what works best for you. I personally prefer a little bit in the morning and a little bit in the evening.
2. Break Down Tasks into Smaller Chunks:
Instead of trying to clean the entire bathroom every day, focus on one or two small tasks. For example, you could wipe down the sink and mirror one day and clean the toilet the next.
3. Create a Checklist:
Write down your daily cleaning tasks in a checklist. This will help you stay organized and motivated. You can use a paper checklist, a digital checklist app, or even just a note on your phone.
4. Prioritize Quick Wins:
Start with tasks that are quick and easy to complete. This will give you a sense of accomplishment and motivate you to keep going.
5. Be Flexible:
Life happens! Don’t be afraid to adjust your routine as needed. If you’re short on time one day, skip a task and catch up the next day.
Phase 3: Sample Daily Cleaning Routine (Adaptable to Your Needs!)
Here’s a sample daily cleaning routine to get you started. Feel free to adapt it to your own needs and preferences.
Morning (15-20 minutes):
1. Make the Bed: This is a quick and easy way to make your bedroom look tidier.
2. Wipe Down Kitchen Counters: After breakfast, wipe down the kitchen counters to remove any spills or crumbs.
3. Load the Dishwasher (or Wash Dishes): Don’t let dishes pile up in the sink. Load the dishwasher or wash them by hand after each meal.
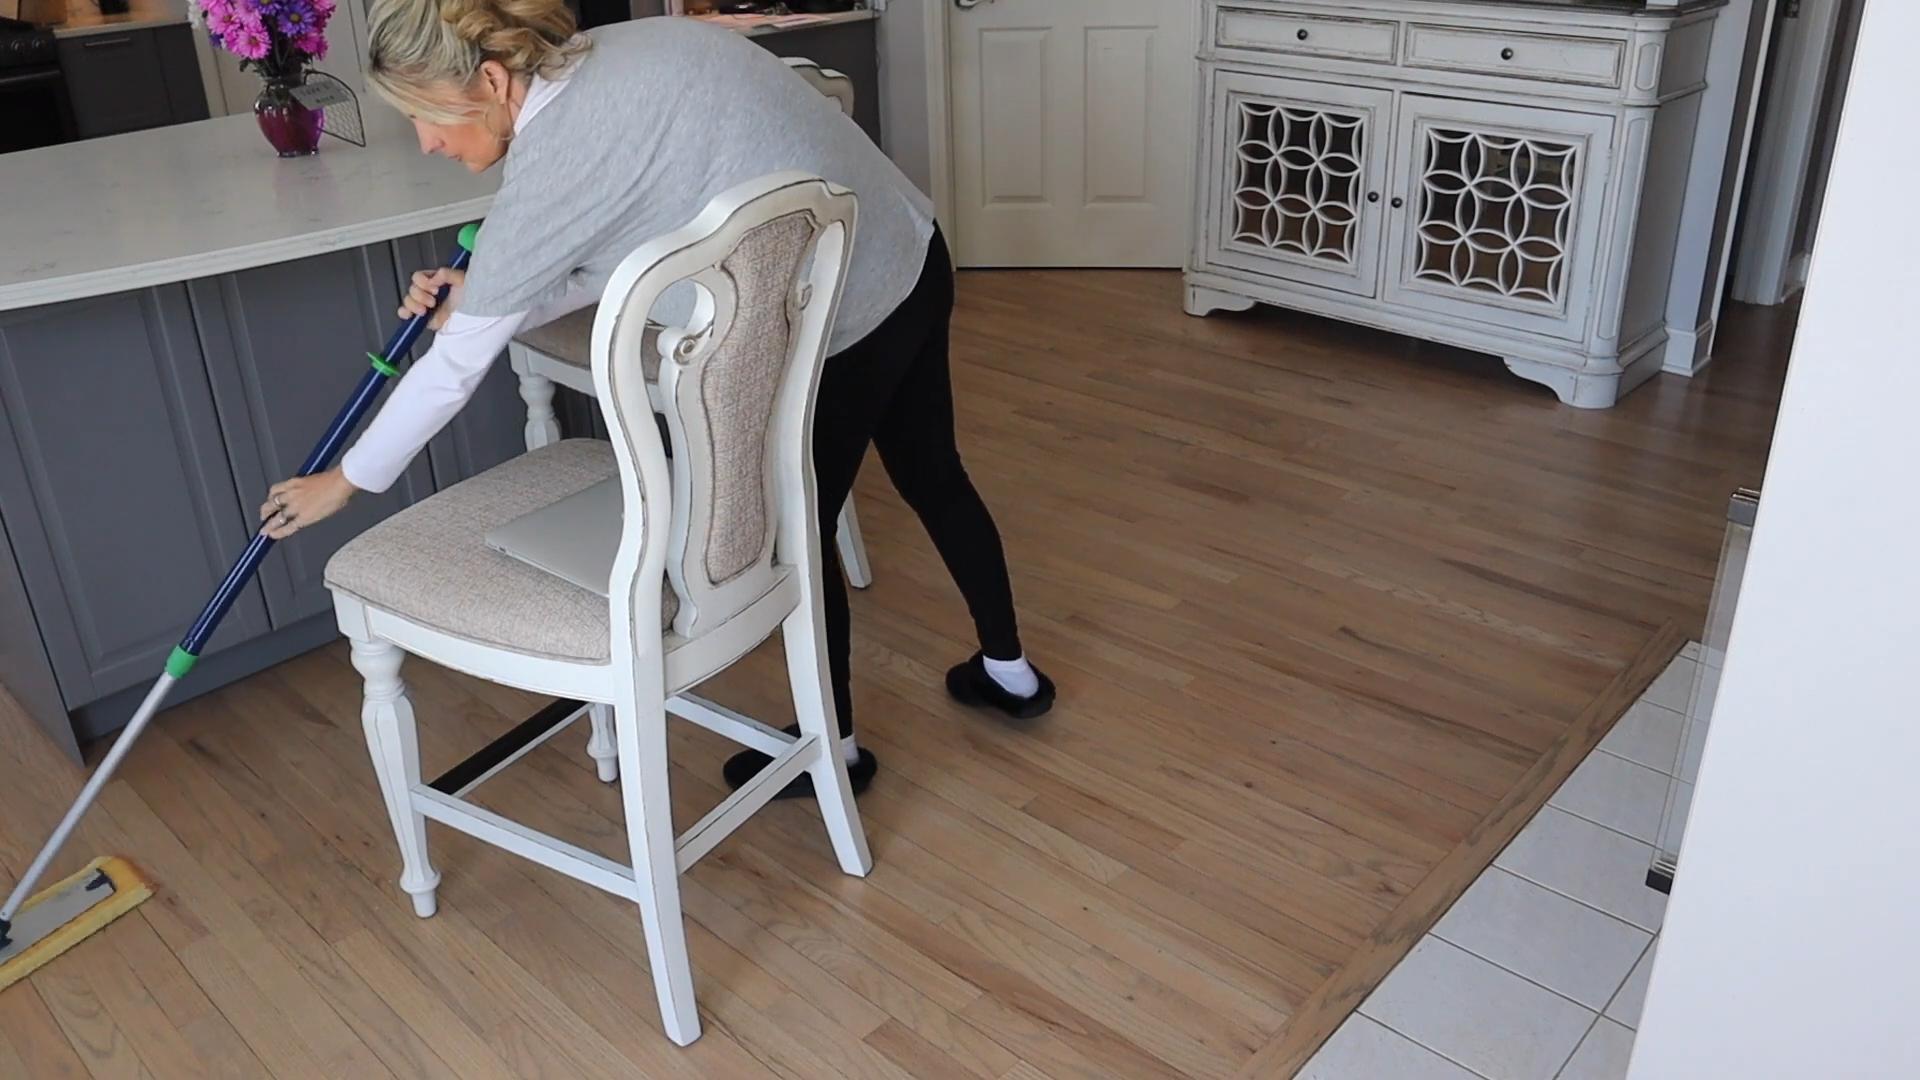
4. Quick Sweep/Vacuum of High-Traffic Areas: A quick sweep or vacuum of the kitchen and entryway can prevent dirt from spreading throughout the house.
5. One Load of Laundry (Start it!): Starting a load of laundry in the morning means you can switch it over during the day and fold it in the evening.
Evening (15-20 minutes):
1. Wipe Down Bathroom Sink and Mirror: A quick wipe down after brushing your teeth can prevent toothpaste splatters from drying.
2. Tidy Up Living Room: Put away any toys, books, or magazines that are out of place. Fluff the pillows and fold the blankets.
3. Empty Trash Cans: Empty any full trash cans throughout the house.
4. Finish Laundry (Fold and Put Away): Fold and put away the laundry you started in the morning.
5. Prepare for Tomorrow: Lay out your clothes for the next day, pack your lunch, and make a to-do list. This will help you start your day feeling organized and prepared.
Phase 4: Specific Cleaning Tasks and Techniques
Let’s dive into some specific cleaning tasks and techniques to help you get the most out of your daily routine.
Kitchen Cleaning
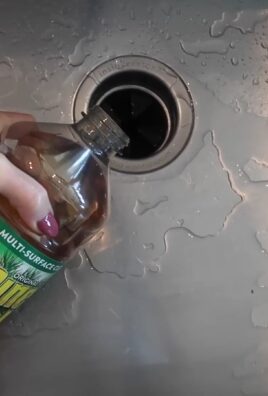
* Sink: Rinse the sink after each use and scrub it with a mild abrasive cleaner once a day.
* Countertops: Wipe down countertops with a damp cloth and a multi-purpose cleaner after each meal.
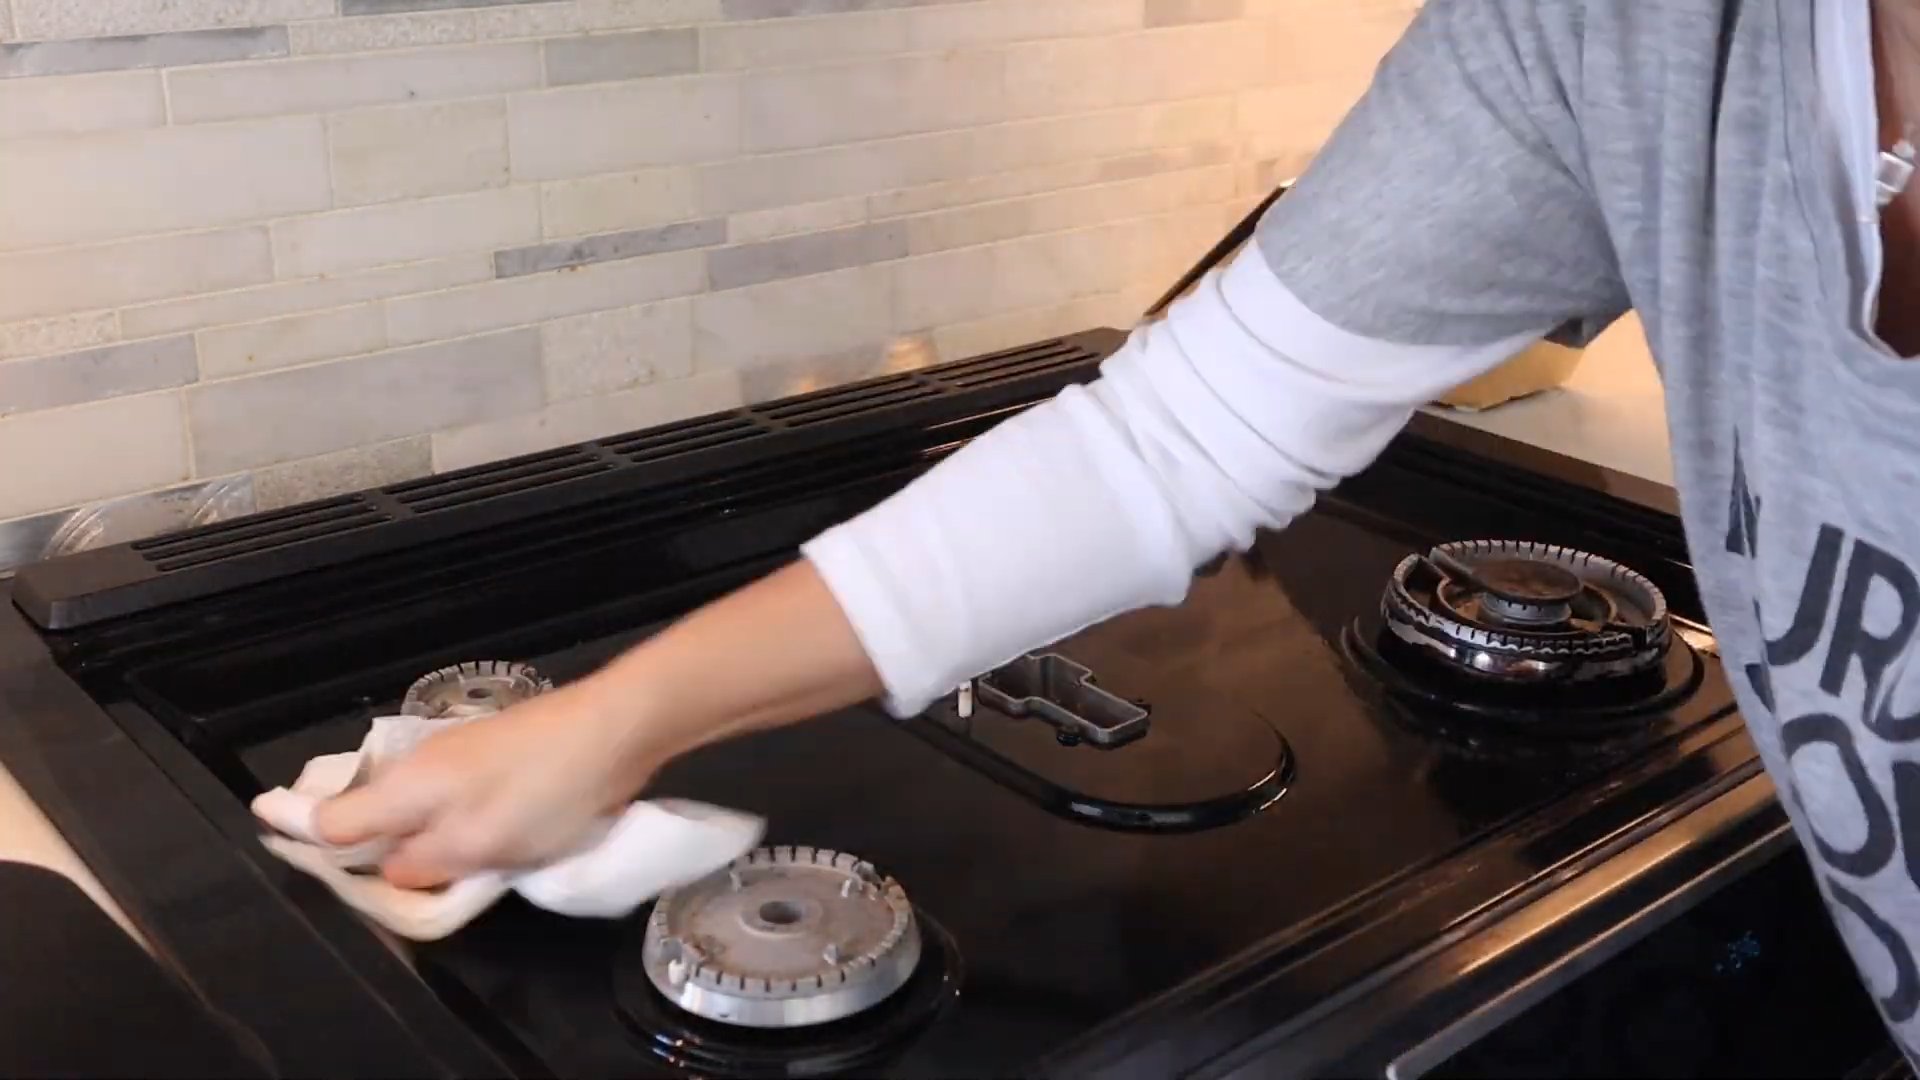
* Stovetop: Wipe down the stovetop after each use to prevent spills from hardening.
* Microwave: Heat a cup of water with a few tablespoons of vinegar in the microwave for a few minutes. The steam will loosen any stuck-on food, making it easy to wipe clean.
* Dishwasher: Run the dishwasher every night to prevent dishes from piling up.
* Floor: Sweep or vacuum the kitchen floor daily to remove crumbs and spills.
Bathroom Cleaning
* Sink and Mirror: Wipe down the sink and mirror with a damp cloth and a glass cleaner after each use.
* Toilet: Clean the toilet bowl with a toilet bowl cleaner once a day.
* Shower/Tub: Spray the shower or tub with a shower cleaner after each use to prevent soap scum buildup.
* Floor: Sweep or vacuum the bathroom floor daily to remove hair and dust.
Living Room Cleaning
* Coffee Table: Wipe down the coffee table with a damp cloth and a multi-purpose cleaner daily.
* Floors: Sweep or vacuum the living room floor daily to remove dirt and dust.
* Furniture: Dust the furniture with a microfiber cloth weekly.
* Pillows and Blankets: Fluff the pillows and fold the blankets daily.
Bedroom Cleaning
* Make the Bed: Make the bed every morning.
* Tidy Up: Put away any clothes or items that are out of place.
* Dust: Dust the furniture with a microfiber cloth weekly.
* Floors: Sweep or vacuum the bedroom floor weekly.
Phase 5: Tools and Supplies You’ll Need
Having the right tools and supplies will make your daily cleaning routine much easier and more efficient.
Essential Cleaning Supplies:
* Multi-Purpose Cleaner: A good multi-purpose cleaner can be used on a variety of surfaces.
* Glass Cleaner: For cleaning windows, mirrors, and glass surfaces.
* Toilet Bowl Cleaner: For cleaning the toilet bowl.
* Shower Cleaner: For preventing soap scum buildup in the shower.
* Dish Soap: For washing dishes.
* Laundry Detergent:
Conclusion
So, there you have it! This simple yet incredibly effective DIY cleaning trick has the potential to revolutionize your daily cleaning routine and transform your home into a sparkling sanctuary. We’ve shown you how to harness the power of readily available ingredients to create a cleaning solution that’s not only budget-friendly but also environmentally conscious. Forget harsh chemicals and expensive store-bought cleaners; this method offers a natural and sustainable alternative that’s gentle on your surfaces and your health.
But why is this DIY trick a must-try? It’s more than just a cleaning solution; it’s about reclaiming control over the products you use in your home. You know exactly what’s going into it, eliminating any concerns about hidden toxins or allergens. It’s about saving money without compromising on cleanliness. And it’s about contributing to a healthier planet by reducing your reliance on single-use plastic bottles and potentially harmful chemicals.
This DIY cleaning routine is a game-changer for busy individuals and families. Imagine spending less time scrubbing and more time enjoying your clean and comfortable home. The satisfaction of knowing you’ve created a powerful cleaning solution with your own two hands is an added bonus!
Looking for variations? Absolutely!
* For a stronger disinfectant: Add a few drops of tea tree oil or eucalyptus oil to your solution. These essential oils possess natural antibacterial and antiviral properties, boosting the cleaning power of your mixture.
* For a pleasant fragrance: Experiment with different essential oils like lavender, lemon, or orange. Not only will they leave your home smelling fresh and clean, but they can also have mood-boosting effects.
* For tackling stubborn stains: Create a paste by mixing baking soda with a small amount of your DIY cleaning solution. Apply the paste to the stain, let it sit for a few minutes, and then scrub gently.
* For cleaning wood surfaces: Dilute the solution further with water to prevent damage to the wood. Always test in an inconspicuous area first.
We are confident that once you try this DIY cleaning trick, you’ll be amazed by the results. It’s a simple, effective, and sustainable way to maintain a clean and healthy home.
Now, we want to hear from you! Give this DIY cleaning routine a try and share your experience with us. Did you find it easy to make? Were you impressed with the cleaning power? Did you experiment with any variations? Let us know in the comments below! Your feedback is invaluable and helps us create even better content for you. Together, let’s embrace a cleaner, greener, and healthier way of living.
Frequently Asked Questions (FAQ)
What types of surfaces can I use this DIY cleaning solution on?
This DIY cleaning solution is generally safe for a wide range of surfaces, including countertops, sinks, tiles, floors (except unsealed wood), and appliances. However, it’s always a good idea to test the solution on a small, inconspicuous area first to ensure it doesn’t cause any discoloration or damage. Avoid using it on delicate surfaces like marble or granite without proper dilution and testing. For wood surfaces, dilute the solution significantly and test before applying to the entire surface.
How long does the DIY cleaning solution last?
Since this cleaning solution is made with natural ingredients and doesn’t contain any preservatives, it’s best to use it within a week or two. Store it in a clean, airtight spray bottle in a cool, dark place to prolong its shelf life. If you notice any changes in color, odor, or consistency, discard the solution and make a fresh batch.
Can I use this DIY cleaning solution to clean my bathroom?
Yes, this DIY cleaning solution is excellent for cleaning bathrooms! It can effectively remove soap scum, hard water stains, and mildew from showers, tubs, sinks, and toilets. For tougher stains, you can create a paste with baking soda and the cleaning solution and apply it directly to the affected area. Let it sit for a few minutes before scrubbing and rinsing.
Is this DIY cleaning solution safe for pets and children?
While this DIY cleaning solution is made with natural ingredients, it’s still important to keep it out of reach of pets and children. Although the ingredients are generally considered safe, ingestion can cause stomach upset or other adverse reactions. Always store the solution in a labeled container and supervise children when they are helping with cleaning. If you have pets that are particularly sensitive to smells, consider using essential oils sparingly or omitting them altogether.
Can I use different types of vinegar in this DIY cleaning solution?
White vinegar is the most commonly recommended type of vinegar for cleaning due to its high acidity and lack of color. However, you can also use apple cider vinegar, although it may leave a slight odor. Avoid using balsamic vinegar or other colored vinegars, as they may stain surfaces.
How do I adjust the recipe for a larger or smaller batch?
The recipe can easily be adjusted to make a larger or smaller batch. Simply maintain the same ratios of ingredients. For example, if the original recipe calls for 1 cup of water, 1/2 cup of vinegar, and 1 tablespoon of baking soda, you can double the recipe to 2 cups of water, 1 cup of vinegar, and 2 tablespoons of baking soda.
What if I don’t have essential oils? Can I still make the cleaning solution?
Yes, you can definitely make the cleaning solution without essential oils. The vinegar and baking soda are the primary cleaning agents, and the essential oils are mainly added for fragrance and additional antibacterial properties. If you don’t have essential oils, simply omit them from the recipe. The cleaning solution will still be effective.
How often should I use this DIY cleaning routine?
The frequency of use depends on your individual needs and cleaning habits. For general cleaning, you can use this solution daily or weekly. For tougher stains or messes, you may need to use it more frequently. Incorporating this DIY cleaning routine into your daily cleaning routine will help maintain a clean and healthy home.


Leave a Comment