

Deep clean your house fast? Sounds like a dream, right? I get it. We’ve all been there, staring at the mounting mess, feeling overwhelmed and wondering where to even begin. But what if I told you that transforming your home from chaotic to sparkling doesn’t have to take an entire weekend? This isn’t just about tidying up; it’s about reclaiming your space and your peace of mind.
For centuries, cultures around the world have understood the connection between a clean home and a clear mind. From ancient rituals to modern-day minimalism, the act of cleaning has always been more than just a chore; it’s a way to reset, refresh, and create a sanctuary. Think about it – a clean home is a happy home!
In today’s fast-paced world, who has time for endless scrubbing? That’s why I’ve compiled these game-changing DIY tricks and hacks to help you deep clean your house fast and efficiently. Whether you’re preparing for unexpected guests, tackling spring cleaning, or simply craving a more organized living space, these tips will save you time, energy, and maybe even your sanity. Let’s dive in and discover how to achieve a spotless home without sacrificing your entire day!

Deep Cleaning Your House: A Speed Cleaning Guide for Busy People
Okay, let’s face it, deep cleaning isn’t exactly anyone’s favorite pastime. But a sparkling clean house? That’s something we can all get behind! I’m going to share my tried-and-true method for deep cleaning your house quickly and efficiently, even when you’re short on time. This isn’t about perfection; it’s about making a noticeable difference and creating a healthier, happier living space.
The Game Plan: Before You Start
Before you even think about grabbing a sponge, let’s get organized. A little prep work goes a long way in making this process smoother and faster.
* Gather Your Supplies: Nothing slows you down like having to run around searching for cleaning products mid-clean. I like to use a caddy or bucket to keep everything together. Here’s my essential list:
* All-purpose cleaner
* Glass cleaner
* Bathroom cleaner (with bleach if you like)
* Toilet bowl cleaner
* Disinfectant wipes
* Microfiber cloths (lots of them!)
* Paper towels
* Sponges
* Scrub brush
* Vacuum cleaner
* Mop and bucket
* Dusting spray or cloth
* Rubber gloves
* Trash bags
* Declutter First: This is crucial! You can’t clean effectively if you’re constantly moving piles of stuff. Spend 15-20 minutes in each room quickly decluttering. Put things away where they belong, toss out trash, and gather items that need to be donated.
* Open Windows: Fresh air is your friend! Opening windows will help ventilate the house and get rid of any lingering cleaning smells.
* Set a Timer: I find that setting a timer for each task helps me stay focused and avoid getting sidetracked. Plus, it’s satisfying to see how much you can accomplish in a short amount of time.
* Pump Up the Music: Cleaning is way more fun with some upbeat tunes! Create a playlist that will keep you motivated and energized.
Phase 1: The Kitchen Blitz
The kitchen is often the heart of the home, but it can also be a magnet for dirt and grime. Let’s tackle it first!
1. Clear the Counters: Remove everything from the countertops – appliances, utensils, mail, everything! This will give you a clear surface to work with.
2. Load the Dishwasher (or Wash Dishes): Get those dirty dishes out of the way! If you have a dishwasher, load it up and run it. If not, tackle them by hand. Soaking stubborn pots and pans while you clean the rest of the kitchen will make them easier to scrub later.
3. Clean the Microwave: This is a quick and easy win. Place a microwave-safe bowl filled with 1 cup of water and a few tablespoons of vinegar inside. Microwave on high for 2-3 minutes. Let it sit for a few minutes (don’t open the door!), then carefully remove the bowl and wipe down the inside of the microwave with a sponge. The steam will loosen any stuck-on food.
4. Wipe Down the Countertops and Backsplash: Spray your all-purpose cleaner on the countertops and backsplash and let it sit for a minute or two. Then, wipe clean with a microfiber cloth. Pay special attention to areas where food splatters are common.
5. Clean the Stovetop: If you have a gas stovetop, remove the grates and soak them in soapy water. For electric or glass stovetops, use a stovetop cleaner and a scraper to remove any burnt-on food. Wipe clean with a damp cloth.
6. Clean the Sink: Scrub the sink with your all-purpose cleaner and a sponge. Don’t forget to clean around the faucet and drain. For stainless steel sinks, you can use a stainless steel cleaner to make them shine.
7. Wipe Down Appliances: Wipe down the exterior of your refrigerator, oven, dishwasher, and any other appliances with a damp cloth and all-purpose cleaner.
8. Sweep or Vacuum the Floor: Get rid of any crumbs or debris on the floor.
9. Mop the Floor: Mop the floor with your favorite floor cleaner. Start in the corner furthest from the door and work your way out.
10. Empty the Trash: Take out the trash and replace the liner.
Phase 2: Bathroom Refresh
Bathrooms can quickly become breeding grounds for germs and mildew. Let’s get them sparkling clean!
1. Spray Shower/Tub: Spray your shower or tub with bathroom cleaner. Let it sit for a few minutes to loosen any soap scum or mildew.
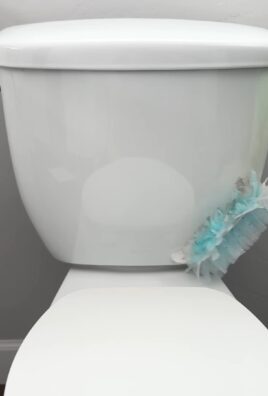
2. Clean the Toilet: Squirt toilet bowl cleaner into the toilet bowl and let it sit for a few minutes. Then, scrub with a toilet brush and flush. Wipe down the exterior of the toilet with disinfectant wipes.
3. Clean the Sink and Countertop: Wipe down the sink and countertop with all-purpose cleaner. Pay special attention to areas around the faucet and drain.
4. Clean the Mirror: Spray glass cleaner on the mirror and wipe clean with a microfiber cloth.
5. Scrub Shower/Tub: Scrub the shower or tub with a sponge or scrub brush. Rinse thoroughly with water.
6. Wipe Down Fixtures: Wipe down all fixtures, such as faucets, showerheads, and towel racks, with a damp cloth.
7. Sweep or Vacuum the Floor: Get rid of any hair or debris on the floor.
8. Mop the Floor: Mop the floor with your favorite floor cleaner.
9. Replace Towels: Hang fresh, clean towels.
Phase 3: Living Areas & Bedrooms – Dusting and Surface Cleaning
This phase is all about making your living spaces feel fresh and inviting.
1. Dusting: Start by dusting all surfaces, including furniture, shelves, picture frames, and lamps. Use a dusting spray or cloth to remove dust and cobwebs. Don’t forget to dust ceiling fans!
2. Wipe Down Surfaces: Wipe down all surfaces, such as tables, desks, and countertops, with all-purpose cleaner.
3. Clean Mirrors and Glass: Spray glass cleaner on mirrors and windows and wipe clean with a microfiber cloth.
4. Vacuum Furniture: Vacuum upholstered furniture to remove dust and crumbs. Use the crevice tool to get into hard-to-reach areas.
5. Make Beds: Make the beds in all bedrooms. This simple task can instantly make a room feel cleaner and more organized.
6. Straighten Up: Take a few minutes to straighten up each room. Fluff pillows, fold blankets, and put away any items that are out of place.
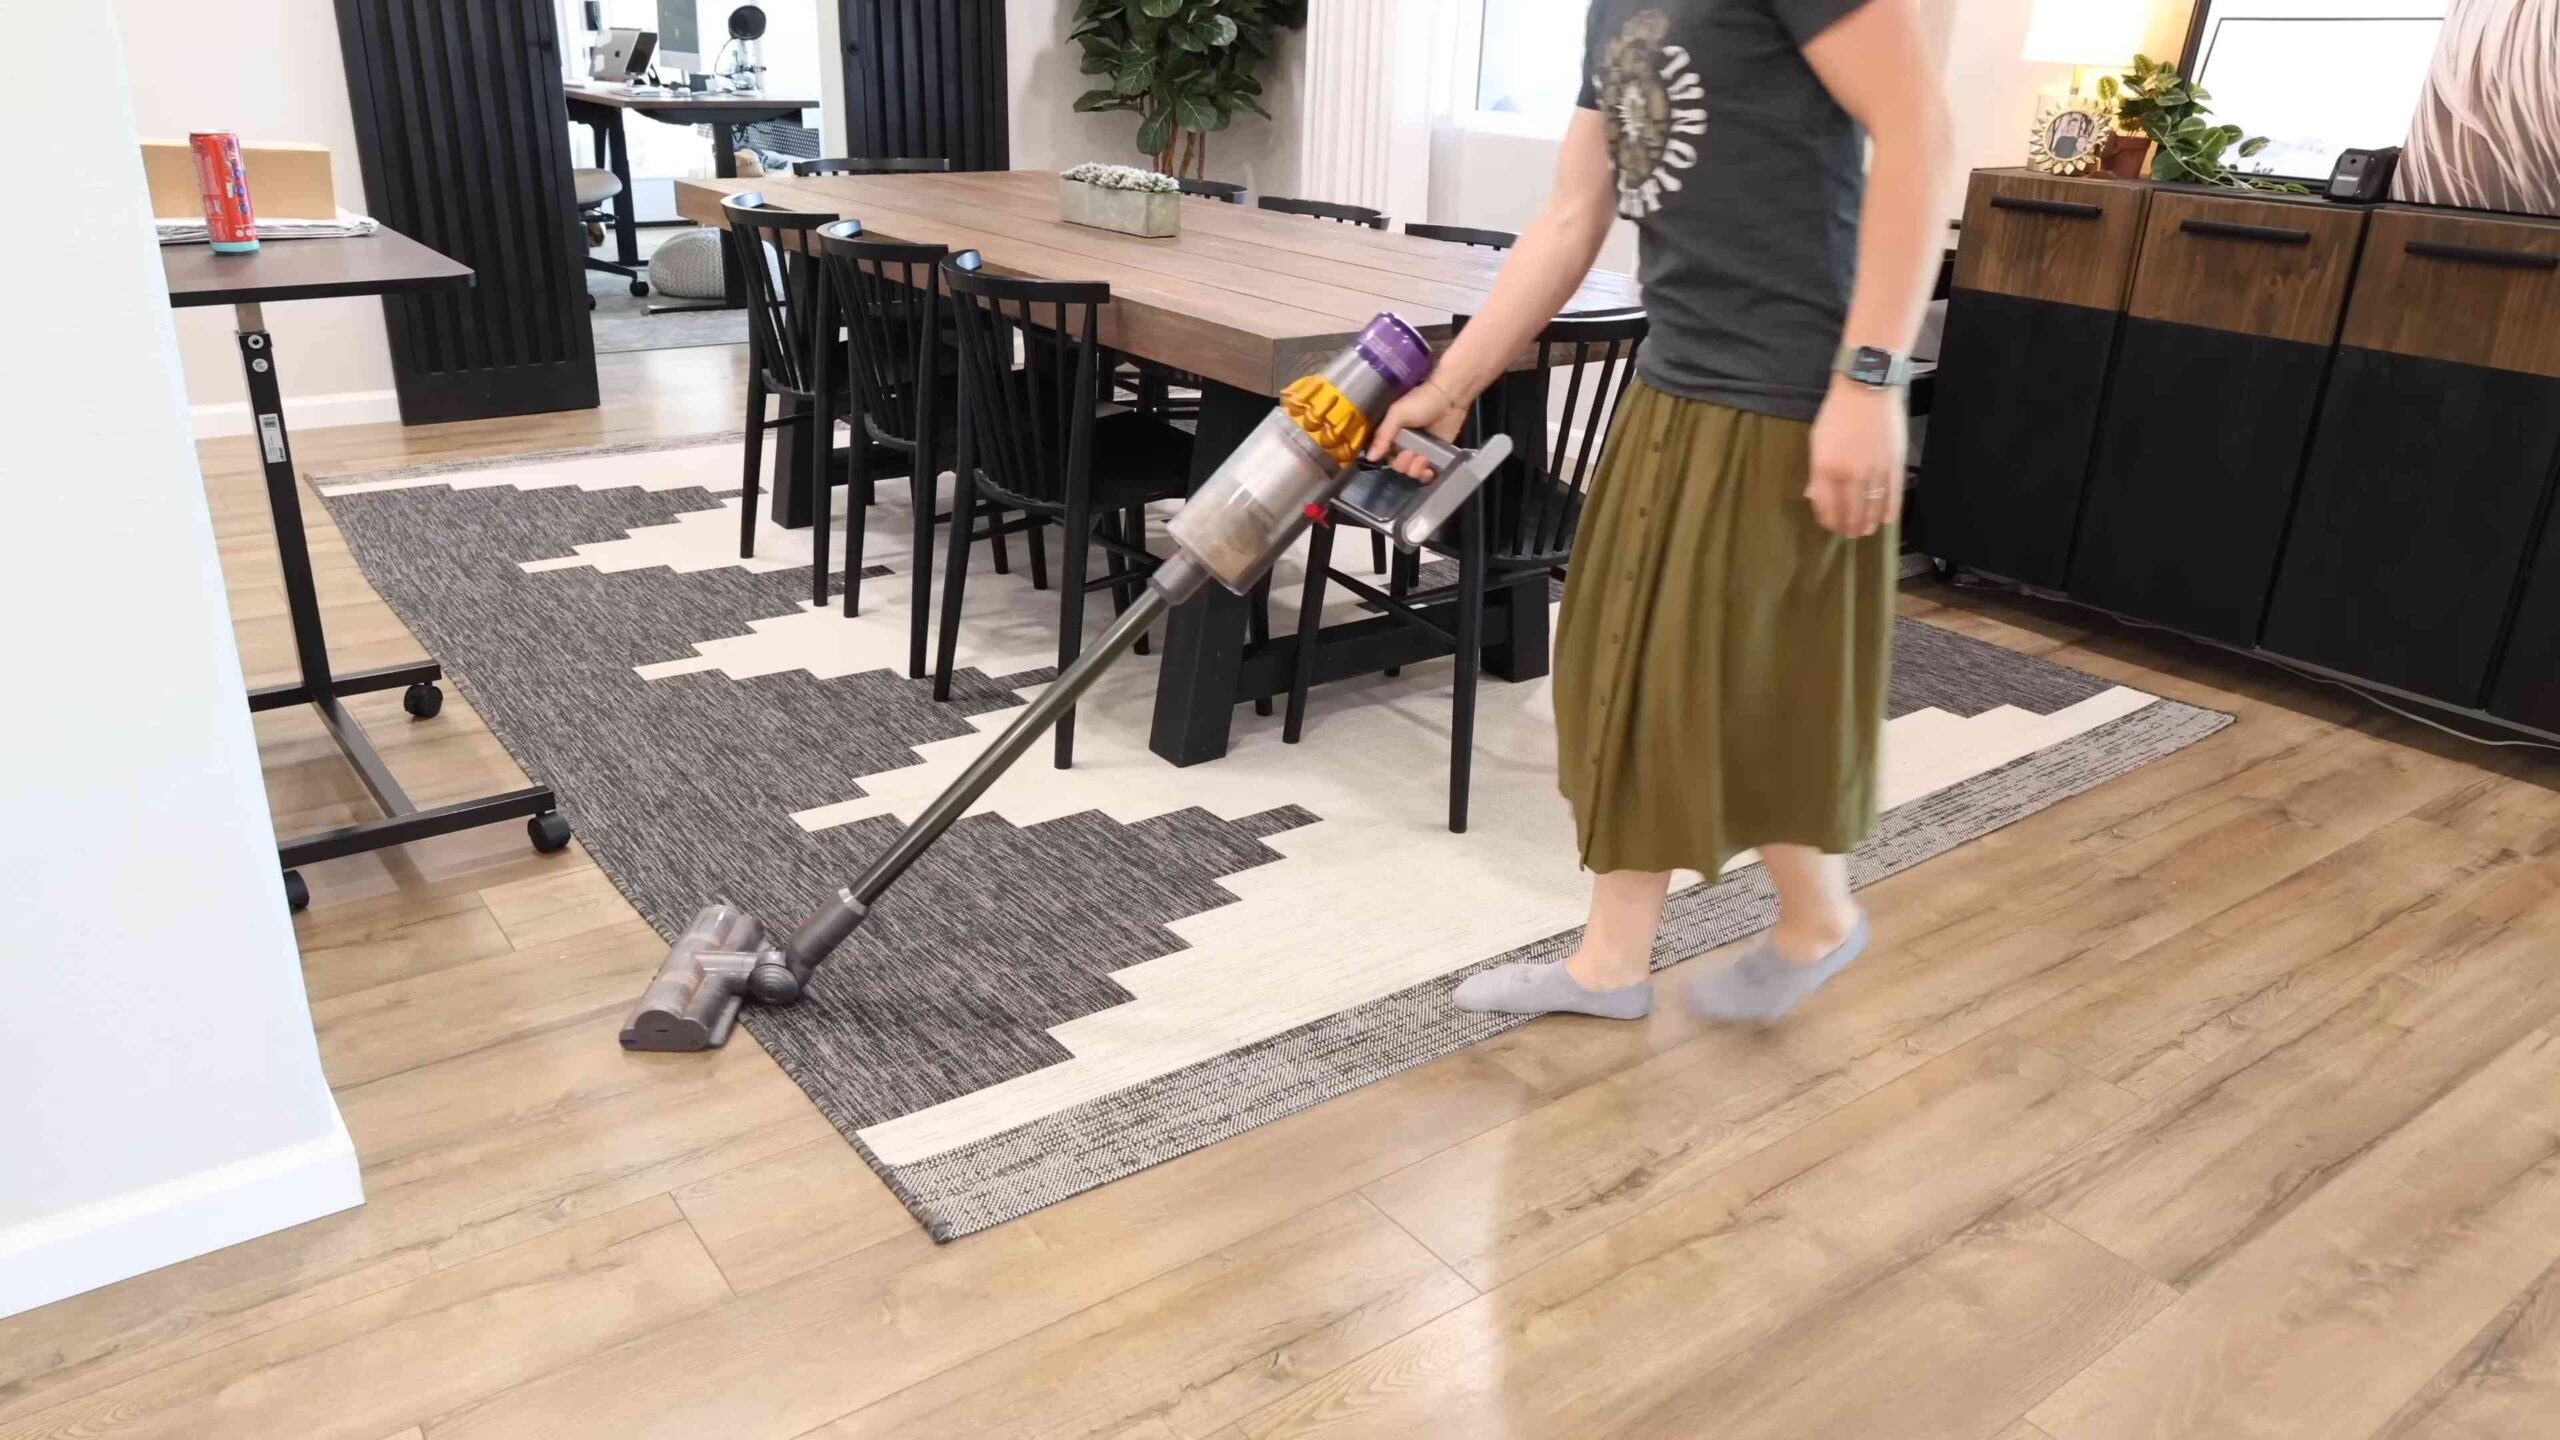
7. Vacuum or Sweep Floors: Vacuum or sweep all floors to remove dust and debris.
8. Empty Trash Cans: Empty all trash cans and replace the liners.
Phase 4: Floors – The Final Touch
The final step is to give your floors a thorough cleaning.
1. Vacuum Carpets and Rugs: Vacuum all carpets and rugs thoroughly. Pay special attention to high-traffic areas.
2. Mop Hard Floors: Mop all hard floors with your favorite floor cleaner. Start in the corner furthest from the door and work your way out.
3. Spot Clean: Check for any spots or stains on carpets or floors and spot clean as needed.
Bonus Tips for Speed Cleaning
* Work Top to Bottom: Start cleaning from the highest point in the room and work your way down. This will prevent dust and debris from falling onto already cleaned surfaces.
* Focus on High-Impact Areas: If you’re really short on time, focus on the areas that make the biggest difference, such as the kitchen countertops, bathroom sink, and floors.
* Don’t Get Bogged Down: If you encounter a particularly stubborn mess, don’t spend too much time on it. Move on to something else and come back to it later.
* Delegate: If you have family members living with you, enlist their help! Assign them specific tasks to make the process faster and easier.
* Maintain Regularly: The key to keeping your house clean is to maintain it regularly. Spend a few minutes each day tidying up and doing small cleaning tasks. This will prevent dirt and grime from building up and make deep cleaning less necessary.
After the Clean: Enjoy Your Sparkling Home!
You did it! Take a deep breath and enjoy your freshly cleaned home. Light a candle, put on some relaxing music, and reward yourself for a job well done. Remember, this isn’t about perfection; it’s about creating a cleaner, healthier, and more comfortable living space for you and your family. And now you know my secrets to doing it fast!
Conclusion
So, there you have it! This simple yet incredibly effective DIY trick for deep cleaning your house fast is a game-changer for anyone looking to reclaim their weekends and enjoy a sparkling clean home without sacrificing precious time. We’ve all been there – staring down a mountain of chores, feeling overwhelmed and unmotivated. But with this streamlined approach, you can transform your cleaning routine from a daunting task into an achievable goal.
The beauty of this method lies in its adaptability. Feel free to tailor it to your specific needs and preferences. For instance, if you have particularly stubborn grime in your bathroom, consider adding a bit of baking soda to your cleaning solution for extra scrubbing power. Or, if you prefer a more natural scent, infuse your cleaning spray with a few drops of your favorite essential oils like lemon, lavender, or eucalyptus. These additions not only enhance the cleaning process but also create a more pleasant and invigorating atmosphere.
Don’t underestimate the power of a good playlist! Put on some upbeat music to keep your energy levels high and make the cleaning process more enjoyable. You can also break down the tasks into even smaller, more manageable chunks. Instead of aiming to clean the entire kitchen in one go, focus on cleaning the countertops first, then the sink, then the appliances. This approach can make the overall task seem less overwhelming and more achievable.
Remember, consistency is key. While this DIY trick allows you to deep clean your house fast, maintaining a regular cleaning schedule will prevent dirt and grime from building up in the first place. Aim to do a quick tidy-up each day and a more thorough cleaning once a week to keep your home looking its best.
We are confident that this DIY trick will revolutionize your cleaning routine and free up your time for the things you truly enjoy. But don’t just take our word for it – give it a try and see the results for yourself! We encourage you to experiment with different variations and find what works best for you and your home.
Once you’ve experienced the magic of a sparkling clean home achieved in record time, we’d love to hear about your experience. Share your tips, tricks, and before-and-after photos on social media using [Your Hashtag] or leave a comment below. Let’s inspire each other to create cleaner, happier homes! We are excited to see how this DIY trick helps you deep clean your house fast and efficiently.
Frequently Asked Questions (FAQ)
Q: How often should I use this DIY deep cleaning method?
A: The frequency depends on your lifestyle and the level of cleanliness you prefer. For most households, a deep clean every 2-4 weeks is sufficient. However, if you have pets, children, or a busy household, you might consider deep cleaning more frequently, perhaps every 1-2 weeks. The key is to observe your home and determine how often it needs a thorough cleaning to maintain a comfortable and healthy environment. Remember, regular maintenance cleaning in between deep cleans will also help extend the time between deep cleaning sessions.
Q: What if I have allergies or sensitivities to certain cleaning products?
A: If you have allergies or sensitivities, it’s crucial to choose cleaning products that are safe and gentle for you. Opt for fragrance-free, hypoallergenic, and non-toxic cleaning solutions. You can also make your own cleaning solutions using natural ingredients like vinegar, baking soda, lemon juice, and essential oils. Always test a small, inconspicuous area before applying any cleaning product to a larger surface to ensure it doesn’t cause any adverse reactions. Wearing gloves and a mask can also help minimize exposure to potential irritants.
Q: Can I use this method on all surfaces in my home?
A: While this DIY deep cleaning method is versatile, it’s essential to consider the specific surfaces you’re cleaning. Avoid using harsh chemicals or abrasive cleaners on delicate surfaces like wood, marble, or granite. Always check the manufacturer’s instructions for cleaning specific items or surfaces. For example, you might need a specialized cleaner for stainless steel appliances or a gentle wood cleaner for your furniture. When in doubt, test the cleaning solution on a small, hidden area first to ensure it doesn’t cause any damage or discoloration.
Q: What are some common areas people often overlook during deep cleaning?
A: Many areas are often overlooked during deep cleaning, but addressing them can significantly improve the overall cleanliness of your home. These include:
* **Light fixtures:** Dust and grime can accumulate on light fixtures, reducing their brightness.
* **Baseboards:** These often get neglected but can harbor dust and dirt.
* **Window tracks:** These can collect dirt, debris, and even mold.
* **Behind appliances:** Pull out your refrigerator and stove to clean behind them, where dust and food particles can accumulate.
* **Under furniture:** Vacuum or sweep under sofas, beds, and other furniture to remove dust and allergens.
* **Doorknobs and light switches:** These are high-touch areas that can harbor germs and bacteria.
* **Garbage disposal:** Cleaning your garbage disposal regularly can prevent odors and clogs.
Q: How can I make this deep cleaning method more eco-friendly?
A: There are several ways to make this deep cleaning method more eco-friendly:
* **Use natural cleaning products:** Opt for cleaning solutions made with natural ingredients like vinegar, baking soda, lemon juice, and essential oils.
* **Reduce waste:** Use reusable cleaning cloths and sponges instead of disposable paper towels.
* **Refillable containers:** Purchase cleaning products in bulk and refill your spray bottles to reduce plastic waste.
* **Proper disposal:** Dispose of cleaning products and their containers responsibly, following local regulations.
* **Concentrated cleaners:** Choose concentrated cleaning products that require less packaging and transportation.
Q: What if I don’t have time to do a full deep clean?
A: If you’re short on time, focus on the areas that need the most attention. Prioritize high-traffic areas like the kitchen and bathrooms. You can also break down the deep cleaning tasks into smaller, more manageable chunks and tackle one or two tasks each day. Even a quick 15-minute cleaning session can make a difference. Remember, consistency is key, so even small efforts can help maintain a cleaner home.
Q: How do I motivate myself to deep clean when I’m feeling overwhelmed?
A: Feeling overwhelmed is a common obstacle to deep cleaning. Here are some tips to boost your motivation:
* **Set realistic goals:** Don’t try to do everything at once. Break down the tasks into smaller, more manageable steps.
* **Reward yourself:** Promise yourself a treat after completing a cleaning task, such as watching your favorite show or enjoying a relaxing bath.
* **Put on music or a podcast:** Make the cleaning process more enjoyable by listening to upbeat music or an interesting podcast.
* **Enlist help:** Ask a family member or friend to help you with the cleaning.
* **Focus on the benefits:** Remind yourself of the positive outcomes of a clean home, such as reduced stress, improved air quality, and a more comfortable living environment.
* **Visualize the end result:** Imagine how good it will feel to have a clean and organized home.
Q: Can this DIY trick help with removing stubborn stains?
A: Yes, this DIY trick can be adapted to help with removing stubborn stains. For specific stains, you can pre-treat the area with a targeted stain remover before applying the general cleaning solution. For example, baking soda paste can be effective for removing stains from countertops and sinks, while vinegar can help dissolve hard water stains. Always test the stain remover on a small, inconspicuous area first to ensure it doesn’t damage the surface.
Q: How do I maintain the cleanliness after the deep clean?
A: Maintaining cleanliness after a deep clean is crucial to prevent dirt and grime from building up again. Here are some tips:
* **Establish a regular cleaning schedule:** Create a daily, weekly, and monthly cleaning schedule to stay on top of chores.
* **Clean as you go:** Wipe up spills immediately and put things away after using them.
* **Declutter regularly:** Get rid of items you no longer need or use to prevent clutter from accumulating.
* **Ventilate your home:** Open windows regularly to improve air circulation and reduce moisture buildup.
* **Use doormats:** Place doormats at entrances to trap dirt and debris before they enter your home.
* **Enlist help from family members:** Assign cleaning tasks to each family member to share the workload.


Leave a Comment