

Deep cleaning hacks home – that’s what we all crave, isn’t it? Let’s face it, nobody *loves* cleaning, but the feeling of a sparkling, fresh home? Absolutely priceless! But who has the time for endless scrubbing and complicated routines? That’s where these DIY deep cleaning tricks come in.
For centuries, cultures around the world have developed ingenious methods for keeping their homes clean and healthy, often relying on natural ingredients and clever techniques passed down through generations. Think of the ancient Romans using olive oil and ash for cleaning, or the Victorian era’s obsession with vinegar and baking soda. These weren’t just cleaning methods; they were a way of life!
In today’s busy world, we need efficient and effective ways to tackle the grime. These deep cleaning hacks home are designed to save you time, money, and energy. I’m going to share some of my favorite DIY solutions that will transform your cleaning routine from a chore into a breeze. From tackling stubborn stains to banishing odors, these tips will help you create a healthier and happier home environment. So, grab your gloves, and let’s get started!
Deep Cleaning Hacks to Transform Your Home!
Okay, let’s get real. Deep cleaning isn’t exactly *fun*, but the feeling of a sparkling clean home? Totally worth it! I’m going to share some of my favorite deep cleaning hacks that’ll make the process a little less daunting and a lot more effective. Get ready to roll up your sleeves and transform your space!
Tackling the Kitchen: The Heart of the Home
The kitchen is usually the dirtiest place in the house, so let’s start there. We’ll break it down into manageable chunks.
Cleaning the Oven: No More Burnt Smells!
This is one chore I always dread, but a clean oven makes a huge difference.
1. Gather Your Supplies: You’ll need baking soda, white vinegar, water, a spray bottle, a sponge, rubber gloves, and a scraper (optional).
2. Empty the Oven: Remove racks, baking stones, and anything else inside.
3. Make a Baking Soda Paste: In a bowl, mix 1/2 cup of baking soda with enough water to form a spreadable paste.
4. Coat the Oven: Spread the paste all over the interior surfaces of the oven, avoiding the heating elements. Be generous!
5. Let it Sit Overnight: This is the magic part. Let the baking soda paste sit for at least 12 hours, or even better, overnight. The longer it sits, the easier it will be to remove the grime.
6. Wipe Away the Paste: The next day, use a damp sponge to wipe away as much of the baking soda paste as possible. You might need to use a scraper for stubborn spots.
7. Spray with Vinegar: Pour some white vinegar into a spray bottle and spray the remaining baking soda residue. It will fizz!
8. Wipe Again: Wipe away the vinegar and any remaining residue with a clean, damp sponge.
9. Replace the Racks: Put the oven racks back in.
10. Run a Low-Heat Cycle: Turn on the oven to a low temperature (around 200°F) for about 15-20 minutes to dry it completely. This also helps eliminate any lingering odors.
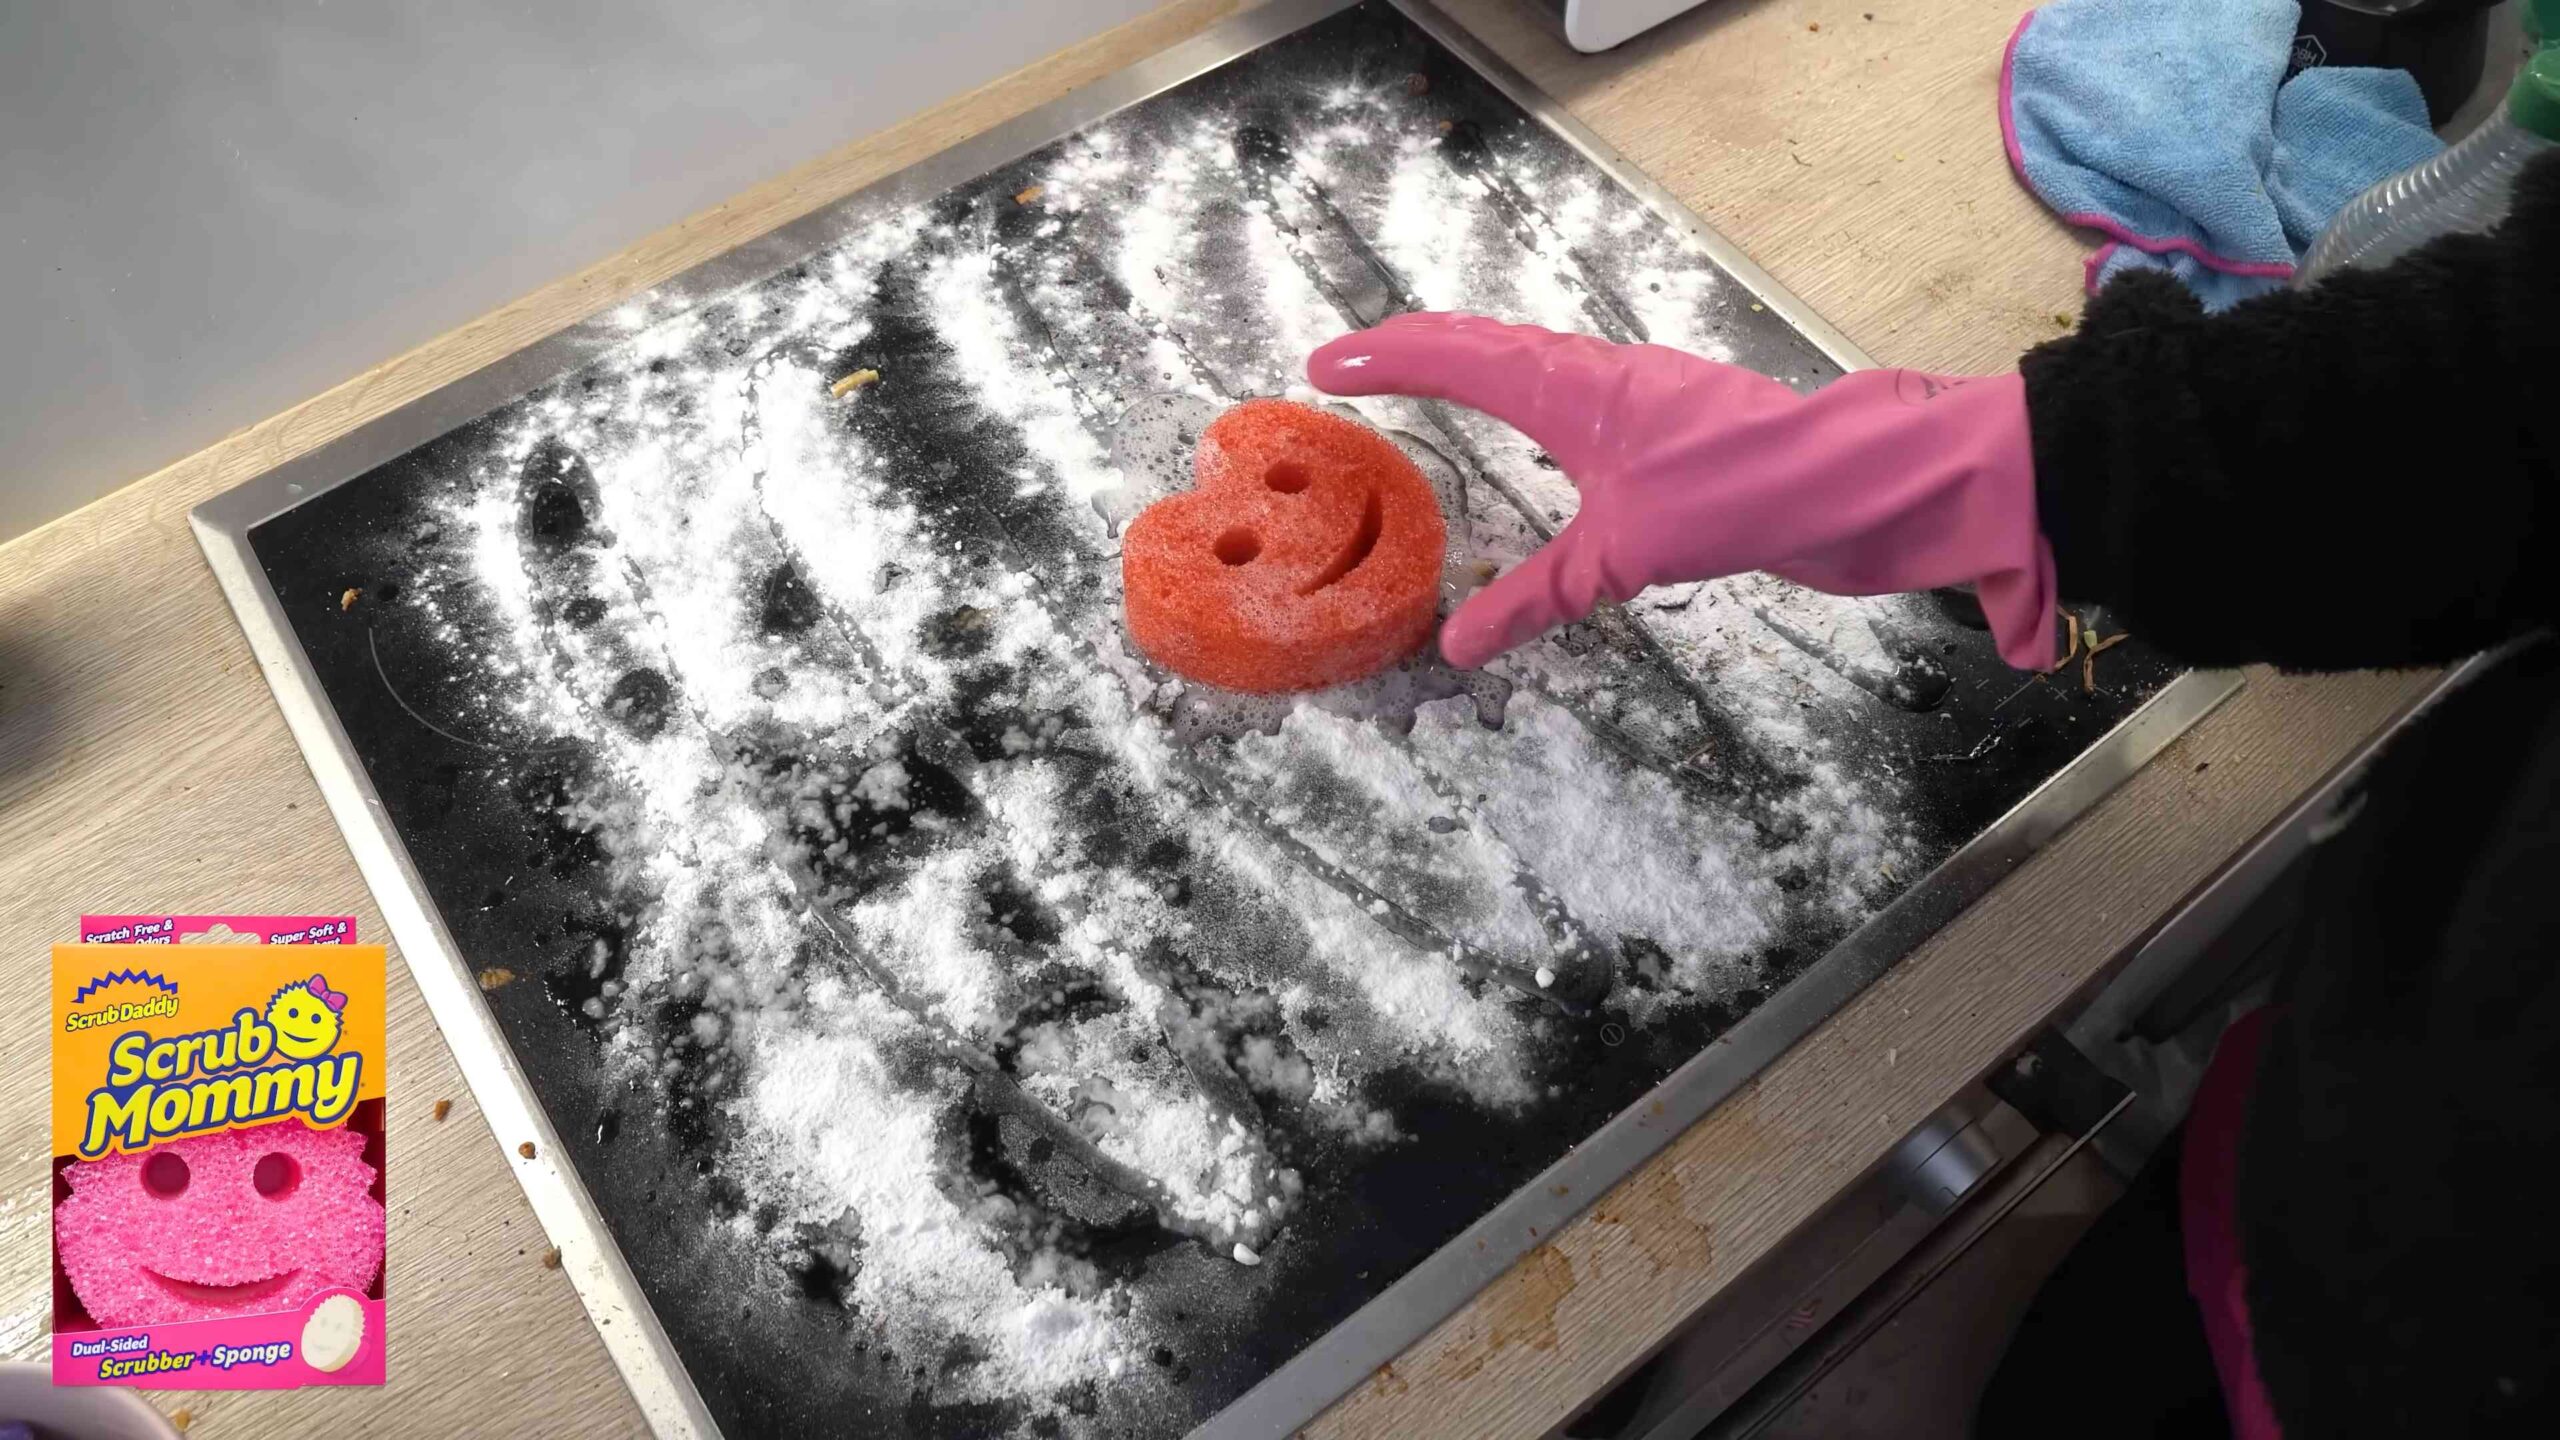
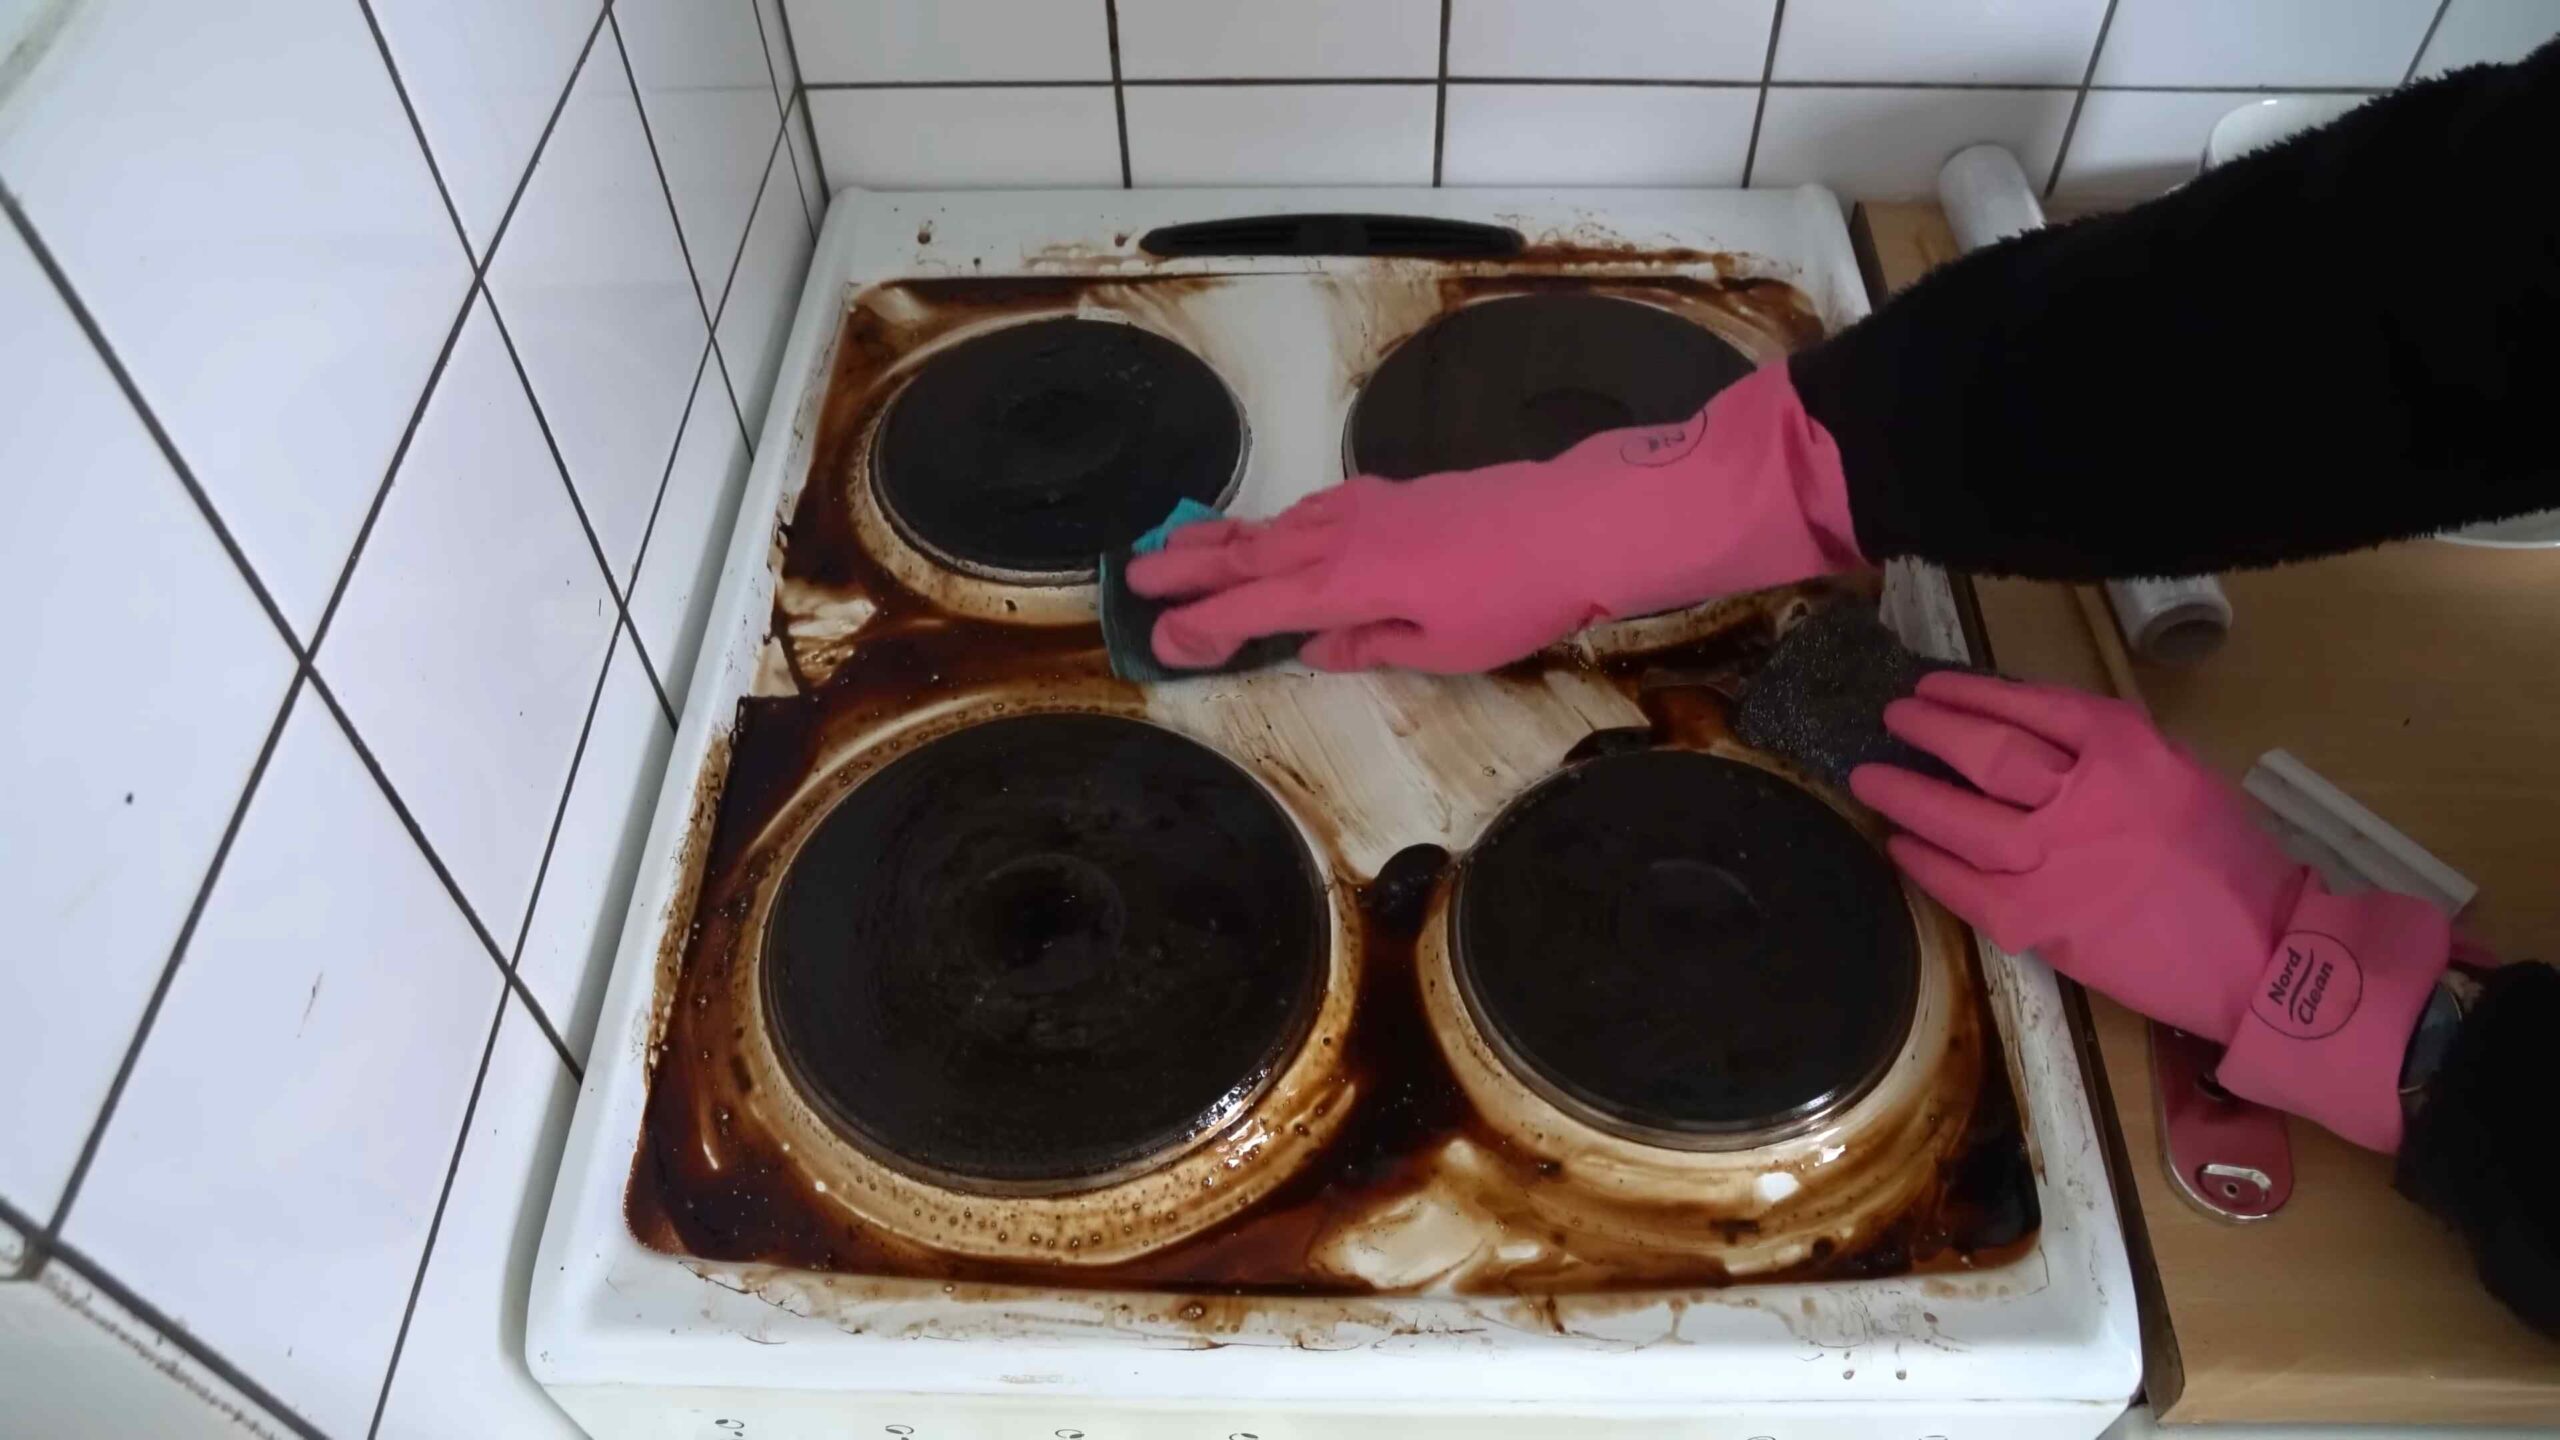
Degreasing the Stovetop: Say Goodbye to Sticky Residue!
A greasy stovetop is a breeding ground for germs and just plain unsightly. Here’s how to tackle it:
1. Gather Your Supplies: You’ll need dish soap, baking soda, white vinegar, a sponge, a microfiber cloth, and a spray bottle.
2. Remove Grates and Burner Caps: Take off the grates and burner caps.
3. Soak the Grates and Caps: Fill your sink with hot, soapy water and let the grates and burner caps soak for at least 30 minutes. For extra stubborn grease, add a cup of white vinegar to the water.
4. Make a Baking Soda Paste: While the grates are soaking, make a paste of baking soda and water.
5. Apply the Paste: Apply the paste to the stovetop, focusing on greasy areas.
6. Let it Sit: Let the paste sit for about 15-20 minutes.
7. Scrub and Rinse: Scrub the stovetop with a sponge, then rinse with clean water.
8. Clean the Grates and Caps: Scrub the grates and burner caps with a sponge or brush to remove any remaining grease. Rinse them thoroughly with clean water.
9. Dry Everything: Dry the stovetop, grates, and burner caps with a microfiber cloth.
10. Reassemble: Put the grates and burner caps back in place.
Cleaning the Microwave: Zap Away the Mess!
Microwaves can get surprisingly gross. This hack makes cleaning them a breeze.
1. Gather Your Supplies: You’ll need a microwave-safe bowl, water, white vinegar or lemon juice, and a sponge or cloth.
2. Fill the Bowl: Fill the microwave-safe bowl with 1 cup of water and 2 tablespoons of white vinegar or lemon juice.
3. Microwave: Microwave the mixture on high for 5 minutes. The water will boil and create steam, loosening the grime inside.
4. Let it Sit: Leave the microwave door closed for another 5 minutes to allow the steam to work its magic.
5. Wipe Clean: Carefully remove the bowl (it will be hot!) and wipe down the inside of the microwave with a sponge or cloth. The grime should come off easily.
Deep Cleaning the Dishwasher: For Sparkling Clean Dishes!
A clean dishwasher means cleaner dishes!
1. Empty the Dishwasher: Remove all dishes and utensils.
2. Clean the Filter: Locate the dishwasher filter (usually at the bottom) and remove it. Rinse it thoroughly under running water to remove any food particles.
3. Vinegar Wash: Place a dishwasher-safe cup filled with 1 cup of white vinegar on the top rack of the empty dishwasher.
4. Run a Hot Cycle: Run the dishwasher on a hot cycle. The vinegar will help to remove grease, grime, and odors.
5. Baking Soda Boost: After the vinegar cycle, sprinkle 1 cup of baking soda on the bottom of the dishwasher.
6. Run a Short Cycle: Run a short, hot cycle. The baking soda will help to freshen the dishwasher and remove any remaining odors.
7. Wipe Down the Interior: Wipe down the interior of the dishwasher with a damp cloth.
Bathroom Blitz: Sparkling Clean from Top to Bottom
The bathroom is another area that needs regular deep cleaning. Let’s get started!
Cleaning the Showerhead: Restore Water Pressure!
Mineral buildup can clog your showerhead and reduce water pressure. Here’s how to fix it:
1. Gather Your Supplies: You’ll need a plastic bag, white vinegar, a rubber band, and an old toothbrush.
2. Fill the Bag: Fill the plastic bag with white vinegar.
3. Submerge the Showerhead: Place the bag over the showerhead so that the showerhead is completely submerged in the vinegar.
4. Secure the Bag: Secure the bag with a rubber band.
5. Soak Overnight: Let the showerhead soak in the vinegar overnight.
6. Remove the Bag: The next day, remove the bag and discard the vinegar.
7. Scrub: Use an old toothbrush to scrub away any remaining mineral deposits.
8. Run the Shower: Run the shower for a few minutes to flush out any remaining vinegar and debris.
Cleaning the Toilet: A Sparkling Throne!
Let’s face it, cleaning the toilet isn’t glamorous, but it’s necessary.
1. Gather Your Supplies: You’ll need toilet bowl cleaner, a toilet brush, a sponge, and disinfectant wipes.
2. Apply Toilet Bowl Cleaner: Apply toilet bowl cleaner under the rim of the toilet bowl.
3. Let it Sit: Let the cleaner sit for at least 10 minutes.
4. Scrub: Scrub the toilet bowl thoroughly with a toilet brush.
5. Flush: Flush the toilet.
6. Clean the Exterior: Wipe down the exterior of the toilet with a sponge and disinfectant wipes.
Cleaning Grout: Banishing Mold and Mildew!
Grout can be a magnet for mold and mildew. Here’s how to get it clean:
1. Gather Your Supplies: You’ll need baking soda, white vinegar, water, a spray bottle, an old toothbrush, and rubber gloves.
2. Make a Baking Soda Paste: Mix baking soda and water to form a paste.
3. Apply the Paste: Apply the paste to the grout lines.
4. Spray with Vinegar: Spray the paste with white vinegar. It will fizz!
5. Let it Sit: Let the mixture sit for about 10-15 minutes.
6. Scrub: Scrub the grout lines with an old toothbrush.
7. Rinse: Rinse the grout lines with clean water.
Living Room Refresh: Dust-Free and Cozy
The living room is where we relax, so let’s make it a clean and inviting space.
Dusting Like a Pro: Reaching Every Nook and Cranny!
Dusting isn’t just about wiping surfaces. It’s about getting into all the hidden spots.
1. Gather Your Supplies: You’ll need a microfiber duster, a vacuum cleaner with attachments, and furniture polish (optional).
2. Start High: Begin by dusting high surfaces, such as ceiling fans, light fixtures, and shelves. This will prevent dust
Conclusion
So, there you have it! This deep cleaning hack isn’t just another chore on your to-do list; it’s a game-changer for maintaining a sparkling and healthy home. We’ve walked you through a simple, effective method that tackles grime and dirt head-on, leaving your living spaces refreshed and revitalized. The beauty of this approach lies in its accessibility – no need for expensive, specialized cleaning products filled with harsh chemicals. You likely already have everything you need right in your pantry!
Think about the satisfaction of knowing you’re creating a cleaner, healthier environment for yourself and your loved ones, all while saving money and reducing your environmental impact. That’s the power of a good DIY solution. This deep cleaning hack is more than just a cleaning method; it’s an investment in your well-being.
But don’t just take our word for it. We encourage you to try this deep cleaning hack in your own home. Experiment with the variations we’ve suggested – perhaps adding a few drops of your favorite essential oil for an extra boost of freshness, or adjusting the ratios of ingredients to suit your specific cleaning needs. The possibilities are endless!
And once you’ve experienced the transformative power of this deep cleaning hack, we want to hear all about it! Share your before-and-after photos, your tips and tricks, and any variations you’ve discovered in the comments section below. Let’s create a community of clean-home enthusiasts, sharing our knowledge and inspiring each other to create healthier, happier living spaces.
Remember, a clean home is a happy home. And with this simple, effective deep cleaning hack, achieving that happiness is easier than ever before. So, grab your supplies, roll up your sleeves, and get ready to experience the joy of a truly clean home. We can’t wait to hear about your success!
Frequently Asked Questions (FAQs)
Q: What exactly is a “deep cleaning hack” and why should I bother with it?
A: A deep cleaning hack is a clever, often DIY, method for tackling tough cleaning tasks more efficiently and effectively than traditional cleaning methods. They often utilize readily available household ingredients and focus on specific areas or problems. You should bother with it because it saves you money, reduces your exposure to harsh chemicals, and often yields better results than commercial cleaners. Plus, it’s incredibly satisfying to know you’re creating a cleaner, healthier environment using simple, natural solutions.
Q: What kind of surfaces can I use this deep cleaning hack on?
A: The specific surfaces will depend on the exact recipe of the deep cleaning hack. However, in general, most DIY cleaning solutions are safe for use on a wide range of surfaces, including:
* **Kitchen surfaces:** Countertops (granite, quartz, laminate), sinks (stainless steel, porcelain), stovetops (glass, ceramic, gas), ovens, microwaves, refrigerators.
* **Bathroom surfaces:** Tiles (ceramic, porcelain, glass), grout, sinks, toilets, showers, bathtubs.
* **Floors:** Hardwood, tile, laminate, vinyl.
* **Furniture:** Upholstery (fabric, leather), wood furniture.
Always test a small, inconspicuous area first to ensure the cleaning solution doesn’t damage or discolor the surface. Avoid using acidic cleaners (like vinegar or lemon juice) on marble or other natural stone surfaces, as they can etch the stone.
Q: Are there any surfaces I should absolutely avoid using this deep cleaning hack on?
A: Yes, there are certain surfaces that are generally not suitable for DIY cleaning solutions, especially those containing acidic ingredients like vinegar or lemon juice. These include:
* **Marble and other natural stone:** Acidic cleaners can etch and damage the surface.
* **Waxed wood furniture:** The cleaner can strip the wax finish.
* **Electronics:** Avoid spraying any liquid directly onto electronics. Use a slightly damp microfiber cloth to wipe them down.
* **Certain fabrics:** Delicate fabrics like silk or velvet may be damaged by certain cleaning solutions. Always test in an inconspicuous area first.
Q: What are some common ingredients used in deep cleaning hacks?
A: Many deep cleaning hacks rely on simple, readily available ingredients you probably already have in your home. Some of the most common include:
* **Vinegar:** A natural disinfectant and degreaser.
* **Baking soda:** A mild abrasive and deodorizer.
* **Lemon juice:** A natural disinfectant and stain remover.
* **Dish soap:** A gentle cleanser for removing grease and grime.
* **Essential oils:** Add fragrance and can have antibacterial properties.
* **Borax:** A natural mineral with cleaning and disinfecting properties.
* **Hydrogen peroxide:** A bleaching agent and disinfectant.
Q: How often should I use this deep cleaning hack?
A: The frequency of use depends on the specific area you’re cleaning and how often it gets dirty. For high-traffic areas like kitchens and bathrooms, you may want to use the deep cleaning hack once a week or every other week. For less frequently used areas, like guest rooms or closets, you can deep clean them less often, perhaps once a month or every few months. Regular maintenance cleaning in between deep cleans will help keep your home looking its best.
Q: Can I customize this deep cleaning hack to suit my specific needs?
A: Absolutely! One of the best things about DIY cleaning solutions is that you can customize them to suit your specific needs and preferences. For example, if you have particularly stubborn stains, you can increase the concentration of the cleaning agent. If you’re sensitive to certain smells, you can choose essential oils that you enjoy or omit them altogether. You can also adjust the ratios of ingredients to find the perfect balance for your cleaning needs. Don’t be afraid to experiment and find what works best for you!
Q: Is this deep cleaning hack safe for pets and children?
A: While many DIY cleaning solutions are made with natural ingredients, it’s still important to exercise caution when using them around pets and children. Some essential oils can be toxic to pets, so be sure to research the safety of any essential oils you use. Always store cleaning solutions out of reach of children and pets. After cleaning, rinse surfaces thoroughly with water to remove any residue. If you’re concerned about the safety of a particular ingredient, consult with your veterinarian or pediatrician.
Q: What if I don’t see results right away?
A: Some deep cleaning tasks require a little patience and persistence. If you don’t see results right away, try repeating the cleaning process or letting the cleaning solution sit on the surface for a longer period of time before wiping it away. You may also need to use a little elbow grease to scrub away stubborn stains or grime. Remember, even the most effective cleaning solutions may not work miracles overnight.
Q: Where can I find more deep cleaning hacks and tips?
A: There are many resources available online and in print that offer deep cleaning hacks and tips. You can search online for articles, videos, and blog posts on the topic. You can also find helpful information in books and magazines dedicated to home cleaning and organization. And don’t forget to check out our comments section below, where you can share your own tips and tricks and learn from other readers!


Leave a Comment