

DIY Gem Vanity Tray: Ever feel like your makeup and jewelry are just scattered across your vanity, creating a chaotic mess? I know I have! It’s frustrating to spend precious minutes searching for that one earring or the perfect shade of lipstick. But what if I told you there’s a simple, elegant, and totally customizable solution?
Throughout history, vanity trays have been a symbol of luxury and organization, dating back to the ornate dressing tables of royalty. While we might not all have royal budgets, we can certainly bring a touch of that elegance into our own homes. This isn’t just about tidying up; it’s about creating a beautiful and functional space that sparks joy every time you get ready.
That’s why I’m so excited to share this easy DIY Gem Vanity Tray tutorial! It’s a fantastic way to upcycle materials, express your personal style, and finally conquer that vanity clutter. Plus, it’s a fun and rewarding project that anyone can tackle, regardless of their crafting experience. Get ready to transform your vanity into a sparkling oasis with this simple and stunning DIY project!
DIY Gem Vanity Tray: Sparkle Up Your Space!
Hey there, fellow DIY enthusiasts! I’m so excited to share this project with you – a dazzling gem vanity tray that’s both functional and absolutely gorgeous. It’s the perfect way to organize your makeup, jewelry, or even just add a touch of glam to your bathroom or bedroom. Trust me, this is easier than it looks, and the results are totally worth it!
What You’ll Need
Before we dive in, let’s gather our supplies. Here’s a comprehensive list of everything you’ll need to create your own stunning gem vanity tray:
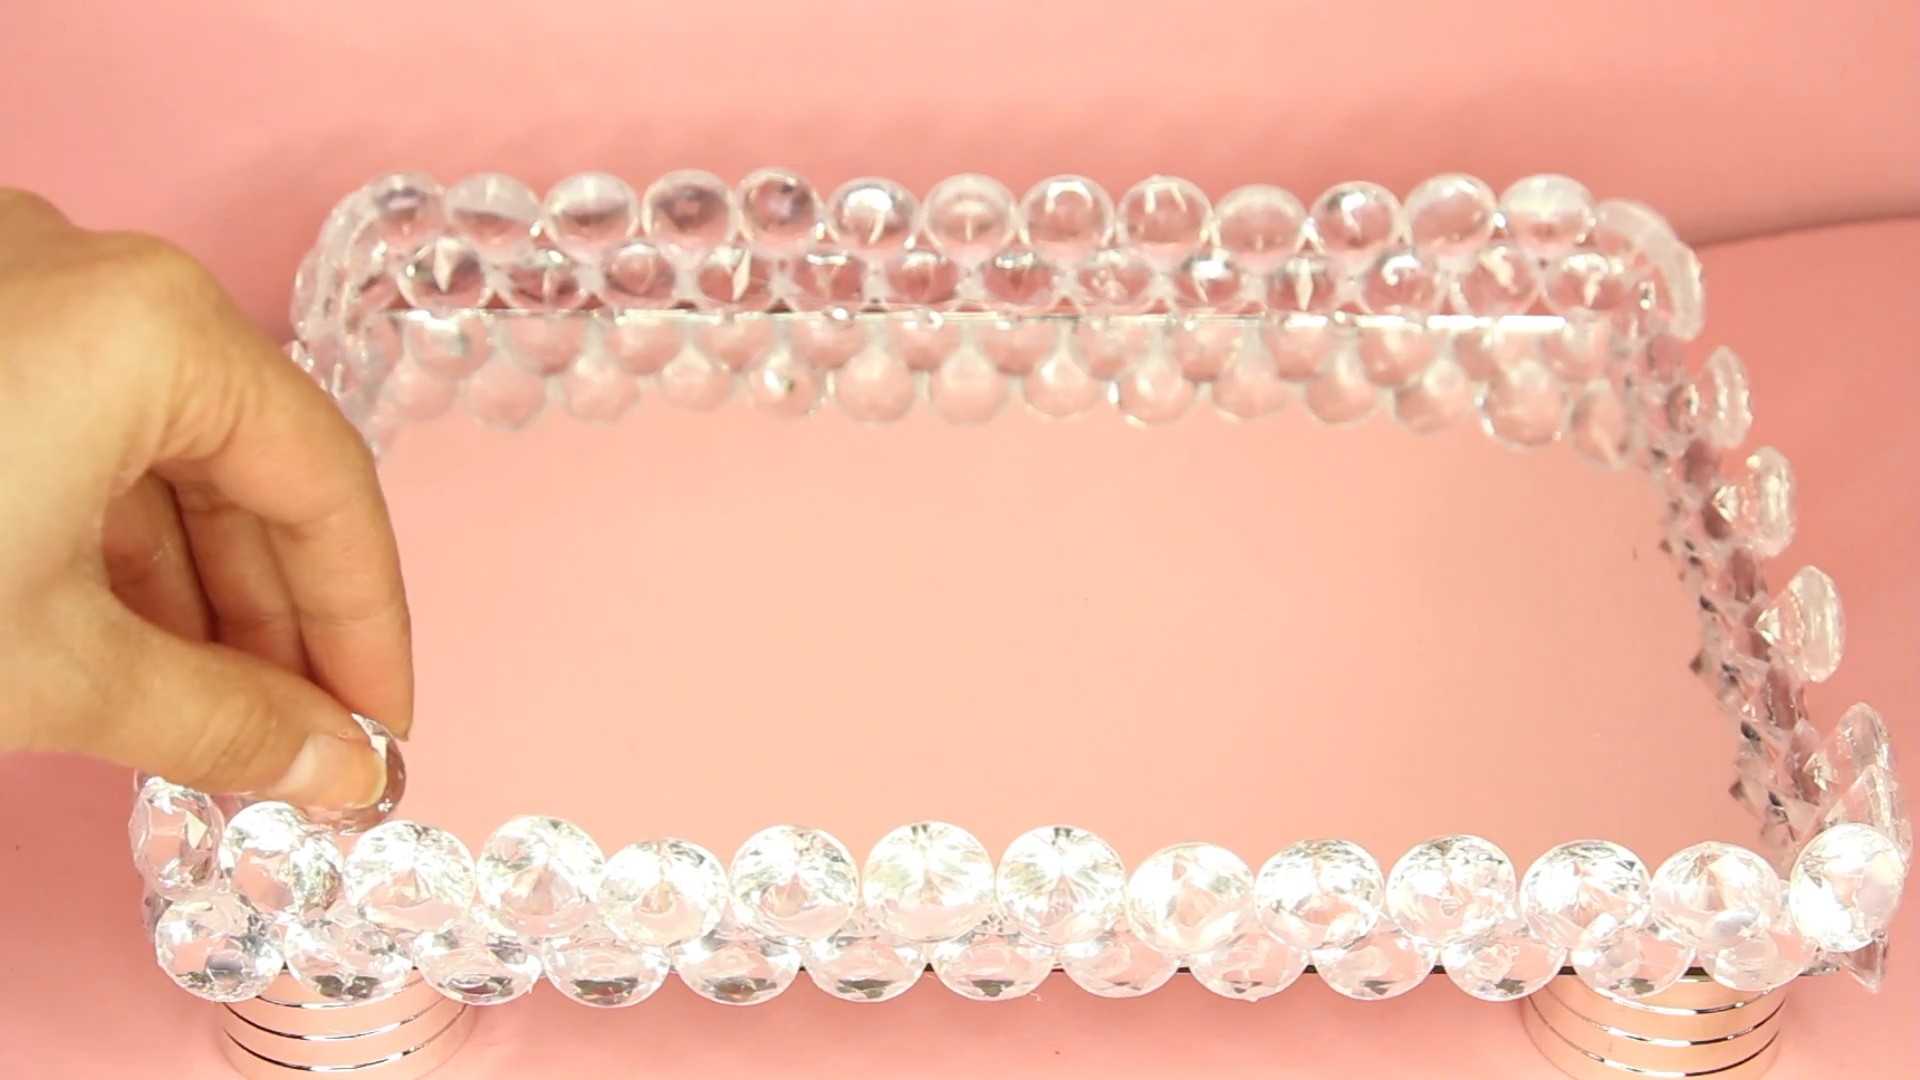
* A tray (I used a mirrored tray, about 12×8 inches, but you can use any shape or size you like! A wooden, acrylic, or even a ceramic tray will work. Just make sure it has a lip to keep the gems from rolling off.)
* Assorted gems and rhinestones (This is where you can get creative! I recommend a variety of sizes, shapes, and colors. Think about your overall aesthetic – do you want a rainbow explosion, a sophisticated monochrome look, or something in between? Craft stores, online retailers, and even dollar stores are great places to find gems.)
* Strong adhesive (E6000 is my go-to for projects like this. It’s super strong and dries clear. Hot glue can work in a pinch, but it’s not as durable and might leave visible glue strings.)
* Toothpicks or a wax pencil (These are essential for picking up and placing the smaller gems. Trust me, trying to do it with your fingers is a recipe for frustration!)
* Tweezers (For precise placement of tiny gems.)
* Clear sealant spray (Optional, but highly recommended. This will help protect your gems and keep them sparkling for longer.)
* Gloves (To protect your hands from the adhesive.)
* Paper towels (For easy cleanup.)
* A well-ventilated workspace (Adhesive fumes can be strong, so make sure you’re working in a space with good airflow.)
* Patience (This project takes time and attention to detail, so be prepared to relax and enjoy the process!)
Preparing Your Tray
This is a crucial step to ensure your gems adhere properly and your tray looks its best.
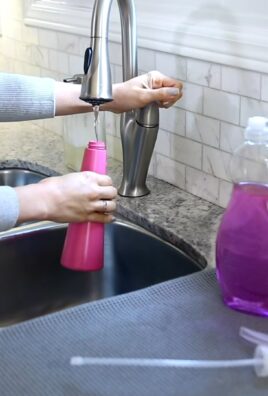
1. Clean the Tray: Start by thoroughly cleaning your tray with soap and water. Remove any dust, dirt, or fingerprints. Dry it completely with a clean cloth. If you’re using a mirrored tray, glass cleaner will give it an extra shine.
2. Consider a Base Layer (Optional): If you’re using a tray that isn’t already mirrored or shiny, you might want to consider adding a base layer of glitter or paint. This will add extra sparkle and dimension to your finished tray. If you choose to do this, make sure the base layer is completely dry before moving on to the next step.
Gem Placement: The Fun Part!
Now for the exciting part – adding the gems! This is where your creativity can really shine.
1. Plan Your Design (Optional): Before you start gluing, it’s a good idea to lay out your gems on the tray to get a sense of the overall design. This will help you visualize the finished product and make adjustments as needed. You can create a symmetrical pattern, a random scattering, or anything in between.
2. Start Gluing: Put on your gloves! Apply a small amount of adhesive to the back of a gem. Using a toothpick or wax pencil, carefully place the gem onto the tray. Press down gently to ensure it adheres properly.
3. Work in Sections: I find it easiest to work in small sections, applying adhesive to a few gems at a time. This prevents the adhesive from drying out before you have a chance to place the gems.
4. Vary Sizes and Shapes: Don’t be afraid to mix and match different sizes and shapes of gems. This will add visual interest and texture to your tray. Use larger gems as focal points and fill in the gaps with smaller gems.
5. Use Tweezers for Tiny Gems: For those super tiny gems, tweezers are your best friend. They’ll allow you to place them precisely and avoid getting adhesive on your fingers.
6. Fill in the Gaps: Once you’ve placed the larger gems, go back and fill in any gaps with smaller gems. The goal is to create a dense, sparkling surface.
7. Let it Dry: Once you’re happy with the placement of your gems, let the adhesive dry completely. This usually takes at least 24 hours, but it’s best to check the adhesive manufacturer’s instructions for specific drying times. Resist the urge to touch or move the tray during this time!
Adding Extra Touches (Optional)
Want to take your gem vanity tray to the next level? Here are a few ideas:
* Add Glitter: Sprinkle glitter over the gems while the adhesive is still wet for an extra dose of sparkle.
* Use Different Colors of Adhesive: Experiment with colored adhesive to create interesting visual effects.
* Incorporate Charms or Beads: Add small charms or beads to your tray for a personalized touch.
* Create a Gradient Effect: Arrange your gems in a gradient, transitioning from one color to another.
Sealing Your Tray (Highly Recommended)
This step is crucial for protecting your gems and ensuring your tray lasts for years to come.
1. Choose a Clear Sealant Spray: Select a clear sealant spray that’s designed for use on crafts. Make sure it’s compatible with the type of adhesive you used.
2. Spray in a Well-Ventilated Area: Take your tray outside or to a well-ventilated area. Place it on a protected surface, such as a piece of cardboard.
3. Apply Thin, Even Coats: Hold the sealant spray about 12 inches away from the tray and apply thin, even coats. Avoid spraying too much at once, as this can cause the sealant to drip or run.
4. Let it Dry Completely: Allow the sealant to dry completely between coats. Follow the manufacturer’s instructions for drying times. I usually apply two or three coats for maximum protection.
5. Cure Time: After the final coat, allow the sealant to cure completely before using your tray. This can take several days, depending on the product you use.
Cleaning and Maintenance
To keep your gem vanity tray looking its best, follow these simple cleaning and maintenance tips:
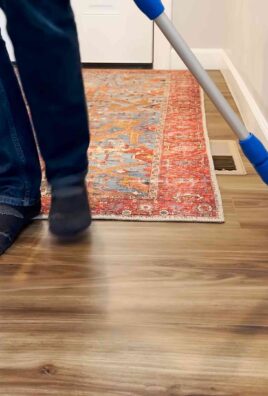
* Dust Regularly: Use a soft cloth or brush to dust the tray regularly. This will prevent dust from accumulating and dulling the sparkle of the gems.
* Wipe Clean with a Damp Cloth: If the tray gets dirty, wipe it clean with a damp cloth. Avoid using harsh chemicals or abrasive cleaners, as these can damage the gems or the adhesive.
* Avoid Excessive Moisture: While the sealant will protect the gems from some moisture, it’s best to avoid exposing the tray to excessive moisture. Don’t leave it sitting in a puddle of water or use it to hold wet items.
* Handle with Care: While the adhesive is strong, it’s still possible for gems to come loose if the tray is dropped or handled roughly. Handle your tray with care to prevent damage.
Troubleshooting
Even with the best planning, things can sometimes go wrong. Here are a few common problems and how to fix them:
* Gems Falling Off: If gems start to fall off, reapply adhesive to the back of the gem and press it back into place. Make sure the adhesive is fully cured before using the tray.
* Adhesive Visible: If you accidentally use too much adhesive and it’s visible around the gems, you can try to carefully remove the excess adhesive with a toothpick or cotton swab. Be careful not to damage the gems or the surrounding adhesive.
* Sealant Streaks: If the sealant streaks, it’s likely that you applied too much at once. Try to buff out the streaks with a soft cloth. If that doesn’t work, you may need to remove the sealant and start over.
* Uneven Gem Placement: If you notice that some gems are unevenly placed, you can try to gently reposition them while the adhesive is still wet. If the adhesive has already dried, you may need to carefully remove the gem and reapply it.
Displaying Your Masterpiece
Now that your gem vanity tray is complete, it’s time to show it off! Here are a few ideas for displaying your creation:
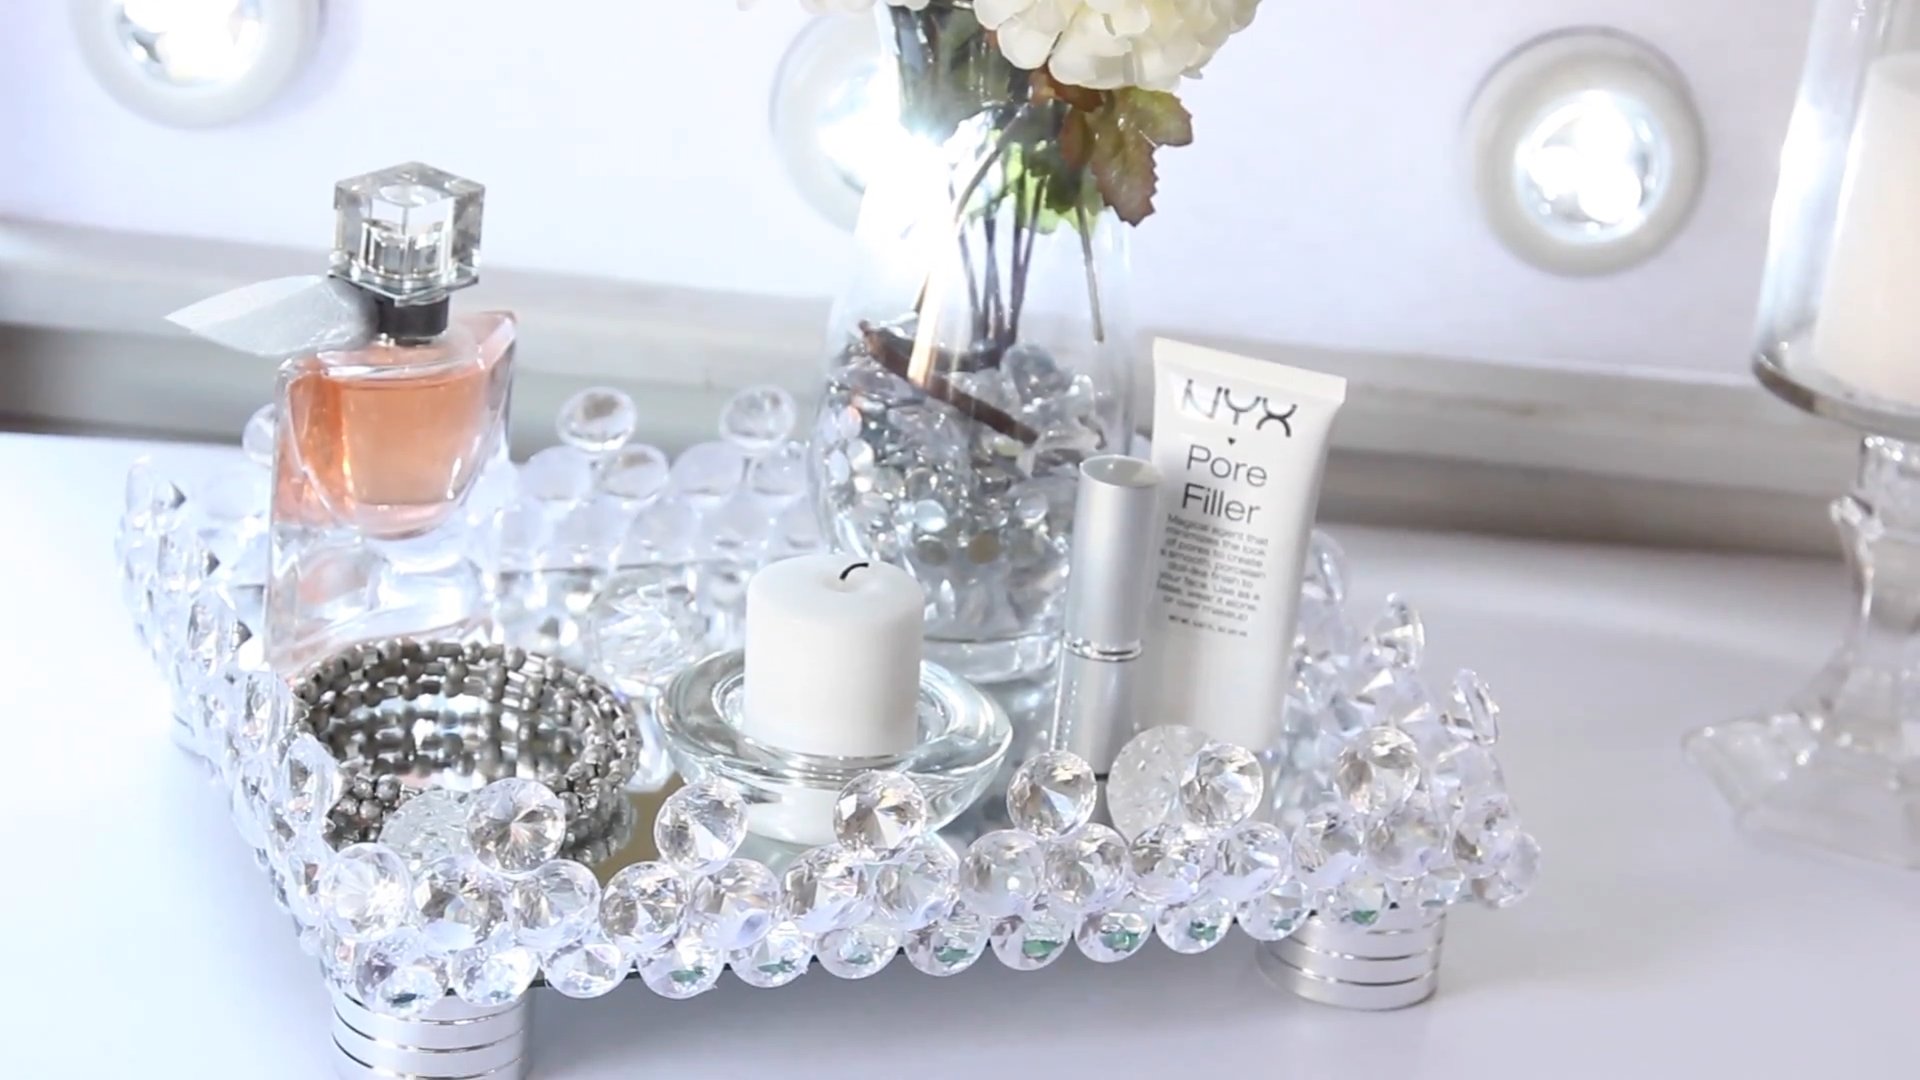
* On Your Vanity: Use it to organize your makeup, brushes, and other beauty essentials.
* On Your Dresser: Display your jewelry, perfume, and other accessories.
* In Your Bathroom: Use it to hold toiletries, soaps, and lotions.
* As a Decorative Accent: Place it on a coffee table, bookshelf, or side table to add a touch of glam to any room.
* As a Gift: This gem vanity tray makes a thoughtful and unique gift for birthdays,
Conclusion
So, there you have it! Transforming an ordinary tray into a dazzling DIY gem vanity tray is not just a craft project; it’s an act of self-expression, a way to inject personality and sparkle into your everyday routine. We’ve walked you through the simple steps, highlighting how accessible and budget-friendly this project truly is. Forget those overpriced, mass-produced vanity trays you see in department stores. With a little creativity and a few readily available materials, you can create a bespoke piece that perfectly reflects your unique style.
But why is this DIY trick a must-try? Beyond the obvious aesthetic appeal, crafting your own gem vanity tray offers a sense of accomplishment and ownership. You’re not just buying a product; you’re creating something beautiful with your own hands. This process can be incredibly therapeutic and rewarding, providing a welcome escape from the stresses of daily life. Plus, it’s a fantastic way to upcycle old trays or give new life to forgotten craft supplies.
The possibilities for customization are truly endless. Feel free to experiment with different types of gems. Consider using a mix of sizes, shapes, and colors to create a truly unique mosaic effect. For a more minimalist look, opt for a single color palette or geometric arrangement. You could even incorporate other embellishments like pearls, beads, or even small charms to personalize your tray further.
Think about the base tray itself. While we’ve focused on using a standard tray, you could also repurpose a vintage mirror, a wooden platter, or even a ceramic tile. The key is to choose a surface that’s sturdy and provides a good base for adhering the gems.
For a touch of elegance, consider using metallic paint or gilding wax to enhance the edges of the tray. This will add a subtle shimmer and elevate the overall look. You could also experiment with different grout colors to fill in the gaps between the gems, creating a contrasting or complementary effect.
Don’t limit yourself to using your DIY gem vanity tray solely for makeup and jewelry. It can also be used to display perfumes, candles, or even as a decorative accent on a coffee table or bookshelf. The versatility of this project is one of its greatest strengths.
We wholeheartedly encourage you to give this DIY gem vanity tray project a try. It’s a fun, affordable, and incredibly rewarding way to add a touch of glamour to your home. And most importantly, we want to hear about your experience! Share your creations with us on social media using #DIYGemVanityTray and tag us so we can admire your handiwork. We can’t wait to see the unique and inspiring designs you come up with. Let your creativity shine!
Frequently Asked Questions
What type of glue is best for adhering the gems to the tray?
The best type of glue for this project is a strong, clear-drying craft glue like E6000 or a similar multi-purpose adhesive. These glues are designed to bond to a variety of surfaces, including metal, glass, plastic, and wood, ensuring that your gems stay securely in place. Hot glue can also be used, but it may not provide as strong or long-lasting of a bond, especially if the tray is exposed to heat or moisture. Also, be careful when using hot glue as it can leave visible residue if not applied carefully. Make sure to read the instructions on your chosen glue and allow it to dry completely before using your vanity tray.
Where can I find affordable gems for this project?
Affordable gems can be found at a variety of places. Craft stores like Michaels, Hobby Lobby, and Joann Fabrics often have a wide selection of gems in different sizes, shapes, and colors. Online retailers like Amazon and Etsy are also great resources for finding bulk gems at discounted prices. Dollar stores can sometimes be a surprising source of inexpensive gems, although the quality may vary. Consider repurposing old jewelry or accessories that you no longer wear. You can carefully remove the gems and use them for your vanity tray project.
How do I clean my DIY gem vanity tray?
To clean your DIY gem vanity tray, gently wipe it down with a soft, damp cloth. Avoid using harsh chemicals or abrasive cleaners, as these can damage the gems or the finish of the tray. For stubborn dirt or grime, you can use a mild soap solution. Be sure to dry the tray thoroughly after cleaning to prevent water spots or damage to the adhesive. If you’ve used grout to fill in the gaps between the gems, you can use a soft toothbrush to gently scrub away any dirt or stains.
Can I use different types of trays for this project?
Absolutely! The beauty of this DIY project is its versatility. You can use a variety of trays as a base, including metal trays, wooden trays, ceramic tiles, vintage mirrors, or even repurposed platters. Just make sure that the tray is sturdy and provides a good surface for adhering the gems. If you’re using a wooden tray, you may want to sand it down and apply a coat of primer before adding the gems. If you’re using a mirror, be extra careful when handling it to avoid breakage.
How do I prevent the gems from falling off over time?
To prevent the gems from falling off over time, it’s crucial to use a strong adhesive and apply it generously to the back of each gem. Make sure that the surface of the tray is clean and dry before applying the gems. Allow the glue to dry completely according to the manufacturer’s instructions. You can also consider sealing the tray with a clear sealant or varnish to protect the gems and adhesive from moisture and wear. Avoid placing heavy objects on the tray or exposing it to extreme temperatures, as this can weaken the adhesive.
What if I make a mistake and need to remove a gem?
If you make a mistake and need to remove a gem, you can try using a craft knife or a thin spatula to gently pry it off the tray. Be careful not to damage the surrounding gems or the surface of the tray. You may need to use a solvent like acetone or nail polish remover to soften the adhesive. Apply the solvent sparingly and allow it to sit for a few minutes before attempting to remove the gem. Once the gem is removed, clean the area thoroughly and reapply the adhesive before adding a new gem.
Can I use different colors of grout to fill in the gaps between the gems?
Yes, you can definitely use different colors of grout to fill in the gaps between the gems. This can add a unique and interesting dimension to your DIY gem vanity tray. Consider using a contrasting color to make the gems stand out or a complementary color to create a more cohesive look. You can find grout in a variety of colors at most hardware stores or craft stores. Be sure to follow the manufacturer’s instructions when applying the grout and allow it to dry completely before using your vanity tray.
Is this project suitable for children?
While this project is relatively simple, it may not be suitable for young children due to the use of small gems and strong adhesives. If you’re doing this project with children, adult supervision is required. Consider using larger gems and non-toxic glue. You can also simplify the design to make it easier for children to complete. Always prioritize safety and ensure that children understand the proper use of the materials.

Leave a Comment