

DIY Mattress Stain Remover: Let’s face it, accidents happen! Whether it’s a spilled cup of coffee during a cozy Sunday morning read in bed, or a more… ahem… *unforeseen* event, mattress stains are a universal woe. But before you resign yourself to sleeping on a permanent reminder of life’s little mishaps, or worse, contemplate buying a brand new mattress, I’m here to tell you there’s hope!
For centuries, people have been devising clever ways to keep their sleeping spaces clean and fresh. From ancient Romans using lye and sunshine to modern-day stain-fighting formulas, the quest for a spotless mattress is a timeless one. But who needs harsh chemicals and expensive cleaners when you can whip up an effective DIY mattress stain remover using ingredients you probably already have in your pantry?
That’s right! This article is your ultimate guide to creating your own powerful, yet gentle, stain remover that will banish those unsightly marks and restore your mattress to its former glory. Not only will you save money, but you’ll also have the satisfaction of knowing exactly what’s going onto your bed – no harsh chemicals or mystery ingredients here! So, if you’re ready to say goodbye to embarrassing stains and hello to a fresh, clean sleeping space, keep reading! I’m about to share my favorite DIY tricks and hacks for tackling even the most stubborn mattress stains.
DIY Mattress Stain Remover: Banish Those Pesky Spots!
Okay, let’s face it, mattresses are stain magnets. Spills happen, accidents occur, and before you know it, your pristine sleeping surface is looking a little… less than perfect. But don’t despair! You don’t need to shell out big bucks for professional cleaning or, worse, replace your entire mattress. I’m going to walk you through my favorite DIY mattress stain remover methods that are effective, affordable, and use ingredients you probably already have in your pantry.
Understanding the Enemy: Identifying the Stain
Before we dive into the cleaning process, it’s crucial to identify what kind of stain you’re dealing with. Different stains require different approaches. Here’s a quick rundown:
* **Blood:** This is a common culprit. Act fast! Fresh blood is much easier to remove than dried blood.
* **Urine:** Another frequent offender, especially if you have kids or pets. Urine stains can also lead to unpleasant odors, so addressing them promptly is key.
* **Sweat:** Over time, sweat can accumulate and cause yellowing.
* **Food and Drink:** Coffee, juice, wine – the possibilities are endless!
* **Vomit:** Unfortunately, this happens. Clean it up quickly and thoroughly.
* **Mold and Mildew:** If you live in a humid environment, mold and mildew can be a problem.
The Arsenal: Gathering Your Supplies
Now that we know what we’re up against, let’s gather our cleaning supplies. Here’s what you’ll need:
* **Spray Bottle:** A clean, empty spray bottle is essential for applying the cleaning solutions.
* **Clean Cloths or Sponges:** Microfiber cloths are my go-to because they’re absorbent and gentle.
* **Baking Soda:** This is a powerhouse for absorbing odors and moisture.
* **White Vinegar:** A natural disinfectant and stain remover.
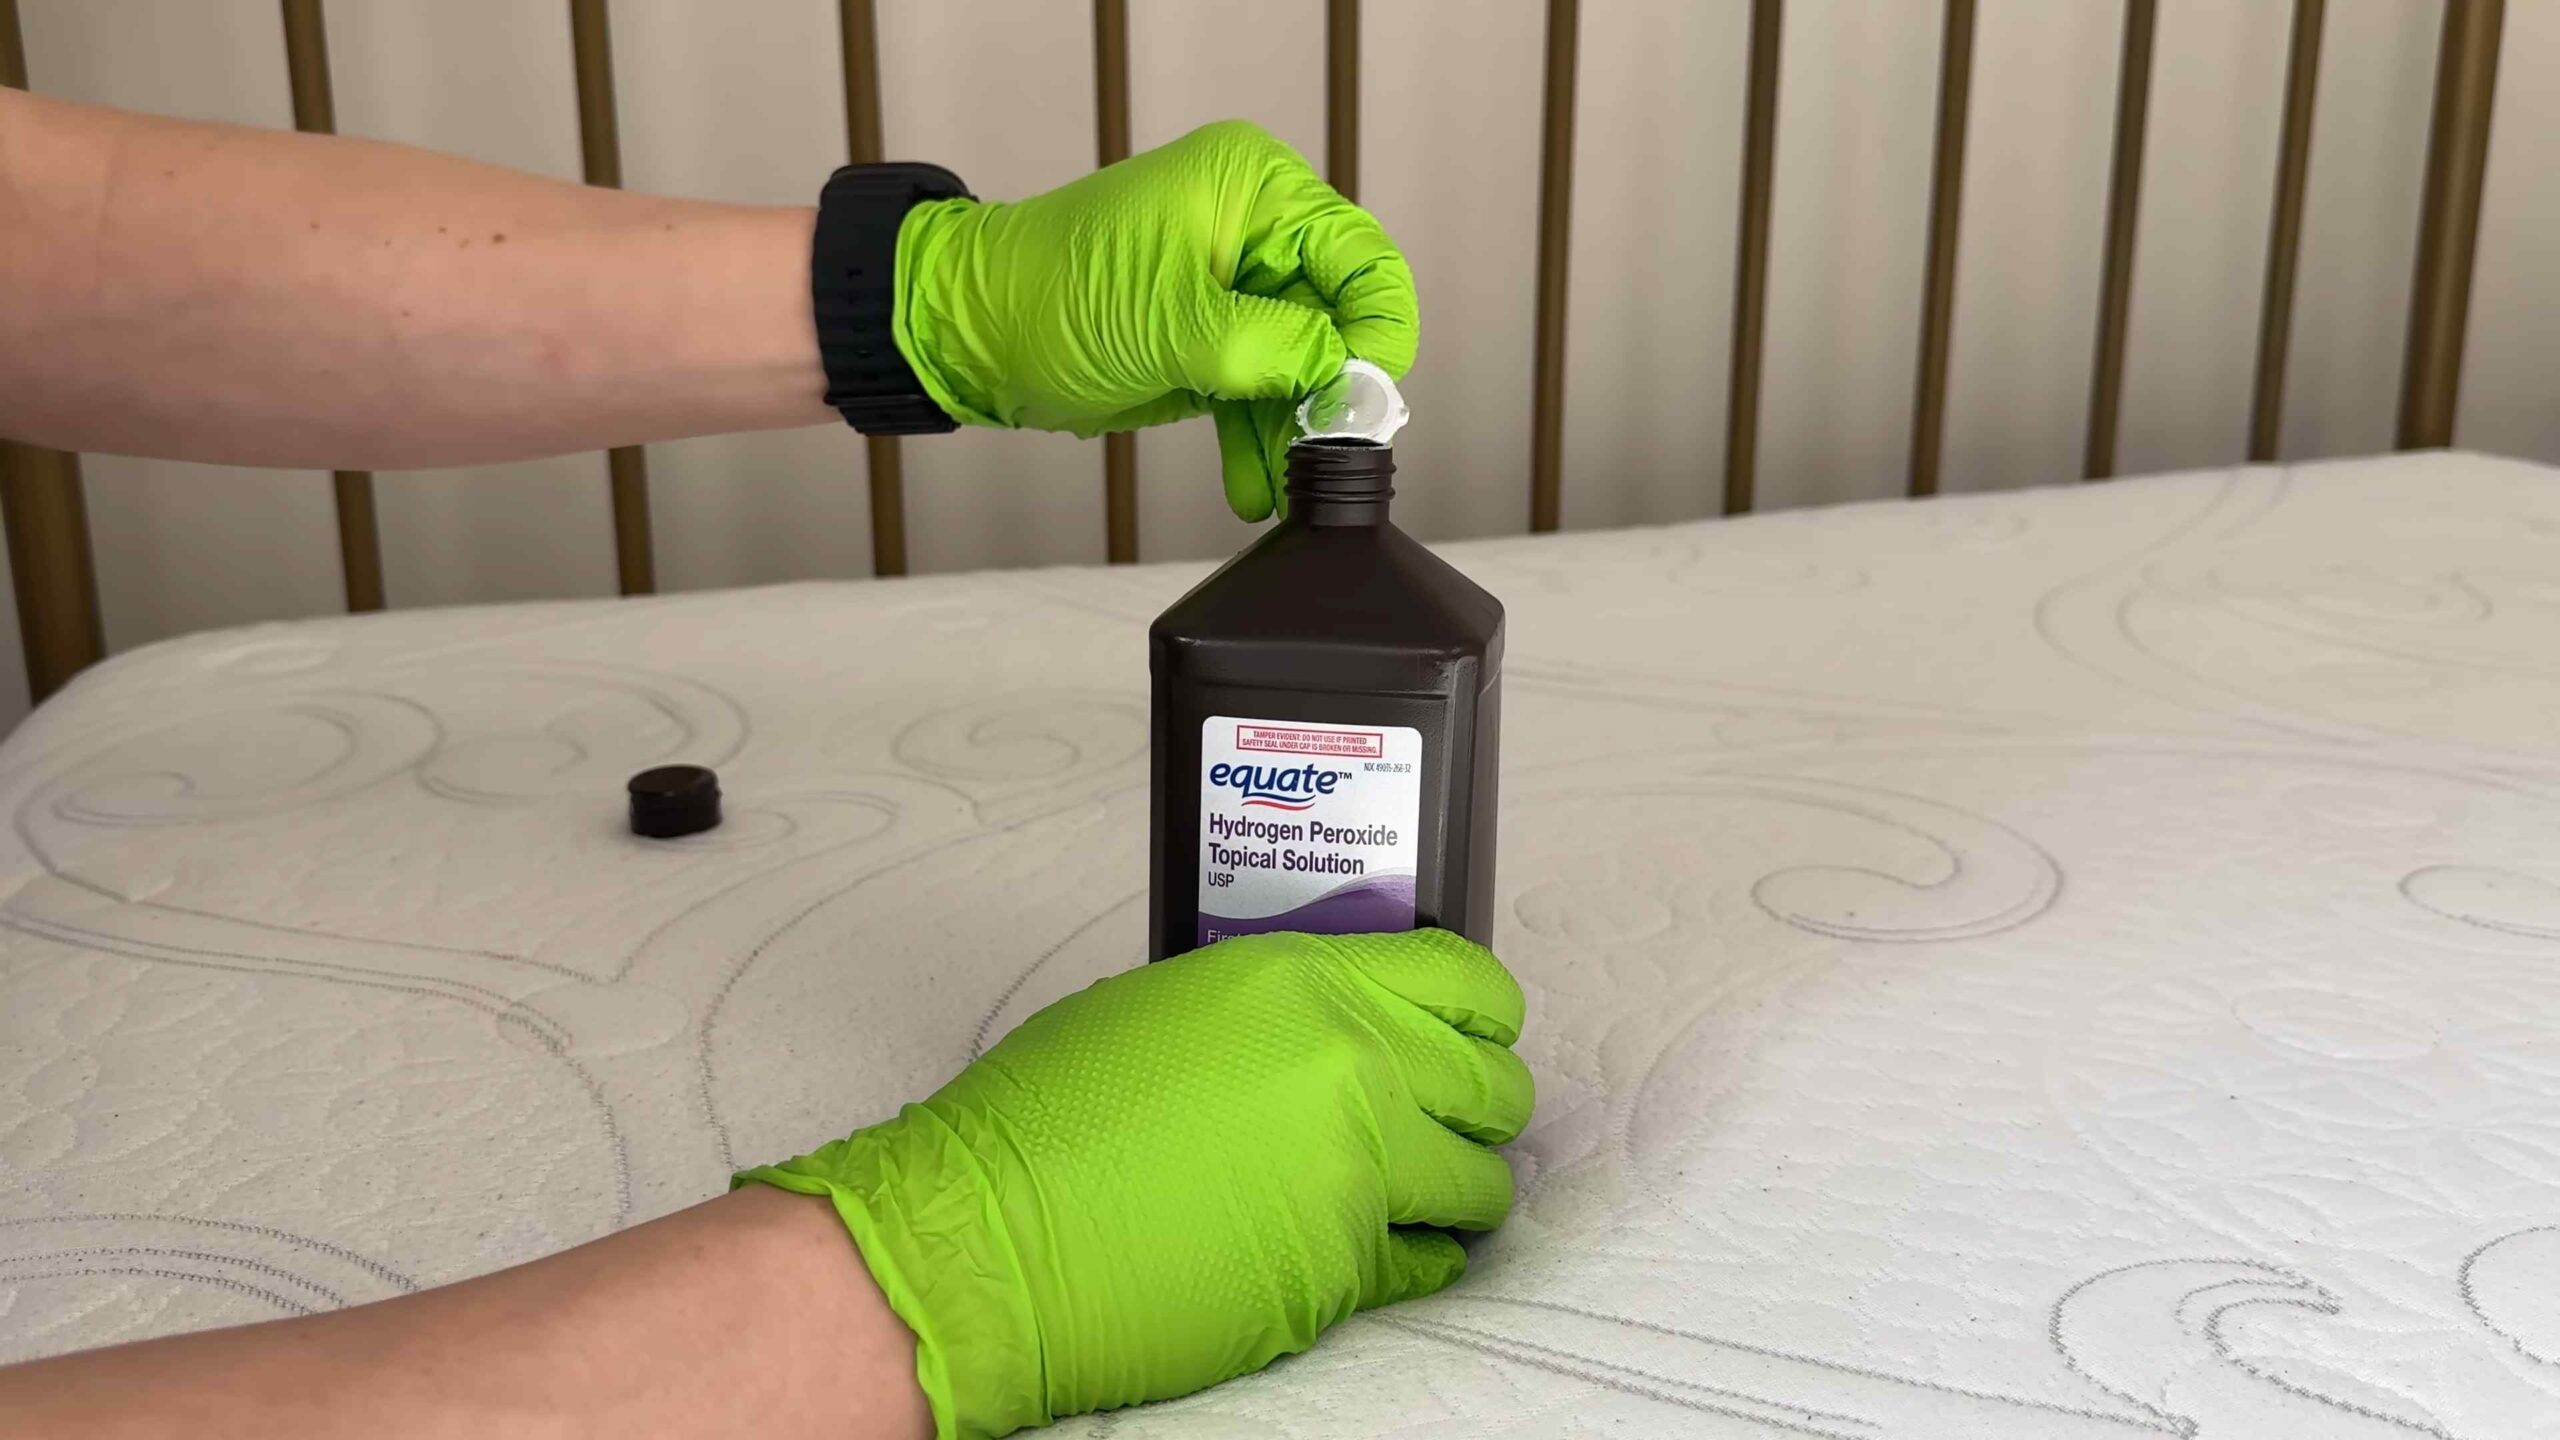
* **Hydrogen Peroxide (3%):** Great for tackling blood and other organic stains. *Always test in an inconspicuous area first, as it can lighten fabrics.*
* **Dish Soap (Mild):** A few drops of mild dish soap can help break down grease and grime.
* **Enzyme Cleaner:** Specifically designed for breaking down organic matter like urine, blood, and vomit. You can find these at most pet supply stores.
* **Vacuum Cleaner with Upholstery Attachment:** For removing baking soda and loose debris.
* **Cold Water:** Avoid hot water, as it can set some stains.
* **Rubber Gloves:** To protect your hands.
* **Old Toothbrush (Optional):** For scrubbing stubborn stains.
Method 1: The Baking Soda and Vinegar Power Duo
This method is excellent for general cleaning, odor removal, and tackling light stains.
1. **Strip the Bed:** Remove all bedding, including sheets, blankets, and pillowcases. Wash them according to the care instructions.
2. **Blot the Stain:** If the stain is fresh, blot up as much liquid as possible with a clean cloth. *Don’t rub, as this can spread the stain.*
3. **Prepare the Vinegar Solution:** In a spray bottle, mix equal parts white vinegar and cold water.
4. **Spray the Stain:** Lightly spray the stained area with the vinegar solution. *Don’t saturate the mattress.*
5. **Blot Again:** Gently blot the area with a clean cloth to absorb the excess liquid.
6. **Apply Baking Soda:** Generously sprinkle baking soda over the damp area. Make sure to cover the entire stain.
7. **Wait Patiently:** Let the baking soda sit for at least 5-6 hours, or even overnight, to absorb odors and moisture. The longer, the better!
8. **Vacuum Thoroughly:** Once the baking soda is dry, vacuum it up completely using the upholstery attachment.
9. **Air Dry:** Allow the mattress to air dry completely before putting your bedding back on. You can speed up the drying process by opening windows or using a fan.
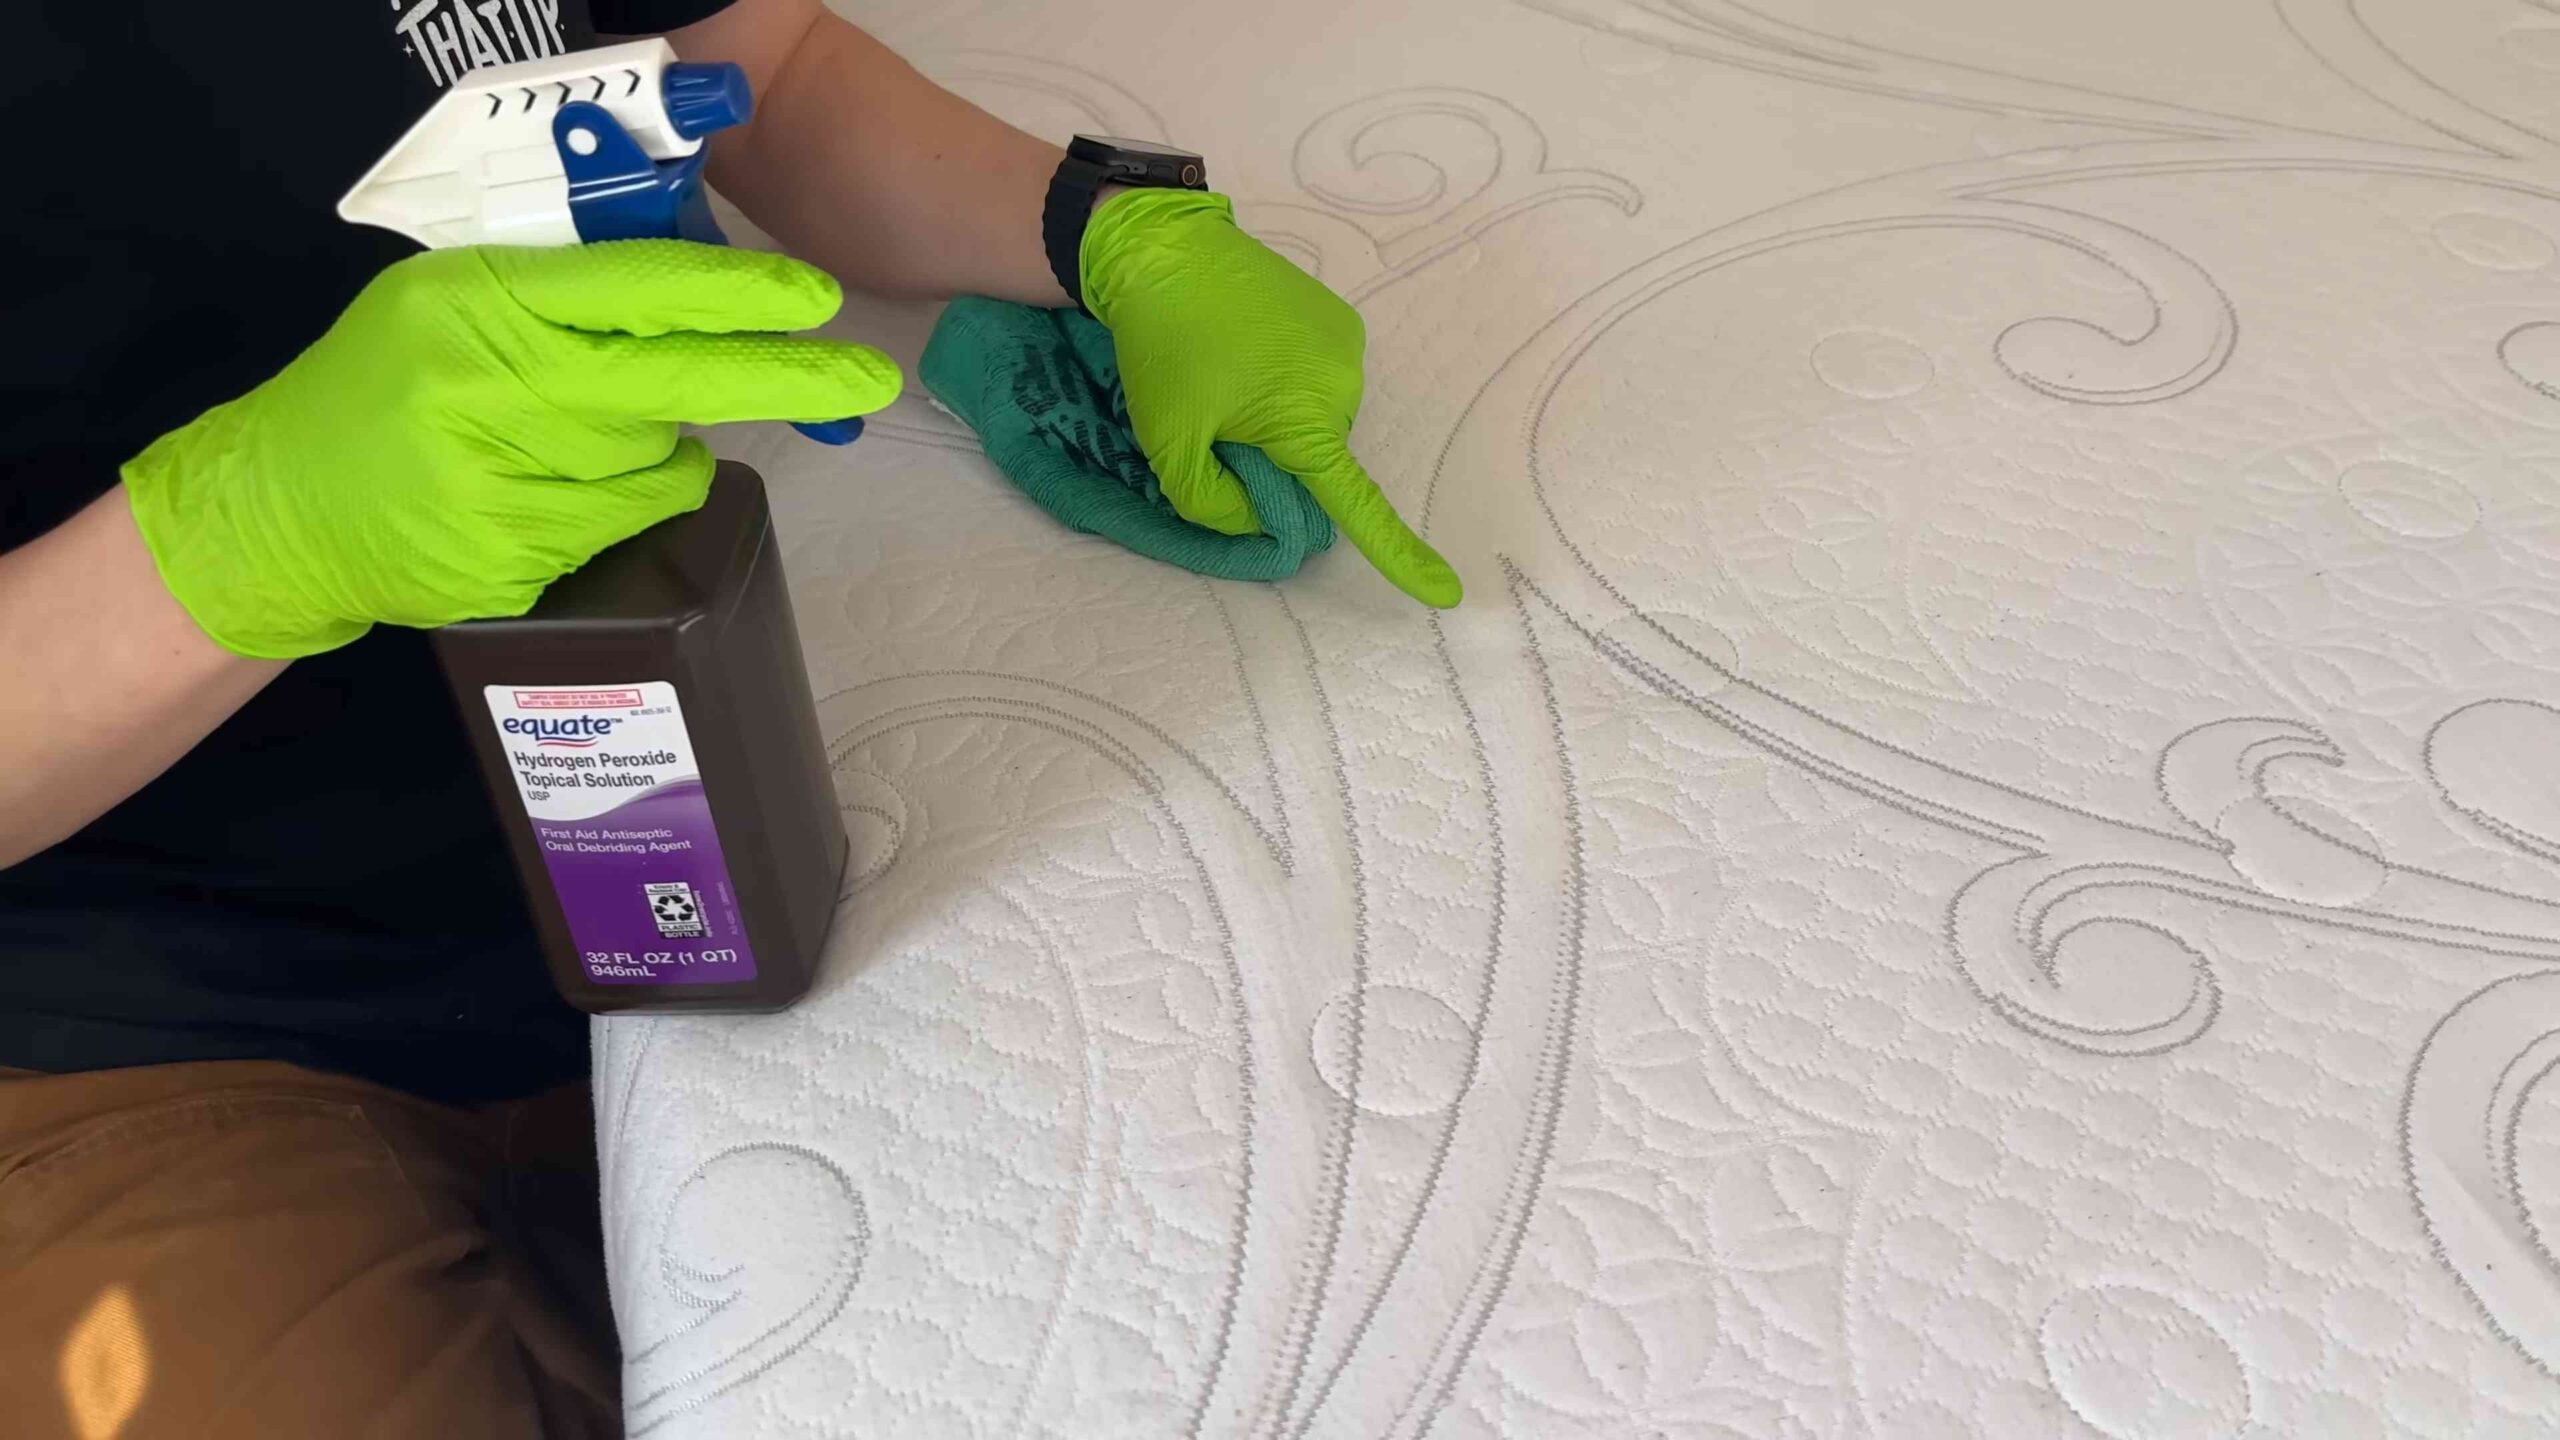
Method 2: Hydrogen Peroxide for Tough Stains (Blood, etc.)
This method is more aggressive and works well on blood, vomit, and other stubborn organic stains. *Remember to test in an inconspicuous area first!*
1. **Strip the Bed:** Remove all bedding and wash it.
2. **Blot the Stain:** Blot up any excess liquid with a clean cloth.
3. **Prepare the Hydrogen Peroxide Solution:** In a spray bottle, mix 1/2 cup of hydrogen peroxide (3%), 1 tablespoon of dish soap, and 1 tablespoon of baking soda. *Use this mixture immediately, as it can lose its effectiveness over time.*
4. **Spray the Stain:** Lightly spray the stained area with the hydrogen peroxide solution.
5. **Let it Sit:** Allow the solution to sit for 20-30 minutes. You should see it start to bubble and fizz.
6. **Blot Again:** Gently blot the area with a clean, damp cloth to remove the solution.
7. **Apply Baking Soda:** Sprinkle baking soda over the area to absorb any remaining moisture and odors.
8. **Wait Patiently:** Let the baking soda sit for several hours, or overnight.
9. **Vacuum Thoroughly:** Vacuum up the baking soda completely.
10. **Air Dry:** Allow the mattress to air dry completely.
Method 3: Enzyme Cleaner for Organic Stains (Urine, Vomit)
Enzyme cleaners are specifically designed to break down the proteins in organic stains, making them incredibly effective for urine, vomit, and other similar messes.
1. **Strip the Bed:** Remove all bedding and wash it.
2. **Blot the Stain:** Blot up as much liquid as possible with a clean cloth.
3. **Apply Enzyme Cleaner:** Follow the instructions on the enzyme cleaner bottle. Generally, you’ll need to saturate the stained area with the cleaner.
4. **Let it Sit:** Allow the enzyme cleaner to sit for the recommended time, usually several hours or overnight. *This is crucial for the enzymes to work properly.*
5. **Blot Again:** Blot the area with a clean, damp cloth to remove any residue.
6. **Apply Baking Soda:** Sprinkle baking soda over the area to absorb any remaining moisture and odors.
7. **Wait Patiently:** Let the baking soda sit for several hours, or overnight.
8. **Vacuum Thoroughly:** Vacuum up the baking soda completely.
9. **Air Dry:** Allow the mattress to air dry completely.
Method 4: Tackling Mold and Mildew
Mold and mildew can be tricky, so it’s important to address them carefully. *If the mold or mildew is extensive, it’s best to consult a professional cleaning service.*
1. **Safety First:** Wear gloves and a mask to protect yourself from mold spores.
2. **Ventilate the Room:** Open windows and doors to ensure good ventilation.
3. **Prepare the Cleaning Solution:** Mix equal parts white vinegar and water in a spray bottle.
4. **Spray the Affected Area:** Lightly spray the mold or mildew with the vinegar solution.
5. **Let it Sit:** Allow the solution to sit for 10-15 minutes.
6. **Scrub Gently:** Use an old toothbrush or a soft-bristled brush to gently scrub the mold or mildew.
7. **Wipe Clean:** Wipe the area with a clean, damp cloth.
8. **Dry Thoroughly:** Use a fan or a hairdryer to dry the area completely. *Moisture is mold’s best friend, so it’s crucial to dry the mattress thoroughly.*
9. **Sunlight (Optional):** If possible, place the mattress in direct sunlight for a few hours. Sunlight is a natural disinfectant.
Important Tips for Success
* **Act Fast:** The sooner you address a stain, the easier it will be to remove.
* **Blot, Don’t Rub:** Rubbing can spread the stain and damage the mattress fibers.
* **Don’t Saturate:** Over-wetting the mattress can lead to mold and mildew growth.
* **Test in an Inconspicuous Area:** Always test any cleaning solution in a hidden area of the mattress first to ensure it doesn’t damage the fabric.
* **Be Patient:** Some stains may require multiple treatments.
* **Air Dry Completely:** Make sure the mattress is completely dry before putting your bedding back on.
* **Consider a Mattress Protector:** A mattress protector can help prevent stains and spills from reaching your mattress in the first place.
Preventative Measures: Keeping Your Mattress Stain-Free
Okay, so we’ve tackled the stains, but let’s talk about prevention! Here are a few things you can do to keep your mattress looking its best:
* **Use a Mattress Protector:** I can’t stress this enough! A good mattress protector is like a shield against spills, stains, and allergens.
* **No Food or Drinks in Bed:** I know, it’s tempting, but eating
Conclusion
So, there you have it! A simple, effective, and budget-friendly way to tackle those unsightly mattress stains. We’ve walked you through the process of creating your own DIY mattress stain remover, using ingredients you likely already have in your pantry. Forget expensive commercial products filled with harsh chemicals; this homemade solution is gentle on your mattress, tough on stains, and kind to your wallet.
But why is this DIY trick a must-try? Beyond the cost savings, it’s about control. You know exactly what’s going into your cleaning solution, avoiding potentially irritating or harmful ingredients. This is especially important if you have children, pets, or allergies. Plus, the satisfaction of creating something effective yourself is a reward in itself!
Don’t just take our word for it, though. The beauty of this DIY approach is its adaptability. Feel free to experiment with slight variations to suit your specific needs and stain types. For instance, for particularly stubborn stains like blood or urine, you might consider adding a tablespoon of hydrogen peroxide to the mixture. Always test a small, inconspicuous area first to ensure it doesn’t discolor your mattress.
Another variation involves the type of essential oil you use. While we recommended lavender for its calming scent, you could substitute tea tree oil for its antibacterial properties, or lemon oil for its refreshing fragrance. Just be mindful of the potential for staining with certain oils and always dilute them properly.
For mattresses with delicate fabrics, consider using a gentler application method. Instead of spraying the solution directly onto the stain, dampen a clean cloth and gently blot the affected area. This will minimize the risk of damaging the fabric.
We’re confident that this DIY mattress stain remover will become your go-to solution for keeping your mattress fresh and clean. It’s a simple, effective, and eco-friendly alternative to commercial products.
Now, it’s your turn! We encourage you to try this DIY trick and see the amazing results for yourself. Don’t be afraid to experiment with variations and find what works best for you. And most importantly, share your experience with us! Let us know in the comments below how this DIY mattress stain remover worked for you, what variations you tried, and any tips you have to share with other readers. Your feedback is invaluable and helps us all learn and improve together. Let’s create a community of clean mattress enthusiasts! We can’t wait to hear your success stories!
Frequently Asked Questions (FAQ)
What types of stains does this DIY mattress stain remover work on?
This DIY mattress stain remover is effective on a wide range of common mattress stains, including sweat, urine, blood (when treated promptly), food spills, and general dirt and grime. However, the effectiveness may vary depending on the age and severity of the stain. Older, deeply set stains may require multiple treatments or a more specialized cleaning approach. For particularly stubborn stains like ink or permanent marker, you might need to consult a professional cleaning service.
Can I use this DIY mattress stain remover on all types of mattresses?
While this DIY solution is generally safe for most mattress types, it’s always best to test it on a small, inconspicuous area first. This is especially important for mattresses with delicate fabrics like silk or memory foam. Avoid over-saturating the mattress, as excessive moisture can lead to mold or mildew growth. If you’re unsure about the suitability of this solution for your specific mattress type, consult the manufacturer’s instructions or contact a professional mattress cleaner.
How often should I clean my mattress with this DIY solution?
The frequency of cleaning depends on your individual needs and lifestyle. If you have allergies, pets, or young children, you may want to clean your mattress more frequently – perhaps every few months. Otherwise, a thorough cleaning every six months to a year is generally sufficient. Spot cleaning stains as they occur is also recommended to prevent them from setting in. Regular vacuuming of your mattress can also help to remove dust mites and allergens.
What if the stain doesn’t come out completely after the first application?
Don’t be discouraged! Some stubborn stains may require multiple applications. After the first application, allow the solution to dry completely. Then, assess the stain and repeat the process if necessary. You can also try gently scrubbing the stain with a soft-bristled brush or cloth. Remember to avoid excessive scrubbing, as this can damage the mattress fabric. If the stain persists after several attempts, consider using a stronger cleaning agent or consulting a professional cleaner.
How long does it take for the mattress to dry after using this DIY stain remover?
The drying time will vary depending on the amount of solution used, the humidity in your environment, and the type of mattress. Generally, it can take anywhere from a few hours to a full day for the mattress to dry completely. To speed up the drying process, you can use a fan to circulate air around the mattress or place it in a well-ventilated room. Avoid using the mattress until it is completely dry to prevent mold or mildew growth.
Can I use a hairdryer to dry the mattress faster?
While using a hairdryer might seem like a quick solution, it’s generally not recommended. The heat from the hairdryer can potentially damage the mattress fabric or cause discoloration. It’s best to allow the mattress to air dry naturally or use a fan to circulate air.
What are some other ways to prevent mattress stains?
Prevention is always better than cure! Investing in a good quality mattress protector is the best way to prevent stains from occurring in the first place. Mattress protectors are waterproof and breathable, providing a barrier against spills, sweat, and other liquids. You can also use a fitted sheet to protect the mattress from dirt and grime. Avoid eating or drinking in bed, and clean up any spills immediately. Regularly vacuuming your mattress can also help to remove dust mites and allergens.
Is baking soda safe for all mattresses?
Baking soda is generally safe for most mattresses, but it’s always a good idea to test it on a small, inconspicuous area first. Avoid using excessive amounts of baking soda, as it can be difficult to remove completely. If you have a memory foam mattress, be extra careful not to over-saturate it with baking soda, as this can damage the foam.
What essential oils are safe to use on a mattress?
When using essential oils in your DIY mattress stain remover, it’s important to choose oils that are safe for both your mattress and your health. Lavender, tea tree, lemon, and eucalyptus oils are generally considered safe and effective. However, always dilute the essential oils properly with water or another carrier oil to prevent skin irritation or damage to the mattress fabric. Avoid using essential oils that are known to be irritating or allergenic.
How do I get rid of the baking soda smell after cleaning?
The baking soda smell should dissipate as the mattress dries. However, if the smell persists, you can try vacuuming the mattress again to remove any remaining baking soda residue. You can also sprinkle a few drops of your favorite essential oil onto the mattress to freshen it up.


Leave a Comment