

DIY Pot Protectors: Are pesky critters turning your beloved potted plants into a buffet? I know the frustration! You nurture your seedlings, patiently waiting for them to flourish, only to find them nibbled, dug up, or completely destroyed. It’s enough to make any gardener throw in the trowel! But don’t despair, because I’m here to share some clever and cost-effective DIY pot protectors that will keep those unwanted guests at bay.
Protecting plants in pots has been a concern for gardeners for centuries. From ancient Roman terracotta shards used as barriers to scarecrows guarding fields, the battle against garden pests is a timeless one. Today, we have access to a wider range of materials and techniques, allowing us to create effective and aesthetically pleasing solutions.
Why do you need these DIY pot protectors? Because store-bought solutions can be expensive and often lack the personal touch. Plus, crafting your own protectors allows you to tailor them to the specific needs of your plants and the unique challenges of your garden. Whether it’s squirrels digging for buried treasure, cats using your pots as litter boxes, or snails feasting on your foliage, these DIY solutions will help you reclaim your garden and enjoy the fruits (or flowers!) of your labor. Let’s get started and create a safe haven for your precious plants!
DIY Pot Protectors: Say Goodbye to Scratched Cookware!
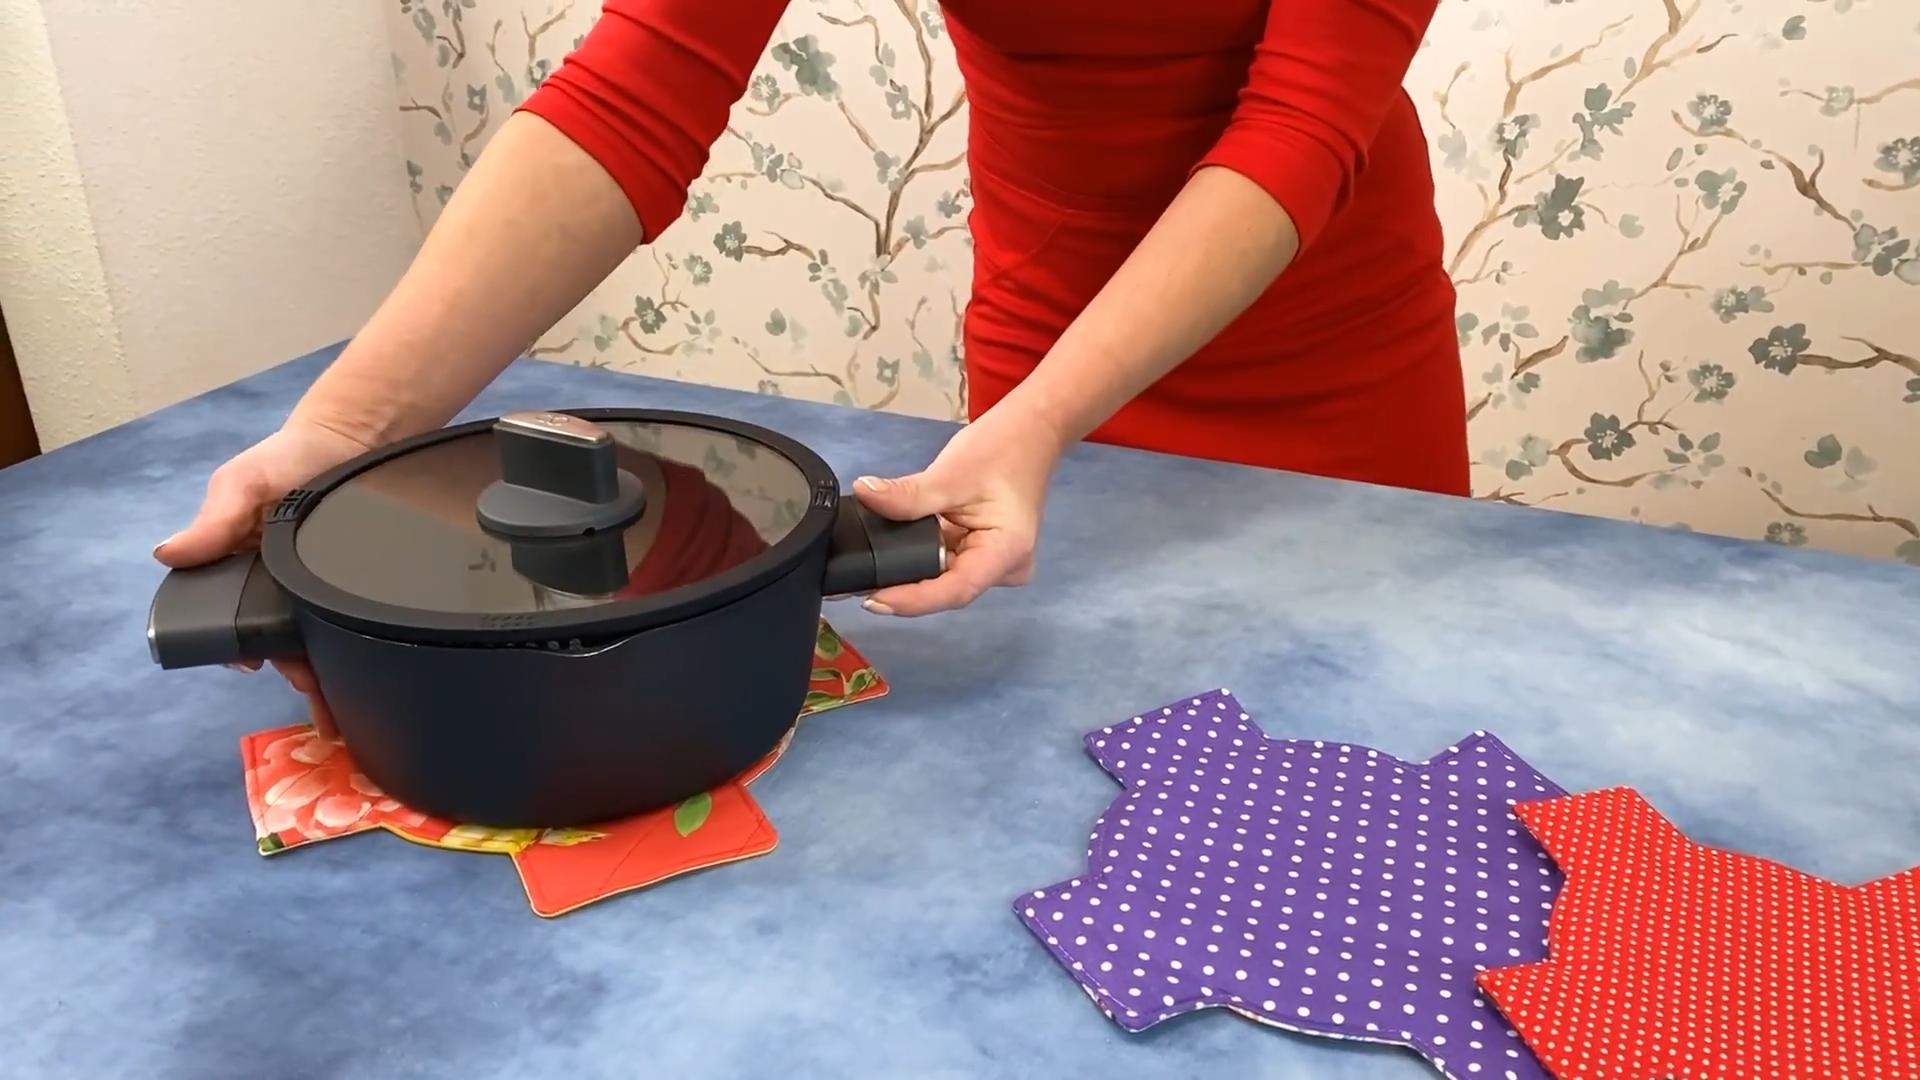
Okay, friends, let’s talk about something near and dear to every home cook’s heart: our beloved pots and pans! We invest good money in these kitchen workhorses, and it’s heartbreaking to see them get scratched and dinged up from stacking. That’s why I’m so excited to share this super easy and affordable DIY pot protector project. It’s a game-changer for keeping your cookware looking its best for years to come. Trust me, your pots will thank you!
What You’ll Need
Before we dive in, let’s gather our supplies. The beauty of this project is that you probably already have most of these things lying around!
* Felt Sheets: This is the star of the show! You can use any color you like to match your kitchen decor. I prefer the thicker felt sheets for extra cushioning, but the thinner ones work just fine too. Get a variety of colors to easily identify the size of the protector.
* Scissors: A good pair of sharp scissors is essential for clean cuts.
* Pencil or Fabric Marker: For tracing your pot and pan sizes.
* Ruler or Measuring Tape: To ensure accurate measurements.
* Circular Objects (Plates, Bowls, Lids): These will act as templates for tracing circles.
* Sewing Machine (Optional): If you want a more polished look and added durability, a sewing machine is your friend. But don’t worry, hand-sewing works perfectly too!
* Needle and Thread (If not using a sewing machine): Choose a thread color that matches your felt.
* Pins (Optional): To hold the felt layers together while sewing.
* Hot Glue Gun (Optional): For a quick and easy, no-sew option.
* Cardboard (Optional): For creating sturdier templates.
Choosing Your Felt
The type of felt you choose will impact the durability and look of your pot protectors. Here’s a quick rundown:
* Acrylic Felt: This is the most affordable option and comes in a wide range of colors. It’s a good choice for beginners or if you’re on a budget.
* Wool Felt: Wool felt is more expensive but also more durable and has a nicer texture. It’s a great option if you want your pot protectors to last a long time.
* Wool Blend Felt: This is a good compromise between price and quality. It’s more durable than acrylic felt but less expensive than pure wool felt.
Making Your Pot Protectors: Step-by-Step Guide
Alright, let’s get down to business! Here’s how to make your own DIY pot protectors:
1. Measure Your Pots and Pans: This is the most important step! Measure the diameter of the inside of each of your pots and pans. Write down the measurements so you don’t forget. You’ll need a protector for each size.
2. Create Your Templates: Now, we’ll create templates for cutting out the felt circles. You can either use circular objects like plates, bowls, or lids that are close to the sizes you need, or you can draw your own circles using a compass or ruler.
* Using Circular Objects: Find plates, bowls, or lids that are slightly larger than the inside diameter of your pots and pans. This will ensure that the protectors fit snugly inside.
* Drawing Your Own Circles: If you don’t have any suitable circular objects, you can draw your own circles on cardboard or paper. Use a compass or ruler to measure the radius (half the diameter) and draw the circle.
3. Cut Out Your Templates: Carefully cut out your templates using scissors. If you’re using cardboard, be extra careful as it can be tough to cut.
4. Trace the Templates onto Felt: Place your templates onto the felt sheets and trace around them with a pencil or fabric marker. Make sure to leave enough space between the circles so you can cut them out easily.
5. Cut Out the Felt Circles: Now comes the fun part! Carefully cut out the felt circles along the traced lines. Try to make your cuts as smooth and even as possible.
6. Determine the Number of Layers: Decide how many layers of felt you want for each protector. I recommend at least two layers for good cushioning, but you can use more if you want extra protection.
7. Assemble the Layers: Stack the felt circles together, making sure they are aligned.
8. Secure the Layers (Sewing Option): If you’re using a sewing machine, sew around the edge of the felt circles, about 1/4 inch from the edge. You can use a straight stitch or a zigzag stitch. If you’re hand-sewing, use a running stitch or a blanket stitch to secure the layers together.
* Sewing Machine Tips: Use a medium stitch length and a needle suitable for felt. Go slowly and carefully around the curves.
* Hand-Sewing Tips: Use a strong thread and a sharp needle. Make your stitches small and even.
9. Secure the Layers (No-Sew Option): If you don’t want to sew, you can use a hot glue gun to secure the layers together. Apply a thin line of hot glue around the edge of the felt circles and press the layers together. Be careful not to burn yourself!
* Hot Glue Tips: Work quickly and carefully. Use a low-temperature glue gun to prevent the glue from melting the felt.
10. Repeat for All Pots and Pans: Repeat steps 1-9 for all of your pots and pans, making sure to create protectors in the appropriate sizes.
Adding a Hanging Loop (Optional)
If you want to hang your pot protectors for easy storage, you can add a small loop of felt to each one.
1. Cut a Strip of Felt: Cut a small strip of felt, about 1 inch wide and 3 inches long.
2. Fold the Strip in Half: Fold the strip in half to create a loop.
3. Attach the Loop: Sew or glue the ends of the loop to the edge of the pot protector.
Customizing Your Pot Protectors
Want to add a personal touch to your pot protectors? Here are a few ideas:
* Use Different Colors: Use different colors of felt for each layer to create a fun and colorful look.
* Add Appliqués: Cut out small shapes from felt and sew or glue them onto the pot protectors.
* Embroider Designs: Embroider simple designs onto the pot protectors using embroidery floss.
* Personalize with Initials: Add your initials or the initials of the pot’s owner to make them extra special.
Protecting Your Cookware: Beyond the Protectors
While these DIY pot protectors are fantastic, here are a few extra tips to keep your cookware in tip-top shape:
* Proper Stacking: Even with protectors, try to nest your pots and pans carefully. Place heavier items on the bottom and lighter items on top.
* Avoid Metal Utensils: Use wooden, silicone, or plastic utensils to avoid scratching the non-stick surfaces of your pans.
* Gentle Cleaning: Wash your pots and pans with warm, soapy water and a soft sponge. Avoid using abrasive cleaners or scouring pads.
* Proper Storage: Store your pots and pans in a dry place to prevent rust and corrosion.
Troubleshooting Tips
* Felt Circles Too Small: If your felt circles are too small, you can try stretching them slightly or cutting out larger circles.
* Felt Circles Too Big: If your felt circles are too big, you can trim them down with scissors.
* Layers Not Staying Together: If the layers of felt are not staying together, try using more glue or sewing them more securely.
* Glue Showing Through: If the glue is showing through the felt, use a low-temperature glue gun and apply the glue sparingly.
Alternative Materials
While felt is my go-to material, you can experiment with other options:
* Old Towels or T-Shirts: Cut up old towels or t-shirts into circles and use them as pot protectors. This is a great way to recycle old materials.
* Cork: Cork is a naturally cushioning material that can be used to make pot protectors.
* Foam Sheets: Foam sheets are another affordable option that provides good cushioning.
Why This DIY Matters
Beyond just protecting your pots and pans, this DIY project is about being mindful of our belongings and extending their lifespan. It’s a small act of sustainability that can make a big difference. Plus, it’s a fun and rewarding project that you can do with your family or friends.
So, there you have it! A complete guide to making your own DIY pot protectors. I hope you found this tutorial helpful
Conclusion
So, there you have it! Crafting your own DIY pot protectors is not just a clever way to save money; it’s an investment in the longevity of your cookware and a testament to your resourcefulness in the kitchen. Think about it: no more cringing every time you stack your precious pots and pans, no more unsightly scratches marring their surfaces. This simple project offers a tangible solution to a common kitchen woe, and the satisfaction of knowing you created something useful with your own two hands is an added bonus.
But the benefits extend beyond mere protection. These DIY pot protectors also help to dampen noise when stacking, creating a more peaceful kitchen environment. Imagine the difference – no more clanging and banging every time you reach for a pan! Plus, they can even act as a buffer between hot pots and delicate surfaces, providing an extra layer of protection against heat damage.
The beauty of this DIY project lies in its adaptability. Feel free to experiment with different materials. While felt is a popular choice for its softness and affordability, you could also use repurposed fabrics like old towels, t-shirts, or even denim for a more durable option. Consider adding decorative touches like embroidery, fabric paint, or even simple stitching to personalize your pot protectors and make them a reflection of your own style.
For those with a penchant for organization, consider color-coding your pot protectors based on the size or type of cookware they’re intended for. This will make it even easier to grab the right pan when you’re in the middle of cooking up a storm. You could also create different sets for different types of cookware – a set of thicker protectors for your cast iron skillets and a set of thinner ones for your non-stick pans.
Don’t be afraid to get creative with the shapes and sizes of your pot protectors, too. While circles are the most common and easiest to cut, you could also create squares, rectangles, or even custom shapes to perfectly fit your specific cookware. If you have oddly shaped pots or pans, simply trace their outlines onto your chosen material and cut accordingly.
Ultimately, this DIY project is about more than just protecting your pots and pans; it’s about embracing a more sustainable and resourceful approach to kitchen management. By repurposing materials and creating your own solutions, you’re not only saving money but also reducing waste and contributing to a more eco-friendly lifestyle.
So, what are you waiting for? Gather your materials, unleash your creativity, and start crafting your own DIY pot protectors today! We’re confident that you’ll be amazed at how easy and rewarding this project is. And once you’ve experienced the benefits of having these handy little protectors in your kitchen, you’ll wonder how you ever lived without them.
We encourage you to try this simple yet effective DIY trick and share your experience with us in the comments below. Let us know what materials you used, what variations you tried, and any tips or tricks you discovered along the way. We’re always eager to hear from our readers and learn from their experiences. Share your photos and inspire others to protect their cookware in style! Let’s build a community of resourceful cooks who are passionate about creating a more organized and sustainable kitchen. Happy crafting!
Frequently Asked Questions (FAQs)
What materials are best for making DIY pot protectors?
The best materials for DIY pot protectors are soft, durable, and heat-resistant. Felt is a popular choice because it’s inexpensive, easy to work with, and provides good cushioning. However, you can also use repurposed fabrics like old towels, t-shirts, fleece blankets, or even denim. Thicker materials will offer more protection, especially for heavier cookware like cast iron. Avoid using materials that melt easily or are prone to shedding fibers, as these could contaminate your food. Consider the heat resistance of the material if you plan to use the protectors between hot pots and surfaces.
How do I determine the right size for my pot protectors?
The ideal size for your pot protectors depends on the size of your pots and pans. A good rule of thumb is to make them slightly larger than the diameter of the cookware they’ll be protecting. This ensures that the entire surface is covered and prevents scratches. You can measure the diameter of your pots and pans with a ruler or measuring tape and then add an inch or two for extra coverage. Alternatively, you can trace the outline of your cookware onto your chosen material and then cut out the shape, adding a small margin around the edges. Remember to make different sizes to accommodate all your cookware.
Can I wash my DIY pot protectors?
Whether or not you can wash your DIY pot protectors depends on the material you used to make them. Felt protectors can usually be hand-washed with mild soap and water, but they may shrink slightly. Fabric protectors made from washable materials like cotton or denim can be machine-washed on a gentle cycle. However, it’s always best to check the care instructions for the specific fabric you used. To prevent damage, consider placing the protectors in a mesh laundry bag before washing. Avoid using harsh detergents or bleach, as these can damage the fabric. Allow the protectors to air dry completely before using them again.
How many pot protectors should I make?
The number of pot protectors you should make depends on the number of pots and pans you have and how often you stack them. A good starting point is to make at least one protector for each pot and pan in your collection. However, if you frequently stack multiple pots and pans together, you may want to make more. Consider making extra protectors for your most frequently used cookware or for items that are particularly prone to scratching. It’s always better to have too many protectors than not enough.
Are DIY pot protectors heat resistant?
The heat resistance of your DIY pot protectors depends on the material you use. Felt and most fabrics offer some degree of heat resistance, but they are not designed to withstand extremely high temperatures. If you plan to use your pot protectors between hot pots and surfaces, choose a material that is known for its heat resistance, such as silicone or cork. Avoid using materials that melt easily or are flammable. Always exercise caution when handling hot cookware and never leave hot pots unattended on unprotected surfaces.
Can I use different shapes for my pot protectors?
Absolutely! While circles are the most common and easiest shape to cut, you can definitely experiment with different shapes for your pot protectors. Squares, rectangles, or even custom shapes can be used to perfectly fit your specific cookware. If you have oddly shaped pots or pans, simply trace their outlines onto your chosen material and cut accordingly. Consider the shape of your cookware and choose a shape that will provide adequate coverage and protection.
How do I store my DIY pot protectors when not in use?
When not in use, your DIY pot protectors can be stored in a variety of ways. You can stack them together in a drawer or cabinet, or you can hang them on hooks or pegs. If you have limited storage space, consider rolling them up and securing them with a rubber band or ribbon. You can also store them inside your pots and pans when they are not in use. Just make sure the protectors are clean and dry before storing them to prevent mold or mildew growth.
What if I don’t have a sewing machine? Can I still make these?
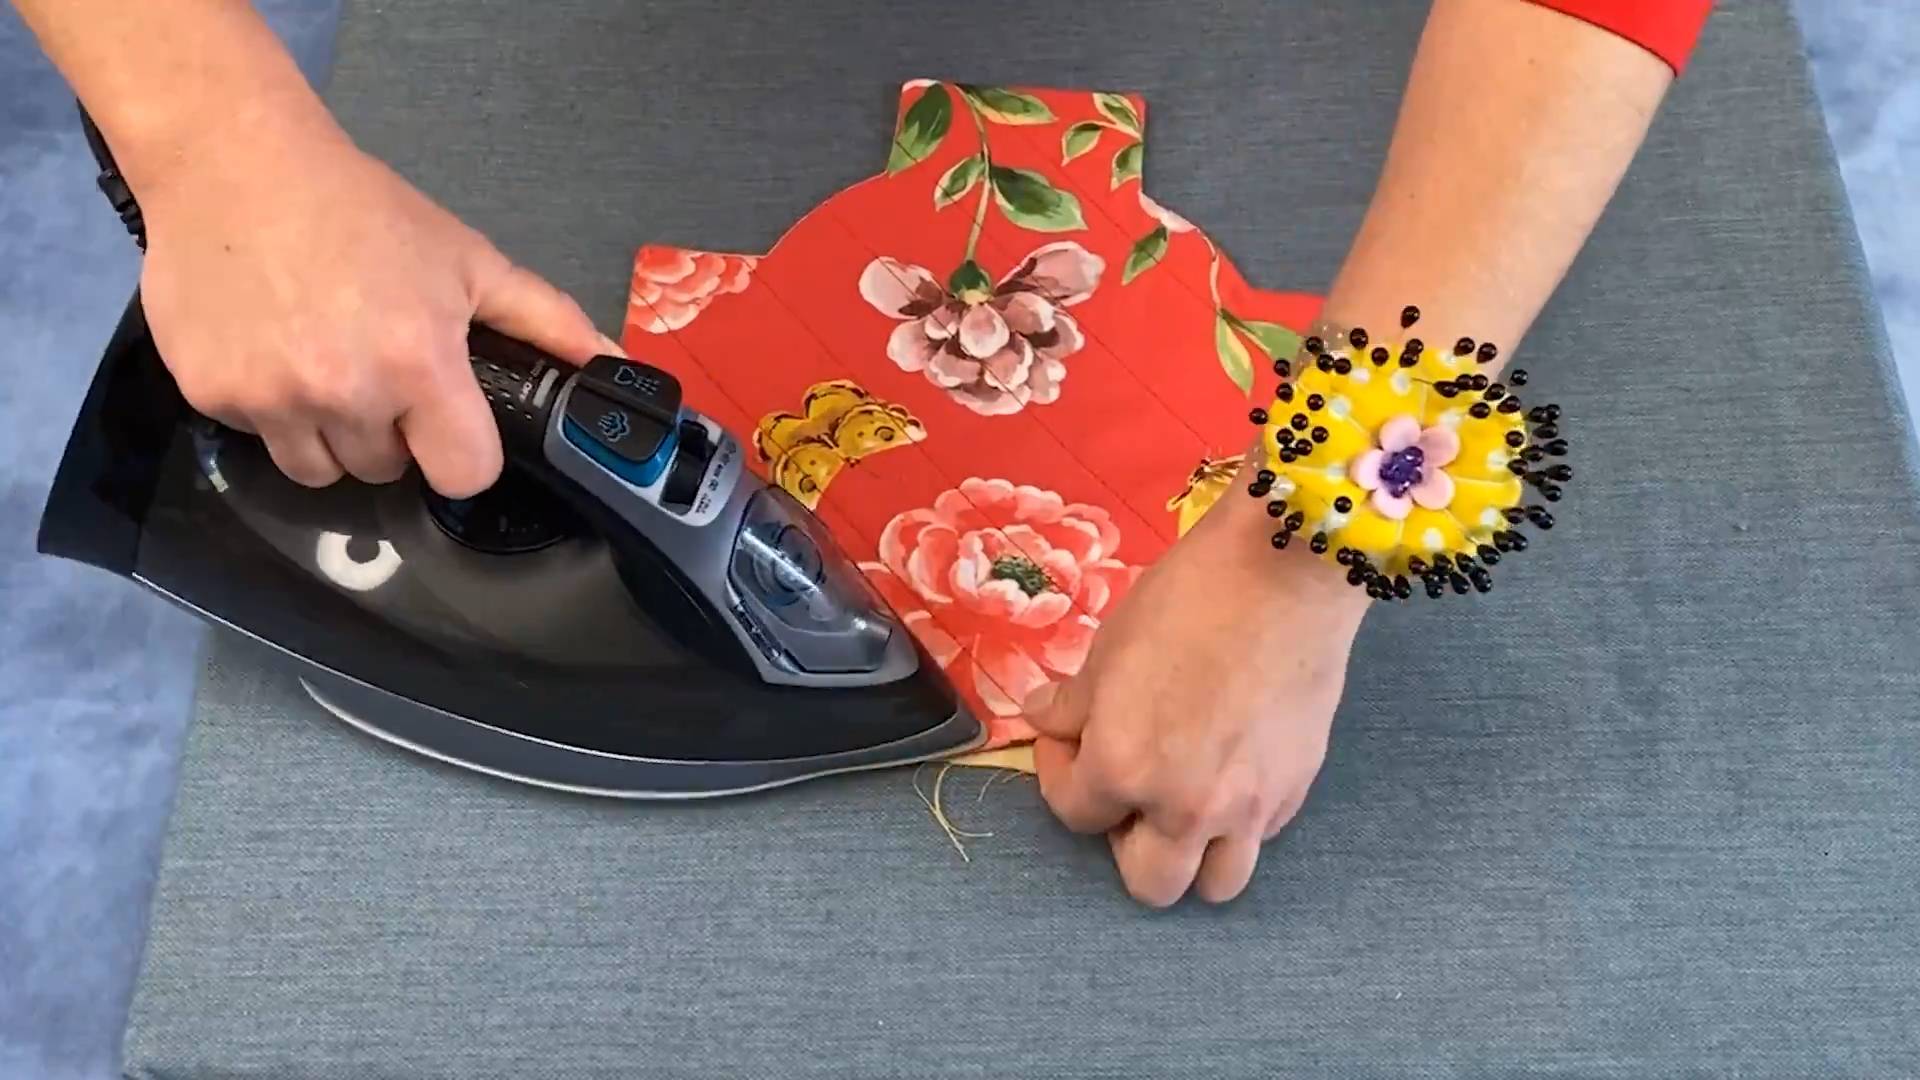
Yes, absolutely! A sewing machine is not required to make DIY pot protectors. You can easily hand-sew them using a simple running stitch or blanket stitch. Alternatively, you can use fabric glue or fusible interfacing to bond the layers of fabric together. If you choose to use fabric glue, make sure to use a glue that is specifically designed for fabric and that is washable. Fusible interfacing is a heat-activated adhesive that can be used to bond two layers of fabric together using an iron. Both of these methods are quick and easy and require no sewing experience.


Leave a Comment