

DIY Room Scent Boosters: Are you tired of spending a fortune on store-bought air fresheners that smell artificial and fade away in minutes? I know I was! That’s why I dove headfirst into the world of homemade scent solutions, and let me tell you, it’s been a game-changer for my home.
The desire to create pleasant-smelling environments is nothing new. Historically, cultures around the globe have used natural ingredients like herbs, spices, and essential oils to perfume their homes and spaces. Think of ancient Egyptians burning incense or the Victorian tradition of potpourri – we’ve always sought ways to elevate our surroundings through scent.
But in today’s world, with concerns about synthetic chemicals and the rising cost of living, creating your own DIY room scent boosters is more relevant than ever. Not only can you control exactly what goes into them, ensuring a healthier environment for you and your family, but you can also tailor the scents to perfectly match your mood and the season. Plus, it’s incredibly satisfying to create something beautiful and functional with your own two hands! Ready to ditch the artificial fragrances and embrace the natural power of scent? Let’s get started!
DIY Room Scent Boosters: Freshen Your Home Naturally!
Hey there, fellow DIY enthusiasts! Tired of those artificial-smelling air fresheners that just mask odors instead of eliminating them? I totally get it! That’s why I’m super excited to share some of my favorite DIY room scent boosters that are not only incredibly effective but also use natural ingredients. Get ready to say goodbye to harsh chemicals and hello to a fresh, inviting home!
Scent Booster Options: Choose Your Adventure!
Before we dive into the nitty-gritty, let’s explore the different types of scent boosters we’ll be making. This way, you can pick the one that best suits your needs and preferences.
* **Simmer Pot Magic:** This is a classic for a reason! Simmering fragrant ingredients on your stovetop or in a slow cooker releases a beautiful, natural aroma throughout your home. It’s perfect for creating a cozy and inviting atmosphere.
* **Reed Diffuser Elegance:** Reed diffusers are a stylish and long-lasting way to scent your space. They’re ideal for smaller rooms or areas where you want a subtle, continuous fragrance.
* **Gel Air Freshener Fun:** These are super customizable and fun to make! You can choose your favorite essential oils and colors to create a unique air freshener that matches your decor.
* **Scented Baking Soda Jars:** A simple and effective way to absorb odors and release a pleasant scent. These are great for bathrooms, closets, or any area that needs a little freshening up.
Simmer Pot: Aromatic Bliss
This is probably the easiest and most rewarding method, in my opinion. The aroma fills your home almost instantly!
Ingredients You’ll Need:
* Water
* Your choice of fragrant ingredients (see suggestions below)
* A pot or slow cooker
Fragrant Ingredient Ideas:
* **Citrus & Spice:** Orange slices, lemon slices, cinnamon sticks, cloves, star anise
* **Herbal Freshness:** Rosemary sprigs, thyme sprigs, mint leaves, bay leaves
* **Fruity Delight:** Apple slices, cranberries, pear slices
* **Woodsy Wonder:** Pine needles, cedar sprigs, eucalyptus leaves
* **Vanilla Comfort:** Vanilla extract, vanilla bean pods
Step-by-Step Instructions:
1. **Gather Your Ingredients:** Choose your favorite combination of fragrant ingredients. I usually go for citrus and spice during the holidays and herbal freshness in the spring.
2. **Combine Ingredients in Pot:** Place your chosen ingredients in a pot or slow cooker.
3. **Add Water:** Fill the pot with enough water to cover the ingredients.
4. **Simmer Gently:** Bring the water to a simmer over low heat. If using a slow cooker, set it to low.
5. **Maintain Water Level:** Keep an eye on the water level and add more as needed to prevent the pot from drying out.
6. **Enjoy the Aroma:** Let the mixture simmer for several hours, enjoying the wonderful fragrance that fills your home.
7. **Reuse (Optional):** You can often reuse the simmer pot mixture for a few days. Just store it in the refrigerator overnight and add fresh water when you simmer it again.
Reed Diffuser: Subtle and Stylish
Reed diffusers are perfect for adding a touch of elegance and a continuous fragrance to your home.
Materials You’ll Need:
* A small glass bottle or jar with a narrow opening
* Reed diffuser sticks (available at most craft stores)
* Carrier oil (such as fractionated coconut oil, safflower oil, or sweet almond oil)
* Essential oils of your choice
Essential Oil Blend Ideas:
* **Relaxing Lavender:** Lavender, chamomile, bergamot
* **Energizing Citrus:** Orange, grapefruit, lemon
* **Uplifting Floral:** Rose, jasmine, ylang-ylang
* **Clean & Fresh:** Eucalyptus, tea tree, peppermint
Step-by-Step Instructions:
1. **Prepare the Bottle:** Make sure your glass bottle or jar is clean and dry.
2. **Mix the Oils:** In a separate container, combine the carrier oil and essential oils. A good ratio is about 70-80% carrier oil and 20-30% essential oils. For example, if you’re using 1/2 cup of carrier oil, add about 2-3 tablespoons of essential oils. I usually start with less and add more until I achieve my desired scent strength.
3. **Pour into Bottle:** Carefully pour the oil mixture into the glass bottle.
4. **Insert the Reeds:** Insert the reed diffuser sticks into the bottle, making sure they are submerged in the oil.
5. **Flip the Reeds:** After a few hours, flip the reeds so that the dry ends are now submerged in the oil. This will help to saturate the reeds and release the fragrance.
6. **Maintain the Scent:** Flip the reeds every few days to refresh the scent. You may also need to add more oil to the bottle as it evaporates.
7. **Placement is Key:** Place your reed diffuser in a well-ventilated area for optimal scent diffusion. Avoid placing it in direct sunlight or near heat sources, as this can cause the oil to evaporate more quickly.
Gel Air Freshener: Colorful and Customizable
These are so much fun to make, and you can really get creative with the colors and scents!
Materials You’ll Need:
* Unflavored gelatin
* Water
* Salt
* Essential oils of your choice
* Food coloring (optional)
* Small jars or containers
Step-by-Step Instructions:
1. **Prepare the Gelatin Mixture:** In a saucepan, combine 1 cup of water and 2 packets of unflavored gelatin. Let it sit for a few minutes to soften the gelatin.
2. **Heat and Dissolve:** Heat the mixture over low heat, stirring constantly, until the gelatin is completely dissolved. Do not boil.
3. **Add Salt:** Stir in 1 teaspoon of salt. The salt helps to prevent mold growth.
4. **Remove from Heat:** Remove the saucepan from the heat and let the mixture cool slightly.
5. **Add Essential Oils and Food Coloring:** Add about 20-30 drops of your favorite essential oils and a few drops of food coloring (if desired). Stir well to combine.
6. **Pour into Jars:** Carefully pour the mixture into your small jars or containers.
7. **Let it Set:** Let the gel air fresheners set at room temperature for several hours, or until they are firm.
8. **Enjoy the Freshness:** Once the gel is set, place your air fresheners in your desired locations and enjoy the fresh, natural scent!
9. **Revive the Scent:** Over time, the scent may fade. To revive it, simply add a few more drops of essential oil to the top of the gel.
Scented Baking Soda Jars: Odor Absorbing Power
This is a super simple and budget-friendly way to freshen up small spaces.
Materials You’ll Need:
* Baking soda
* Essential oils of your choice
* Small jars or containers with lids (mason jars work great!)
* Hammer
* Nail or screwdriver
Step-by-Step Instructions:
1. **Prepare the Lids:** Using a hammer and nail (or screwdriver), carefully poke several holes in the lids of your jars. This will allow the scent to escape.
2. **Fill the Jars:** Fill each jar about 3/4 full with baking soda.
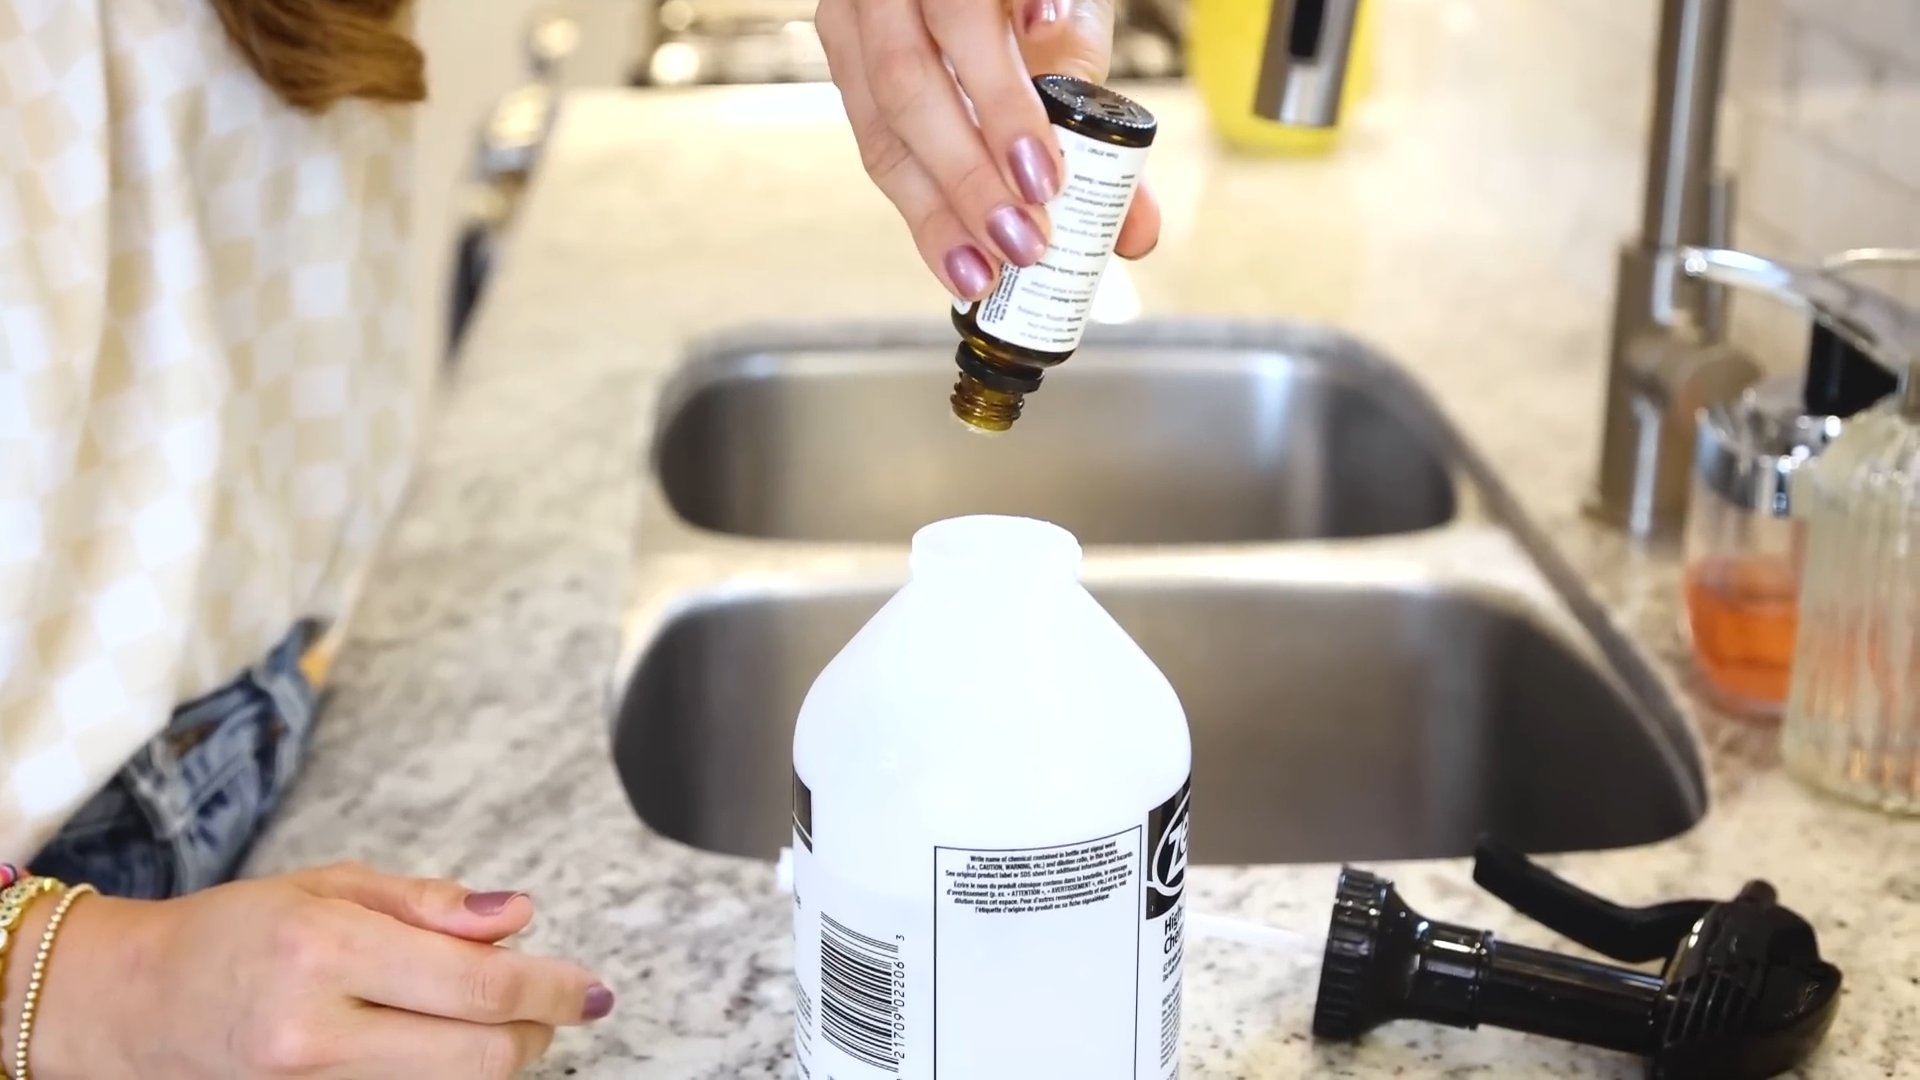
3. **Add Essential Oils:** Add about 15-20 drops of your favorite essential oils to each jar.
4. **Mix Well:** Stir the baking soda and essential oils together until well combined.
5. **Secure the Lids:** Screw the lids onto the jars.
6. **Place and Enjoy:** Place the jars in your desired locations, such as bathrooms, closets, or under sinks.
7. **Refresh as Needed:** Every few weeks, shake the jars to refresh the baking soda and release more scent. You can also add a few more drops of essential oil if the scent starts to fade.
8. **Replace Regularly:** Replace the baking soda every few months for optimal odor absorption.
Tips and Tricks for Scent Booster Success:
* Experiment with different essential oil blends to find your perfect signature scent.
* Consider the size of your room when choosing a scent booster. A simmer pot might be too overpowering for a small bathroom, while a reed diffuser might not be strong enough for a large living room.
* Be mindful of allergies and sensitivities when choosing essential oils. Some people are sensitive to certain scents, so it’s always a good idea to test a small amount before using it in a larger area.
* Use high-quality essential oils for the best results. Look for pure, therapeutic-grade essential oils from reputable brands.
* Don’t
Conclusion
So, there you have it! Crafting your own DIY room scent boosters is not just a fun project; it’s a game-changer for creating a welcoming and personalized atmosphere in your home. Forget those expensive, often chemical-laden, store-bought air fresheners. With just a few simple ingredients and a little creativity, you can transform your living spaces into havens of delightful aromas that reflect your unique style and preferences.
The beauty of this DIY approach lies in its versatility. You’re not limited to pre-determined scents or overpowering fragrances. Instead, you have complete control over the ingredients, allowing you to tailor the aroma to suit your mood, the season, or even a specific occasion. Imagine a cozy blend of cinnamon and clove for the holidays, a refreshing citrus burst for summer, or a calming lavender and chamomile mix for a relaxing evening. The possibilities are truly endless.
Beyond the customization aspect, creating your own room scent boosters is also a more sustainable and cost-effective option. You’ll be reducing your reliance on single-use plastic containers and potentially harmful chemicals, while also saving money in the long run. It’s a win-win for your home and the environment.
But don’t just take our word for it! We highly encourage you to give these DIY room scent boosters a try. Experiment with different essential oil combinations, explore various carrier options like rice, baking soda, or even dried flowers, and discover what works best for you. Consider adding a touch of visual appeal by using decorative jars or containers to house your scent boosters, turning them into stylish accents for your home decor.
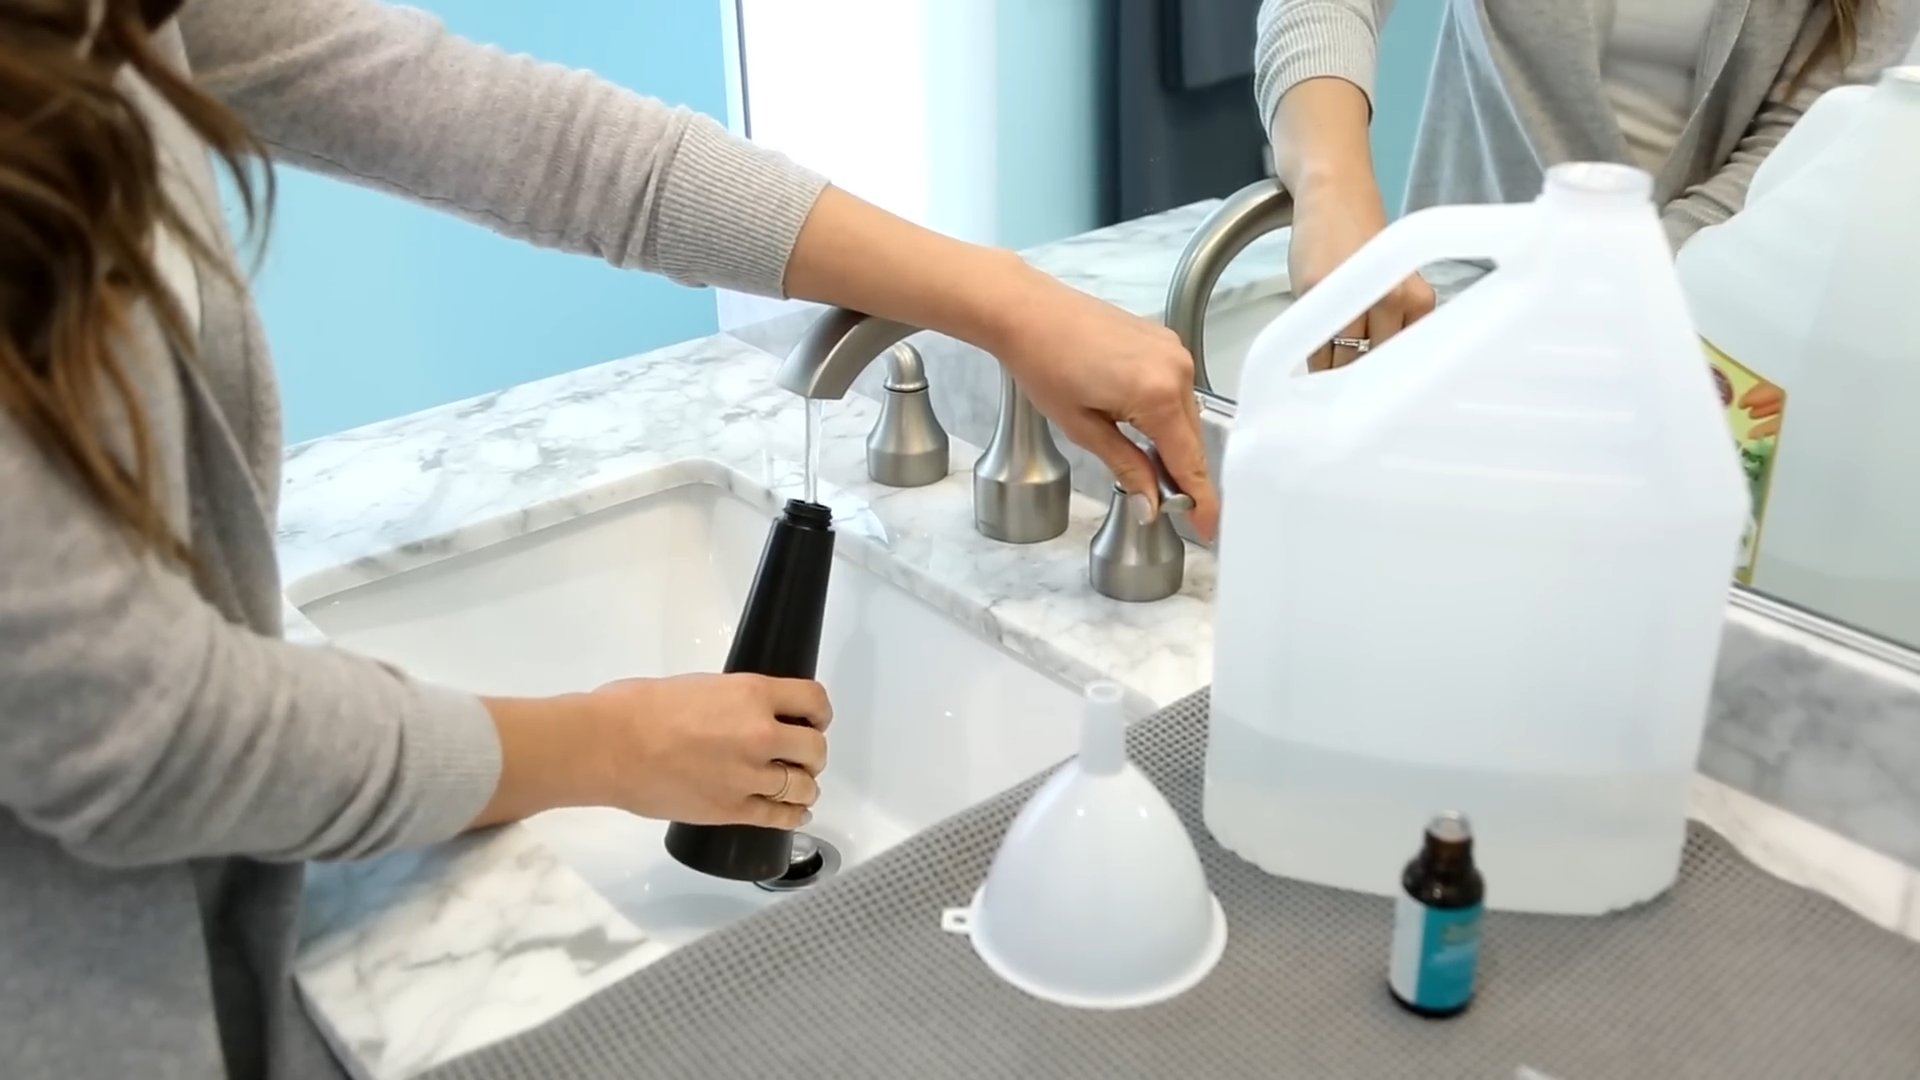
For a stronger scent throw, try warming your scent booster gently. You can place a small dish of the mixture on a candle warmer or near a radiator. Just be sure to monitor it closely and never leave it unattended. Another variation is to create a room spray by diluting your essential oil blend with distilled water and a solubilizer like Polysorbate 20. This allows you to instantly refresh any room with a quick spritz.
We’re confident that you’ll be amazed by the results. Not only will your home smell fantastic, but you’ll also experience the satisfaction of creating something beautiful and functional with your own hands.
Once you’ve tried these DIY room scent boosters, we’d love to hear about your experience! Share your favorite scent combinations, any modifications you made to the recipes, and how these boosters have transformed your home’s atmosphere. Let’s inspire each other to create healthier, happier, and more fragrant living spaces. Share your creations on social media using #DIYRoomScentBoosters and tag us! We can’t wait to see what you come up with!
Frequently Asked Questions (FAQ)
What exactly are “room scent boosters” and how are they different from regular air fresheners?
Room scent boosters are DIY solutions designed to gently and naturally infuse your living spaces with pleasant aromas. Unlike many commercial air fresheners that rely on synthetic fragrances and harsh chemicals to mask odors, these boosters utilize natural ingredients like essential oils, herbs, and spices to create a more subtle and authentic scent experience. They work by slowly releasing fragrance into the air, providing a consistent and long-lasting aroma without the overpowering effect of sprays or aerosols. The key difference lies in the ingredients and the method of scent delivery – natural versus synthetic, and gradual release versus immediate burst.
What are the best essential oils to use for DIY room scent boosters?
The best essential oils depend entirely on your personal preferences and the desired atmosphere you want to create. However, some popular and versatile options include:
* **Lavender:** Known for its calming and relaxing properties, perfect for bedrooms and living rooms.
* **Lemon:** A bright and uplifting scent, ideal for kitchens and bathrooms.
* **Peppermint:** Invigorating and refreshing, great for workspaces and entryways.
* **Eucalyptus:** Cleansing and decongestant, suitable for bathrooms and areas where you want to promote respiratory health.
* **Rosemary:** Stimulating and memory-enhancing, good for offices and study areas.
* **Cedarwood:** Earthy and grounding, creates a warm and inviting atmosphere.
* **Orange:** Cheerful and energizing, perfect for any room that needs a boost.
* **Tea Tree:** Antiseptic and purifying, useful for bathrooms and areas prone to odors.
Experiment with different combinations to find your signature scent! Remember to research the properties of each oil before using it, especially if you have pets or allergies.
Are essential oils safe to use around pets and children?
While essential oils offer numerous benefits, it’s crucial to exercise caution when using them around pets and children. Some essential oils can be toxic to animals, even in small amounts. Always research the safety of each oil before using it in your home. For pets, avoid oils like tea tree, pennyroyal, wintergreen, and pine. For children, dilute essential oils significantly and avoid using them on infants under six months old. Always keep essential oils out of reach of children and pets to prevent accidental ingestion. If you have any concerns, consult with a veterinarian or pediatrician before using essential oils in your home.
What are some good carrier options for DIY room scent boosters besides rice?
While rice is a popular and effective carrier, there are several other options you can use to create your DIY room scent boosters:
* **Baking Soda:** Baking soda is excellent for absorbing odors and releasing fragrance. It’s particularly useful in bathrooms and kitchens.
* **Dried Flowers:** Dried flowers not only add visual appeal but also absorb and release essential oils beautifully. Rose petals, lavender buds, and chamomile flowers are great choices.
* **Sea Salt:** Sea salt absorbs moisture and releases fragrance slowly, making it a good option for humid environments.
* **Wood Chips or Shavings:** Cedarwood or sandalwood chips can enhance the earthy aroma of your scent booster.
* **Cotton Balls or Pads:** These are simple and readily available options for absorbing and releasing essential oils.
* **Beeswax:** Melted beeswax can be combined with essential oils and poured into molds to create solid scent boosters.
How long will a DIY room scent booster last?
The lifespan of your DIY room scent booster depends on several factors, including the type of carrier you use, the concentration of essential oils, and the ambient temperature. Generally, a well-made scent booster can last anywhere from two weeks to two months. To prolong its lifespan, keep it away from direct sunlight and heat sources. You can also refresh the scent by adding a few more drops of essential oil to the carrier as needed. If you notice the scent fading significantly, it’s time to replace the booster with a fresh batch.
Can I use fragrance oils instead of essential oils?
While fragrance oils can be used in DIY room scent boosters, they are not the same as essential oils. Fragrance oils are synthetic and do not offer the same therapeutic benefits as essential oils. They are also more likely to contain chemicals that can be irritating to some people. If you’re looking for a natural and holistic approach to scenting your home, essential oils are the preferred choice. However, if you’re primarily concerned with fragrance and don’t mind using synthetic ingredients, fragrance oils can be a more affordable option.
How do I choose the right container for my DIY room scent booster?
The container you choose for your DIY room scent booster should be both functional and aesthetically pleasing. Opt for containers with wide openings to allow the fragrance to diffuse effectively. Glass jars, ceramic bowls, and decorative tins are all good options. Consider the size of the container and the amount of scent booster you want to create. Make sure the container is clean and dry before adding your ingredients. You can also personalize your containers with labels, ribbons, or other decorative elements to match your home decor.
What if my DIY room scent booster isn’t strong enough?
If your DIY room scent booster isn’t providing enough fragrance, there are several things you can try:
* **Add more essential oils:** Increase the concentration of essential oils in your mixture. Start with a few extra drops and adjust as needed.
* **Use a stronger carrier:** Baking soda and sea salt tend to release fragrance more effectively than rice or cotton balls.
* **Place the booster in a warmer location:** Heat helps to diffuse the fragrance more quickly. Place the booster near a radiator or in a sunny spot (but avoid direct sunlight).
* **Stir or shake the mixture regularly:** This helps to redistribute the essential oils and refresh the scent.
* **Use multiple boosters:** Place several scent boosters throughout the room to create a more consistent aroma.
* **Ensure proper ventilation:** Good airflow helps to circulate the fragrance throughout the room.
How can I make a room spray using essential oils?
Creating a room spray with essential oils is simple and effective. You’ll need:
* A spray bottle (preferably glass)
* Distilled water
* Essential oils of your choice
* A solubilizer (like Polysorbate 20 or vodka)
Instructions:
1. Add 10-20 drops of essential oils to the spray bottle.
2. Add 1 teaspoon of solubilizer to help the essential oils mix with the water.
3. Fill the rest of the bottle with distilled water.
4. Shake well before each use.
Remember
Leave a Comment