

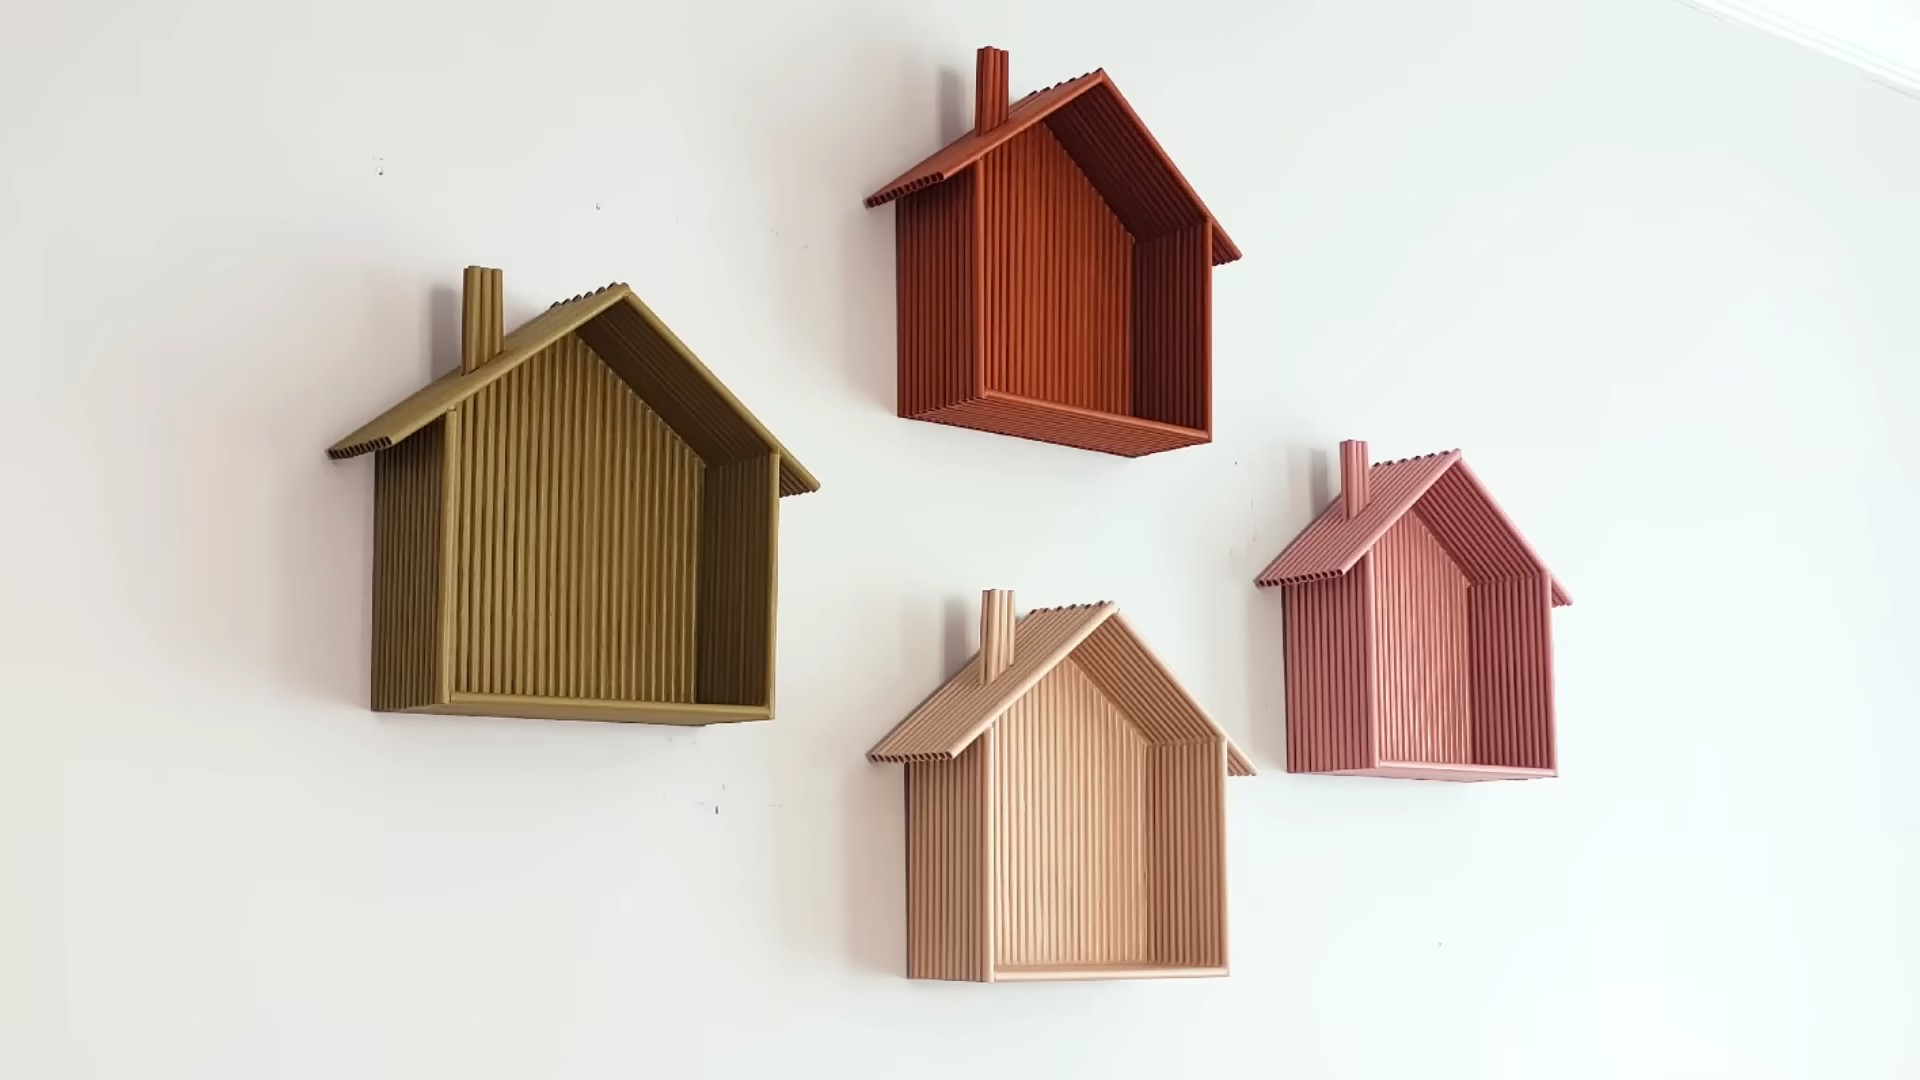
DIY Sustainable Wall Shelf: Transform your living space with a touch of eco-consciousness and personal flair! Have you ever looked at a blank wall and thought, “This needs something… but what?” I know I have! Instead of rushing to a big-box store, let’s embark on a creative journey to build a stunning and functional wall shelf using sustainable materials. This isn’t just about adding storage; it’s about making a statement about your commitment to the environment and your unique style.
Wall shelves have been a staple in homes for centuries, evolving from simple wooden planks to intricate designs. Historically, they were essential for organizing belongings and displaying cherished items. Today, we can honor that tradition while embracing sustainability. In a world increasingly aware of its environmental footprint, choosing to create a DIY Sustainable Wall Shelf is a powerful way to reduce waste and repurpose materials.
Why do you need this DIY trick? Because it’s empowering! It allows you to customize your storage solutions to perfectly fit your needs and aesthetic. Plus, it’s incredibly rewarding to create something beautiful and functional with your own hands. Imagine the satisfaction of knowing you’ve not only added a stylish element to your home but also contributed to a more sustainable future. Let’s get started and build something amazing together!
DIY Sustainable Wall Shelf: A Guide to Upcycling and Eco-Friendly Decor
Hey there, fellow DIY enthusiasts! I’m super excited to share this project with you – a sustainable wall shelf made from upcycled materials. Not only is this a fantastic way to add some unique character to your home, but it’s also a great way to reduce waste and contribute to a more eco-friendly lifestyle. I’ll walk you through every step, making sure even beginners can tackle this project with confidence. Let’s get started!
Materials You’ll Need:
Before we dive in, let’s gather our supplies. The beauty of this project is that you can adapt it to whatever materials you have readily available. Here’s what I used, but feel free to get creative!
* Reclaimed Wood: Pallet wood, old fence boards, or even salvaged lumber from a construction site (with permission, of course!). I used some old barn wood for a rustic look.
* Upcycled Straps/Belts/Rope: Leather belts, old canvas straps from bags, or even sturdy rope will work. These will act as the supports for your shelf. I found some cool vintage leather belts at a thrift store.
* Wood Screws: Choose screws appropriate for the thickness of your wood. I recommend screws that are at least 1 1/4 inches long.
* Sandpaper: Various grits, from coarse (80 grit) to fine (220 grit), to smooth out the wood.
* Wood Stain or Paint (Optional): If you want to change the color of the wood. I opted for a natural oil finish to enhance the wood grain.
* Wood Sealer (Optional): To protect the wood from moisture and wear.
* Drill: With various drill bits, including a countersink bit.
* Measuring Tape: For accurate measurements.
* Pencil: For marking measurements.
* Level: To ensure your shelf is straight.
* Safety Glasses: Always protect your eyes!
* Work Gloves: To protect your hands.
* Saw: A hand saw, circular saw, or jigsaw will work, depending on the size and thickness of your wood.
* Clamps: To hold the wood in place while you’re working.
* Stud Finder: To locate studs in your wall for secure mounting.
* Wall Anchors (If Needed): If you can’t mount directly into studs.
Preparing the Wood
This is a crucial step, especially if you’re using reclaimed wood. You want to make sure it’s clean, safe, and ready for your project.
1. Clean the Wood: Remove any dirt, debris, or nails from the wood. A wire brush and a putty knife can be helpful for this. I gave my barn wood a good scrub with soap and water.
2. Sand the Wood: Start with a coarse grit sandpaper (80 grit) to remove any rough spots or splinters. Then, gradually move to finer grits (120 grit, then 220 grit) to smooth the surface. Remember to sand with the grain of the wood. I spent a good hour sanding each piece to get them nice and smooth.
3. Cut the Wood to Size: Decide on the desired length and width of your shelf. Use a saw to cut the wood to the appropriate dimensions. I wanted a shelf that was about 36 inches long and 8 inches wide.
4. (Optional) Stain or Paint the Wood: If you want to change the color of the wood, now’s the time to apply stain or paint. Follow the manufacturer’s instructions for application and drying time. I chose to use a natural oil finish to bring out the natural beauty of the wood.
5. (Optional) Seal the Wood: Apply a wood sealer to protect the wood from moisture and wear. This is especially important if you plan to use the shelf in a bathroom or kitchen. I applied two coats of sealer, allowing each coat to dry completely before applying the next.
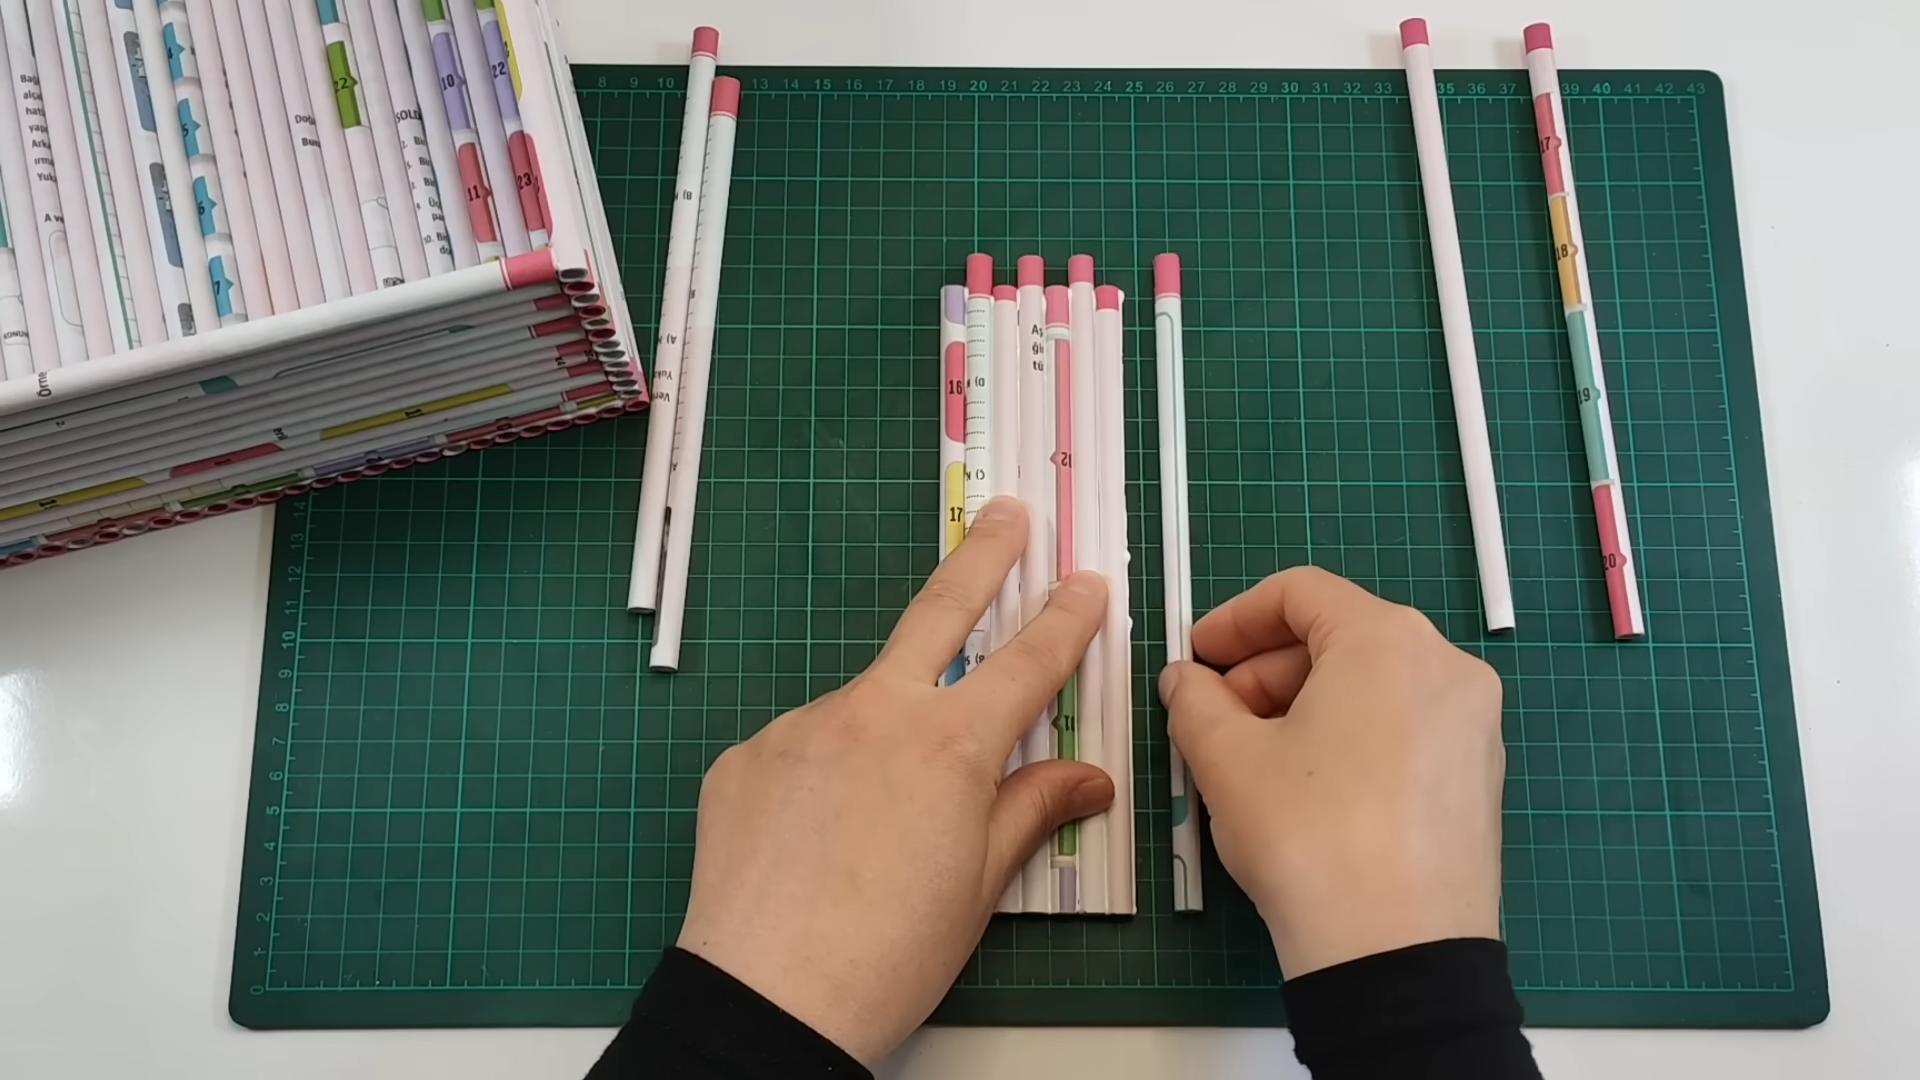
Preparing the Straps/Belts/Rope
Now, let’s get those supports ready!
1. Clean the Straps/Belts/Rope: If you’re using reclaimed straps or belts, clean them thoroughly with soap and water. For rope, you can gently wash it or spot clean as needed.
2. Cut the Straps/Belts/Rope to Length: Determine the desired length of your supports. This will depend on how far you want the shelf to hang from the wall. Remember to account for the portion that will be attached to the wall and the portion that will support the shelf. I cut my leather belts to be about 24 inches long each.
3. (Optional) Reinforce the Straps/Belts: If you’re using thinner straps or belts, you may want to reinforce them by adding extra stitching or rivets. This will help to ensure that they can support the weight of the shelf and its contents.
Assembling the Shelf
This is where the magic happens!
1. Mark the Placement of the Straps/Belts/Rope: On the underside of the shelf, mark where you want to attach the straps or belts. I recommend placing them a few inches from each end of the shelf for stability.
2. Drill Pilot Holes: Drill pilot holes at the marked locations. This will make it easier to screw in the screws and prevent the wood from splitting. Use a drill bit that is slightly smaller than the diameter of your screws.
3. Attach the Straps/Belts/Rope to the Shelf: Use wood screws to attach the straps or belts to the underside of the shelf. Make sure the screws are long enough to securely hold the straps in place, but not so long that they poke through the top of the shelf. I used a countersink bit to create a recess for the screw heads, so they would be flush with the surface of the straps.
4. Ensure Even Spacing and Alignment: Double-check that the straps are evenly spaced and aligned. This will ensure that the shelf hangs straight and level.
Mounting the Shelf to the Wall
Almost there! This is the final step.
1. Locate Wall Studs: Use a stud finder to locate the studs in your wall. Mounting the shelf directly into studs will provide the most secure support.
2. Mark Mounting Locations: Hold the shelf against the wall at the desired height and mark the locations of the straps or belts on the wall. Make sure the shelf is level before marking.
3. Drill Pilot Holes in the Wall: Drill pilot holes at the marked locations. If you’re mounting into studs, use a drill bit that is slightly smaller than the diameter of your screws. If you’re mounting into drywall, use wall anchors.
4. Attach the Shelf to the Wall: Use wood screws to attach the straps or belts to the wall. If you’re using wall anchors, follow the manufacturer’s instructions for installation. I used long screws to go deep into the studs for maximum stability.
5. Check for Level: Use a level to ensure that the shelf is level. If it’s not, adjust the straps or belts as needed.
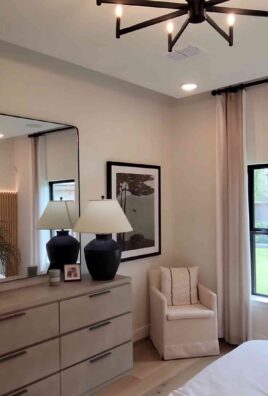
Final Touches and Styling
Congratulations! You’ve successfully built your own sustainable wall shelf. Now, it’s time to add the finishing touches and style it to your liking.
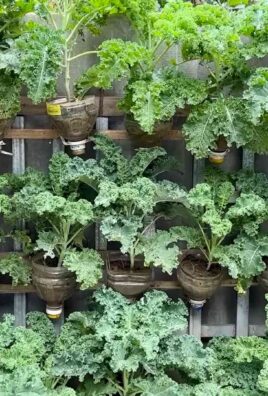
* Add Decorative Items: Place your favorite books, plants, photos, or other decorative items on the shelf.
* Consider Functionality: Think about what you want to use the shelf for and choose items that are both functional and aesthetically pleasing.
* Adjust as Needed: Step back and take a look at your shelf. Make any adjustments to the placement of items until you’re happy with the overall look.
Alternative Ideas and Customizations
The beauty of DIY is that you can customize the project to fit your own style and needs. Here are a few alternative ideas and customizations to consider:
* Different Wood Types: Experiment with different types of reclaimed wood to create a unique look.
* Varying Strap Materials: Use different types of straps or belts to add texture and visual interest.
* Adding a Backing: Add a backing to the shelf to prevent items from falling off the back.
* Creating Multiple Shelves: Build multiple shelves and arrange them in a staggered pattern for a more dynamic look.
* Painting or Stenciling: Add a pop of color or a decorative stencil to the shelf.
I hope you enjoyed this DIY project! Remember to have fun and get creative. With a little bit of effort and some upcycled materials, you can create a beautiful and sustainable wall shelf that you’ll be proud to display in your home. Happy crafting!
Conclusion
So, there you have it! Creating your own DIY Sustainable Wall Shelf isn’t just about adding storage space; it’s about embracing a more conscious and creative lifestyle. It’s about taking control of the materials you bring into your home and minimizing your environmental footprint. In a world increasingly dominated by mass-produced, often unsustainable goods, this project offers a refreshing alternative – a chance to craft something beautiful, functional, and truly unique, all while contributing to a healthier planet.
Why is this DIY trick a must-try? Because it empowers you to personalize your living space in a way that reflects your values. You’re not just buying a shelf; you’re building a statement piece that speaks volumes about your commitment to sustainability. You’re also saving money, reducing waste, and potentially upcycling materials that would otherwise end up in a landfill. The satisfaction of displaying your favorite books, plants, or decorative items on a shelf you built yourself is unparalleled.
But the beauty of this project lies in its adaptability. Feeling adventurous? Experiment with different wood types. Reclaimed barn wood offers a rustic charm, while bamboo provides a sleek, modern aesthetic. Consider incorporating other sustainable materials like recycled metal brackets or even repurposed rope for a nautical touch. Don’t limit yourself to wood; explore the possibilities of using reclaimed pallets, old drawers, or even sturdy cardboard (with proper reinforcement, of course!).
For a more minimalist look, opt for a floating shelf design, concealing the brackets for a clean and seamless appearance. If you need extra storage, consider adding small drawers or compartments beneath the shelf. Get creative with the finish! Use natural stains, paints, or even leave the wood raw for a truly organic feel. The possibilities are endless, limited only by your imagination and the resources available to you.
We wholeheartedly encourage you to give this DIY Sustainable Wall Shelf project a try. It’s a rewarding experience that will not only enhance your home but also inspire you to explore other sustainable DIY projects. We are confident that you will find the process enjoyable and the result incredibly satisfying.
Once you’ve completed your masterpiece, we’d love to see it! Share your creations with us on social media using #SustainableShelfDIY and tell us about your experience. What materials did you use? What challenges did you overcome? What unique touches did you add? Your insights and inspiration could help others embark on their own sustainable DIY journeys. Let’s build a community of conscious creators, one shelf at a time! We can’t wait to see what you come up with!
FAQ
What tools do I absolutely need for this project?
The essential tools will depend on the specific design and materials you choose, but generally, you’ll need:
* A saw (hand saw, circular saw, or jigsaw) for cutting the wood to size.
* A drill with various drill bits for creating pilot holes and attaching screws.
* A screwdriver (or drill with screwdriver bits) for securing the shelf to the wall and attaching any brackets.
* A measuring tape and pencil for accurate measurements and marking.
* Sandpaper (various grits) for smoothing rough edges and preparing the wood for finishing.
* A level to ensure your shelf is perfectly horizontal.
* Safety glasses and a dust mask to protect yourself from debris.
Depending on your design, you might also need a wood glue, clamps, a router (for decorative edges), or a paint brush/roller for finishing.
What are some good sources for finding sustainable materials?
Finding sustainable materials is key to making this project truly eco-friendly. Here are some excellent sources:
* **Reclaimed Wood:** Check local architectural salvage yards, demolition sites (with permission, of course!), or online marketplaces like Craigslist or Facebook Marketplace. Look for old barn wood, pallets, or even discarded furniture that can be repurposed.
* **Thrift Stores and Secondhand Shops:** You might find old wooden boxes, drawers, or even entire pieces of furniture that can be disassembled and used for your shelf.
* **Local Lumber Mills:** Some smaller lumber mills offer sustainably harvested wood or even offcuts and scraps at discounted prices.
* **Habitat for Humanity ReStores:** These stores sell donated building materials, often at significantly reduced prices. You can find everything from lumber to hardware to paint.
* **Online Retailers Specializing in Sustainable Materials:** Several online retailers specialize in eco-friendly building materials, including bamboo, reclaimed wood, and recycled metal.
* **Your Own Home:** Before buying anything new, take a look around your own home. Do you have any old shelves, drawers, or pieces of wood that you could repurpose?
How do I ensure the shelf is strong enough to hold my items?
The strength of your shelf depends on several factors: the type of wood used, the thickness of the wood, the length of the shelf, the type of brackets used, and how securely the shelf is attached to the wall.
* **Wood Type:** Hardwoods like oak, maple, and walnut are stronger than softwoods like pine and fir.
* **Wood Thickness:** Thicker wood will naturally be stronger and able to support more weight.
* **Shelf Length:** Longer shelves are more prone to sagging. Consider adding additional support brackets for longer shelves.
* **Bracket Type:** Choose brackets that are rated for the weight you intend to place on the shelf. Look for heavy-duty brackets made from steel or cast iron.
* **Wall Anchors:** If you’re attaching the shelf to drywall, use appropriate wall anchors to distribute the weight and prevent the screws from pulling out. Toggle bolts are a good option for heavier items.
* **Studs:** Whenever possible, attach the shelf directly to wall studs for maximum support. Use a stud finder to locate the studs behind the drywall.
As a general rule, it’s always better to overestimate the strength of your shelf than to underestimate it. If you’re unsure, consult with a professional carpenter or hardware store employee.
What are some eco-friendly finishing options for the wood?
Traditional wood finishes often contain harmful chemicals and VOCs (volatile organic compounds). Fortunately, there are many eco-friendly alternatives:
* **Natural Oils:** Linseed oil, tung oil, and walnut oil are all natural oils that can be used to protect and enhance the beauty of wood. They penetrate the wood fibers, providing a durable and water-resistant finish.
* **Beeswax Polish:** Beeswax polish is a natural and non-toxic option that provides a soft, lustrous sheen. It’s easy to apply and maintain.
* **Milk Paint:** Milk paint is a traditional paint made from milk protein, lime, and pigments. It’s non-toxic, biodegradable, and provides a unique, matte finish.
* **Clay Paint:** Similar to milk paint, clay paint is made from natural clay, pigments, and binders. It’s breathable, moisture-regulating, and provides a beautiful, textured finish.
* **Water-Based Stains and Varnishes:** Look for water-based stains and varnishes that are labeled as low-VOC or zero-VOC. These products contain fewer harmful chemicals than traditional solvent-based finishes.
* **DIY Natural Stains:** You can even create your own natural stains using ingredients like coffee grounds, tea bags, or walnut hulls.
Always follow the manufacturer’s instructions when applying any finish, and be sure to dispose of any waste properly.
How can I customize the design to fit my specific needs and style?
Customization is where the fun really begins! Here are some ideas to tailor your DIY Sustainable Wall Shelf to your unique needs and style:
* **Size and Shape:** Adjust the dimensions of the shelf to fit the available space and the items you want to display. Consider creating a long, narrow shelf for displaying artwork or a wider shelf for holding books and plants.
* **Number of Shelves:** Add multiple shelves to create a tiered storage system.
* **Bracket Style:** Experiment with different bracket styles to achieve the desired look. Floating shelf brackets create a minimalist aesthetic, while decorative brackets add a touch of personality.
* **Wood Type and Finish:** Choose a wood type and finish that complements your existing decor. Reclaimed barn wood adds a rustic touch, while painted wood provides a pop of color.
* **Built-in Features:** Incorporate built-in features like drawers, compartments, or even a charging station for electronic devices.
* **Decorative Elements:** Add decorative elements like rope, metal accents, or even mosaic tiles to personalize your shelf.
* **Repurposed Materials:** Get creative with repurposed materials. Use old drawers as shelves, or turn a vintage suitcase into a unique wall-mounted storage unit.
Don’t be afraid to experiment and try new things. The beauty of DIY is that you have complete control over the design and execution. Let your creativity flow and create a shelf that is truly one-of-a-kind.

Leave a Comment