

Dust-Free Baseboards: Are you tired of constantly battling dust bunnies clinging to your baseboards? I know I was! It felt like no matter how often I cleaned, those pesky particles would reappear within days. It’s a never-ending cycle that can drive any homeowner crazy. But what if I told you there’s a super simple, inexpensive, and surprisingly effective trick to keep your baseboards dust-free for longer?
While baseboards might seem like a modern architectural detail, their history stretches back centuries. Originally, they served a practical purpose: protecting walls from furniture and foot traffic. Over time, they evolved into decorative elements, adding character and charm to homes. However, one thing that hasn’t changed is their tendency to attract dust!
That’s where this DIY hack comes in. We’re going to use a common household item – dryer sheets – to create a static-repelling barrier on your baseboards. This isn’t just about aesthetics; reducing dust can also improve indoor air quality, which is especially important for those with allergies or respiratory sensitivities. Plus, who doesn’t want to spend less time cleaning? So, ditch the dust cloth and get ready to discover the magic of dust-free baseboards with this easy dryer sheet trick!
DIY Dust-Free Baseboards: The Dryer Sheet Secret!
Hey everyone! Are you tired of constantly battling dust bunnies clinging to your baseboards? I know I was! It felt like no matter how often I cleaned, those pesky dust particles would reappear almost instantly. Then, I stumbled upon a brilliant little hack using something we all probably have lying around: dryer sheets! Yes, you read that right. Dryer sheets aren’t just for laundry; they’re amazing for repelling dust and keeping your baseboards sparkling clean for longer. Let me walk you through how to achieve dust-free baseboard bliss.
What You’ll Need
Before we dive in, let’s gather our supplies. This is a super simple project, so the list is short and sweet:
* Dryer Sheets: Used or new, it doesn’t matter! I personally prefer using the used ones to give them a second life.
* Vacuum Cleaner with Brush Attachment: This is crucial for removing the initial layer of dust and debris.
* Damp Cloth or Microfiber Duster: For wiping down the baseboards after vacuuming.
* Optional: All-Purpose Cleaner: If your baseboards are particularly grimy, a little cleaner can help.
* Optional: Gloves: If you have sensitive skin, gloves can protect your hands from the dryer sheet chemicals.
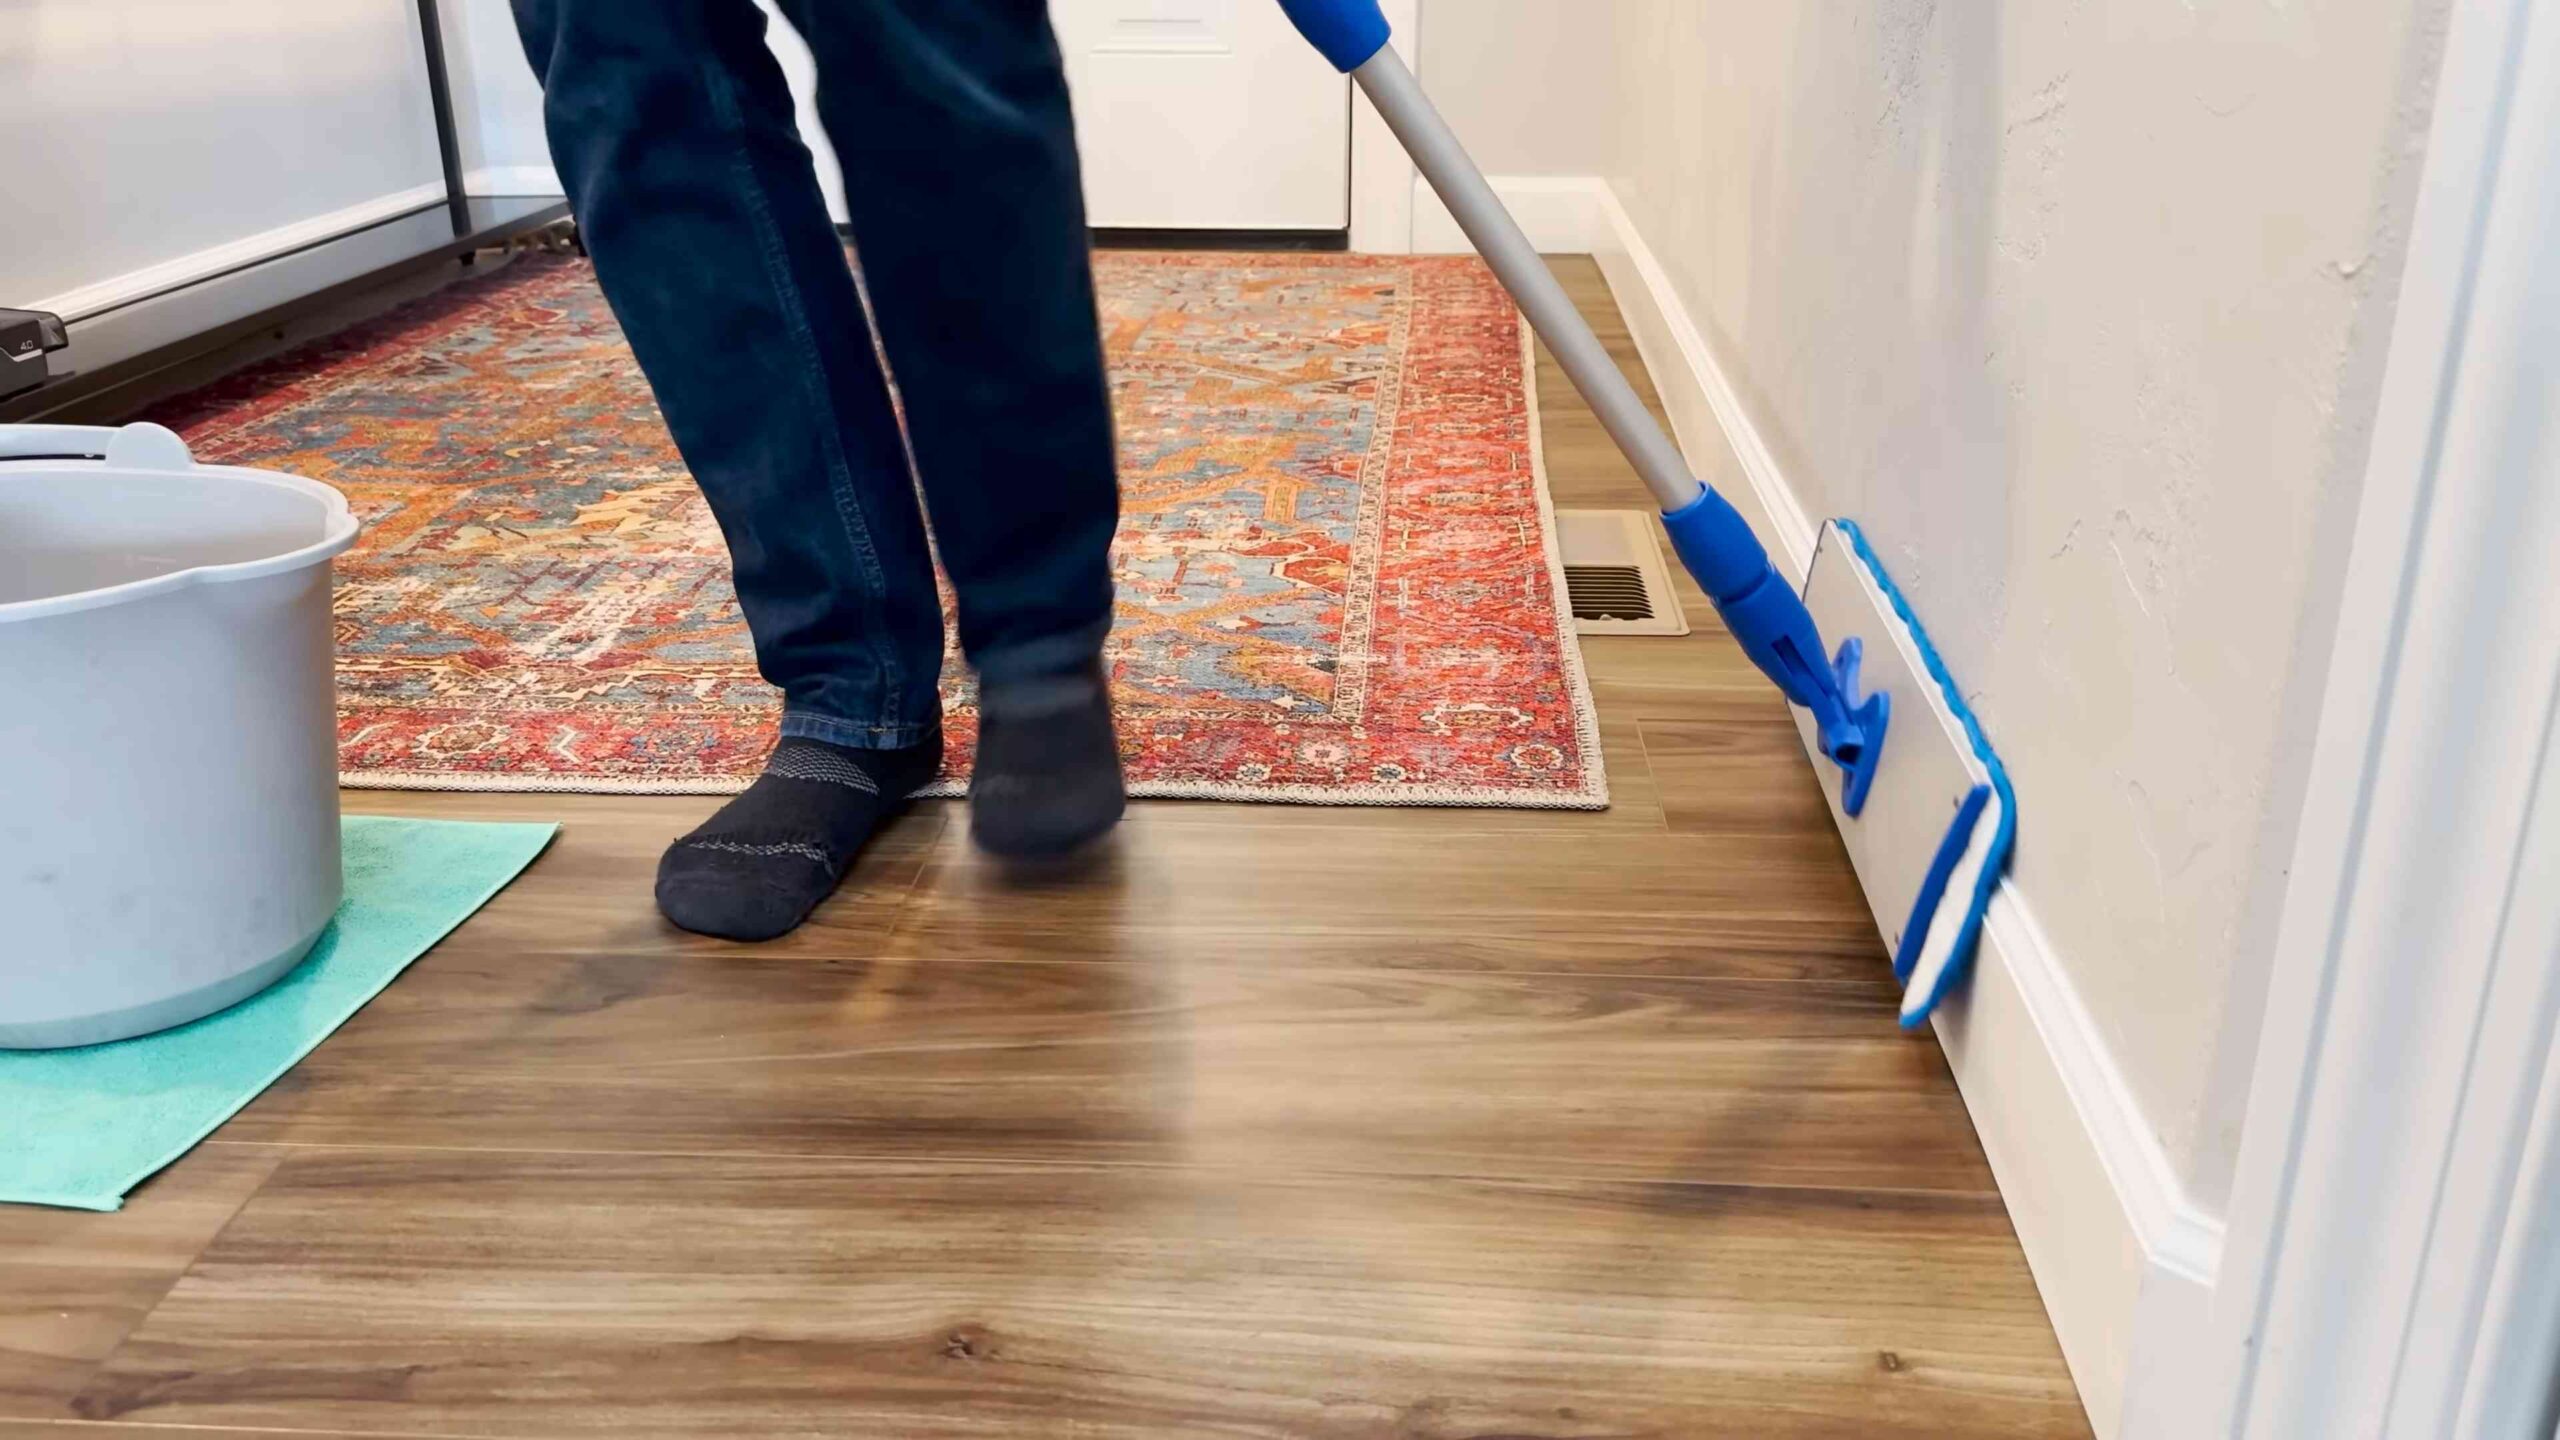
Phase 1: Prepping Your Baseboards
This phase is all about getting your baseboards ready for the dryer sheet treatment. A clean surface is key for the dryer sheets to work their magic effectively.
1. Vacuum Thoroughly: Start by using your vacuum cleaner with the brush attachment to remove all loose dust, dirt, and cobwebs from your baseboards. Pay close attention to corners and crevices where dust tends to accumulate. I like to go over each section a couple of times to make sure I’ve gotten everything.
2. Wipe Down with a Damp Cloth: Next, dampen a clean cloth or microfiber duster with water (and a little all-purpose cleaner if needed) and wipe down the entire surface of your baseboards. This will remove any remaining grime or sticky residue. Make sure to wring out the cloth well so you’re not leaving excess water behind.
3. Let Dry Completely: This is an important step! Before moving on, ensure your baseboards are completely dry. Moisture can interfere with the dryer sheet’s ability to repel dust. You can either let them air dry or use a clean, dry cloth to speed up the process.
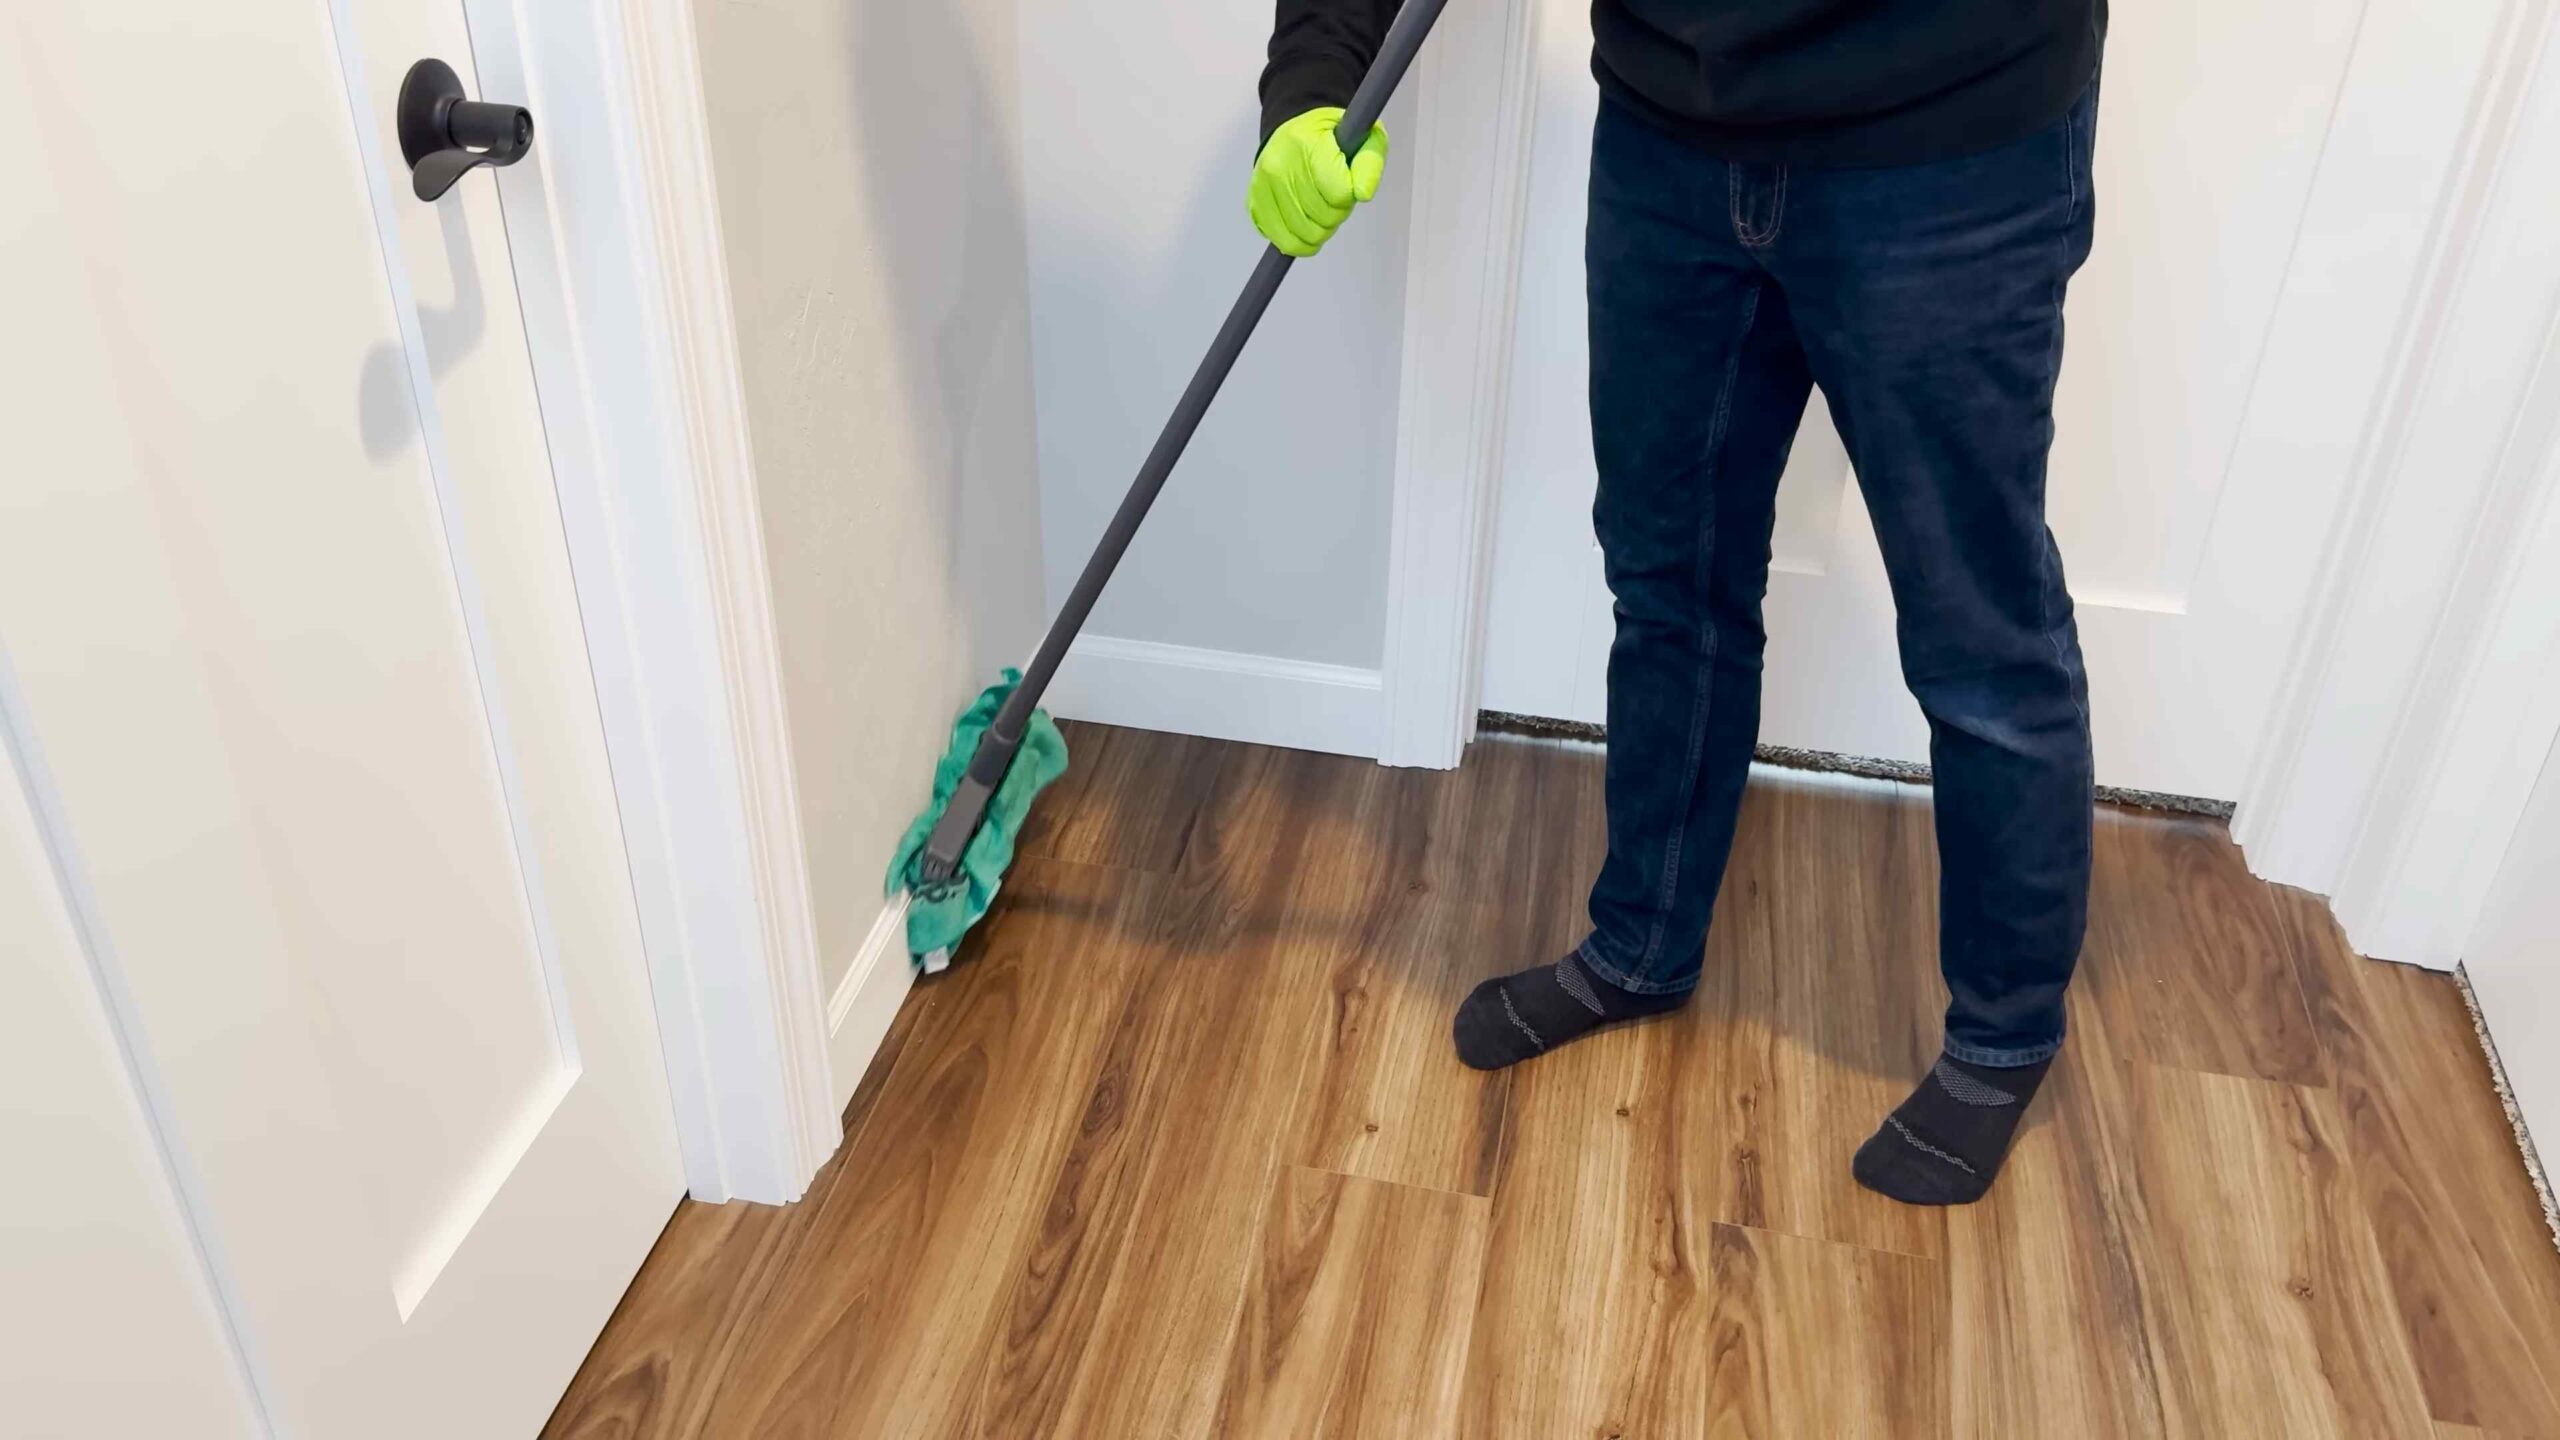
Phase 2: The Dryer Sheet Application
Now for the fun part! This is where the dryer sheets work their magic.
1. Grab a Dryer Sheet: Take one of your dryer sheets (used or new, remember, it doesn’t matter!).
2. Wipe Down the Baseboards: Gently wipe the dryer sheet along the entire length of your baseboards. Apply light pressure and make sure to cover every surface. The dryer sheet will leave a thin, invisible coating that helps repel dust.
3. Focus on Edges and Corners: Pay extra attention to the edges and corners of your baseboards, as these are the areas where dust tends to collect the most. I like to use the corner of the dryer sheet to really get into those tight spaces.
4. Repeat as Needed: If you have a lot of baseboards to cover, you might need to use more than one dryer sheet. You’ll know it’s time to switch to a new sheet when the current one starts to feel less effective or leaves behind visible lint.
5. Don’t Forget the Top Edge: It’s easy to forget, but the top edge of your baseboards also collects dust. Make sure to run the dryer sheet along the top edge as well.
Phase 3: Maintaining Your Dust-Free Baseboards
The beauty of this hack is that it’s not a one-time fix. With a little maintenance, you can keep your baseboards dust-free for weeks!
1. Reapply Every Few Weeks: Depending on how much dust your home generates, you’ll need to reapply the dryer sheet treatment every few weeks. I usually do it about once a month, but you might need to do it more or less often depending on your specific situation.
2. Spot Clean as Needed: If you notice any dust accumulating in between applications, simply wipe it away with a dry dryer sheet. This will help maintain the dust-repelling effect.
3. Consider Your Home Environment: Factors like pets, open windows, and construction can all contribute to dust buildup. If you live in a particularly dusty environment, you might need to apply the dryer sheet treatment more frequently.
4. Vacuum Regularly: While the dryer sheets will help repel dust, it’s still important to vacuum your floors regularly to prevent dust from accumulating in the first place.
5. Experiment with Different Dryer Sheets: Not all dryer sheets are created equal. Some might be more effective at repelling dust than others. Feel free to experiment with different brands to see which one works best for you. I’ve found that the unscented ones tend to leave less residue.
Why This Works: The Science Behind the Magic
You might be wondering, “Why dryer sheets? What’s the secret?” Well, dryer sheets contain antistatic agents that reduce static electricity. Static electricity is a major culprit when it comes to attracting dust. By reducing static, the dryer sheets help prevent dust from clinging to your baseboards. Plus, they often leave behind a light coating that further repels dust and dirt.
Troubleshooting Tips
* Residue: If you notice any residue left behind by the dryer sheets, try using a slightly damp cloth to wipe it away. You might also want to try using a different brand of dryer sheets.
* Ineffectiveness: If you’re not seeing the results you expected, make sure you’re thoroughly cleaning your baseboards before applying the dryer sheets. Also, consider reapplying the treatment more frequently.
* Allergies: If you have allergies or sensitivities to dryer sheet chemicals, wear gloves during application and consider using unscented dryer sheets. You can also test a small area first to see how you react.
Beyond Baseboards: Other Uses for This Hack
The beauty of this dryer sheet hack is that it’s not just for baseboards! You can use it on other surfaces that tend to attract dust, such as:
* Blinds: Wipe down your blinds with a dryer sheet to keep them dust-free.
* Electronics: Gently dust your electronics with a dryer sheet to reduce static and prevent dust buildup.
* Furniture: Wipe down your furniture with a dryer sheet to repel dust and keep it looking its best.
* Car Dashboard: Keep your car dashboard dust-free by wiping it down with a dryer sheet.
Final Thoughts
I hope you found this DIY hack helpful! It’s a simple, affordable, and effective way to keep your baseboards dust-free and your home looking its best. Give it a try and let me know what you think! I’m confident you’ll be amazed at the difference it makes. Happy cleaning!
Conclusion
So, there you have it! Achieving dust-free baseboards doesn’t require expensive cleaning solutions or hours of back-breaking work. This simple, yet incredibly effective, DIY trick using dryer sheets is a game-changer for anyone looking to simplify their cleaning routine and maintain a consistently tidy home.
Why is this a must-try? Because it’s easy, affordable, and remarkably effective. The electrostatic properties of dryer sheets attract and trap dust, preventing it from settling on your baseboards in the first place. This means less frequent cleaning and more time to enjoy your sparkling clean home. Think of it as a preventative measure, a shield against the relentless onslaught of dust bunnies.
But the beauty of this DIY trick lies in its adaptability. Feel free to experiment with different types of dryer sheets. Scented sheets can leave a subtle, pleasant fragrance, while unscented options are perfect for those with sensitivities. You can also cut the dryer sheets into smaller pieces for easier handling, especially when tackling intricate molding or hard-to-reach areas.
Consider using this method on other surfaces prone to dust accumulation, such as window sills, blinds, and even the tops of furniture. The possibilities are endless! For baseboards with stubborn, stuck-on grime, lightly dampen the dryer sheet with water or a mild cleaning solution before wiping. This will help loosen the dirt and make it easier to remove.
We’re confident that once you try this simple dryer sheet hack, you’ll wonder how you ever lived without it. It’s a small change that makes a big difference in the overall cleanliness and appearance of your home.
Don’t just take our word for it, though. We wholeheartedly encourage you to give this DIY trick a try. See for yourself how easy it is to achieve dust-free baseboards and enjoy a cleaner, healthier living environment. And most importantly, share your experience with us! Let us know in the comments below how this trick worked for you, any variations you tried, and any tips you discovered along the way. Your feedback is invaluable and helps us all learn and improve our cleaning routines. Let’s conquer dust together, one dryer sheet at a time! This simple solution for dust-free baseboards is a true cleaning revelation.
Frequently Asked Questions (FAQs)
1. Why do dryer sheets work for dusting baseboards?
Dryer sheets are treated with chemicals that give them electrostatic properties. This means they generate a static charge when rubbed against a surface. This static charge attracts dust, hair, and other particles, effectively trapping them within the fibers of the dryer sheet. Unlike a regular cloth that might just push the dust around, dryer sheets lift and hold the dust, leaving your baseboards cleaner for longer. The fabric softening agents in the dryer sheets also leave a thin coating that helps repel dust in the future.
2. Are there any types of baseboards that this trick shouldn’t be used on?
While this trick is generally safe for most types of baseboards, it’s always a good idea to test it in an inconspicuous area first, especially if you have painted or delicate baseboards. Some older paints or finishes might be sensitive to the chemicals in dryer sheets. Avoid using heavily saturated or overly scented dryer sheets on unfinished wood, as they could potentially stain the surface. If you’re unsure, err on the side of caution and test a small area first.
3. Can I reuse dryer sheets for dusting baseboards?
Yes, you can definitely reuse dryer sheets for dusting baseboards! In fact, using dryer sheets that have already been through the dryer is a great way to repurpose them and get the most out of them. The dryer sheets will still retain some of their electrostatic properties, making them effective for dusting. Just make sure the dryer sheet isn’t too worn or torn. Once it becomes too saturated with dust or starts to fall apart, it’s time to replace it with a fresh one.
4. How often should I dust my baseboards with dryer sheets?
The frequency of dusting your baseboards with dryer sheets will depend on several factors, such as the amount of dust in your home, the presence of pets, and the season. As a general guideline, dusting your baseboards every 1-2 weeks should be sufficient to keep them relatively dust-free. However, if you notice dust accumulating more quickly, you may need to dust them more frequently. Regular dusting with dryer sheets will help prevent dust buildup and make your cleaning routine easier in the long run.
5. Will this trick work on other dusty surfaces in my home?
Absolutely! The electrostatic properties of dryer sheets make them effective for dusting a variety of surfaces beyond baseboards. You can use them to dust window sills, blinds, furniture, electronics (when powered off), and even car dashboards. Just be careful when dusting delicate surfaces or electronics, and avoid using overly saturated dryer sheets. Always test in an inconspicuous area first to ensure there are no adverse effects.
6. Are there any alternatives to dryer sheets for dusting baseboards?
While dryer sheets are a convenient and effective option, there are other alternatives you can use for dusting baseboards. Microfiber cloths are a great option, as they also attract and trap dust effectively. You can also use a damp cloth with a mild cleaning solution to wipe down your baseboards. For hard-to-reach areas, consider using a dusting brush attachment on your vacuum cleaner. However, dryer sheets offer the added benefit of leaving a thin coating that helps repel dust in the future.
7. Can I use this trick on painted baseboards? Will it damage the paint?
This trick is generally safe for painted baseboards, but it’s always a good idea to test it in an inconspicuous area first. Some older paints or finishes might be sensitive to the chemicals in dryer sheets. Avoid using heavily saturated or overly scented dryer sheets, as they could potentially stain the paint. If you’re unsure, err on the side of caution and test a small area first. You can also try using a slightly damp dryer sheet to minimize the risk of damage.
8. What if my baseboards have stubborn stains or grime?
If your baseboards have stubborn stains or grime, you may need to use a slightly more aggressive cleaning method. Before using a dryer sheet, try wiping the baseboards with a damp cloth and a mild cleaning solution, such as dish soap or all-purpose cleaner. You can also use a scrub brush or sponge to gently scrub away the grime. Once the stains are removed, you can then use a dryer sheet to dust the baseboards and help repel future dust buildup.
9. Can I use this trick if I have pets? Is it safe for them?
This trick is generally safe for pets, but it’s always a good idea to take precautions. Keep dryer sheets out of reach of pets, as they could be harmful if ingested. If you have pets that tend to lick or chew on things, consider using unscented dryer sheets to minimize the risk of irritation. After dusting your baseboards, make sure to vacuum or sweep up any loose dust or debris that may have fallen to the floor.
10. Where can I buy dryer sheets?
Dryer sheets are widely available at most grocery stores, drugstores, and online retailers. You can find them in the laundry aisle, alongside other laundry detergents and fabric softeners. You can choose from a variety of brands, scents, and sizes to suit your needs and preferences. Consider buying dryer sheets in bulk to save money and ensure you always have them on hand for dusting your baseboards and other surfaces.


Leave a Comment