

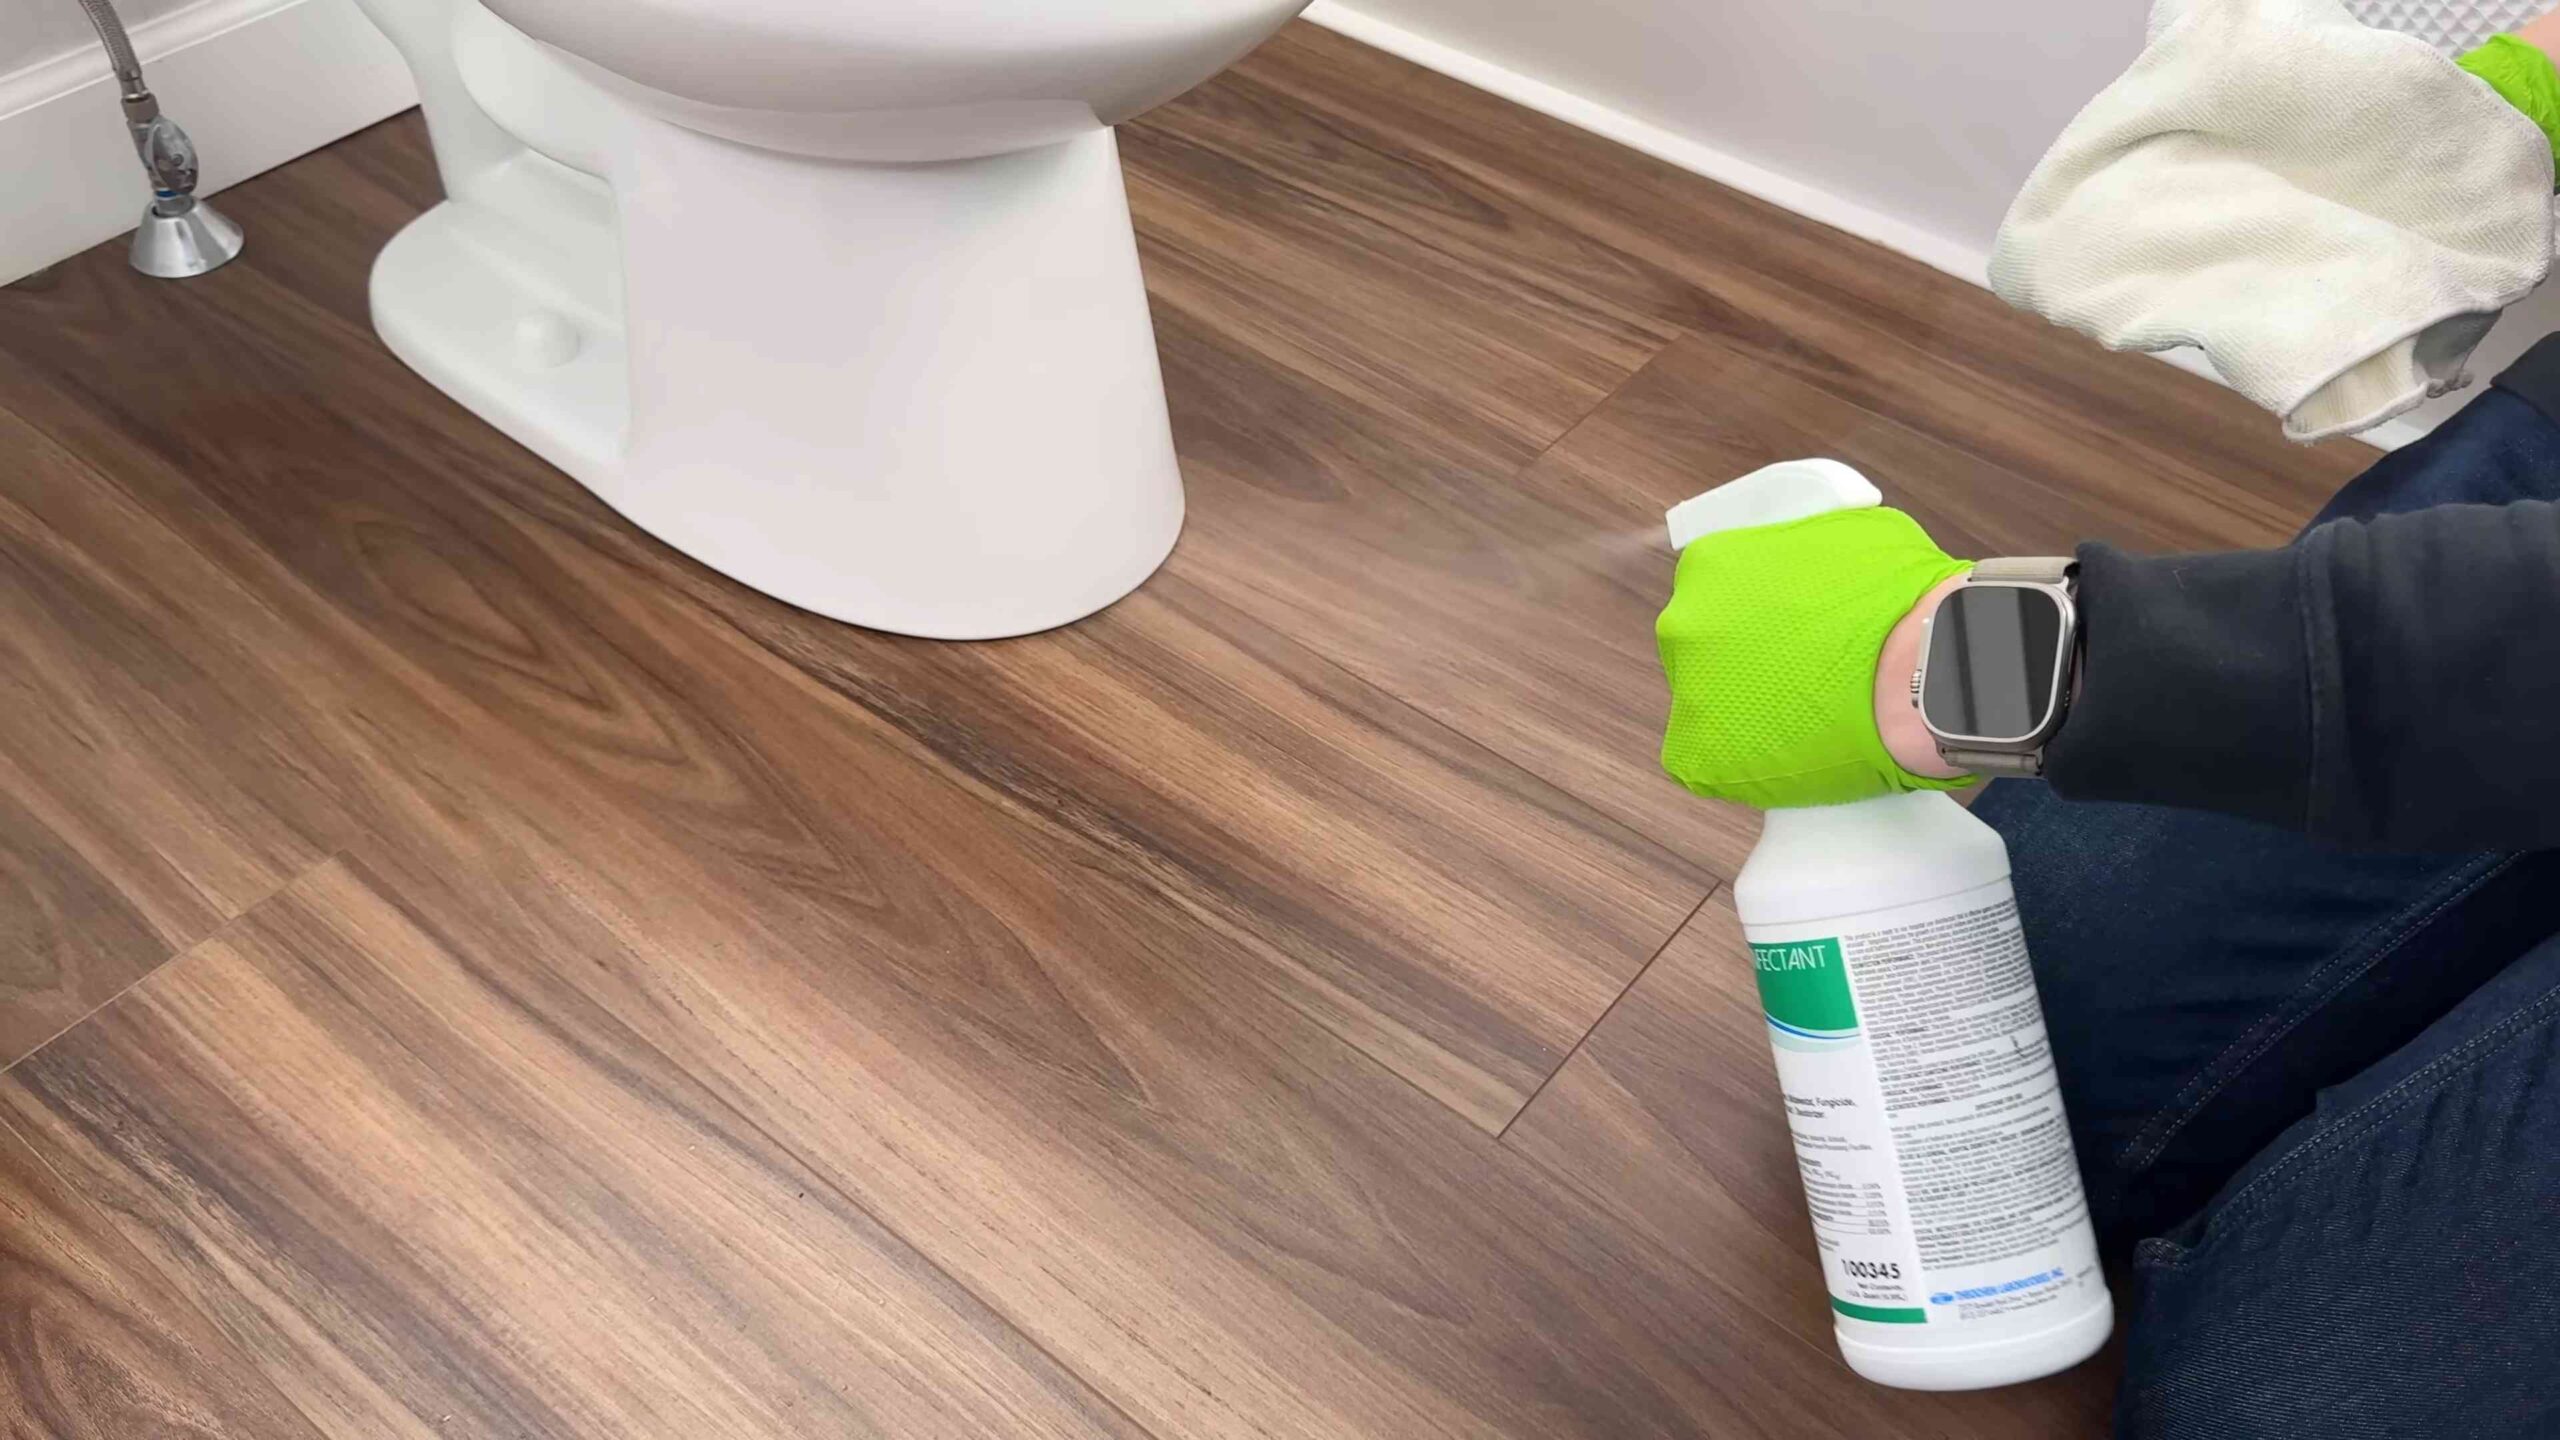
Easy toilet cleaning tricks are something we all desperately need, right? Let’s be honest, nobody enjoys scrubbing the toilet. It’s a chore we put off, and then regret when we finally face the grime. But what if I told you there are simple, almost magical ways to keep your toilet sparkling clean with minimal effort?
Throughout history, maintaining hygiene has been a constant human endeavor. While our ancestors may not have had the same cleaning products we do today, they certainly understood the importance of a clean and sanitary space. Now, we’re armed with modern solutions, but sometimes, the simplest solutions are the most effective. That’s where these DIY toilet cleaning hacks come in!
This article is your ultimate guide to effortless toilet maintenance. I’m going to share some of my favorite, tried-and-true easy toilet cleaning tricks that will save you time, money, and a whole lot of elbow grease. From natural cleaning solutions to clever hacks using everyday items, you’ll discover how to keep your toilet bowl fresh and stain-free with minimal effort. Say goodbye to harsh chemicals and endless scrubbing – let’s get cleaning the easy way!
DIY Toilet Cleaning Bombs: Sparkling Clean in Minutes!
Hey everyone! Are you tired of scrubbing your toilet? I know I am! That’s why I’m so excited to share this super easy DIY toilet cleaning bomb recipe with you. It’s a fun, effective, and eco-friendly way to keep your toilet bowl sparkling clean and smelling fresh. Plus, it’s a great way to use up those leftover ingredients you might already have in your pantry. Let’s get started!
What You’ll Need: The Ingredients
Before we dive into the process, let’s gather all the necessary ingredients and equipment. Don’t worry, most of these are common household items!
* **1 ½ cups Baking Soda:** This is the base of our cleaning bombs. Baking soda is a mild alkali that helps to dissolve dirt and grime.
* **½ cup Citric Acid:** This is the magic ingredient that creates the fizzing action, helping to lift stains and deodorize. You can usually find it in the baking aisle or online.
* **½ cup Cornstarch:** This acts as a binder, helping the ingredients stick together and preventing the bombs from crumbling.
* **½ cup Epsom Salt:** Epsom salt adds a bit of extra cleaning power and helps to harden the bombs.
* **25-30 drops Essential Oil(s):** This is where you can get creative! I love using a combination of tea tree oil (for its antibacterial properties) and lemon or lavender oil for a fresh scent. Peppermint, eucalyptus, and orange are also great options.
* **Water in a Spray Bottle:** We’ll use this to lightly dampen the mixture, just enough to make it hold its shape.
* **Silicone Molds:** These are perfect for shaping the bombs. You can use any shape you like – muffin tins, ice cube trays, or even fun silicone molds.
* **Mixing Bowl:** A large bowl to combine all the dry ingredients.
* **Gloves (Optional):** While the ingredients are generally safe, some people might have sensitive skin. Gloves can protect your hands.
* **Spoon or Whisk:** For mixing the ingredients.
Step-by-Step Instructions: Bomb-Making Time!
Okay, now for the fun part! Follow these steps carefully to create your own toilet cleaning bombs.
1. **Combine the Dry Ingredients:** In your mixing bowl, thoroughly combine the baking soda, citric acid, cornstarch, and Epsom salt. Use a whisk or spoon to ensure everything is evenly distributed. This is important for the bombs to fizz properly.
2. **Add the Essential Oils:** Now, add your chosen essential oils to the dry mixture. Drip them in slowly, stirring as you go. This will help to prevent the mixture from clumping. Remember, you can mix and match scents to create your own unique fragrance! I usually go for about 15 drops of tea tree oil and 10-15 drops of lemon or lavender.
3. **Lightly Moisten the Mixture:** This is the trickiest part, so pay close attention! Fill your spray bottle with water. Now, *very* lightly spritz the dry mixture with water, one or two sprays at a time. Immediately mix the ingredients after each spray. You want the mixture to be just damp enough to hold its shape when you squeeze it in your hand, like wet sand. Be careful not to add too much water, or the mixture will start to fizz prematurely. If this happens, add a little more baking soda and cornstarch to dry it out.
4. **Mold the Bombs:** Once the mixture is the right consistency, it’s time to mold your bombs! Pack the mixture tightly into your silicone molds. Press down firmly to ensure the bombs are compact.
5. **Let Them Dry:** Now, the waiting game! Let the bombs dry in the molds for at least 24 hours, or even longer if your environment is humid. You want them to be completely dry and hard before you remove them. I usually leave mine for 48 hours just to be safe.
6. **Remove from Molds:** Once the bombs are completely dry, gently pop them out of the molds. If they’re sticking, you can try tapping the bottom of the mold or gently twisting it.
7. **Store Your Bombs:** Store your finished toilet cleaning bombs in an airtight container in a cool, dry place. This will prevent them from absorbing moisture and fizzing before you’re ready to use them.
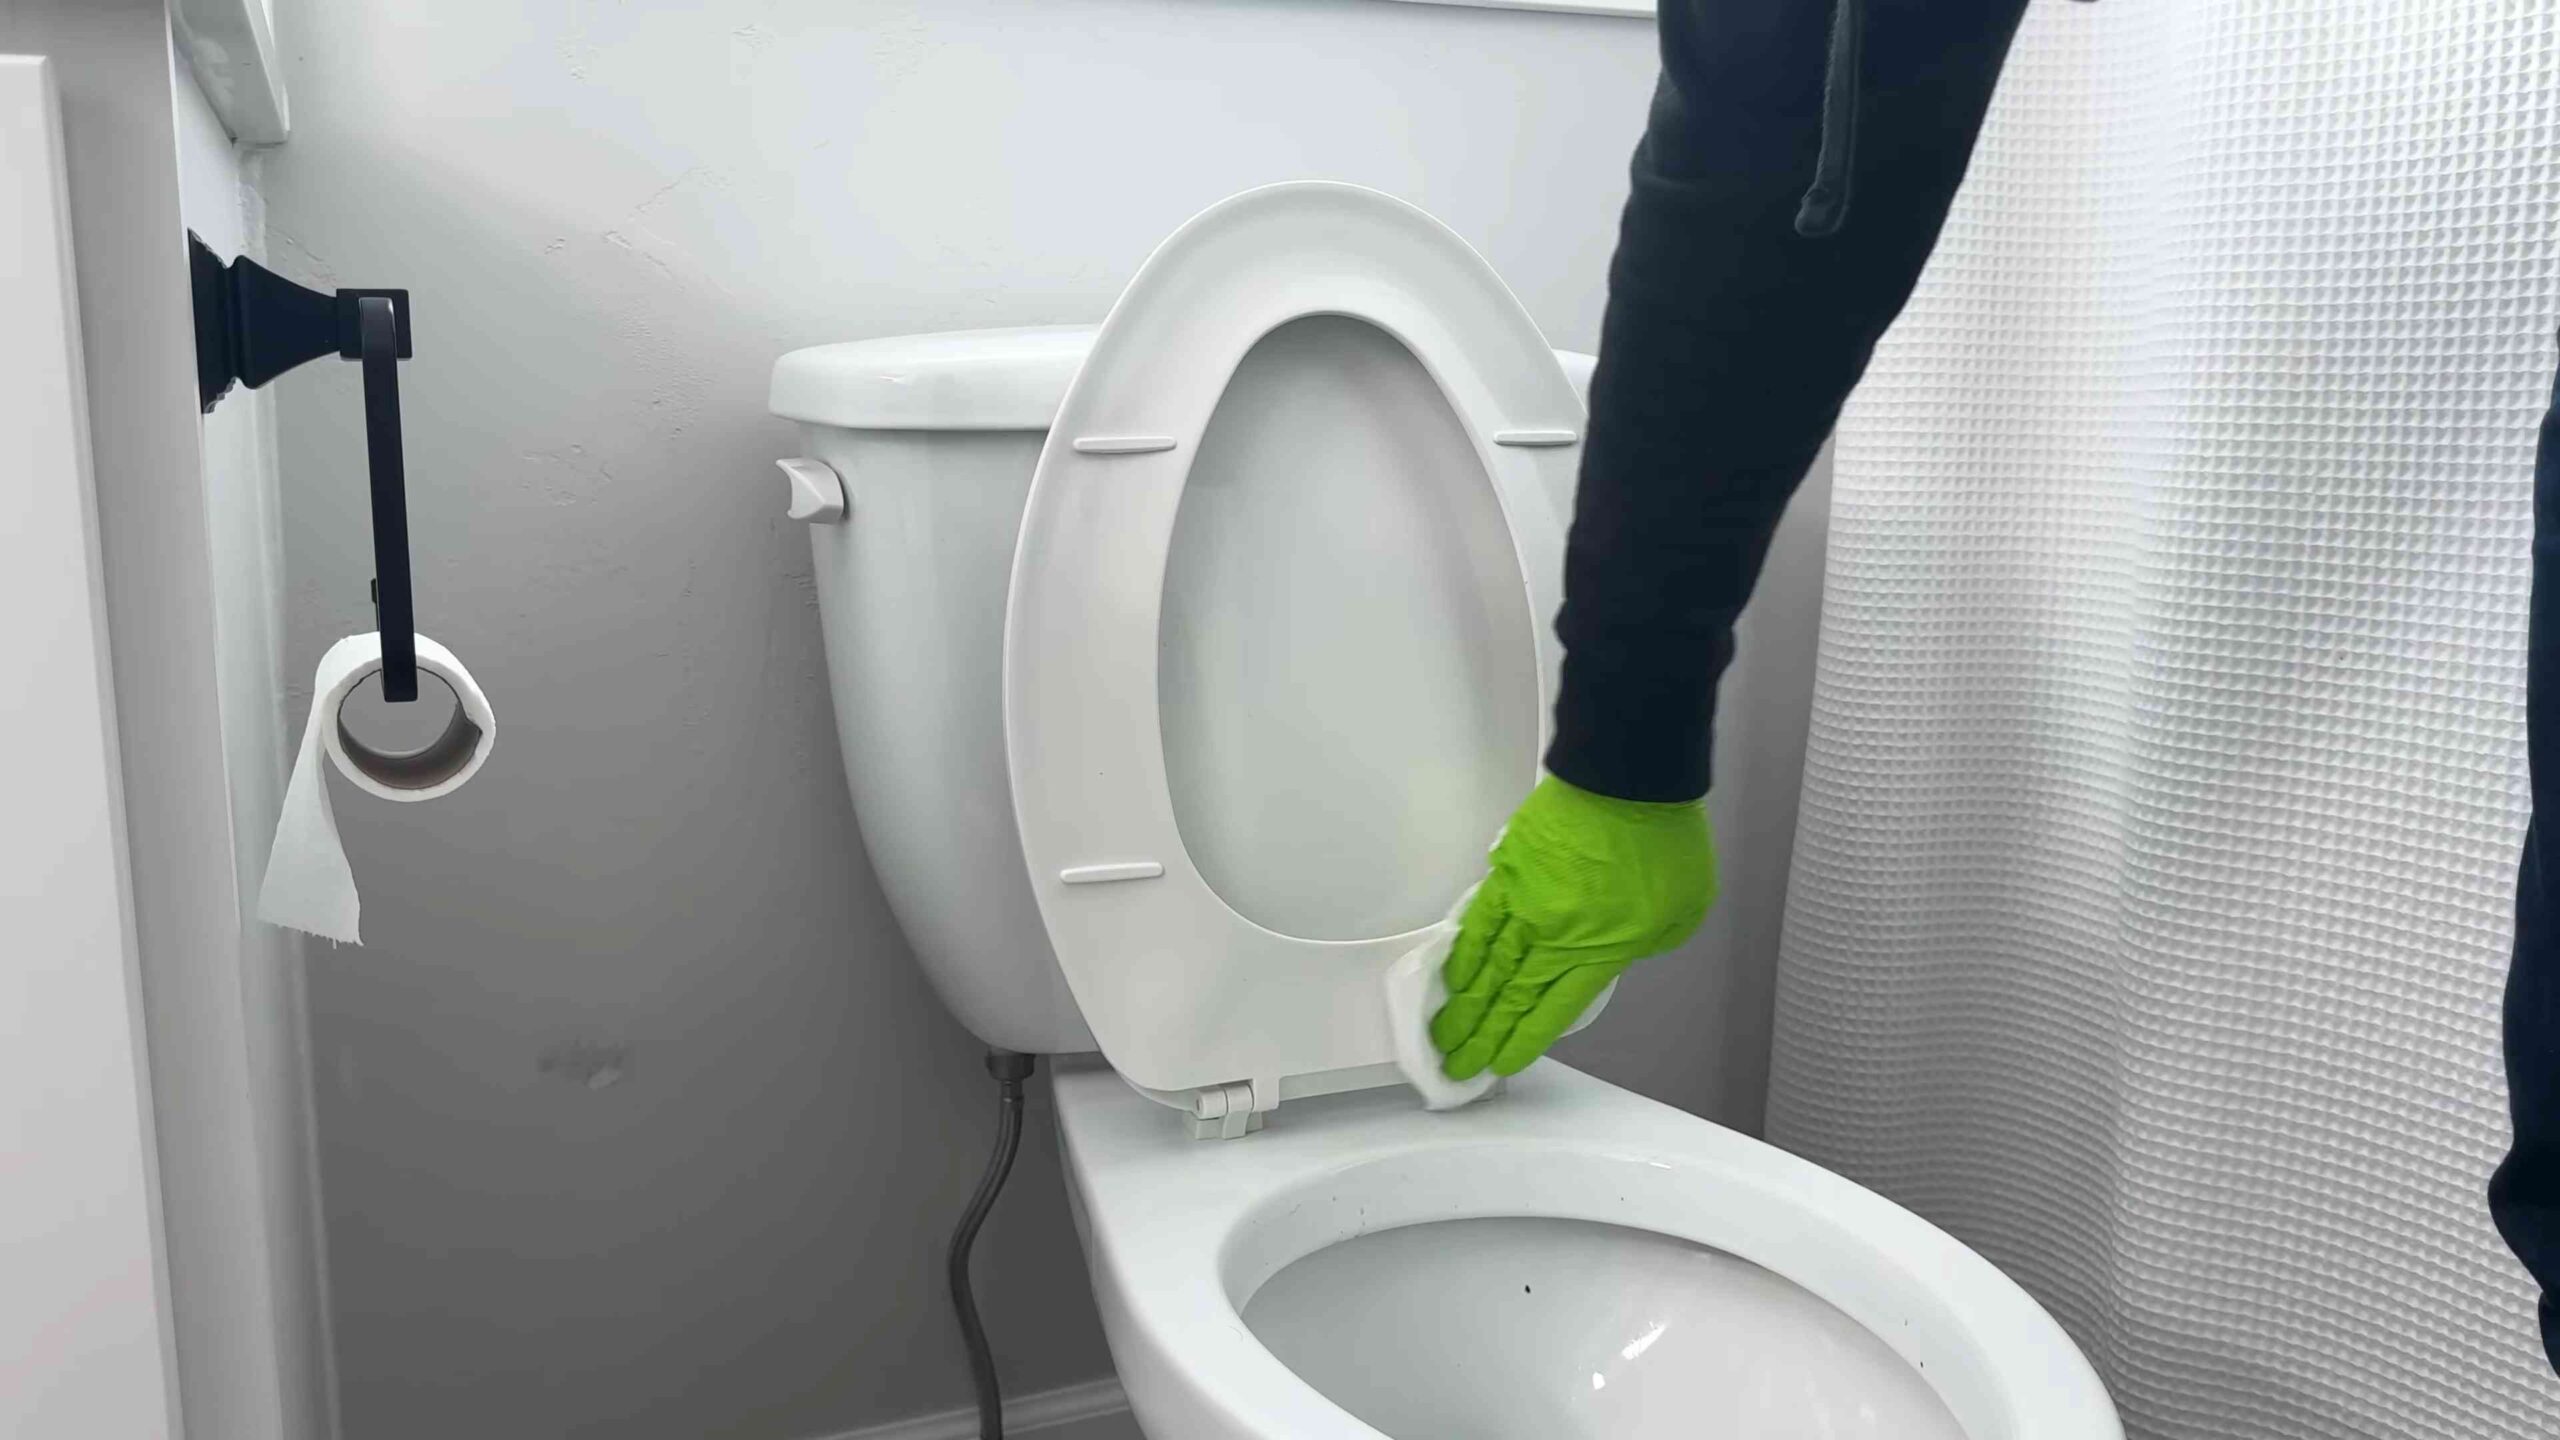
Using Your Toilet Cleaning Bombs: A Sparkling Clean Toilet Awaits!
Using your homemade toilet cleaning bombs is super easy!
1. **Drop a Bomb:** Simply drop one toilet cleaning bomb into your toilet bowl.
2. **Let it Fizz:** Watch the bomb fizz and dissolve! This process will help to loosen stains, deodorize, and freshen the bowl.
3. **Let it Sit (Optional):** For extra cleaning power, let the bomb sit in the bowl for 15-30 minutes before flushing.
4. **Flush:** Flush the toilet and enjoy your sparkling clean bowl!
Troubleshooting Tips: Getting it Right Every Time
Sometimes, things don’t go exactly as planned. Here are a few common issues and how to fix them:
* **Bombs are Crumbly:** This usually means the mixture is too dry. Add a *tiny* bit more water, one spray at a time, until it holds its shape.
* **Bombs are Fizzing Prematurely:** This means you’ve added too much water. Add more baking soda and cornstarch to dry out the mixture.
* **Bombs are Not Fizzing Enough:** This could be due to a few reasons. Make sure you’re using fresh citric acid and that the bombs are completely dry before using them. Also, ensure you’ve stored them in an airtight container to prevent them from absorbing moisture.
* **Bombs are Sticking to the Molds:** Make sure the bombs are completely dry before attempting to remove them. If they’re still sticking, try gently tapping the bottom of the mold or twisting it. You can also try lightly greasing the molds with coconut oil before filling them.
Variations and Customizations: Make Them Your Own!
The beauty of DIY is that you can customize things to your liking! Here are a few ideas to get you started:
* **Different Essential Oil Blends:** Experiment with different essential oil combinations to create your own signature scent. Some popular options include:
* **Citrus Burst:** Lemon, orange, and grapefruit
* **Relaxing Lavender:** Lavender, chamomile, and bergamot
* **Eucalyptus Mint:** Eucalyptus, peppermint, and rosemary
* **Add Color:** You can add a few drops of food coloring to the mixture to create colorful bombs. Just be careful not to add too much, as it could stain your toilet bowl.
* **Add Dried Herbs:** For a more natural touch, you can add a sprinkle of dried herbs like lavender buds or rosemary leaves to the mixture.
* **Stronger Cleaning Power:** For extra cleaning power, you can add a tablespoon of borax to the dry mixture. However, be aware that borax can be irritating to some people, so use gloves when handling it.
Safety Precautions: A Few Things to Keep in Mind
While these toilet cleaning bombs are generally safe, it’s always a good idea to take a few precautions:
* **Keep Out of Reach of Children and Pets:** These bombs are not meant to be ingested. Store them in a safe place where children and pets cannot access them.
* **Avoid Contact with Eyes:** If the mixture gets in your eyes, rinse thoroughly with water.
* **Use Gloves (Optional):** Some people may have sensitive skin and may want to wear gloves when handling the ingredients.
* **Test on a Small Area First:** If you’re concerned about the bombs staining your toilet bowl, test them on a small, inconspicuous area first.
Why I Love This DIY: The Benefits
I absolutely love this DIY toilet cleaning bomb recipe for so many reasons!
* **It’s Eco-Friendly:** You’re using natural ingredients and avoiding harsh chemicals found in commercial toilet cleaners.
* **It’s Cost-Effective:** Making your own cleaning bombs is much cheaper than buying them from the store.
* **It’s Customizable:** You can tailor the scent and ingredients to your liking.
* **It’s Fun!** It’s a great way to get creative and make something useful for your home.
* It’s Effective: These bombs really do clean and freshen your toilet bowl!
So there you have it! My easy DIY toilet cleaning bomb recipe. I hope you enjoy making and using these as much as I do. Happy cleaning!
Conclusion
So, there you have it! This simple, yet incredibly effective, DIY toilet cleaning trick is a game-changer for anyone looking to maintain a sparkling clean bathroom without resorting to harsh chemicals or spending a fortune on commercial cleaners. We’ve shown you how easy it is to create your own powerful cleaning solution using ingredients you likely already have in your pantry.
Why is this a must-try? Because it’s not just about cleaning; it’s about creating a healthier home environment. By ditching the toxic chemicals often found in store-bought cleaners, you’re reducing your exposure to harmful fumes and protecting your family’s well-being. Plus, you’re saving money and reducing plastic waste – a win-win for both your wallet and the planet!
But the beauty of this DIY toilet cleaning trick lies in its versatility. Feel free to experiment with different essential oils to create your own signature scent. Lavender, tea tree, eucalyptus, and lemon are all excellent choices, known for their antibacterial and antifungal properties, as well as their refreshing aromas. You can also adjust the ratio of ingredients to suit your specific needs and preferences. If you have particularly stubborn stains, try adding a bit more baking soda or vinegar.
For a deeper clean, consider letting the solution sit in the toilet bowl overnight before scrubbing. This will give the ingredients more time to work their magic and break down any buildup. And remember, regular cleaning is key to preventing stains and maintaining a fresh-smelling bathroom. Incorporate this DIY toilet cleaning trick into your weekly cleaning routine, and you’ll be amazed at the difference it makes.
We are confident that once you try this DIY toilet cleaning trick, you’ll never go back to store-bought cleaners again. It’s effective, affordable, eco-friendly, and customizable – what’s not to love?
Now it’s your turn! Give this DIY toilet cleaning trick a try and see the results for yourself. We’re eager to hear about your experiences. Share your tips, variations, and before-and-after photos in the comments below. Let’s create a community of clean-bathroom enthusiasts! We believe in the power of shared knowledge and experiences, and your feedback will help others discover the benefits of this simple yet transformative cleaning solution. So, go ahead, give it a whirl, and let us know what you think!
Ready to transform your toilet cleaning routine?
Don’t hesitate – grab those ingredients and get started today! You’ll be amazed at how easy it is to achieve a sparkling clean toilet with this simple DIY solution. And remember, a clean toilet is a happy toilet (and a happy you!).
Frequently Asked Questions
Here are some frequently asked questions to help you get the most out of this DIY toilet cleaning trick:
Q: What are the benefits of using a DIY toilet cleaner compared to store-bought cleaners?
A: There are several key benefits. First, DIY cleaners are generally much cheaper than store-bought options. You’re using common household ingredients that you likely already have on hand. Second, they’re often more environmentally friendly. You’re avoiding harsh chemicals that can pollute waterways and reducing your reliance on plastic packaging. Third, you have complete control over the ingredients, allowing you to avoid allergens or sensitivities. Finally, many people find the natural scents of essential oils more pleasant than the artificial fragrances in commercial cleaners.
Q: What ingredients do I need for this DIY toilet cleaning trick?
A: The basic recipe typically includes baking soda, vinegar, and essential oils (optional). Some variations may also include borax or dish soap. The exact proportions will vary depending on the specific recipe you’re following, but generally, you’ll need a cup or so of baking soda, a cup or two of vinegar, and a few drops of your favorite essential oil.
Q: Is it safe to mix baking soda and vinegar? I’ve heard it can be dangerous.
A: While baking soda and vinegar do react and produce carbon dioxide gas, the reaction is generally safe in the context of toilet cleaning. The amount of gas produced is not typically enough to cause any harm, especially in a well-ventilated bathroom. However, it’s always a good idea to avoid mixing large quantities of baking soda and vinegar in a closed container, as this could potentially create pressure. When using this DIY toilet cleaning trick, pour the vinegar into the toilet bowl after you’ve already added the baking soda.
Q: Can I use this DIY cleaner on all types of toilets?
A: In most cases, yes. This DIY cleaner is generally safe for use on porcelain toilets, which are the most common type. However, if you have a toilet made of a different material, such as plastic or stainless steel, it’s always a good idea to test the cleaner in an inconspicuous area first to ensure that it doesn’t cause any damage or discoloration.
Q: How often should I use this DIY toilet cleaning trick?
A: The frequency will depend on your personal preferences and how often your toilet needs cleaning. As a general guideline, cleaning your toilet once or twice a week is usually sufficient to maintain a clean and fresh-smelling bathroom. However, if you have a busy household or notice stains or buildup more frequently, you may need to clean it more often.
Q: What essential oils are best for toilet cleaning?
A: Several essential oils are known for their antibacterial, antifungal, and deodorizing properties, making them excellent choices for toilet cleaning. Some popular options include lavender, tea tree, eucalyptus, lemon, and peppermint. You can use a single essential oil or create a blend of several oils to create your own custom scent.
Q: Can I use this DIY cleaner to clean other parts of my bathroom?
A: While this DIY cleaner is primarily designed for toilet cleaning, it can also be used to clean other parts of your bathroom, such as sinks, showers, and tiles. However, it’s important to test the cleaner in an inconspicuous area first to ensure that it doesn’t damage or discolor the surface. You may also need to adjust the ratio of ingredients depending on the specific surface you’re cleaning.
Q: How do I store the DIY toilet cleaner if I make a large batch?
A: It’s best to make the cleaner fresh each time you need it. However, if you want to make a larger batch, store it in a well-labeled, airtight container in a cool, dry place. Be sure to keep it out of reach of children and pets. Because the mixture will react over time, it’s best to use it within a few days for optimal effectiveness.
Q: What if I have hard water stains in my toilet? Will this DIY cleaner remove them?
A: This DIY toilet cleaning trick can help to remove mild hard water stains. The vinegar acts as a mild acid that can dissolve mineral deposits. For more stubborn hard water stains, you may need to use a stronger acid-based cleaner or a specialized hard water stain remover. You can also try soaking a cloth in vinegar and applying it directly to the stain for several hours before scrubbing.
Q: My toilet has a really bad odor. Will this DIY cleaner help to eliminate it?
A: Yes, this DIY cleaner can help to eliminate bad odors in your toilet. The baking soda acts as a natural deodorizer, while the essential oils can provide a fresh and pleasant scent. For particularly strong odors, you can try adding a few drops of tea tree oil, which is known for its powerful antibacterial and antifungal properties. Also, ensure that the toilet bowl is thoroughly cleaned, including under the rim, where bacteria can accumulate.


Leave a Comment