

Home feels messy? Don’t despair! We’ve all been there, staring at the clutter and feeling overwhelmed. But what if I told you that transforming your messy home into a haven of tranquility doesn’t require a complete overhaul or a professional organizer? It’s all about embracing clever DIY tricks and hacks that make a big impact with minimal effort.
For centuries, cultures around the world have developed ingenious methods for maintaining order and maximizing space. From the minimalist principles of Japanese design to the resourceful repurposing techniques of thrifty households, the desire for a tidy and functional home is a universal one. These time-tested strategies, often passed down through generations, prove that a well-organized home contributes to a more peaceful and productive life.
In today’s fast-paced world, a messy home can contribute to stress, anxiety, and even decreased productivity. Who has time to search for misplaced keys or rummage through overflowing drawers? That’s why I’m so excited to share these simple yet effective home feels messy tips and DIY solutions. These aren’t just about aesthetics; they’re about reclaiming your space, your time, and your peace of mind. Let’s dive in and discover how to create a home that feels calm, organized, and truly yours!
Decluttering Your Home: A DIY Guide to a More Serene Space
Okay, let’s face it, a messy home can really drag you down. It’s hard to relax and be productive when you’re surrounded by clutter. But don’t worry, you don’t need to hire a professional organizer to transform your space. I’m going to walk you through a DIY decluttering process that’s manageable, effective, and even a little bit fun (okay, maybe not *fun* fun, but definitely satisfying!).
Phase 1: The Mindset Shift & Preparation
Before we even touch a single item, let’s get our heads in the right place. Decluttering isn’t just about getting rid of stuff; it’s about creating a space that supports your well-being.
* Embrace the “Less is More” Philosophy: This isn’t about minimalism for the sake of minimalism. It’s about consciously choosing to surround yourself with things you truly love, use, or need. Think quality over quantity.
* Set Realistic Goals: Don’t try to declutter your entire house in one weekend. That’s a recipe for burnout. Start small, maybe with a single drawer, shelf, or corner. Celebrate those small victories!
* Gather Your Supplies: You’ll need a few essentials:
* Trash bags (for actual trash)
* Boxes or bins (for donations)
* A box or container labeled “Relocate” (for items that belong in another room)
* Cleaning supplies (because we’re going to wipe things down as we go!)
* A timer (to keep you focused and prevent overwhelm)
* Music or a podcast (to make the process more enjoyable)
Phase 2: The Decluttering Process – Room by Room
Now for the main event! We’re going to tackle each room systematically. Remember, be honest with yourself about what you truly need and use.
1. The Kitchen: Conquer the Culinary Chaos
The kitchen is often a clutter hotspot. Let’s get it under control.
1. Start with the Counters: Clear everything off. Wipe down the surfaces. Now, only put back the items you use *daily*. Everything else needs a home elsewhere.
2. Tackle the Pantry:
* Remove everything. Check expiration dates. Toss anything that’s expired or you know you’ll never use.
* Group similar items together (canned goods, baking supplies, snacks).
* Use clear containers to store loose items like pasta, rice, and cereal. This makes it easier to see what you have and prevents food waste.
* Consider using shelf organizers to maximize vertical space.
3. Organize the Drawers:
* Empty each drawer completely.
* Wipe it clean.
* Use drawer dividers to separate utensils, gadgets, and other items.
* Get rid of duplicates or items you rarely use. How many spatulas *do* you really need?
4. Declutter the Cabinets:
* Similar to the pantry, remove everything.
* Assess your cookware and dishes. Are there any chipped plates, mismatched mugs, or pots and pans you never use? Donate them!
* Store items you use frequently within easy reach.
* Use vertical organizers to stack plates and lids efficiently.
5. The Refrigerator: This is a weekly task, but let’s give it a deep clean now.
* Remove everything.
* Wipe down the shelves and drawers.
* Toss expired food and leftovers.
* Organize items by category (dairy, produce, condiments).
* Use clear containers to store leftovers and prepped ingredients.
2. The Living Room: Create a Cozy and Functional Space
The living room should be a place to relax and unwind. Let’s make it happen.
1. Clear the Surfaces: Coffee tables, side tables, shelves – clear them all.
2. Declutter the Bookshelves:
* Remove all the books and decorative items.
* Dust the shelves.
* Be ruthless with your books. Donate or sell books you’ve already read and don’t plan to read again.
* Arrange books by color, size, or genre for a visually appealing look.
* Add decorative items sparingly. Less is more!
3. Tackle the Entertainment Center:
* Organize your DVDs, CDs, and video games.
* Get rid of any outdated technology or cables you no longer use.
* Use cable organizers to keep cords tidy and out of sight.
4. The Couch and Chairs:
* Remove all the cushions and blankets.
* Vacuum the upholstery.
* Donate or sell any throw pillows or blankets you don’t love.
* Consider investing in a storage ottoman to hide away blankets and other items.
5. The Coffee Table:
* Only keep essential items on the coffee table, such as a remote control, a coaster, and a decorative item.
* Use trays to corral smaller items.
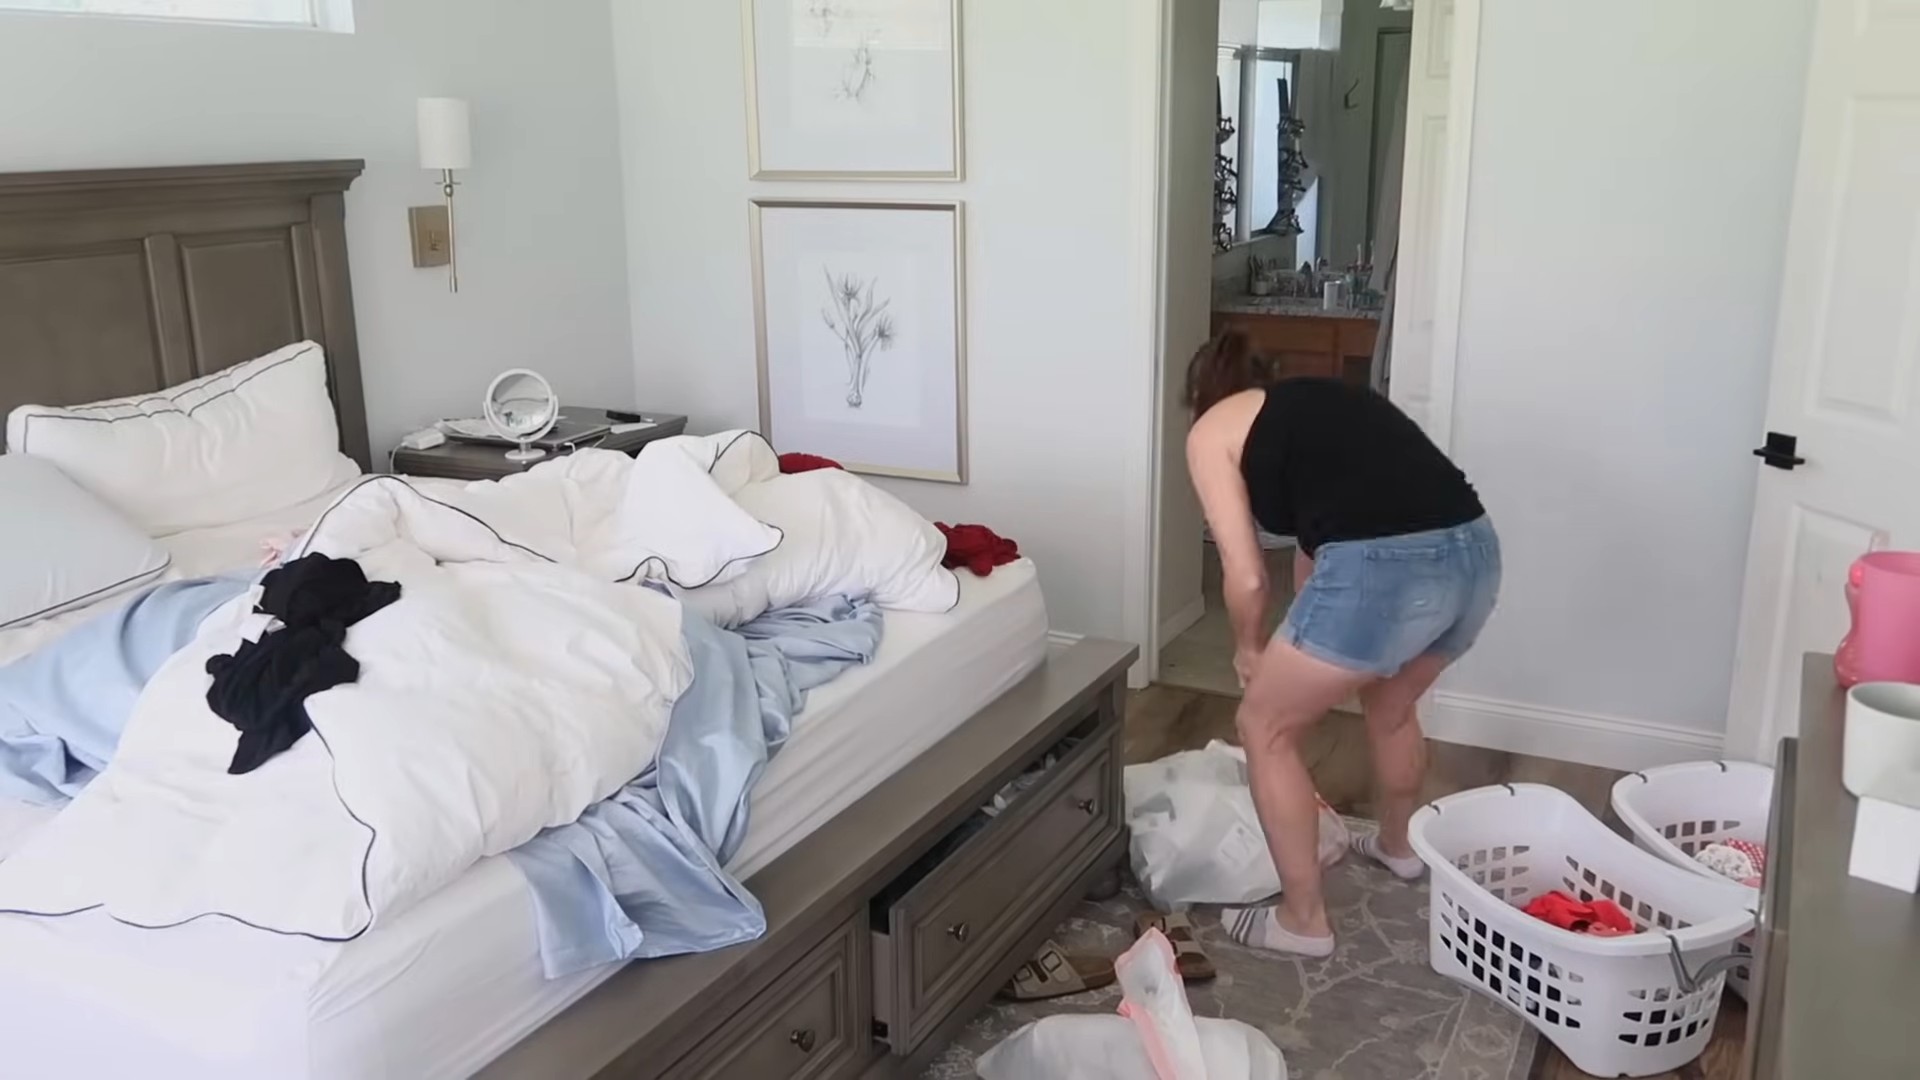
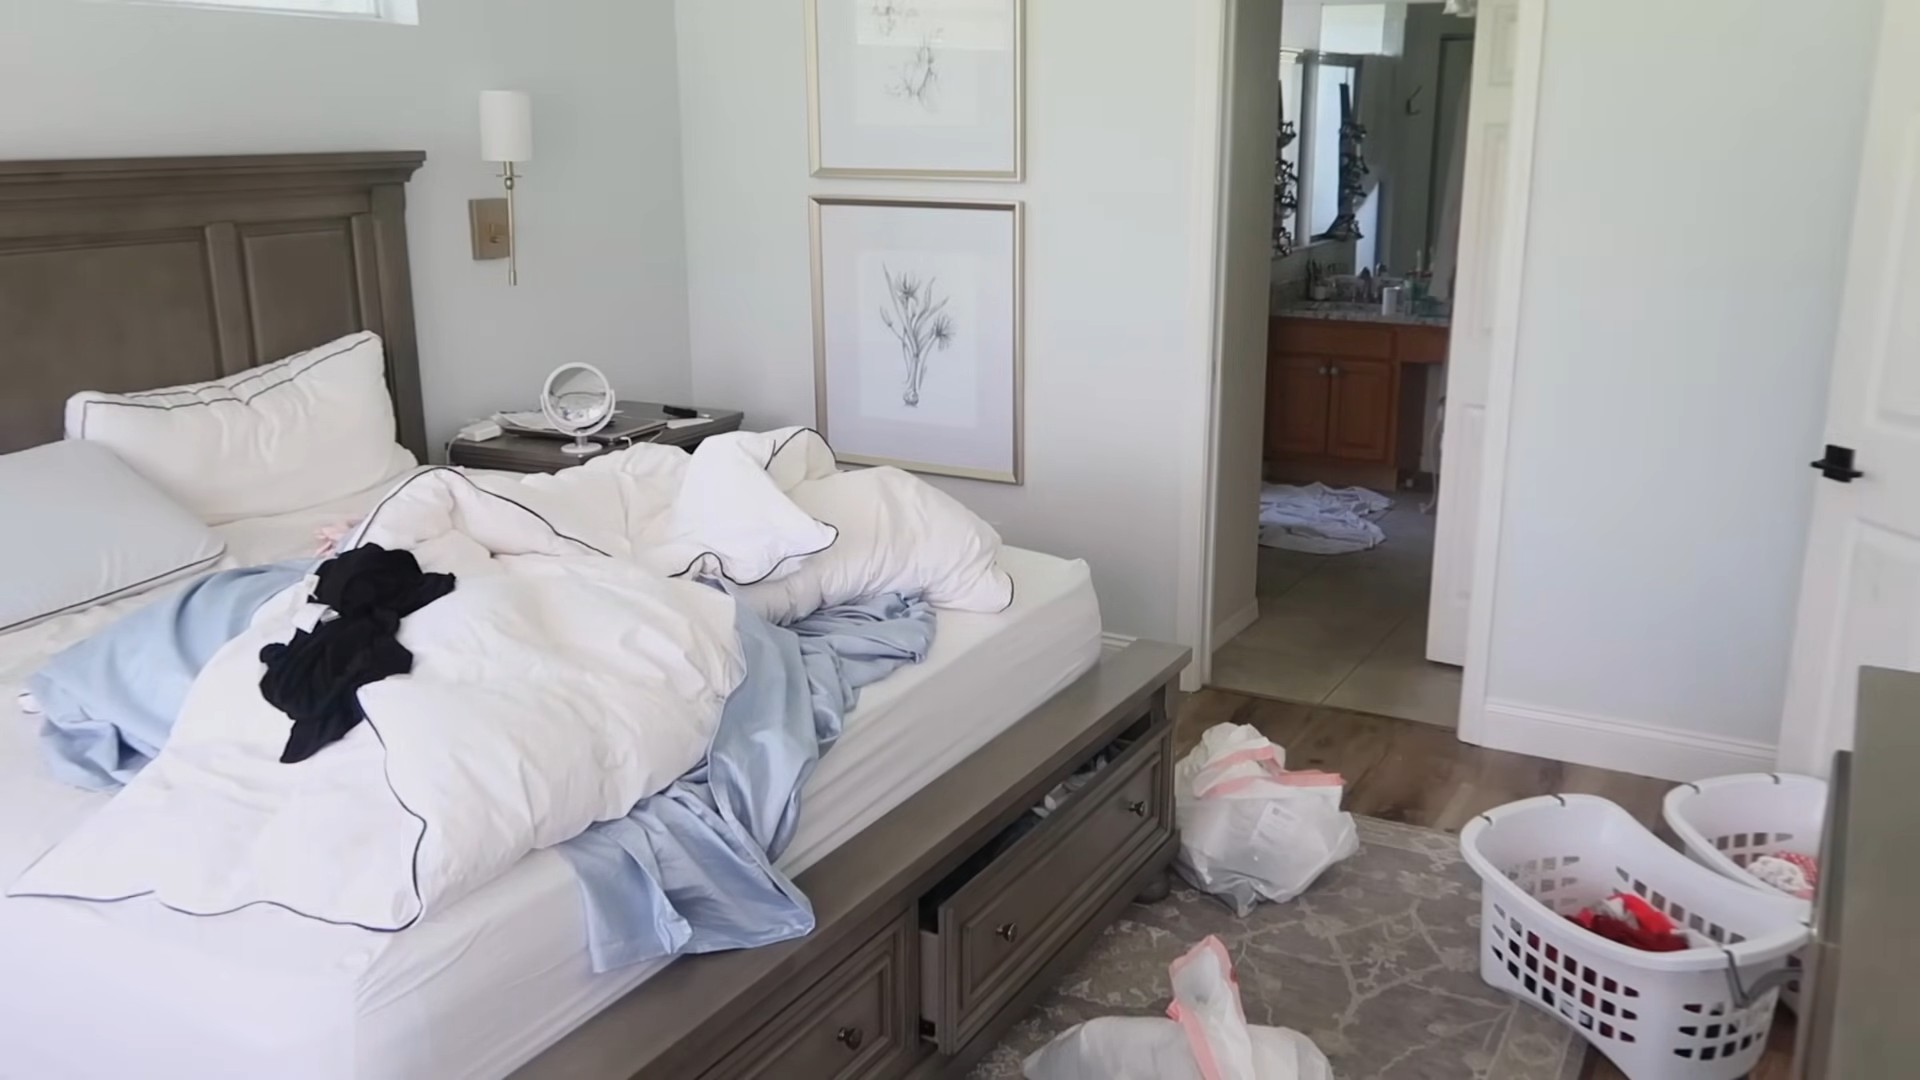
3. The Bedroom: Your Sanctuary of Serenity
Your bedroom should be a calm and relaxing space. Let’s declutter it to create a true sanctuary.
1. The Closet: This is often the biggest challenge, but also the most rewarding.
* Remove *everything* from your closet. Yes, everything.
* Try on each item of clothing. Ask yourself:
* Does it fit?
* Is it in good condition?
* Do I love it?
* Have I worn it in the past year?
* If the answer to any of these questions is “no,” it’s time to let it go.
* Organize your clothes by category (shirts, pants, dresses) and then by color.
* Use matching hangers for a more streamlined look.
* Store out-of-season clothes in storage bins or vacuum-sealed bags.
2. The Dresser:
* Empty each drawer.
* Fold your clothes neatly using the KonMari method (vertical folding). This saves space and allows you to see everything at a glance.
* Use drawer dividers to separate socks, underwear, and other small items.
* Get rid of any old or worn-out items.
3. The Nightstands:
* Clear the surfaces.
* Keep only essential items on your nightstands, such as a lamp, a book, and a glass of water.
* Use drawers or baskets to store other items, such as reading glasses, lotions, and medications.
4. Under the Bed:
* This is prime real estate for storage!
* Use under-bed storage containers to store out-of-season clothes, extra linens, or books.
* Make sure the containers are easy to access.
4. The Bathroom: Streamline Your Self-Care Space
The bathroom can quickly become cluttered with toiletries and personal care items. Let’s simplify.
1. The Countertops:
* Clear everything off.
* Wipe down the surfaces.
* Only put back the items you use daily.
* Use trays or organizers to corral smaller items like makeup brushes and cotton swabs.
2. The Drawers and Cabinets:
* Remove everything.
* Check expiration dates on all your products. Toss anything that’s expired or you no longer use.
* Organize items by category (skincare, makeup, hair care).
* Use drawer dividers or organizers to keep things tidy.
* Store extra toiletries in a separate container.
3. The Shower and Tub:
* Get rid of any empty bottles or products you don’t use.
* Use a shower caddy to organize your shampoo, conditioner, and body wash.
* Hang a towel rack or hooks to keep towels off the floor.
4. Under the Sink:
* This is a great place to store cleaning supplies.
* Use organizers to maximize space and keep things tidy.
* Store extra toilet paper and other essentials in a separate container.
Phase 3: The Maintenance Plan
Decluttering is an ongoing process, not a one-time event. To keep your home clutter-free, follow these tips:
* The One-In, One-Out Rule: For every new item you bring into your home, get rid of one similar item.
* The 15-Minute Tidy: Spend 15 minutes each day tidying up. This will prevent clutter from accumulating.
* Regular Purges: Go through
Conclusion
So, there you have it! Transforming your home from a chaotic mess to a serene sanctuary doesn’t require a complete overhaul or a hefty investment. By implementing these simple yet effective DIY tricks, you can reclaim your space and create a home that truly feels like a haven. The beauty of these methods lies in their adaptability. They’re not rigid rules, but rather flexible guidelines that you can tailor to your specific needs and preferences.
Why is this a must-try? Because a tidy home is more than just aesthetically pleasing; it’s a catalyst for improved well-being. Imagine waking up each morning in a clutter-free environment, feeling energized and ready to tackle the day. Picture yourself relaxing in the evening, surrounded by organized spaces that promote tranquility and peace of mind. This isn’t just about tidiness; it’s about creating a lifestyle that supports your mental and emotional health.
Consider these variations to personalize your approach. If you’re short on time, focus on one high-impact area each day, such as your entryway or kitchen counter. If you’re feeling overwhelmed, break down larger tasks into smaller, more manageable steps. Don’t be afraid to experiment with different storage solutions and organizational techniques until you find what works best for you. For example, if you find that open shelving encourages clutter, opt for closed cabinets or decorative baskets to conceal items. If you’re a visual person, try labeling everything clearly to make it easier to find what you need.
Remember, the key is consistency. Even small, daily efforts can make a significant difference over time. Make it a habit to declutter for just 15 minutes each day, and you’ll be amazed at how much you can accomplish. Involve your family members in the process to create a shared sense of responsibility and maintain a clutter-free environment together.
We wholeheartedly encourage you to try these DIY home feels messy tips and experience the transformative power of an organized space. Don’t just take our word for it; put these strategies into action and see the results for yourself. We are confident that you’ll find these tips invaluable in creating a home that is both functional and beautiful.
And now, we want to hear from you! What are your favorite DIY home feels messy tips? What challenges have you faced in decluttering and organizing your home? What successes have you celebrated? Share your experiences in the comments below. Your insights and feedback will not only inspire others but also help us to refine and improve these tips for future readers. Let’s create a community of like-minded individuals who are passionate about creating homes that are both beautiful and functional. We can’t wait to hear your stories!
Frequently Asked Questions (FAQ)
Q: My home feels messy all the time, even after I clean. What am I doing wrong?
A: It’s a common frustration! The issue might not be the cleaning itself, but rather the underlying clutter. Often, we’re simply moving things around instead of actually getting rid of them. Consider decluttering before you clean. Go through each room and identify items you no longer need, use, or love. Donate, sell, or discard these items to create more space and prevent clutter from accumulating in the first place. Another factor could be a lack of designated storage spaces. If everything doesn’t have a “home,” it’s more likely to end up scattered around. Invest in storage solutions like shelves, baskets, and containers to keep things organized and out of sight. Finally, establish a regular cleaning schedule and stick to it. Even a quick 15-minute tidy-up each day can make a big difference in maintaining a clutter-free environment.
Q: I’m overwhelmed by the amount of clutter in my home. Where do I even start?
A: The key is to break it down into smaller, more manageable tasks. Don’t try to tackle your entire home at once. Choose one area, such as a drawer, a shelf, or a corner of a room, and focus on decluttering that specific space. Once you’ve completed that task, move on to the next. This approach will prevent you from feeling overwhelmed and allow you to see progress more quickly. Another helpful strategy is to use the “four-box method.” Grab four boxes and label them “Keep,” “Donate,” “Sell,” and “Trash.” As you go through your belongings, place each item into the appropriate box. This will help you to make decisions more easily and streamline the decluttering process. Remember to be ruthless! If you haven’t used something in a year, it’s likely time to let it go.
Q: I have trouble letting go of things, even if I don’t need them. How can I overcome this?
A: This is a common challenge, often rooted in emotional attachment or fear of regret. Start by asking yourself why you’re holding onto the item. Is it because it has sentimental value? Is it because you think you might need it someday? Once you understand the underlying reason, you can address it more effectively. For sentimental items, consider taking a photo of them or creating a memory box to preserve the memories without keeping the physical object. For items you think you might need someday, ask yourself if you could easily replace them if necessary. If the answer is yes, it’s probably safe to let them go. Also, remember that donating or selling your unwanted items can benefit others, which can make it easier to part with them.
Q: What are some good storage solutions for small spaces?
A: Vertical storage is your best friend! Utilize shelves, wall-mounted cabinets, and hanging organizers to maximize space. Look for furniture with built-in storage, such as ottomans with hidden compartments or beds with drawers underneath. Use baskets and containers to organize items on shelves and in cabinets. Over-the-door organizers are great for storing shoes, toiletries, or cleaning supplies. Consider using clear containers so you can easily see what’s inside. Don’t forget about the space under your bed! Store out-of-season clothing, extra linens, or other items in flat storage containers.
Q: How can I get my family members to help keep the house tidy?
A: Communication and collaboration are key. Have a family meeting to discuss the importance of maintaining a tidy home and brainstorm ways to achieve it together. Assign age-appropriate chores to each family member and create a chore chart to keep everyone accountable. Make it fun! Turn cleaning into a game or offer rewards for completing chores. Lead by example. If your family sees you actively participating in cleaning and organizing, they’re more likely to follow suit. Be patient and understanding. It takes time to develop new habits, so don’t get discouraged if things don’t change overnight. Celebrate successes and acknowledge everyone’s efforts to create a positive and supportive environment.
Q: What are some quick and easy ways to tidy up when I don’t have much time?
A: Focus on high-impact areas, such as your entryway, kitchen counter, and living room. Clear away clutter and put things back where they belong. Wipe down surfaces and sweep or vacuum floors. Make your bed and fluff your pillows. Light a candle or diffuse essential oils to create a pleasant atmosphere. These small actions can make a big difference in how your home feels. Set a timer for 15 minutes and see how much you can accomplish in that time. You’ll be surprised at how much you can get done when you’re focused and efficient.
Q: How often should I declutter my home?
A: Ideally, you should declutter regularly, even if it’s just for a few minutes each day. A major decluttering session should be done at least twice a year, such as in the spring and fall. This will help you to stay on top of clutter and prevent it from accumulating. You can also declutter as needed, such as when you’re preparing for a move or when you’re feeling overwhelmed by clutter. The key is to make decluttering a regular part of your routine.


Leave a Comment