

Forgotten cleaning areas – we all have them, those little nooks and crannies in our homes that seem to magically evade our cleaning radar. I know I do! Maybe it’s the top of the refrigerator, the inside of the dishwasher, or even the remote control (yes, really!). These overlooked spots can quickly become breeding grounds for dust, grime, and even bacteria, impacting not only the cleanliness of your home but also your overall well-being.
Throughout history, maintaining a clean home has been more than just aesthetics; it’s been linked to health, prosperity, and even social standing. While our ancestors may not have had the same cleaning products we do today, the principle of keeping a tidy and hygienic living space remains timeless. Think about it – even ancient civilizations understood the importance of sanitation!
But let’s be honest, in today’s busy world, who has time to scrub every single corner of their house every single week? That’s where these DIY cleaning tricks come in! I’m going to share some simple, effective, and often overlooked cleaning hacks that will help you tackle those forgotten cleaning areas with ease. You’ll be amazed at how much fresher and healthier your home feels once you’ve conquered these hidden grime zones. Get ready to say goodbye to dust bunnies and hello to a sparkling clean home!
DIY Deep Cleaning: Tackling Those Forgotten Spots
Okay, let’s be honest. We all have those areas in our homes that we conveniently “forget” to clean. You know, the ones that are out of sight, out of mind… until they’re not. Well, today, we’re diving headfirst into a deep cleaning mission, targeting those neglected nooks and crannies. I’m going to walk you through my tried-and-true methods for getting these areas sparkling clean. Get ready to roll up your sleeves!
Gathering Your Cleaning Arsenal
Before we even think about scrubbing, let’s make sure we have all the right tools and supplies. Trust me, being prepared will save you a ton of time and frustration.
* Microfiber cloths: These are my absolute go-to for almost everything. They’re super absorbent, gentle on surfaces, and reusable. Stock up!
* All-purpose cleaner: Choose your favorite. I personally love using a diluted vinegar solution for many surfaces, but a commercial all-purpose cleaner works great too.
* Baking soda: This is a natural cleaning powerhouse. It’s great for scrubbing, deodorizing, and tackling stubborn stains.
* White vinegar: Another natural wonder! It’s excellent for dissolving hard water stains, removing mildew, and disinfecting.
* Dish soap: A little dish soap goes a long way for cutting through grease and grime.
* Old toothbrush: Perfect for getting into those tiny crevices and corners.
* Cotton swabs: Ideal for cleaning delicate areas and hard-to-reach spots.
* Vacuum cleaner with attachments: Essential for removing dust and debris from upholstery, vents, and other surfaces.
* Screwdriver (various sizes): You might need these to remove vent covers or other fixtures for thorough cleaning.
* Rubber gloves: Protect your hands from harsh chemicals and grime.
* Spray bottles: For diluting cleaning solutions and applying them evenly.
* Bucket: For mixing cleaning solutions and rinsing cloths.
* Ladder or step stool: To reach high areas like ceiling fans and light fixtures.
* Cleaning brush with a long handle: This is a lifesaver for cleaning shower walls and other hard-to-reach areas.
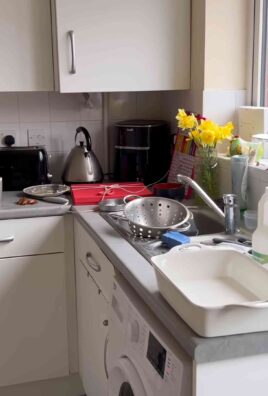
Cleaning the Kitchen’s Hidden Havens
The kitchen is a breeding ground for grime, especially in those areas we tend to overlook. Let’s tackle them one by one.
1. Underneath Appliances
This is a big one! Crumbs, spills, and dust bunnies love to congregate under the refrigerator, stove, and dishwasher.
1. Safety First: Unplug the appliance before you start cleaning. This is crucial for your safety.
2. Pull it Out (Carefully!): Gently pull the appliance away from the wall. You might need a helper for heavier appliances like the refrigerator. Be careful not to scratch your floor.
3. Vacuum the Area: Use your vacuum cleaner with the hose attachment to suck up all the loose debris.
4. Scrub the Floor: Mix a solution of warm water and dish soap in a bucket. Use a sponge or mop to scrub the floor underneath the appliance.
5. Clean the Appliance Sides: While you’re at it, wipe down the sides of the appliance with a damp cloth and all-purpose cleaner.
6. Replace the Appliance: Carefully push the appliance back into place.
2. Inside the Dishwasher
Even though it’s constantly washing dishes, the dishwasher itself needs a good cleaning every now and then.
1. Empty the Dishwasher: Make sure there are no dishes inside.
2. Clean the Filter: Locate the filter (usually at the bottom of the dishwasher) and remove it. Rinse it thoroughly under running water to remove any food particles. Use an old toothbrush to scrub away stubborn grime.
3. Vinegar Wash: Place a dishwasher-safe cup filled with white vinegar on the top rack. Run the dishwasher on a hot cycle. The vinegar will help to dissolve mineral deposits and remove odors.
4. Baking Soda Refresh: After the vinegar cycle, sprinkle a cup of baking soda on the bottom of the dishwasher. Let it sit overnight, then run a short cycle. This will help to freshen the dishwasher and absorb any lingering odors.
5. Wipe Down the Door and Seals: Use a damp cloth and all-purpose cleaner to wipe down the dishwasher door, inside and out, as well as the rubber seals around the door.
3. Inside the Microwave
Microwaves are notorious for splatters and spills. Let’s get that mess under control.
1. Steam Clean: Fill a microwave-safe bowl with 1 cup of water and a few tablespoons of white vinegar or lemon juice. Microwave on high for 5 minutes. This will create steam that loosens the grime.
2. Wipe it Down: Carefully remove the bowl (it will be hot!). Use a damp cloth to wipe down the inside of the microwave. The grime should come off easily.
3. Clean the Turntable: Remove the turntable and wash it with warm soapy water.
4. Wipe the Exterior: Wipe down the exterior of the microwave with a damp cloth and all-purpose cleaner.
4. Kitchen Sink Disposal
This is a spot that often gets overlooked, but it can be a source of unpleasant odors.
1. Flush with Hot Water: Run hot water down the disposal for a minute or two to flush out any loose debris.
2. Baking Soda and Vinegar: Pour 1/2 cup of baking soda down the disposal, followed by 1 cup of white vinegar. Let it fizz for about 5 minutes.
3. Flush Again: Run hot water down the disposal again to rinse away the baking soda and vinegar.
4. Lemon or Lime: Cut a lemon or lime into wedges and grind them in the disposal. This will help to freshen the disposal and remove any lingering odors.
Bathroom Blind Spots: Conquering the Grime
The bathroom is another area that requires regular deep cleaning, especially in those hard-to-reach spots.
1. Showerhead
Mineral deposits can build up on the showerhead, reducing water pressure and affecting the spray.
1. Vinegar Soak: Fill a plastic bag with white vinegar. Secure the bag around the showerhead with a rubber band, ensuring that the showerhead is completely submerged in the vinegar.
2. Soak Overnight: Let the showerhead soak overnight.
3. Remove and Rinse: Remove the bag and rinse the showerhead thoroughly with water. Use an old toothbrush to scrub away any remaining mineral deposits.
2. Behind the Toilet
This area is often neglected, but it can accumulate dust, hair, and other debris.
1. Vacuum First: Use your vacuum cleaner with the hose attachment to suck up any loose debris.
2. Spray and Wipe: Spray the area with all-purpose cleaner and let it sit for a few minutes.
3. Scrub and Rinse: Use a scrub brush or sponge to scrub the area. Rinse with water.
3. Grout
Grout can become stained and discolored over time.
1. Baking Soda Paste: Mix baking soda with a little water to create a paste.
2. Apply to Grout: Apply the paste to the grout lines.
3. Scrub: Use an old toothbrush to scrub the grout lines.
4. Rinse: Rinse with water.
5. Vinegar Option: For stubborn stains, you can also try spraying the grout with white vinegar after applying the baking soda paste. Let it fizz for a few minutes, then scrub and rinse.
4. Bathroom Vents
Bathroom vents can accumulate dust and mold, which can affect air quality.
1. Turn off the Fan: Make sure the bathroom fan is turned off.
2. Remove the Cover: Carefully remove the vent cover. You might need a screwdriver.
3. Vacuum the Vent: Use your vacuum cleaner with the hose attachment to suck up any dust and debris from the vent.
4. Wash the Cover: Wash the vent cover with warm soapy water.
5. Dry and Replace: Dry the vent cover thoroughly and replace it.
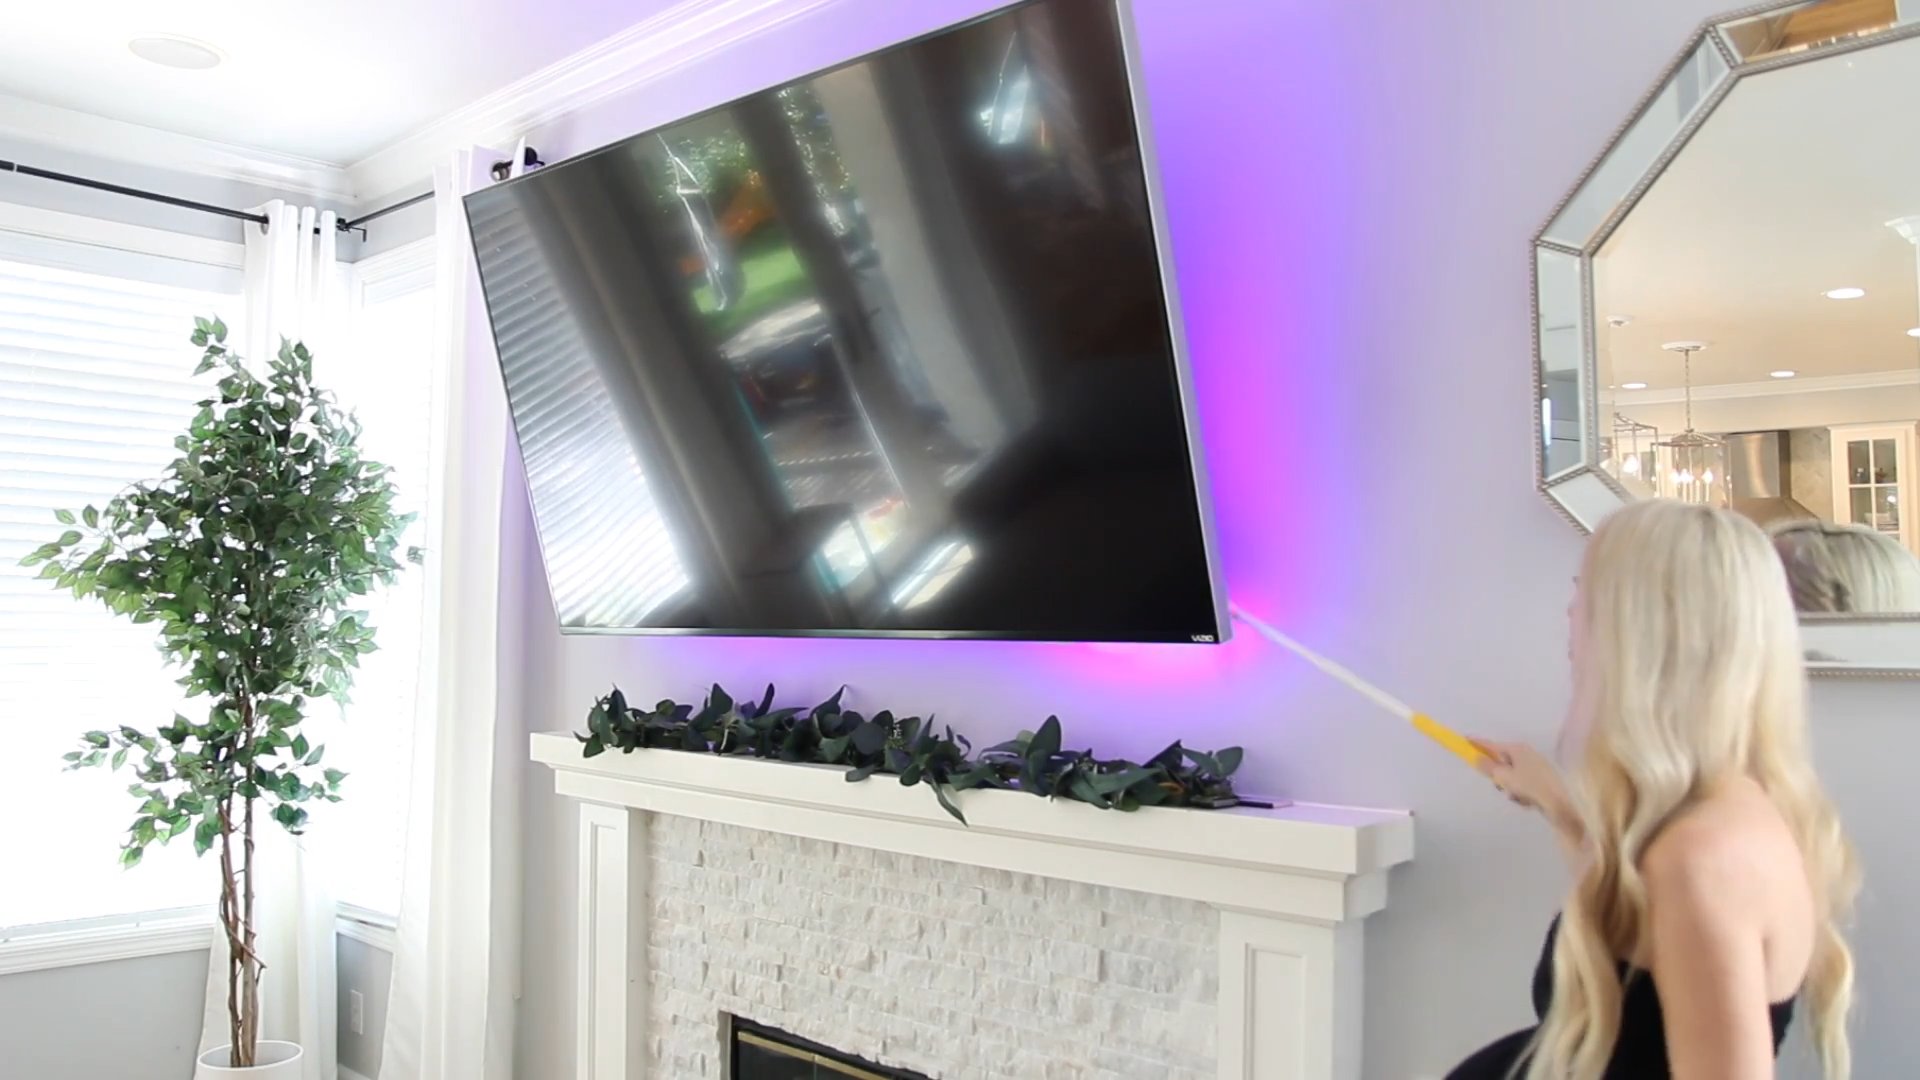
Living Room Lurkers: Dust and Debris Be Gone!
The living room, a place for relaxation, can also harbor hidden dirt.
1. Underneath Furniture
Sofas, chairs, and tables can trap dust, crumbs, and pet hair underneath them.
1. Move the Furniture: Move the furniture away from the walls.
2. Vacuum the Area: Use your vacuum cleaner with the hose attachment to suck up all the loose debris.
3. Mop or Sweep: Mop or sweep the floor underneath the furniture.
2. Upholstery
Upholstery
Conclusion
So, there you have it! Unveiling these often-overlooked cleaning areas and equipping you with the knowledge to tackle them effectively is a game-changer for a truly clean and healthy home. We’ve journeyed beyond the usual suspects – the countertops and floors – to shine a light on those forgotten nooks and crannies where grime loves to hide. Ignoring these areas not only impacts the overall cleanliness of your space but can also contribute to the build-up of allergens and bacteria, impacting your well-being.
This isn’t just about ticking off a chore list; it’s about creating a living environment that truly supports your health and happiness. Think of the satisfaction of knowing that every corner of your home is sparkling, free from hidden dust bunnies and lingering odors.
The beauty of addressing these forgotten cleaning areas is that it doesn’t require a massive overhaul or expensive cleaning products. Often, simple solutions and a little elbow grease are all you need. Consider these variations to personalize your cleaning routine:
* **Essential Oil Infusion:** Add a few drops of your favorite essential oil (like lemon, tea tree, or lavender) to your cleaning solutions for an extra boost of freshness and antibacterial properties.
* **DIY Cleaning Paste:** Create a simple paste of baking soda and water to tackle stubborn stains in grout or on stovetops.
* **Vinegar Power:** White vinegar is a fantastic natural cleaner and deodorizer. Use it diluted with water to clean showerheads, faucets, and even your dishwasher.
* Microfiber Magic: Invest in high-quality microfiber cloths. They are incredibly effective at trapping dust and dirt, and they are reusable, making them an eco-friendly choice.
* Schedule it in: Don’t try to tackle everything at once. Break down the tasks into smaller, manageable chunks and incorporate them into your regular cleaning schedule. Maybe dedicate 15 minutes each week to cleaning one or two of these forgotten areas.
Why is this DIY approach a must-try? Because it empowers you to take control of your home’s cleanliness in a sustainable and cost-effective way. You’re not relying on harsh chemicals or expensive services; you’re using readily available ingredients and a little bit of your time to create a healthier and more inviting living space. Plus, the satisfaction of knowing you’ve tackled those hidden grime zones is incredibly rewarding.
We truly believe that incorporating these tips into your cleaning routine will make a noticeable difference in the overall cleanliness and freshness of your home. So, we wholeheartedly encourage you to give it a try! Start with one or two of the forgotten cleaning areas that resonate with you the most, and see the difference it makes.
And most importantly, we want to hear about your experience! Did you discover any other forgotten cleaning areas in your home? What cleaning solutions worked best for you? Share your tips, tricks, and before-and-after photos in the comments below. Let’s create a community of clean-home enthusiasts and inspire each other to tackle those hidden grime zones! Your insights could be invaluable to other readers. Let’s make our homes healthier and happier, one forgotten cleaning area at a time.
FAQ
What are the most common “forgotten cleaning areas” in a home?
The most frequently overlooked areas include:
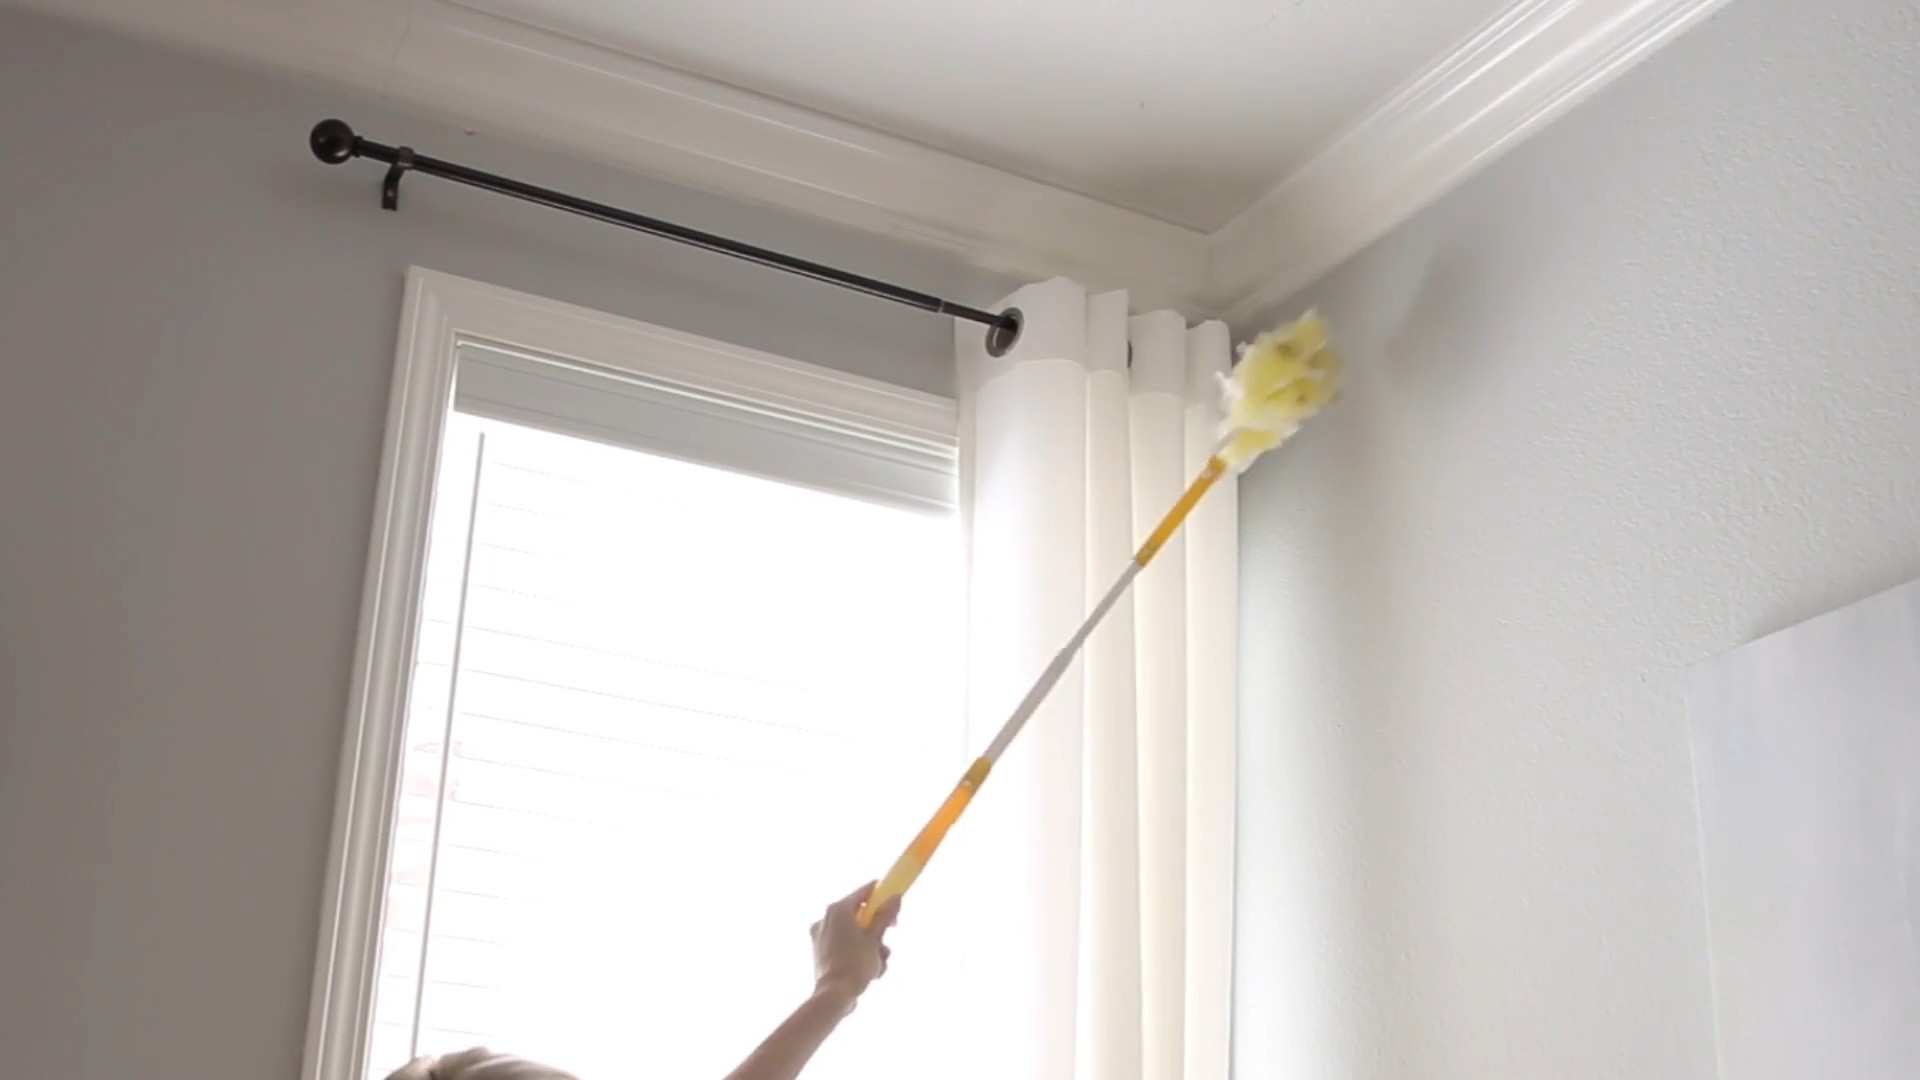
* **Light Fixtures:** Dust accumulates on light fixtures, reducing their brightness and potentially becoming a fire hazard.
* **Baseboards and Trim:** These areas are often neglected, leading to a build-up of dust, dirt, and scuff marks.
* **Behind Appliances:** The space behind refrigerators, ovens, and washing machines is a breeding ground for dust, crumbs, and even mold.
* **Under Furniture:** Dust bunnies and pet hair thrive under sofas, beds, and other furniture.
* **Showerheads and Faucets:** Mineral deposits and grime can accumulate on showerheads and faucets, affecting water flow and hygiene.
* **Grout:** Grout between tiles is prone to staining and mildew growth.
* **Doorknobs and Light Switches:** These high-touch surfaces are often overlooked but can harbor germs.
* **Trash Cans:** Even with liners, trash cans can become dirty and smelly.
* **Window Tracks:** Dirt and debris accumulate in window tracks, hindering smooth operation.
* **Remote Controls:** Remote controls are frequently touched and rarely cleaned, making them a haven for bacteria.
How often should I clean these forgotten areas?
The frequency depends on the area and your lifestyle. Here’s a general guideline:
* **Weekly:** Doorknobs, light switches, remote controls, trash cans (wipe down).
* **Monthly:** Light fixtures, baseboards, trim, showerheads, faucets, grout (spot clean).
* **Quarterly (Every 3 Months):** Behind appliances, under furniture, window tracks, grout (deep clean).
Adjust the frequency based on factors like pet ownership, allergies, and the number of people living in your home.
What are the best cleaning solutions for these areas?
* **General Cleaning:** A mixture of warm water and mild dish soap is effective for most surfaces.
* **Stubborn Stains:** Baking soda paste, vinegar, or a commercial all-purpose cleaner can be used.
* **Mold and Mildew:** A solution of bleach and water (always use caution and proper ventilation) or a commercial mold and mildew remover.
* **Mineral Deposits:** Vinegar is excellent for dissolving mineral deposits on showerheads and faucets.
* Dusting: Microfiber cloths are ideal for dusting light fixtures, baseboards, and other surfaces.
Always test cleaning solutions in an inconspicuous area first to ensure they don’t damage the surface.
Are there any natural cleaning alternatives I can use?
Yes! Many natural ingredients are effective cleaners:
* **Vinegar:** A natural disinfectant and deodorizer.
* **Baking Soda:** A mild abrasive cleaner and deodorizer.
* **Lemon Juice:** A natural degreaser and disinfectant.
* **Essential Oils:** Add fragrance and antibacterial properties to cleaning solutions.
How can I prevent these areas from getting dirty in the first place?
Prevention is key! Here are some tips:
* **Regular Dusting:** Dust regularly to prevent build-up.
* **Use Doormats:** Place doormats at entrances to trap dirt and debris.
* **Wipe Up Spills Immediately:** Don’t let spills sit and stain.
* **Ventilate Your Home:** Proper ventilation helps prevent mold and mildew growth.
* **Use Trash Can Liners:** Liners make it easier to keep trash cans clean.
* **Declutter Regularly:** Less clutter means less dust and dirt accumulation.
What tools do I need to clean these areas effectively?
* **Microfiber Cloths:** For dusting and wiping surfaces.
* **Sponges:** For scrubbing.
* **Old Toothbrush:** For cleaning grout and tight spaces.
* **Vacuum Cleaner with Attachments:** For reaching under furniture and behind appliances.
* **Duster with Extension Pole:** For cleaning high light fixtures.
* **Spray Bottles:** For holding cleaning solutions.
* **Gloves:** To protect your hands.
* **Screwdriver:** To remove light fixture covers (always turn off the power first!).
How can I make cleaning these areas less of a chore?
* **Break It Down:** Don’t try to clean everything at once. Focus on one or two areas at a time.
* **Listen to Music or Podcasts:** Make cleaning more enjoyable by listening to your favorite tunes or podcasts.
* **Reward Yourself:** Treat yourself to something after you finish cleaning.
* **Enlist Help:** Get family members involved in the cleaning process.
* **Make It a Habit:** Incorporate these tasks into your regular cleaning routine so they don’t feel overwhelming.
What if I find mold or mildew in these areas?
If you find mold or mildew, it’s important to address it promptly to prevent it from spreading.
* **Ventilate the Area:** Open windows and doors to improve airflow.
* **Wear Protective Gear:** Wear gloves, a mask, and eye protection.
* **Clean with a Mold and Mildew Remover:** Follow the product instructions carefully.
* **Dry the Area Thoroughly:** Mold and mildew thrive in damp environments.
* **If the Mold is Extensive:** Consider hiring a professional mold remediation service.
How can I clean behind appliances safely?
Cleaning behind appliances requires caution:
* **Unplug the Appliance:** Always unplug the appliance before cleaning to prevent electric shock.
* **Pull the Appliance Out Carefully:** Be careful not to damage the floor or the appliance.
* **Vacuum Up Dust and Debris:** Use a vacuum cleaner with attachments to remove dust and debris.
* **Wipe Down the Walls and Floor:** Use a damp cloth and mild detergent to clean the walls and floor.
* **Dry the Area Thoroughly:** Make sure the area is completely dry before pushing the appliance back into place.
* Consider Appliance Rollers: These make moving heavy appliances much easier and safer for cleaning.
Leave a Comment