

Grease-free cabinets DIY: Is your kitchen looking a little less sparkling and a little more… sticky? I totally get it! We all love whipping up delicious meals, but the aftermath of splatters and greasy residue clinging to our cabinets can be a real drag. It’s a common problem, and let’s be honest, store-bought cleaners can be harsh, expensive, and sometimes just don’t quite cut through the grime.
For generations, resourceful homemakers have relied on clever DIY solutions to keep their homes clean and fresh. Think about it – before the age of mass-produced cleaning products, people used simple, natural ingredients to tackle even the toughest messes. This tradition of resourcefulness is something I deeply admire, and it’s what inspired me to create this guide.
That’s why I’m so excited to share my favorite grease-free cabinets DIY tricks with you! These aren’t just random hacks; they’re tried-and-true methods that use everyday ingredients you probably already have in your pantry. Imagine a kitchen where your cabinets gleam, free from that sticky, grimy film. Not only will it look fantastic, but it’ll also be a more hygienic space for preparing food. Plus, you’ll save money and reduce your reliance on harsh chemicals. Ready to say goodbye to greasy cabinets for good? Let’s dive in!
DIY Degreasing: Revive Your Kitchen Cabinets!
Okay, friends, let’s face it: kitchen cabinets are grease magnets. No matter how diligent you are, splatters, steam, and airborne oils eventually leave a sticky, grimy film. But don’t despair! You don’t need to spend a fortune on fancy cleaners or hire a professional. I’m going to walk you through a simple, effective, and budget-friendly DIY method to degrease your cabinets and bring back their shine.
What You’ll Need: The Arsenal Against Grease
Before we dive in, let’s gather our supplies. This is a pretty straightforward project, so you likely have most of these items already:
* Baking Soda: This is our star player! Baking soda is a mild abrasive and a fantastic degreaser.
* White Vinegar: Vinegar cuts through grease and grime like a champ. Plus, it’s a natural disinfectant.
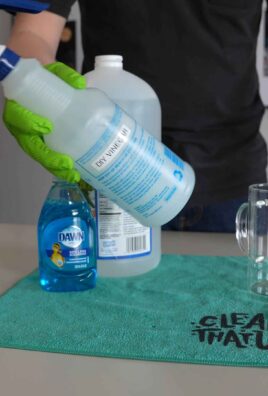
* Dish Soap: A little dish soap helps to lift the grease and dirt. Choose a grease-cutting formula for extra oomph.
* Warm Water: Warm water helps to dissolve the baking soda and loosen the grease.
* Spray Bottle: For applying our cleaning solution.
* Two Microfiber Cloths: One for washing and one for drying. Microfiber is gentle and won’t scratch your cabinets.
* Soft-Bristled Brush (Optional): An old toothbrush or a small scrub brush can be helpful for tackling stubborn grease in corners and crevices.
* Screwdriver (If removing hardware): If you want to give your hardware a good cleaning too, you’ll need a screwdriver to remove it.
* Bucket or Bowl: For mixing our cleaning solution.
* Rubber Gloves: To protect your hands from the cleaning solution.
* Old Towel or Drop Cloth: To protect your countertops and floors from drips.
Prepping for Battle: Setting the Stage for Success
Before you start scrubbing, let’s get everything ready. This will make the whole process smoother and more efficient.
1. Clear the Area: Remove anything from your countertops that might get in the way. This includes small appliances, decorations, and anything else that could be splashed with cleaning solution.
2. Protect Your Surfaces: Lay down an old towel or drop cloth on your countertops and floors to catch any drips. This will prevent water damage and make cleanup a breeze.
3. Remove Hardware (Optional): If you want to give your cabinet hardware a thorough cleaning, now’s the time to remove it. Use a screwdriver to carefully detach the knobs, pulls, and hinges. Place them in a small bowl or container so you don’t lose them.
4. Ventilate the Area: Open windows and turn on your kitchen fan to ensure good ventilation. This will help to dissipate any fumes from the vinegar and prevent moisture buildup.
Mixing the Magic Potion: Creating Our Degreasing Solution
Now for the fun part! We’re going to create our DIY degreasing solution. I’ve found this combination to be incredibly effective, and it’s gentle enough for most cabinet finishes.
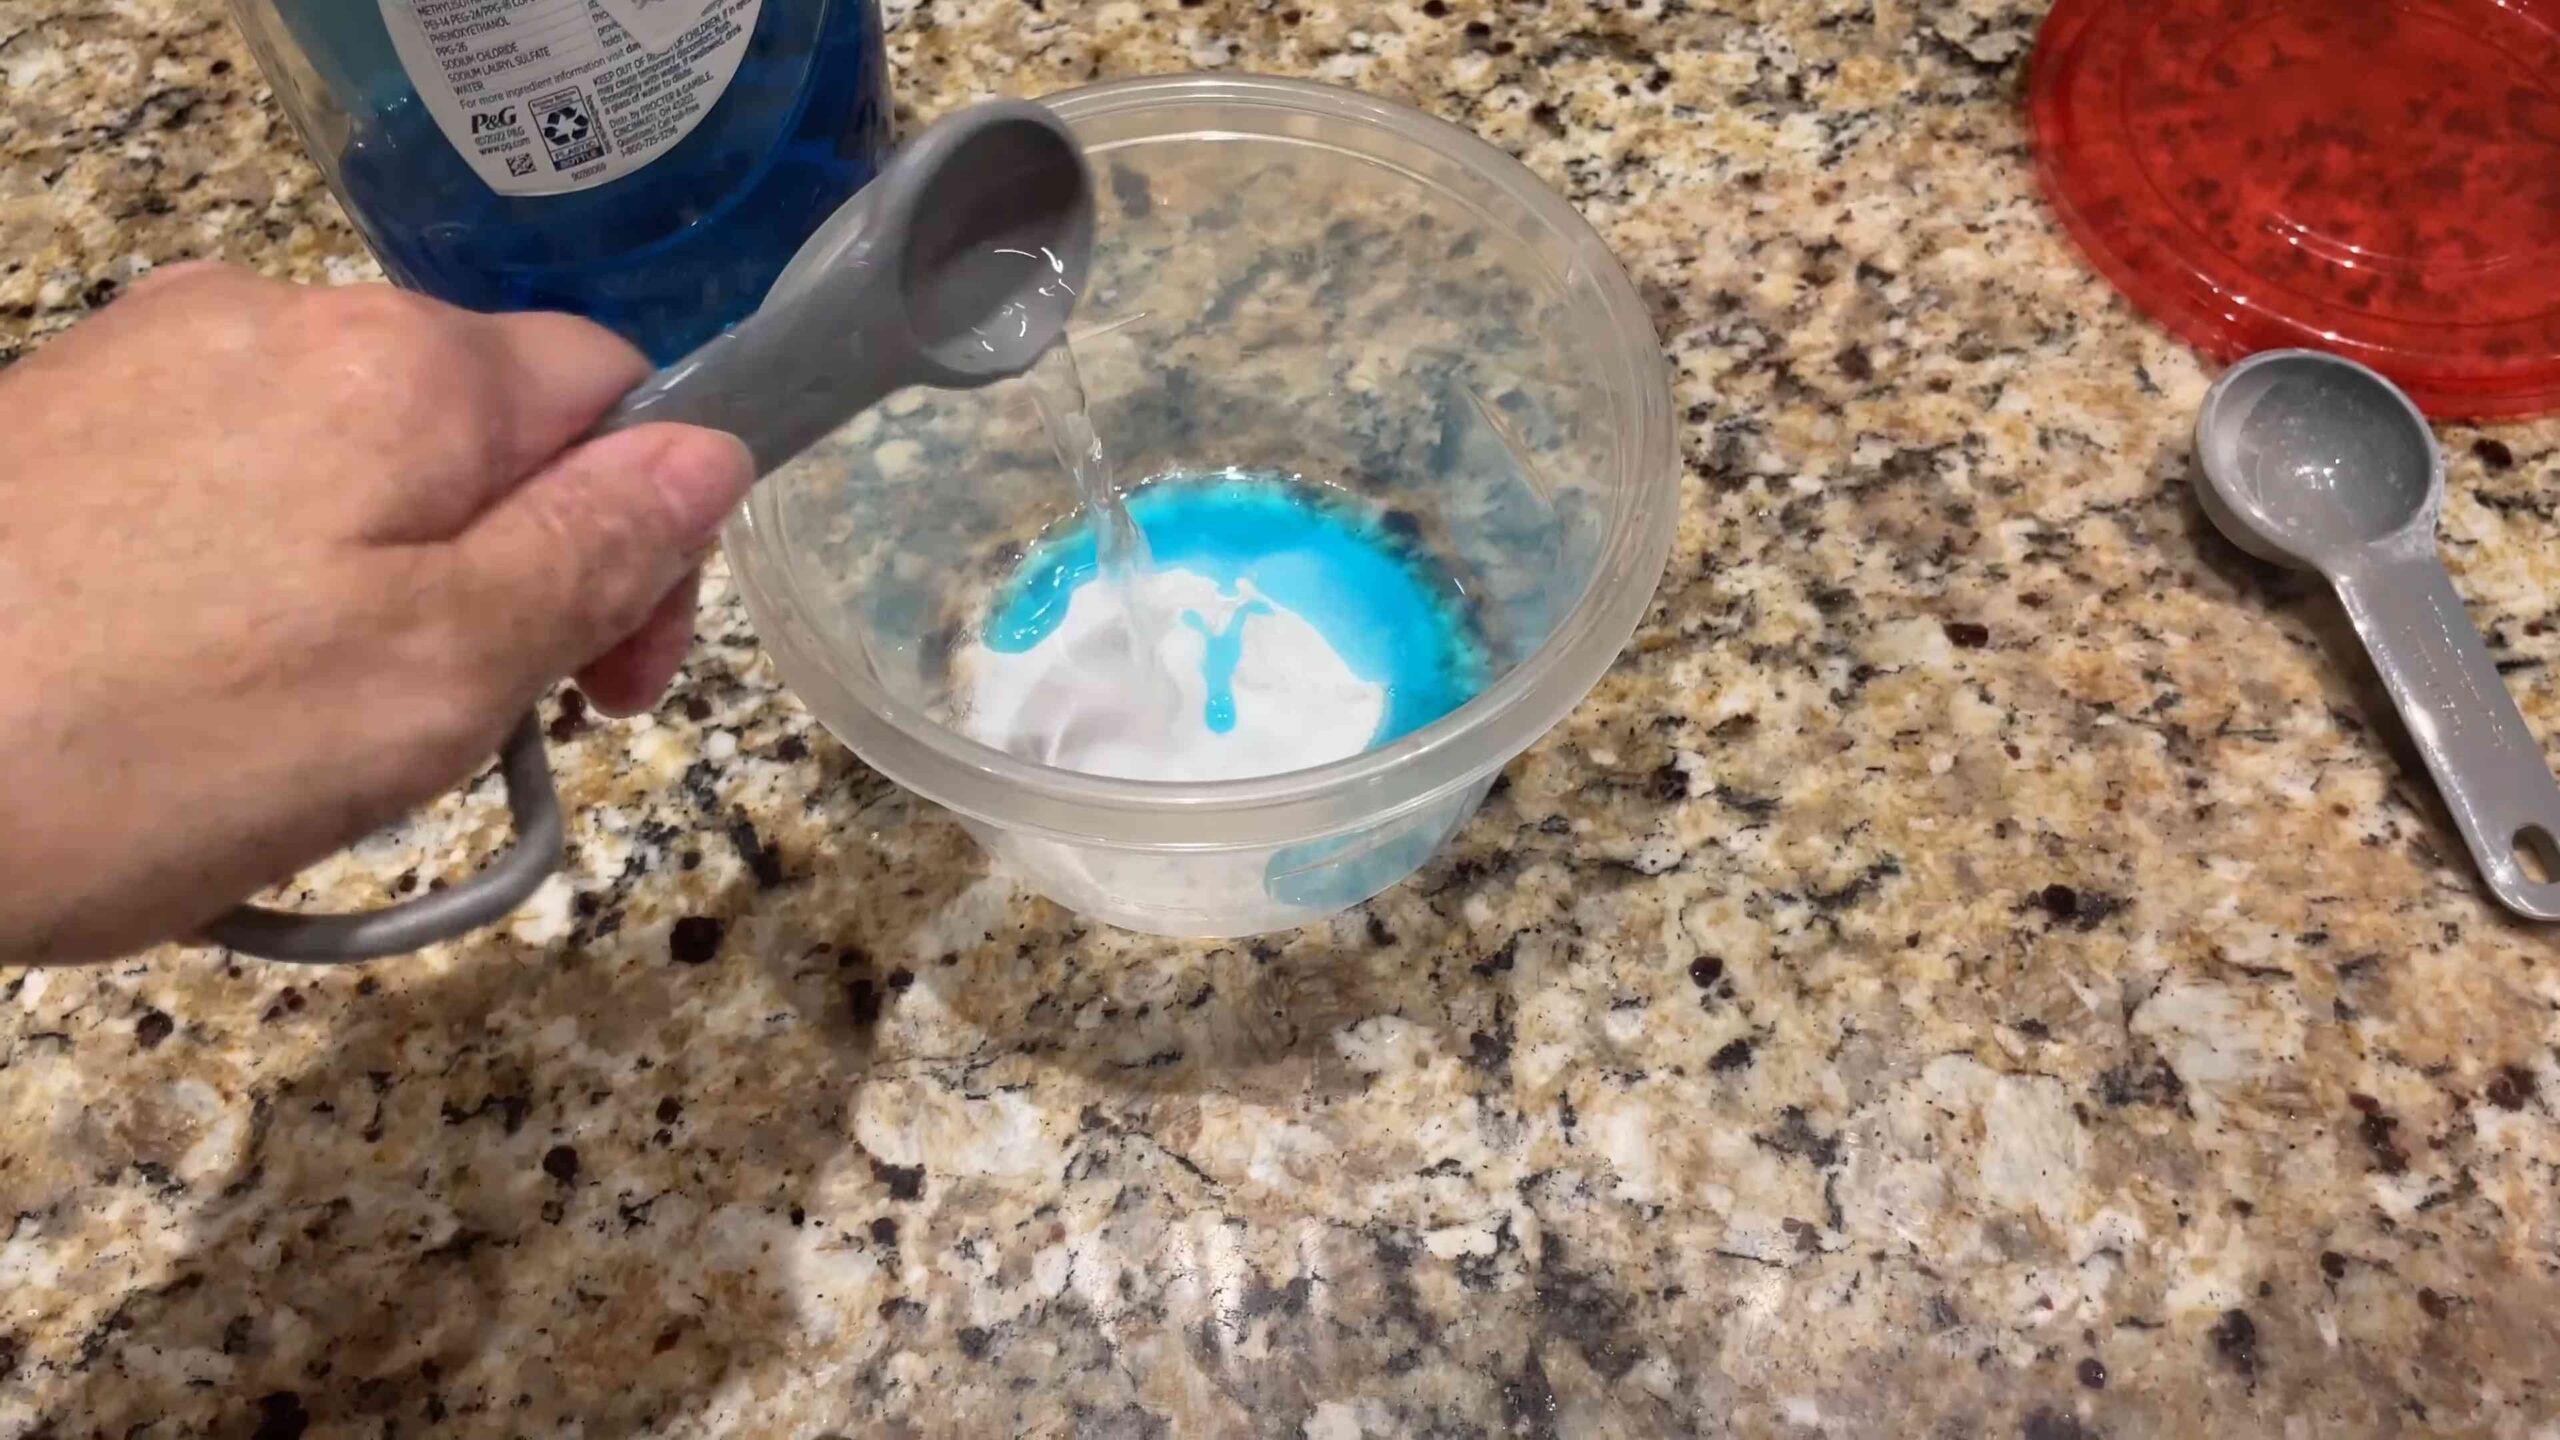
1. In a bucket or bowl, combine:
* 1/2 cup of baking soda
* 1/4 cup of white vinegar
* 1 tablespoon of dish soap
* 2 cups of warm water
2. Mix Well: Stir the ingredients together until the baking soda is completely dissolved. The mixture will fizz a bit when you add the vinegar, but that’s perfectly normal.
3. Pour into Spray Bottle: Carefully pour the solution into your spray bottle.
The Great Degreasing: Step-by-Step Cleaning Instructions
Alright, let’s get those cabinets sparkling! Follow these steps for a thorough and effective cleaning:
1. Test in an Inconspicuous Area: Before you start cleaning the entire cabinet, test the solution in a small, hidden area (like the inside of a cabinet door) to make sure it doesn’t damage the finish. Let it sit for a few minutes, then wipe it off and check for any discoloration or damage.
2. Spray the Solution: Lightly spray the cleaning solution onto a small section of the cabinet. Don’t saturate the wood, as this could cause damage.
3. Let it Sit: Allow the solution to sit on the surface for a few minutes to loosen the grease and grime. For heavily soiled areas, you can let it sit for up to 5 minutes.
4. Wipe with a Microfiber Cloth: Using a clean, damp microfiber cloth, gently wipe the cabinet surface in a circular motion. Apply a little pressure to remove stubborn grease spots.
5. Use a Brush for Tight Spots: If you have stubborn grease buildup in corners, crevices, or around hardware, use a soft-bristled brush to scrub the area gently.
6. Rinse with Clean Water: After wiping with the cleaning solution, rinse the cabinet surface with a clean, damp microfiber cloth to remove any residue.
7. Dry Thoroughly: Use a clean, dry microfiber cloth to dry the cabinet surface completely. This will prevent water spots and help to restore the shine.
8. Repeat as Needed: Repeat steps 2-7 on the remaining sections of your cabinets until they are all clean and grease-free.
9. Clean the Hardware (If Removed): If you removed the hardware, wash it in warm, soapy water. Rinse it thoroughly and dry it with a clean cloth.
10. Reattach Hardware: Once the hardware is dry, reattach it to the cabinets using a screwdriver.
Tackling Stubborn Grease: Advanced Techniques
Sometimes, you’ll encounter grease that just won’t budge. Don’t worry, I’ve got a few tricks up my sleeve!
* Baking Soda Paste: For particularly stubborn grease spots, make a paste of baking soda and water. Apply the paste to the grease spot, let it sit for 10-15 minutes, and then scrub gently with a soft-bristled brush.
* Vinegar Soak: If you have removable cabinet doors, you can soak them in a solution of warm water and vinegar for a few hours to loosen the grease.
* Steam Cleaning: A steam cleaner can be a powerful tool for removing grease and grime. Use a steam cleaner with a soft brush attachment to gently clean your cabinets. Be sure to test in an inconspicuous area first.
Maintaining Your Sparkling Cabinets: Prevention is Key
Now that your cabinets are clean and grease-free, let’s talk about how to keep them that way. Prevention is always better than cure!
* Wipe Up Splatters Immediately: The sooner you wipe up splatters, the less likely they are to turn into stubborn grease stains.
* Use Your Range Hood: Always use your range hood when cooking to vent steam and grease away from your cabinets.
* Regular Cleaning: Wipe down your cabinets with a damp cloth and a mild detergent every week or two to prevent grease buildup.
* Consider a Protective Coating: You can apply a protective coating, such as a furniture polish or wax, to your cabinets to help repel grease and dirt.
A Word of Caution: Things to Avoid
While this DIY method is generally safe and effective, there are a few things you should avoid:
* Harsh Chemicals: Avoid using harsh chemicals, such as bleach or ammonia, as they can damage the finish of your cabinets.
* Abrasive Scrubbers: Don’t use abrasive scrubbers, such as steel wool or scouring pads, as they can scratch the surface of your cabinets.
* Excessive Water: Avoid using excessive water, as it can seep into the wood and cause damage.
* Ignoring the Test Spot: Always test your cleaning solution in an inconspicuous area before cleaning the entire cabinet.
By following these steps, you can easily degrease your kitchen cabinets and keep them looking their best. It’s a simple, affordable, and effective way to maintain your kitchen and keep it sparkling clean. Happy cleaning!

Conclusion
So, there you have it! This simple, yet incredibly effective, DIY trick for achieving grease-free cabinets is more than just a cleaning hack; it’s a game-changer for your kitchen. We’ve walked you through the steps, highlighting how easy it is to banish that stubborn, sticky residue that seems to cling to your cabinets no matter how often you wipe them down. The beauty of this method lies in its simplicity and the fact that you likely already have most, if not all, of the ingredients in your pantry.
Why is this a must-try? Because it saves you time, money, and the frustration of using harsh chemicals that can damage your cabinets and harm the environment. Imagine stepping into your kitchen and being greeted by sparkling clean, grease-free cabinets that reflect the light and make the entire space feel fresh and inviting. This isn’t just about aesthetics; it’s about creating a healthier and more enjoyable cooking environment.
But the benefits don’t stop there. This DIY solution is gentle enough for most cabinet finishes, but always test in an inconspicuous area first. And speaking of variations, feel free to experiment with different essential oils for a pleasant scent boost. A few drops of lemon, orange, or lavender oil can transform your cleaning routine into an aromatherapy session. You could also add a tablespoon of white vinegar to the mixture for extra degreasing power, especially if you’re dealing with particularly stubborn grease buildup. For painted cabinets, consider using a slightly diluted solution to prevent any potential damage to the paint.
This grease-free cabinets DIY method is a win-win for your kitchen and your peace of mind. It’s a sustainable, cost-effective, and efficient way to maintain the beauty and cleanliness of your cabinets.
We’re confident that once you try this method, you’ll be amazed by the results. But don’t just take our word for it! We encourage you to give it a try and see for yourself the transformative power of this simple DIY solution.
And most importantly, we want to hear about your experience! Share your before-and-after photos, your tips and tricks, and any variations you’ve tried in the comments section below. Let’s create a community of clean cabinet enthusiasts and help each other keep our kitchens sparkling! Your feedback is invaluable and will help us refine and improve this guide for others. So, grab your supplies, roll up your sleeves, and get ready to say goodbye to greasy cabinets for good! We can’t wait to see your results!
Frequently Asked Questions (FAQ)
1. What type of cabinets is this DIY cleaning solution safe for?
This DIY cleaning solution is generally safe for most types of cabinets, including wood, laminate, and painted cabinets. However, it’s crucial to perform a spot test in an inconspicuous area before applying it to the entire surface. This will help you ensure that the solution doesn’t damage or discolor the finish. For painted cabinets, use a more diluted solution to minimize the risk of paint damage. If you have antique or delicate cabinets, consult with a professional before using any DIY cleaning solutions.
2. How often should I clean my cabinets to prevent grease buildup?
The frequency of cleaning depends on how often you cook and the amount of grease that accumulates in your kitchen. As a general guideline, aim to wipe down your cabinets at least once a week to prevent grease from hardening and becoming difficult to remove. If you cook frequently or notice significant grease buildup, you may need to clean them more often. Regular maintenance will make the cleaning process easier and prevent the need for harsh chemicals or abrasive cleaners.
3. What ingredients do I need for this DIY grease-free cabinet cleaning solution?
The basic ingredients for this DIY cleaning solution typically include warm water, dish soap (preferably a grease-cutting formula), and a soft cloth or sponge. You can also add optional ingredients like white vinegar for extra degreasing power or essential oils for a pleasant scent. The exact proportions may vary depending on the severity of the grease buildup and your personal preferences.
4. Can I use this solution on other surfaces in my kitchen?
While this solution is primarily designed for cleaning cabinets, it can also be used on other surfaces in your kitchen that are prone to grease buildup, such as backsplashes, countertops (depending on the material), and range hoods. However, always perform a spot test first to ensure that the solution is safe for the specific surface. Avoid using it on porous surfaces like unsealed granite or marble, as it may cause staining or damage.
5. What if the grease is really stubborn and doesn’t come off easily?
If you’re dealing with stubborn grease buildup, you can try a few different approaches. First, let the cleaning solution sit on the grease for a longer period of time (5-10 minutes) to allow it to penetrate and loosen the grime. You can also try using a slightly more concentrated solution or adding a tablespoon of baking soda to the mixture for extra scrubbing power. For extremely stubborn grease, consider using a specialized degreaser specifically designed for kitchen cabinets, but always follow the manufacturer’s instructions and test in an inconspicuous area first.
6. How do I prevent grease from building up on my cabinets in the first place?
Prevention is key to keeping your cabinets grease-free. Here are a few tips to minimize grease buildup:
* Use your range hood or exhaust fan whenever you’re cooking, especially when frying or sautéing.
* Wipe up spills and splatters immediately to prevent them from hardening and becoming difficult to remove.
* Consider using a splatter screen when frying to contain grease splatters.
* Regularly clean your cabinets with a mild cleaning solution to prevent grease from accumulating.
* Avoid storing greasy items or cooking oils directly above your cabinets, as this can contribute to grease buildup.
7. What kind of cloth or sponge should I use to clean my cabinets?
Use a soft, non-abrasive cloth or sponge to clean your cabinets. Microfiber cloths are an excellent choice because they are gentle on surfaces and effectively remove dirt and grease. Avoid using abrasive scrub brushes or scouring pads, as they can scratch or damage the finish of your cabinets.
8. Is it necessary to rinse the cabinets after cleaning them with this solution?
While it’s not always necessary to rinse the cabinets after cleaning them with this solution, it’s generally a good idea to do so, especially if you’ve used a concentrated solution or added vinegar. Rinsing with clean water will remove any remaining residue and prevent the cabinets from becoming sticky or attracting more dirt. Simply wipe the cabinets down with a damp cloth after cleaning them with the solution.
9. Can I use this solution on my stainless steel appliances?
Yes, this solution can be used on stainless steel appliances to remove grease and fingerprints. However, be sure to wipe the appliances in the direction of the grain to avoid streaks. You may also want to use a specialized stainless steel cleaner and polish after cleaning to restore the shine and protect the surface.
10. How do I store the leftover cleaning solution?
Store any leftover cleaning solution in a clean, airtight container. Label the container clearly with the contents and date. Keep the solution in a cool, dry place away from direct sunlight and heat. The solution should be good for several weeks, but it’s best to use it within a reasonable timeframe to ensure its effectiveness. If the solution becomes cloudy or develops an odor, discard it and make a fresh batch.


Leave a Comment