

Grow Apple Tree From Seed: Imagine biting into a crisp, juicy apple, knowing you nurtured it from a tiny seed right in your own backyard! It sounds like a fairytale, doesn’t it? But I’m here to tell you that growing your own apple tree from seed is not only possible, but also an incredibly rewarding DIY project.
For centuries, humans have cultivated apple trees, with evidence suggesting their domestication dates back to Central Asia thousands of years ago. Apples have held cultural significance across various societies, symbolizing everything from knowledge and temptation to health and prosperity. Now, you can participate in this rich history by embarking on your own apple-growing adventure!
Why should you try this DIY trick? Well, for starters, it’s an amazing way to connect with nature and learn about the life cycle of a plant. Plus, it’s a budget-friendly alternative to buying a mature tree. While it requires patience and a bit of effort, the satisfaction of harvesting your own apples is unparalleled. This guide will provide you with simple, step-by-step instructions to successfully grow apple tree from seed, even if you don’t have a green thumb. Let’s get started and transform your garden into a mini-orchard!
Growing Apple Trees From Seed: A Comprehensive DIY Guide
Hey there, fellow gardening enthusiasts! Ever dreamt of biting into a crisp, juicy apple grown from a tree you nurtured from a tiny seed? It’s a rewarding experience, though it requires patience and a little know-how. While growing apple trees from seed won’t guarantee you’ll get the exact same apple variety as the parent (apple trees rarely “come true” from seed), it’s a fantastic way to experiment, learn about genetics, and potentially discover a unique new apple!
Here’s a detailed guide to help you embark on this exciting journey:
Understanding the Process: Why It Takes Time
Before we dive in, it’s important to understand that growing apple trees from seed is a long-term project. It can take anywhere from 5 to 10 years for a seedling apple tree to produce fruit. Also, as I mentioned, the fruit might not be exactly what you expect. Apple trees are often grafted to ensure consistent fruit production. We’re bypassing that for the fun of experimentation!
What You’ll Need: Gathering Your Supplies
* **Apple Seeds:** From a healthy, ripe apple. Organic apples are a good choice, as they’re less likely to be treated with chemicals that could affect seed viability.
* **Paper Towels:** For stratification.
* **Sealable Plastic Bags:** Also for stratification.
* **Potting Mix:** A well-draining mix is crucial.
* **Small Pots or Seedling Trays:** To start the seeds.
* **Larger Pots (5-gallon or larger):** For transplanting as the tree grows.
* **Gardening Gloves:** To keep your hands clean.
* **Watering Can or Spray Bottle:** For gentle watering.
* **A Sunny Location:** Apple trees need plenty of sunlight.
* **Optional: Rooting Hormone:** Can help with root development, but not essential.
* **Optional: Grafting Supplies:** If you decide to graft later on.
Phase 1: Seed Extraction and Preparation
This is where we get our hands dirty!
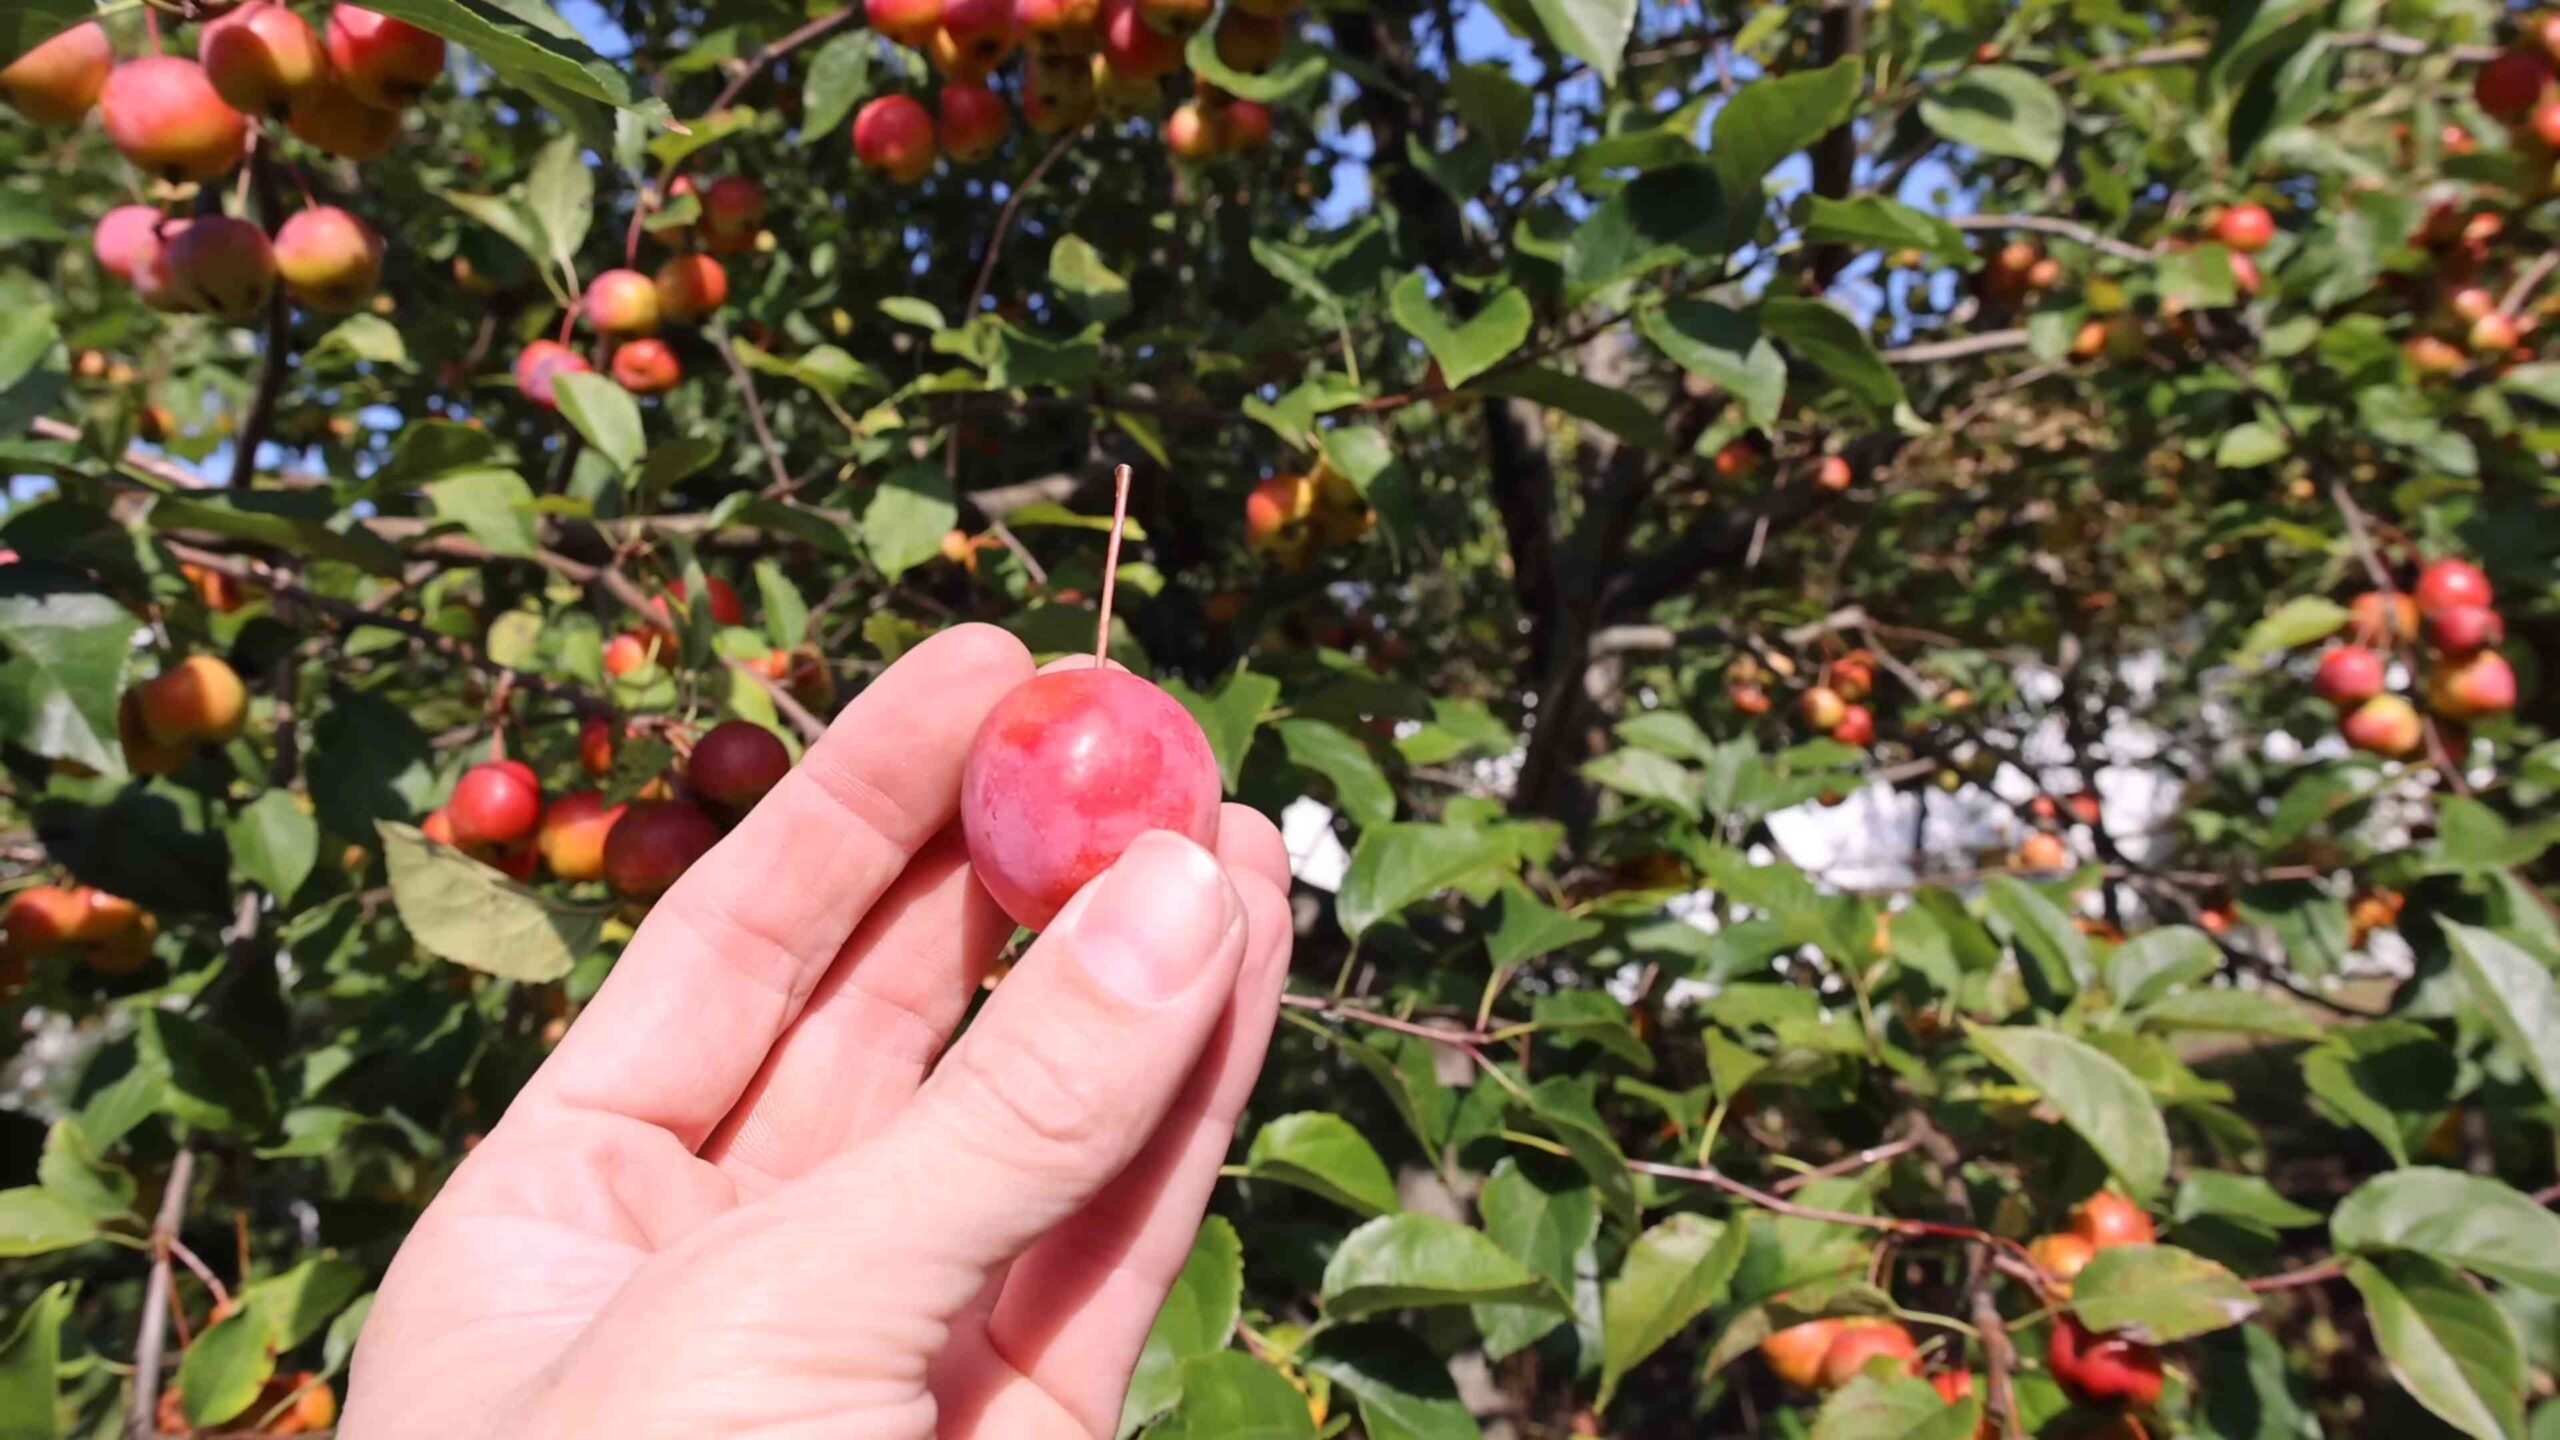
1. **Extracting the Seeds:** Carefully cut open your apple and remove the seeds. Choose plump, brown seeds. Avoid any that are shriveled, black, or damaged. These are less likely to germinate.
2. **Cleaning the Seeds:** Rinse the seeds thoroughly under cool water to remove any remaining pulp. This is important to prevent mold growth during stratification.
3. **Drying the Seeds (Slightly):** Place the cleaned seeds on a paper towel and let them air dry for a few hours. They don’t need to be completely dry, just not soaking wet.
Phase 2: Stratification (The Cold Treatment)
Apple seeds require a period of cold stratification to break their dormancy. This mimics the natural winter conditions they would experience in the wild.
1. **Moistening the Paper Towel:** Lightly dampen a paper towel with water. It should be moist, not dripping wet.
2. **Wrapping the Seeds:** Place the apple seeds on the damp paper towel and fold it over to enclose them.
3. **Bagging the Seeds:** Place the wrapped seeds in a sealable plastic bag. Label the bag with the date and apple variety (if known).
4. **Refrigerating the Seeds:** Place the bag in the refrigerator. The ideal temperature is between 32°F and 45°F (0°C and 7°C).
5. **Monitoring Moisture:** Check the seeds every few weeks to ensure the paper towel remains moist. If it dries out, lightly re-moisten it. If there’s excess moisture, replace the paper towel to prevent mold.
6. **Stratification Period:** The seeds need to be stratified for approximately 60-90 days. This is crucial for successful germination.
Phase 3: Planting the Seeds
After the stratification period, it’s time to plant your seeds!
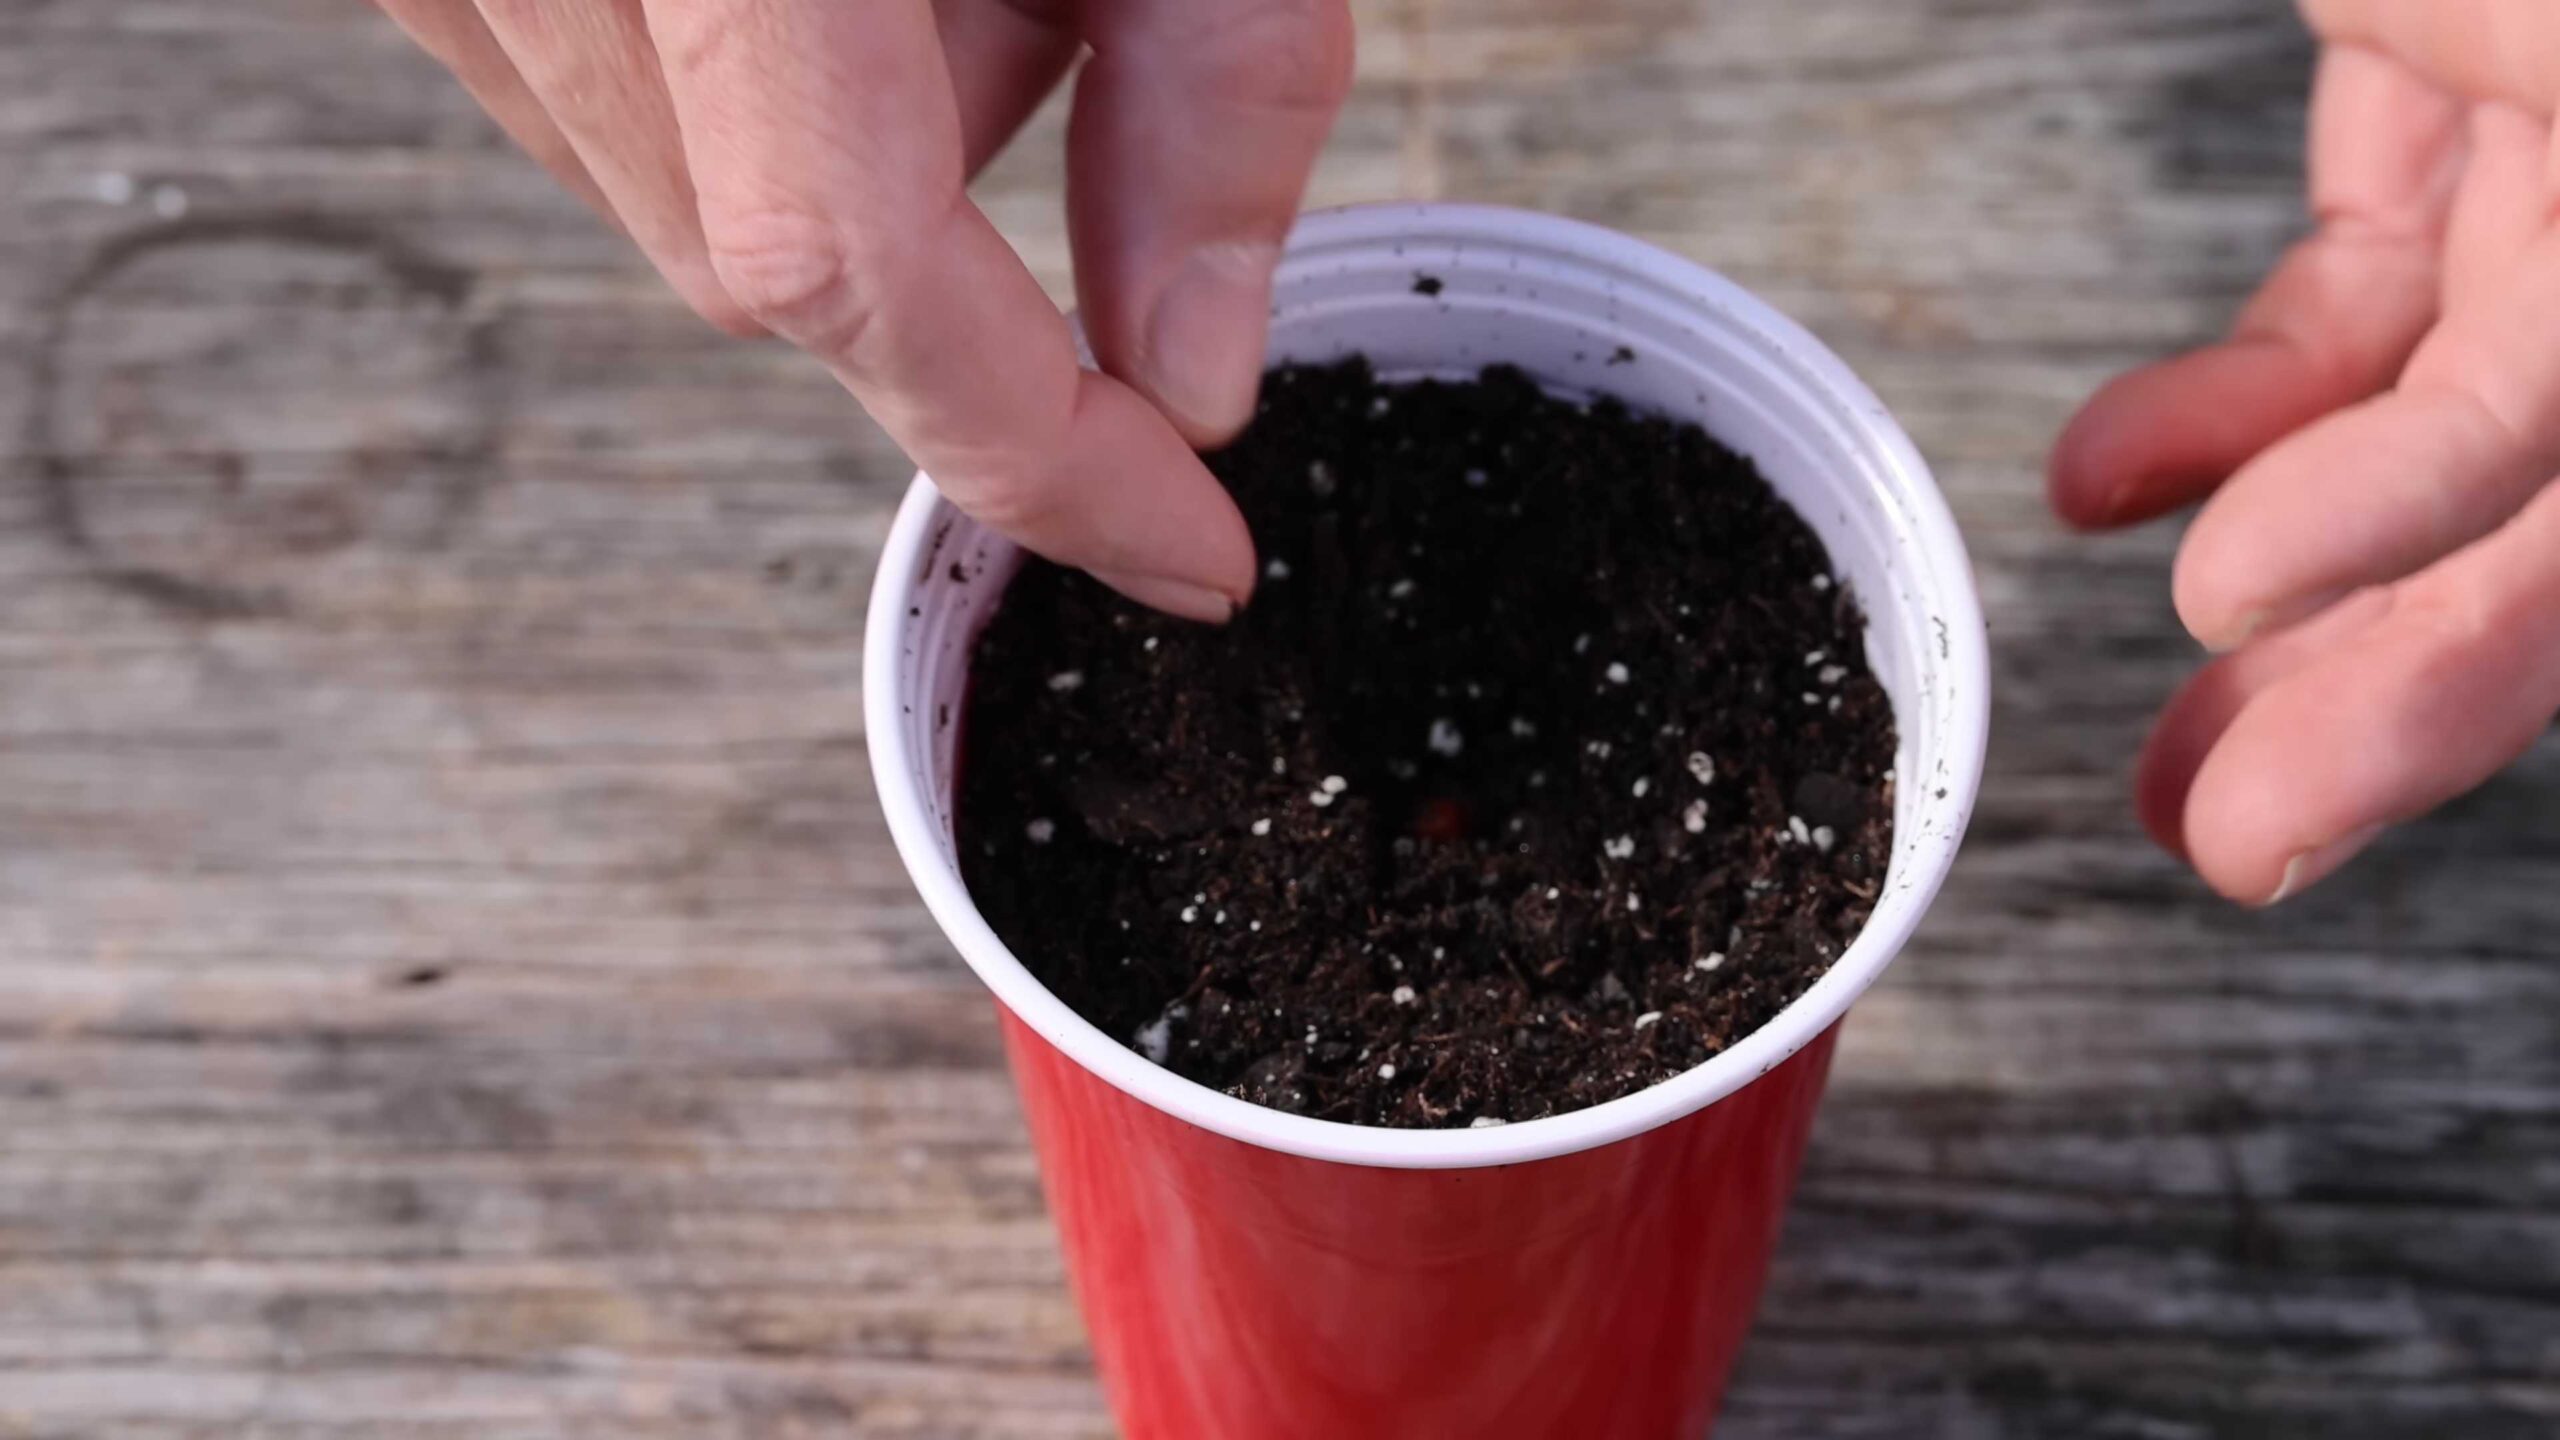
1. **Preparing the Pots:** Fill your small pots or seedling trays with well-draining potting mix.
2. **Planting the Seeds:** Make a small hole (about 1/2 inch deep) in the center of each pot. Place one or two seeds in each hole. Planting two seeds increases your chances of at least one germinating.
3. **Covering the Seeds:** Gently cover the seeds with potting mix and lightly pat it down.
4. **Watering:** Water the pots gently with a watering can or spray bottle. The soil should be moist but not waterlogged.
5. **Providing Light:** Place the pots in a warm, sunny location. A south-facing window is ideal. If you don’t have enough natural light, you can use a grow light.
6. **Maintaining Moisture:** Keep the soil consistently moist, but avoid overwatering. Check the soil moisture daily and water when the top inch feels dry to the touch.
Phase 4: Seedling Care
Once your seeds germinate, it’s time to nurture your little apple seedlings.
1. **Thinning Seedlings (If Necessary):** If both seeds in a pot germinate, wait until they have a few sets of leaves and then thin them out, keeping the strongest seedling. Gently snip the weaker seedling at the soil line to avoid disturbing the roots of the remaining seedling.
2. **Watering:** Continue to water regularly, keeping the soil consistently moist.
3. **Fertilizing:** Once the seedlings have a few sets of true leaves, you can start fertilizing them with a diluted liquid fertilizer. Follow the instructions on the fertilizer packaging.
4. **Providing Support (If Needed):** As the seedlings grow taller, they may need support. You can use small stakes or bamboo skewers to help them stay upright.
5. **Repotting:** When the seedlings outgrow their small pots, transplant them into larger pots (5-gallon or larger). Choose pots with drainage holes.
6. **Hardening Off:** Before planting your apple tree outdoors, you’ll need to “harden it off.” This gradually acclimates the tree to outdoor conditions. Start by placing the tree outdoors in a sheltered location for a few hours each day, gradually increasing the amount of time it spends outdoors over a week or two.
Phase 5: Planting Outdoors
Choosing the right location and planting your apple tree correctly is crucial for its long-term health and productivity.
1. **Choosing a Location:** Select a sunny location with well-draining soil. Apple trees need at least 6-8 hours of sunlight per day. Avoid areas that are prone to standing water.
2. **Preparing the Soil:** Dig a hole that is twice as wide as the root ball and just as deep. Amend the soil with compost or other organic matter to improve drainage and fertility.
3. **Planting the Tree:** Gently remove the apple tree from its pot and loosen the roots. Place the tree in the hole, making sure the top of the root ball is level with the ground.
4. **Backfilling the Hole:** Backfill the hole with the amended soil, gently tamping it down around the roots.
5. **Watering:** Water the tree thoroughly after planting.
6. **Mulching:** Apply a layer of mulch around the base of the tree to help retain moisture and suppress weeds. Keep the mulch a few inches away from the trunk to prevent rot.
7. **Staking (If Needed):** If the tree is young and unstable, you may need to stake it for support. Use soft ties to attach the tree to the stake, making sure not to damage the bark.
Phase 6: Ongoing Care
Your apple tree will need ongoing care to thrive and produce fruit.
1. **Watering:** Water regularly, especially during dry periods. Young trees need more frequent watering than established trees.
2. **Fertilizing:** Fertilize your apple tree in the spring with a balanced fertilizer. Follow the instructions on the fertilizer packaging.
3. **Pruning:** Prune your apple tree annually to remove dead, damaged, or crossing branches. Pruning helps to improve air circulation and sunlight penetration, which can increase fruit production.
4. **Pest and Disease Control:** Monitor your apple tree for pests and diseases. Take action to control any problems as soon as they are detected. Organic pest control methods are often effective.
5. **Protecting from Wildlife:** Depending on your location, you may need to protect your apple tree from deer, rabbits, or other wildlife. Fencing or tree guards can be effective.
A Note on Grafting
As I mentioned earlier, apple trees grown from seed often don’t produce fruit that is true to the parent variety. If you want to ensure that your tree produces a specific type of apple, you can graft a scion (a cutting from a known apple variety) onto your seedling rootstock. Grafting is a more advanced technique, but it can be a rewarding way to control the fruit your tree produces. There are tons of resources online to learn about grafting techniques.
Patience is Key!
Remember, growing an apple tree from seed is a long-term commitment. It takes time and patience, but the rewards are well worth it
Conclusion
So, there you have it! Growing an apple tree from seed might seem like a long game, and it is, but the rewards are immeasurable. It’s a journey of patience, discovery, and ultimately, the satisfaction of nurturing life from its very beginning. Forget the instant gratification of store-bought saplings; this is about connecting with nature on a deeper level and creating something truly unique.
Why is this DIY trick a must-try? Because it’s more than just growing an apple tree; it’s about understanding the miracle of life, learning about genetics, and potentially cultivating a variety of apple unlike any other. You’re not just planting a seed; you’re embarking on an adventure. Plus, think of the bragging rights! How many people can say they grew their own apple tree from seed?
But the best part? You’re not limited to just one type of apple. Experiment! Try different apple varieties. Cross-pollinate them if you’re feeling adventurous. Imagine the possibilities: a super-sweet apple, a tart and tangy apple, or even an apple with a unique color or texture. The world of apple cultivation is your oyster!
Consider these variations to personalize your **grow apple tree from seed** experience:
* **Rootstock Grafting:** Once your seedling is established, you can graft it onto a known rootstock for specific traits like disease resistance or dwarfing. This allows you to control the size and vigor of your tree.
* **Container Growing:** If you have limited space, you can start your apple tree in a large container. Just be sure to choose a dwarf variety and provide adequate drainage.
* **Espalier Training:** Train your apple tree to grow flat against a wall or fence. This is a great way to maximize space and create a beautiful focal point in your garden.
* **Gifting Seedlings:** Imagine the joy of gifting a young apple tree seedling to a friend or family member. It’s a thoughtful and unique present that will keep on giving for years to come.
Don’t be intimidated by the process. Yes, it takes time and effort, but the rewards are well worth it. The journey of watching a tiny seed sprout, grow into a seedling, and eventually blossom into a fruit-bearing tree is an experience unlike any other.
We wholeheartedly encourage you to try this DIY trick. Start small, be patient, and don’t be afraid to experiment. And most importantly, share your experience with us! We’d love to hear about your successes, your challenges, and any tips or tricks you discover along the way. Post pictures of your seedlings, share your grafting techniques, and let us know what unique apple varieties you’re growing. Together, we can create a community of apple enthusiasts and celebrate the joy of growing our own food. So, grab some apple seeds, get your hands dirty, and let the adventure begin!
Frequently Asked Questions (FAQ)
Q: How long does it take to grow an apple tree from seed?
A: Growing an apple tree from seed is a long-term commitment. It typically takes anywhere from 5 to 10 years for a seedling to produce fruit. This is because apple trees grown from seed are not genetically identical to their parent trees and need time to mature and establish themselves. Grafting onto a mature rootstock can significantly reduce this time.
Q: What kind of apple seeds should I use?
A: You can use seeds from almost any apple variety, but keep in mind that the resulting tree will not necessarily produce the same type of apple as the parent. For best results, use seeds from open-pollinated varieties or heirloom apples. Avoid using seeds from commercially grown apples, as they may be hybrids and may not produce viable offspring.
Q: Do apple seeds need stratification?
A: Yes, apple seeds require stratification, which is a period of cold, moist storage. This process mimics winter conditions and helps to break seed dormancy. To stratify apple seeds, wrap them in a damp paper towel, place them in a plastic bag, and store them in the refrigerator for 60-90 days.
Q: What is the best time to plant apple seeds?
A: The best time to plant apple seeds is in the spring, after the last frost. This gives the seedlings plenty of time to grow and establish themselves before winter. You can also start seeds indoors in late winter and transplant them outdoors in the spring.
Q: What kind of soil is best for apple trees?
A: Apple trees prefer well-drained, loamy soil with a pH of 6.0 to 7.0. Amend heavy clay soils with compost or other organic matter to improve drainage. Avoid planting apple trees in areas with standing water or poorly drained soil.
Q: How much sunlight do apple trees need?
A: Apple trees need at least 6-8 hours of direct sunlight per day to produce fruit. Choose a sunny location for your apple tree that is sheltered from strong winds.
Q: How often should I water my apple tree seedling?
A: Water your apple tree seedling regularly, especially during dry periods. Keep the soil moist but not waterlogged. Water deeply and less frequently, rather than shallowly and more often.
Q: Do I need to fertilize my apple tree seedling?
A: Yes, fertilize your apple tree seedling in the spring with a balanced fertilizer. Follow the instructions on the fertilizer label. Avoid over-fertilizing, as this can damage the seedling.
Q: How do I protect my apple tree seedling from pests and diseases?
A: Monitor your apple tree seedling regularly for pests and diseases. Common pests of apple trees include aphids, codling moths, and apple scab. Use organic pest control methods whenever possible. Prune your apple tree regularly to improve air circulation and reduce the risk of disease.
Q: What is grafting and why is it important for apple trees?
A: Grafting is a technique where parts of two plants are joined together so they grow as one. In apple cultivation, it’s common to graft a desired apple variety (the scion) onto a rootstock. The rootstock determines the tree’s size, disease resistance, and cold hardiness. Since apple trees grown from seed don’t reliably produce the same fruit as the parent, grafting ensures you get the apple variety you want and benefits from the rootstock’s characteristics. While you can grow an apple tree from seed, grafting is often recommended for predictable fruit production.
Q: Can I grow an apple tree from seed indoors permanently?
A: While you can start an apple tree from seed indoors, it’s not ideal to keep it indoors permanently. Apple trees require the natural cycles of seasons, including a period of dormancy in the winter, to thrive and produce fruit. They also need the intensity of sunlight that’s difficult to replicate indoors. You can keep a young seedling indoors for a short period, but eventually, it will need to be transplanted outdoors or into a very large container in a sunny location.
Q: What if my apple tree grown from seed never produces fruit?
A: There are several reasons why an apple tree grown from seed might not produce fruit. It could be that the tree is not yet mature enough (remember, it can take 5-10 years). It could also be due to poor pollination, lack of sunlight, or nutrient deficiencies. Make sure your tree is getting enough sunlight, water, and fertilizer. You may also need to hand-pollinate the flowers to ensure fruit set. If all else fails, consider grafting a branch from a known fruiting variety onto your seedling.
Q: How do I know when my apples are ripe?
A: The best way to tell if your apples are ripe is to taste them! Ripe apples will have a sweet, juicy flavor and will easily detach from the tree when gently twisted. The color of the apple will also change as it ripens, but this varies depending on the variety.

Leave a Comment